
Sublimation Tie-Dye Shirt is the latest Tik-Tok trend and in this tutorial, I’ll cover how to make a sublimation tie dye shirt with a design. This is an easy beginner sublimation project.
A few weeks ago, before the sublimation tie-dye trend started, I made an Infusible Ink tie-dye shirt. You can find the infusible ink tie-dye shirt tutorial here. I love the sublimation version of this so much and the added design element is so fun. Ironically, after making the infusible ink version I was thinking of re-doing them to add a design to the shirt. Then this trend took off and I am seeing it all over social media.
Here I’ll share how I do my sublimation tie dye shirts and how you can easily make your own too! This project is so simple. You’ll need a shirt, heat press, and your sublimation designs. For the tie dye effect you’ll want to use a full printed sheet of a design and then you’ll need a printed design sized to something that will fit on your shirt. We’ll cover more of that below.
Sublimation Tie-Dye Tutorial
Let’s get started shall we? First we’ll talk about background images for the tie-dye effect. Then I’ll cover designs, supplies, and steps on how to make your first shirt. I promise it’s so easy!
What backgrounds to use for sublimation tie-day?
When it comes to backgrounds I am using digital paper backgrounds and found mine on DesignBundles. You can use whatever backgrounds you find. Etsy is also a good source to find some.
DesignBundles has a few free options that I think are perfect for this trend.
They also have a huge selection of digital papers to buy and they’re pretty cheap, like a whole pack of digital paper designs for $1-$2.
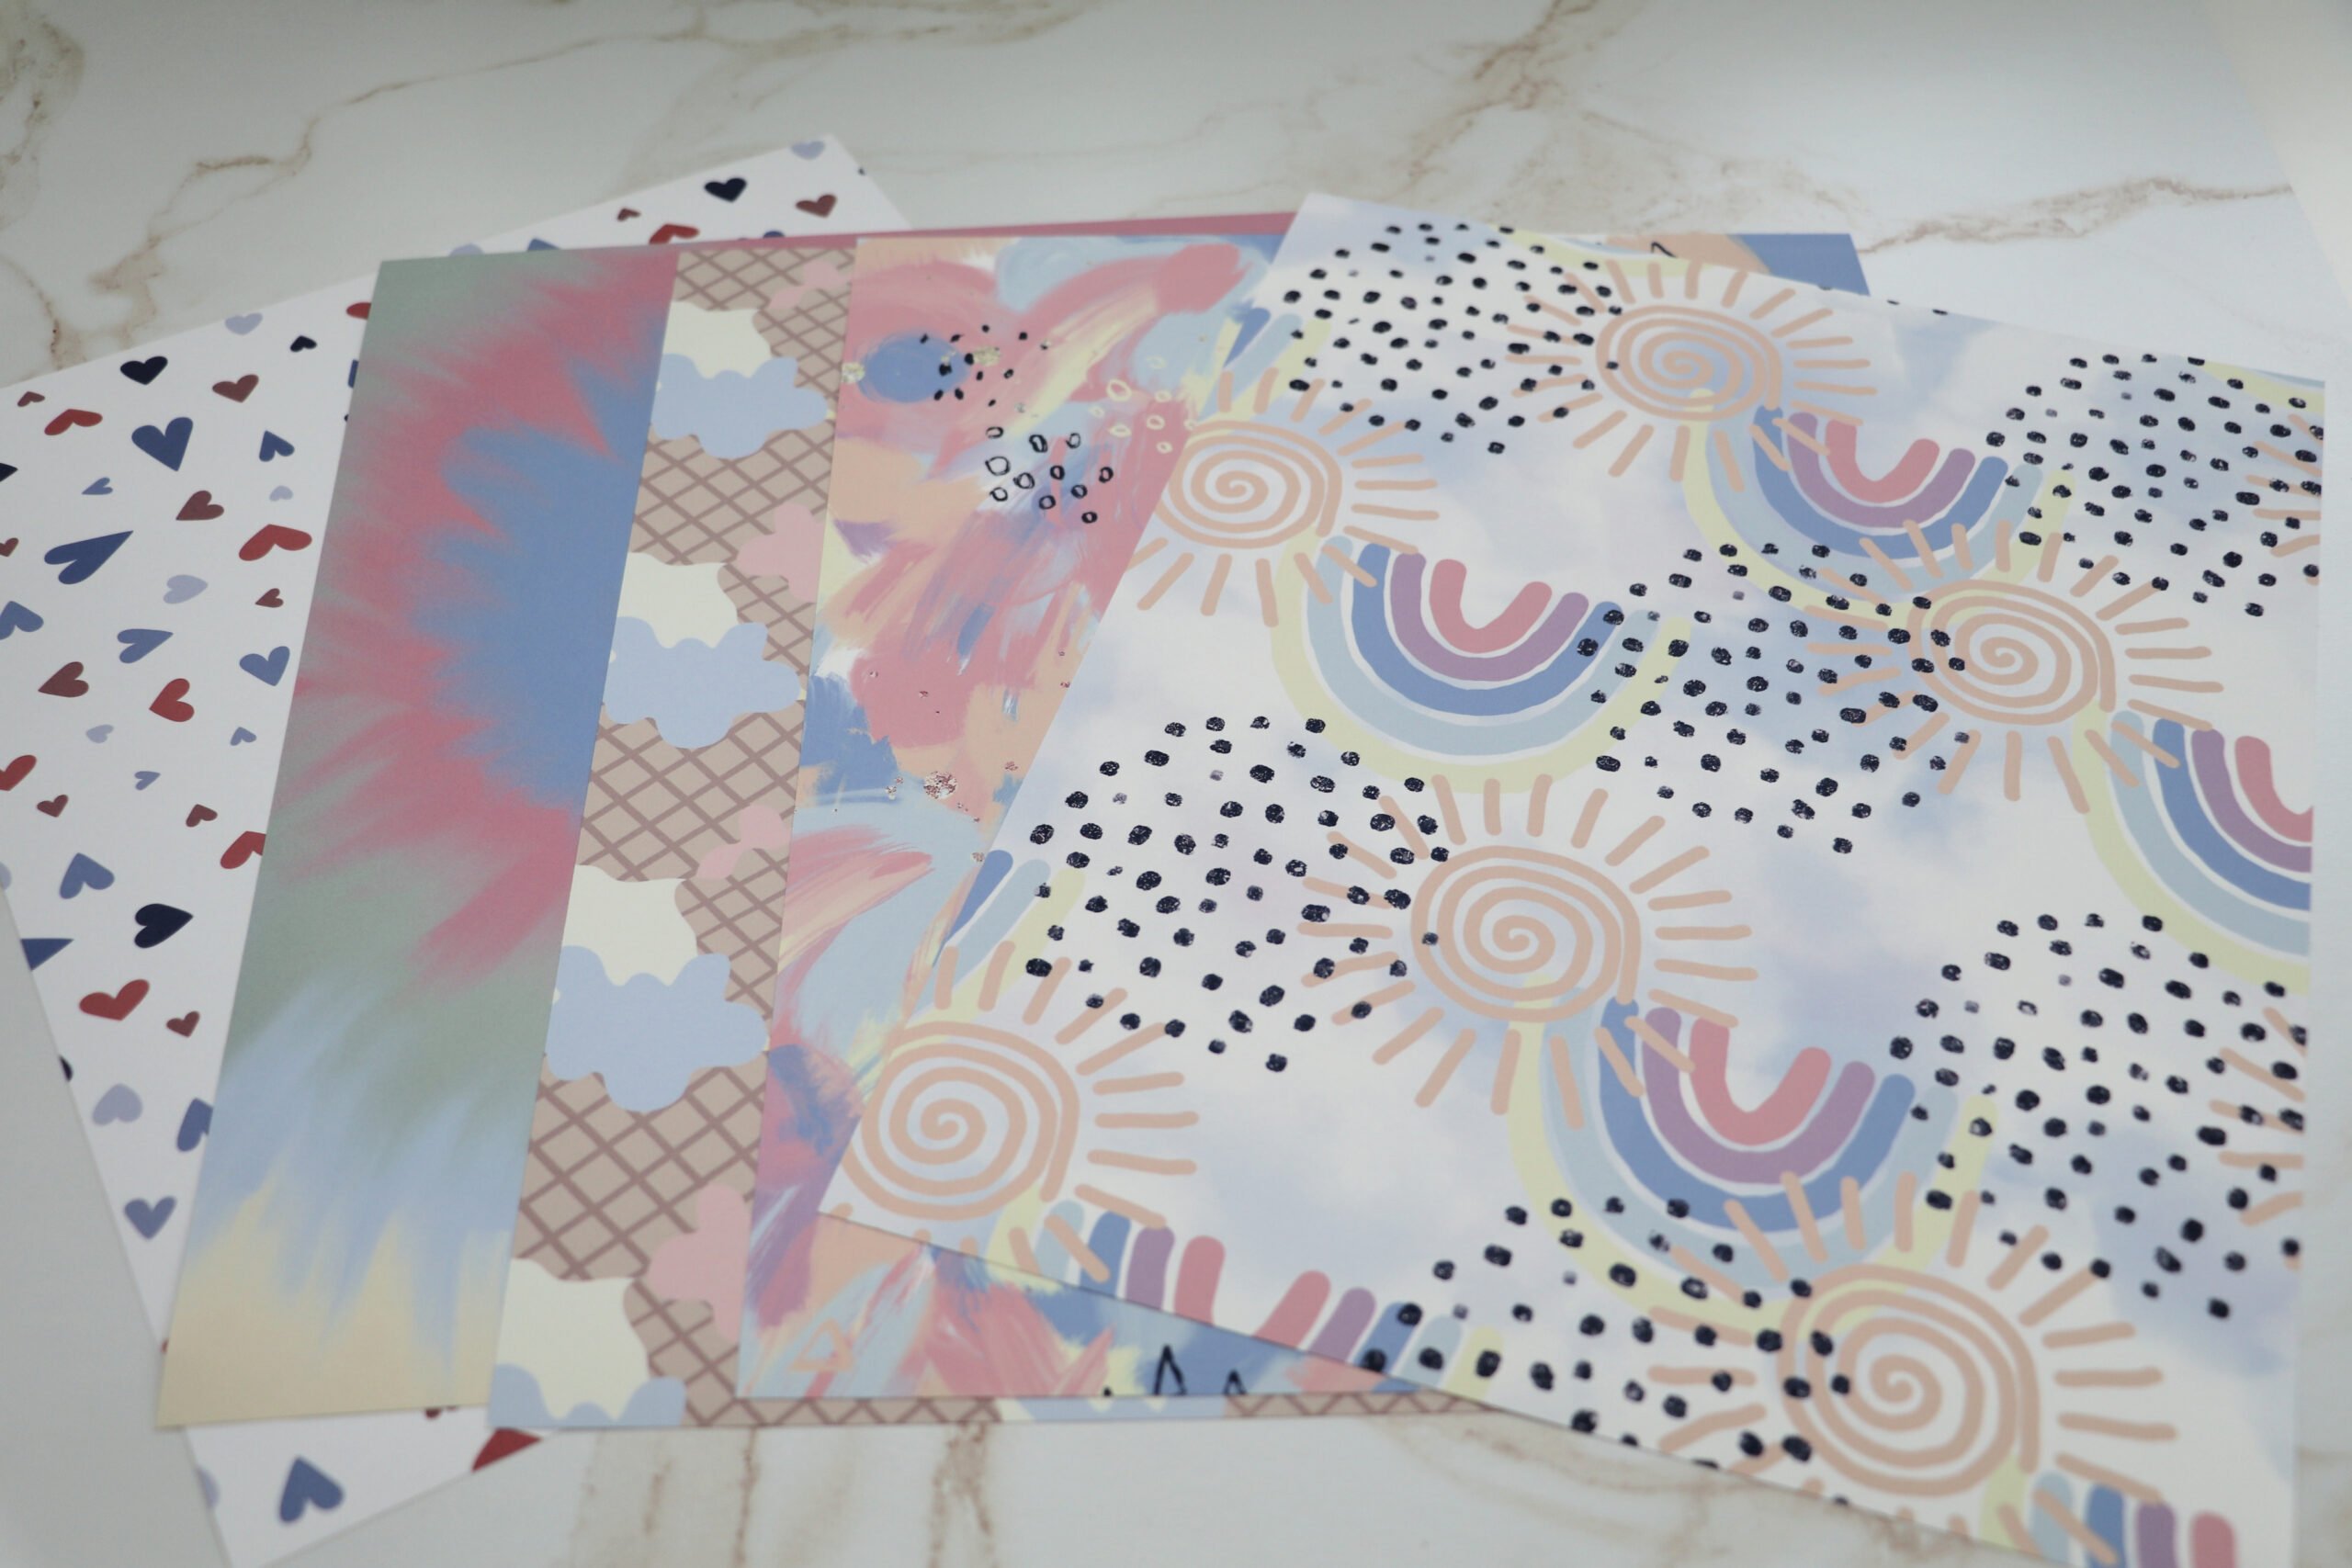
You do not have to stick to tie-dye paper and can use any pattern or design you like. Add pops of leopard, mermaid scales, stripes, or whatever pattern you desire. The possibilities here are endless.
When it comes to printing out the design I use photoshop and open the paper file. I don’t resize my file, but you can resize it to the size of your paper if you want. Click print. Before you print it out and while you’re on the print screen, open the settings and click the box for borderless printing (if you don’t have your printer set up that way). This will make sure that the design covers the whole piece of paper and there won’t be a white border around it.
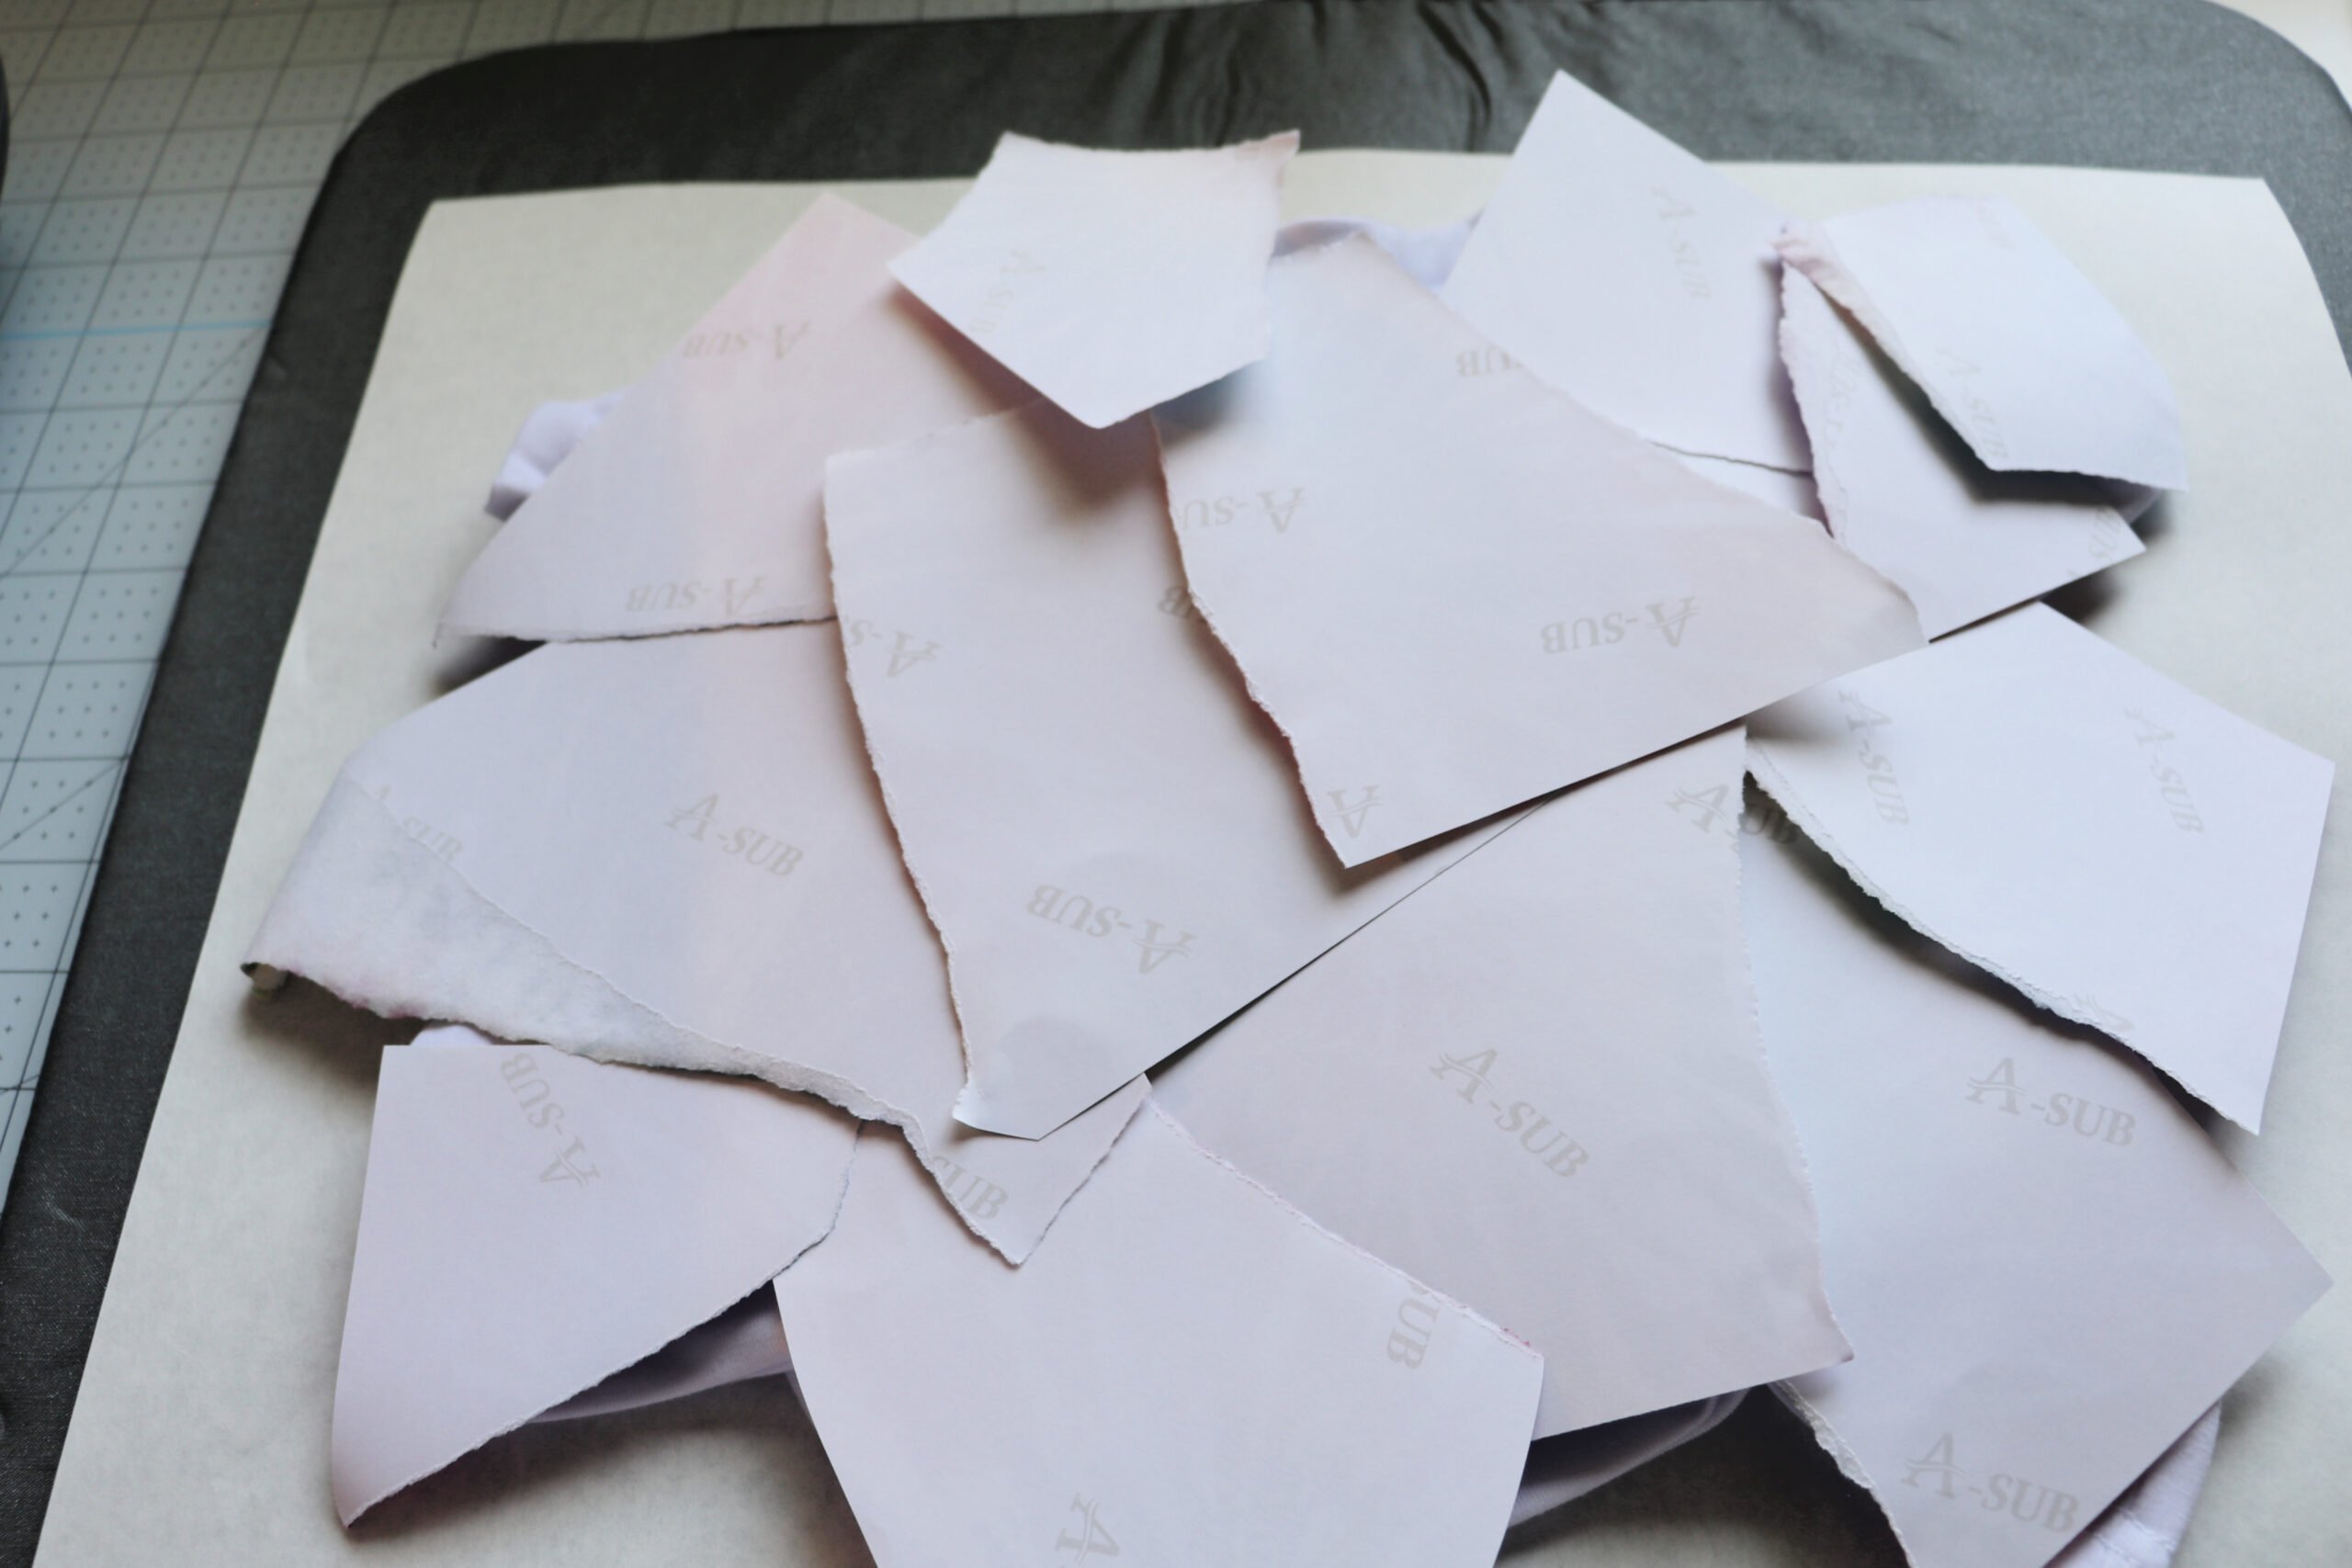
Then print out your design. Since I don’t resize the digital paper image I get a warning about my image being too big. Since this is just a background design I am ok with that and hit ok. Then print out the paper. You should get a printed full page of your paper design. Set that aside.
What size paper to use with Sublimation Tie Dye?
Since I was making shirts for my kids I didn’t need big pieces of paper so I just used the standard size 8.5×11″ paper. If you are doing bigger shirts, like for adults, you might want to try using a bigger sheet of paper. Like 8.5×14″ or 8.5×17″ or bigger depending on what your printer can do.
You can also print out 2 sheets of the paper design and use both sheets for your tie-dye effect if you needed a bigger design to cover more of your shirt.
What Sublimation Paper and Ink to use for Sublimation Tie-Dye
I use Asub 125 paper from Amazon and Cosmos Ink for my sublimation designs. However, use whatever you have on hand.
What Designs to use for Sublimation Tie-Dye?
Now that you have your background picked and printed it’s time to find and print your design. Like with my digital paper I got my designs off of DesignBundles. If you’re new here, I LOVE that site. It has some great files on it. My second fav is Etsy.
Make sure to check out my post about where to find free sublimation files. This includes backgrounds and designs.
Find a design to go with your paper that you picked out. I’ll share my combos below.
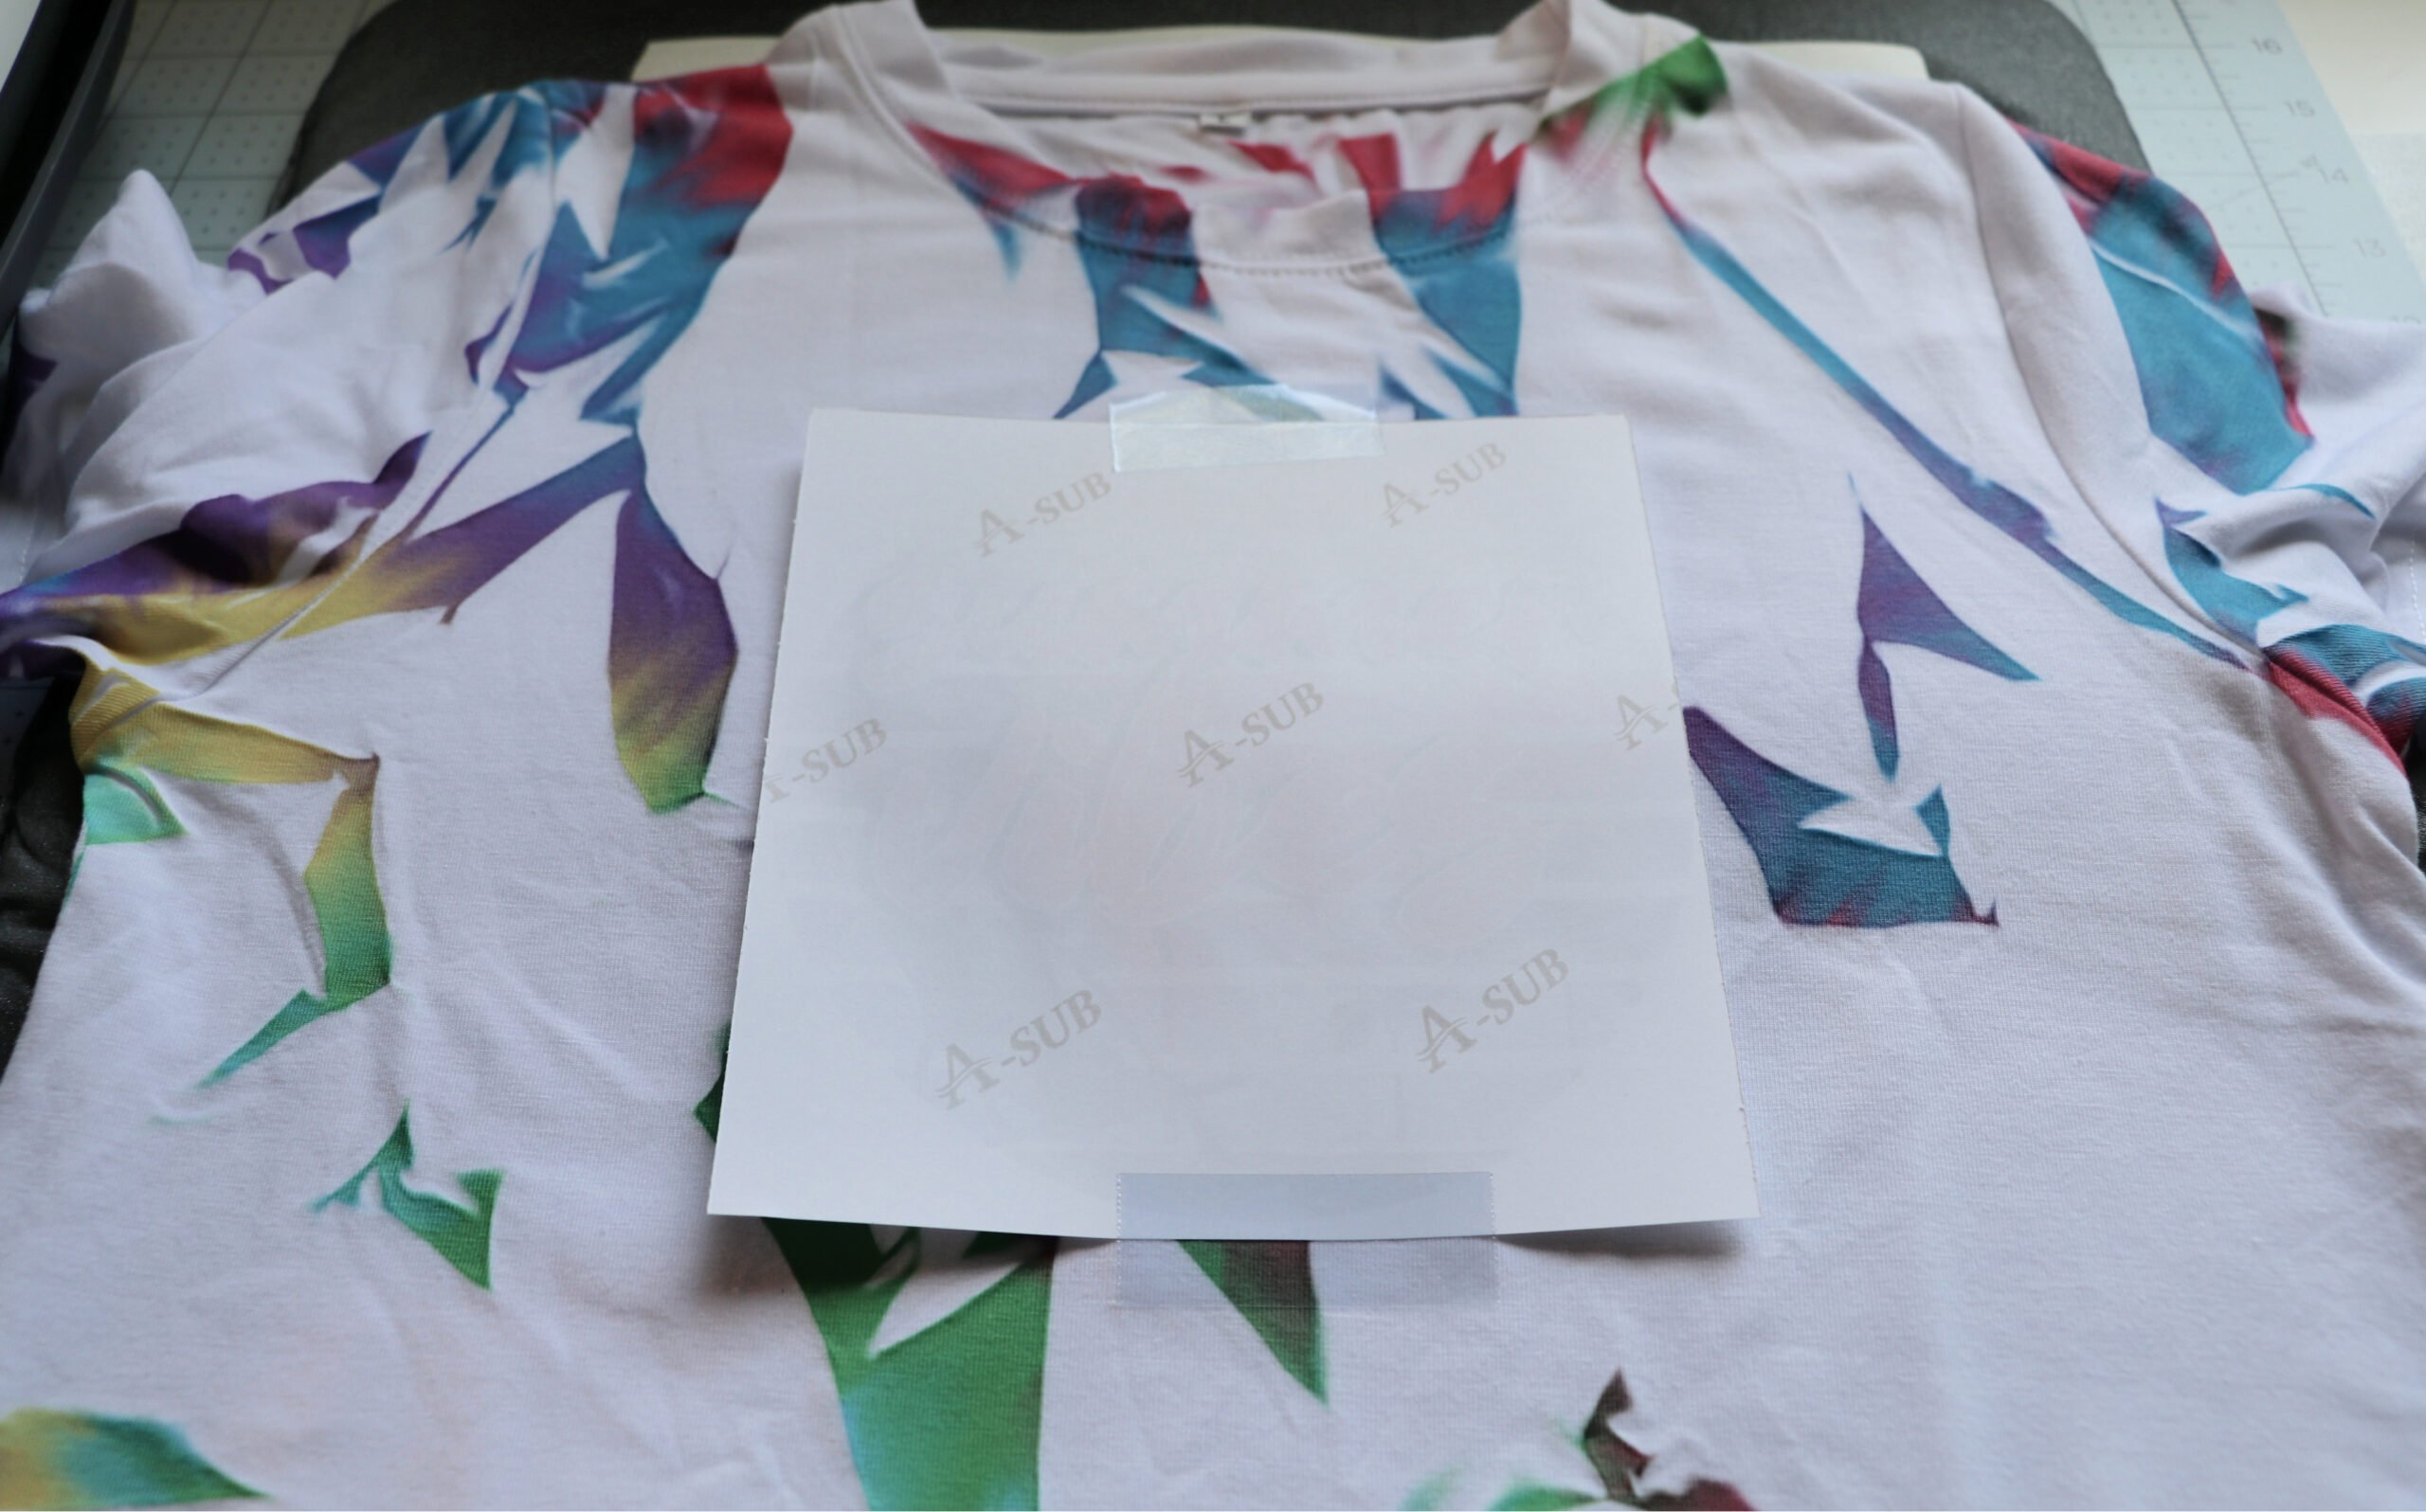
Once you have your design picked out you are going to open it in whatever software you use and resize it to a size that works with your shirt. I am making shirts for my kids so I make my designs about 6 inches. If you’re doing adult shirts you’ll want to make your design bigger. Print it out. Make sure the design is mirrored. I have my printer set up to automatically mirror my prints. If you need help doing that I share how to do it in my Sublimation Printer guide.
Here are the design combos I used:
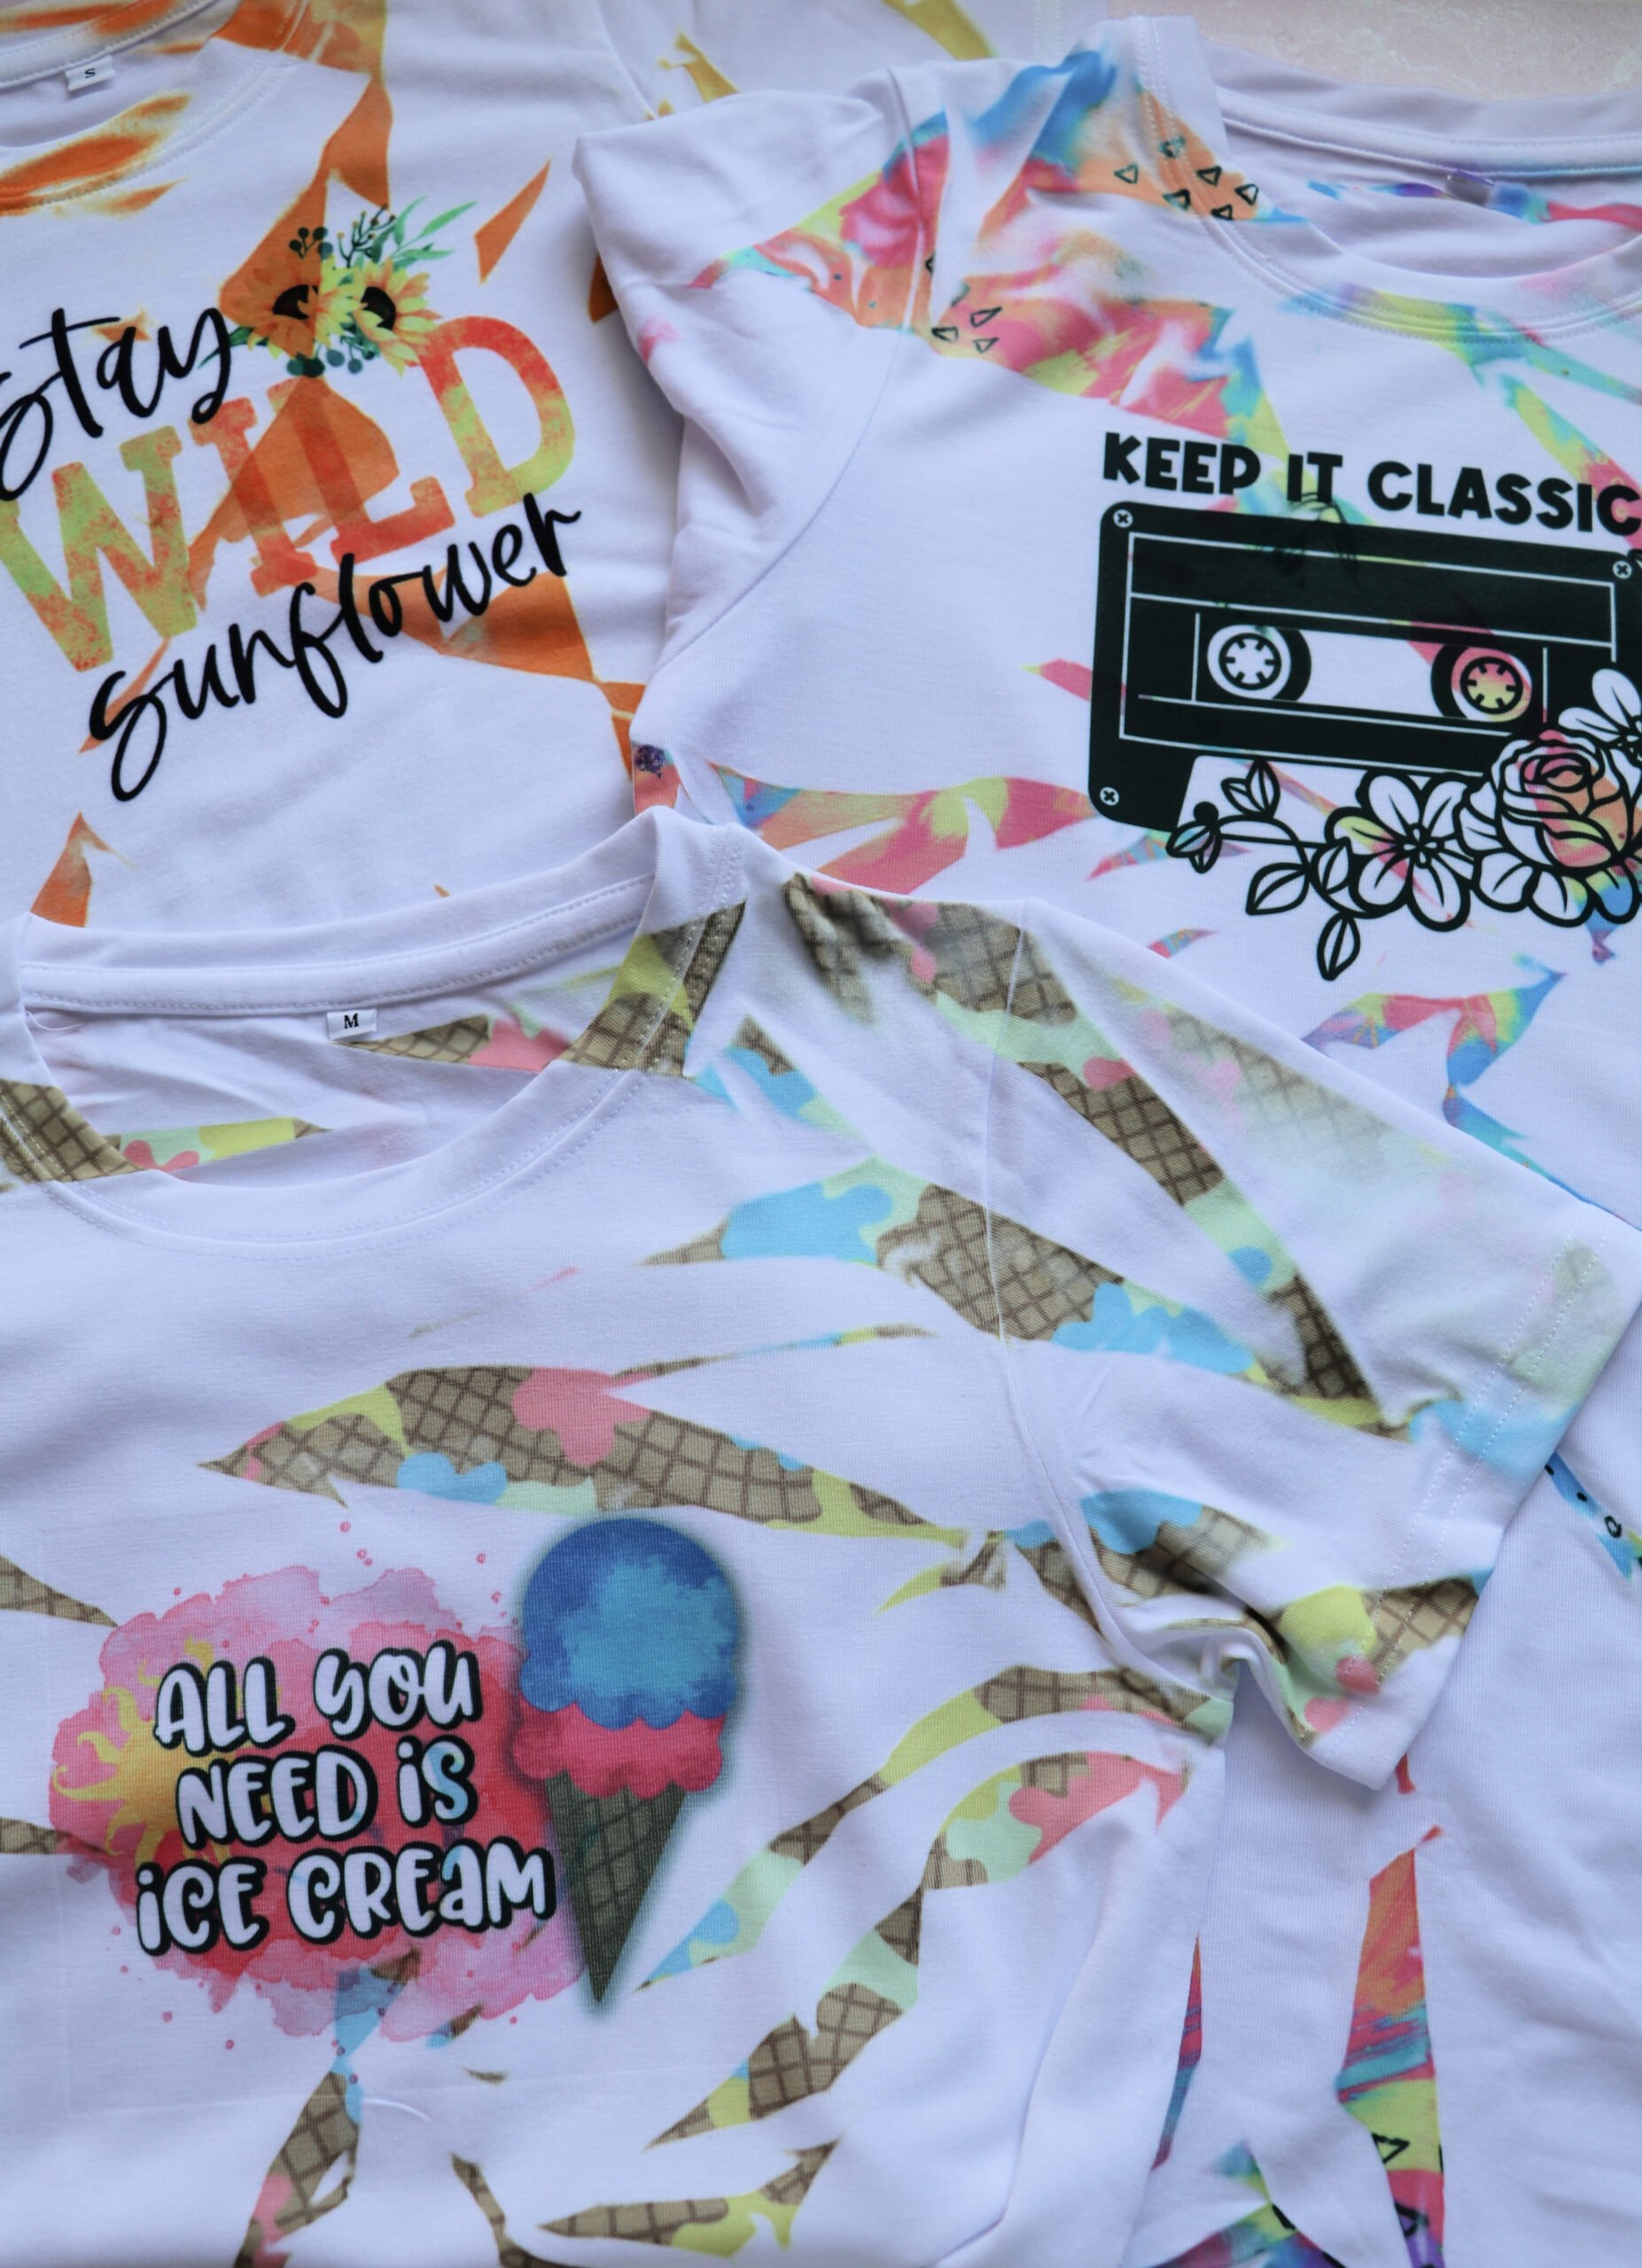
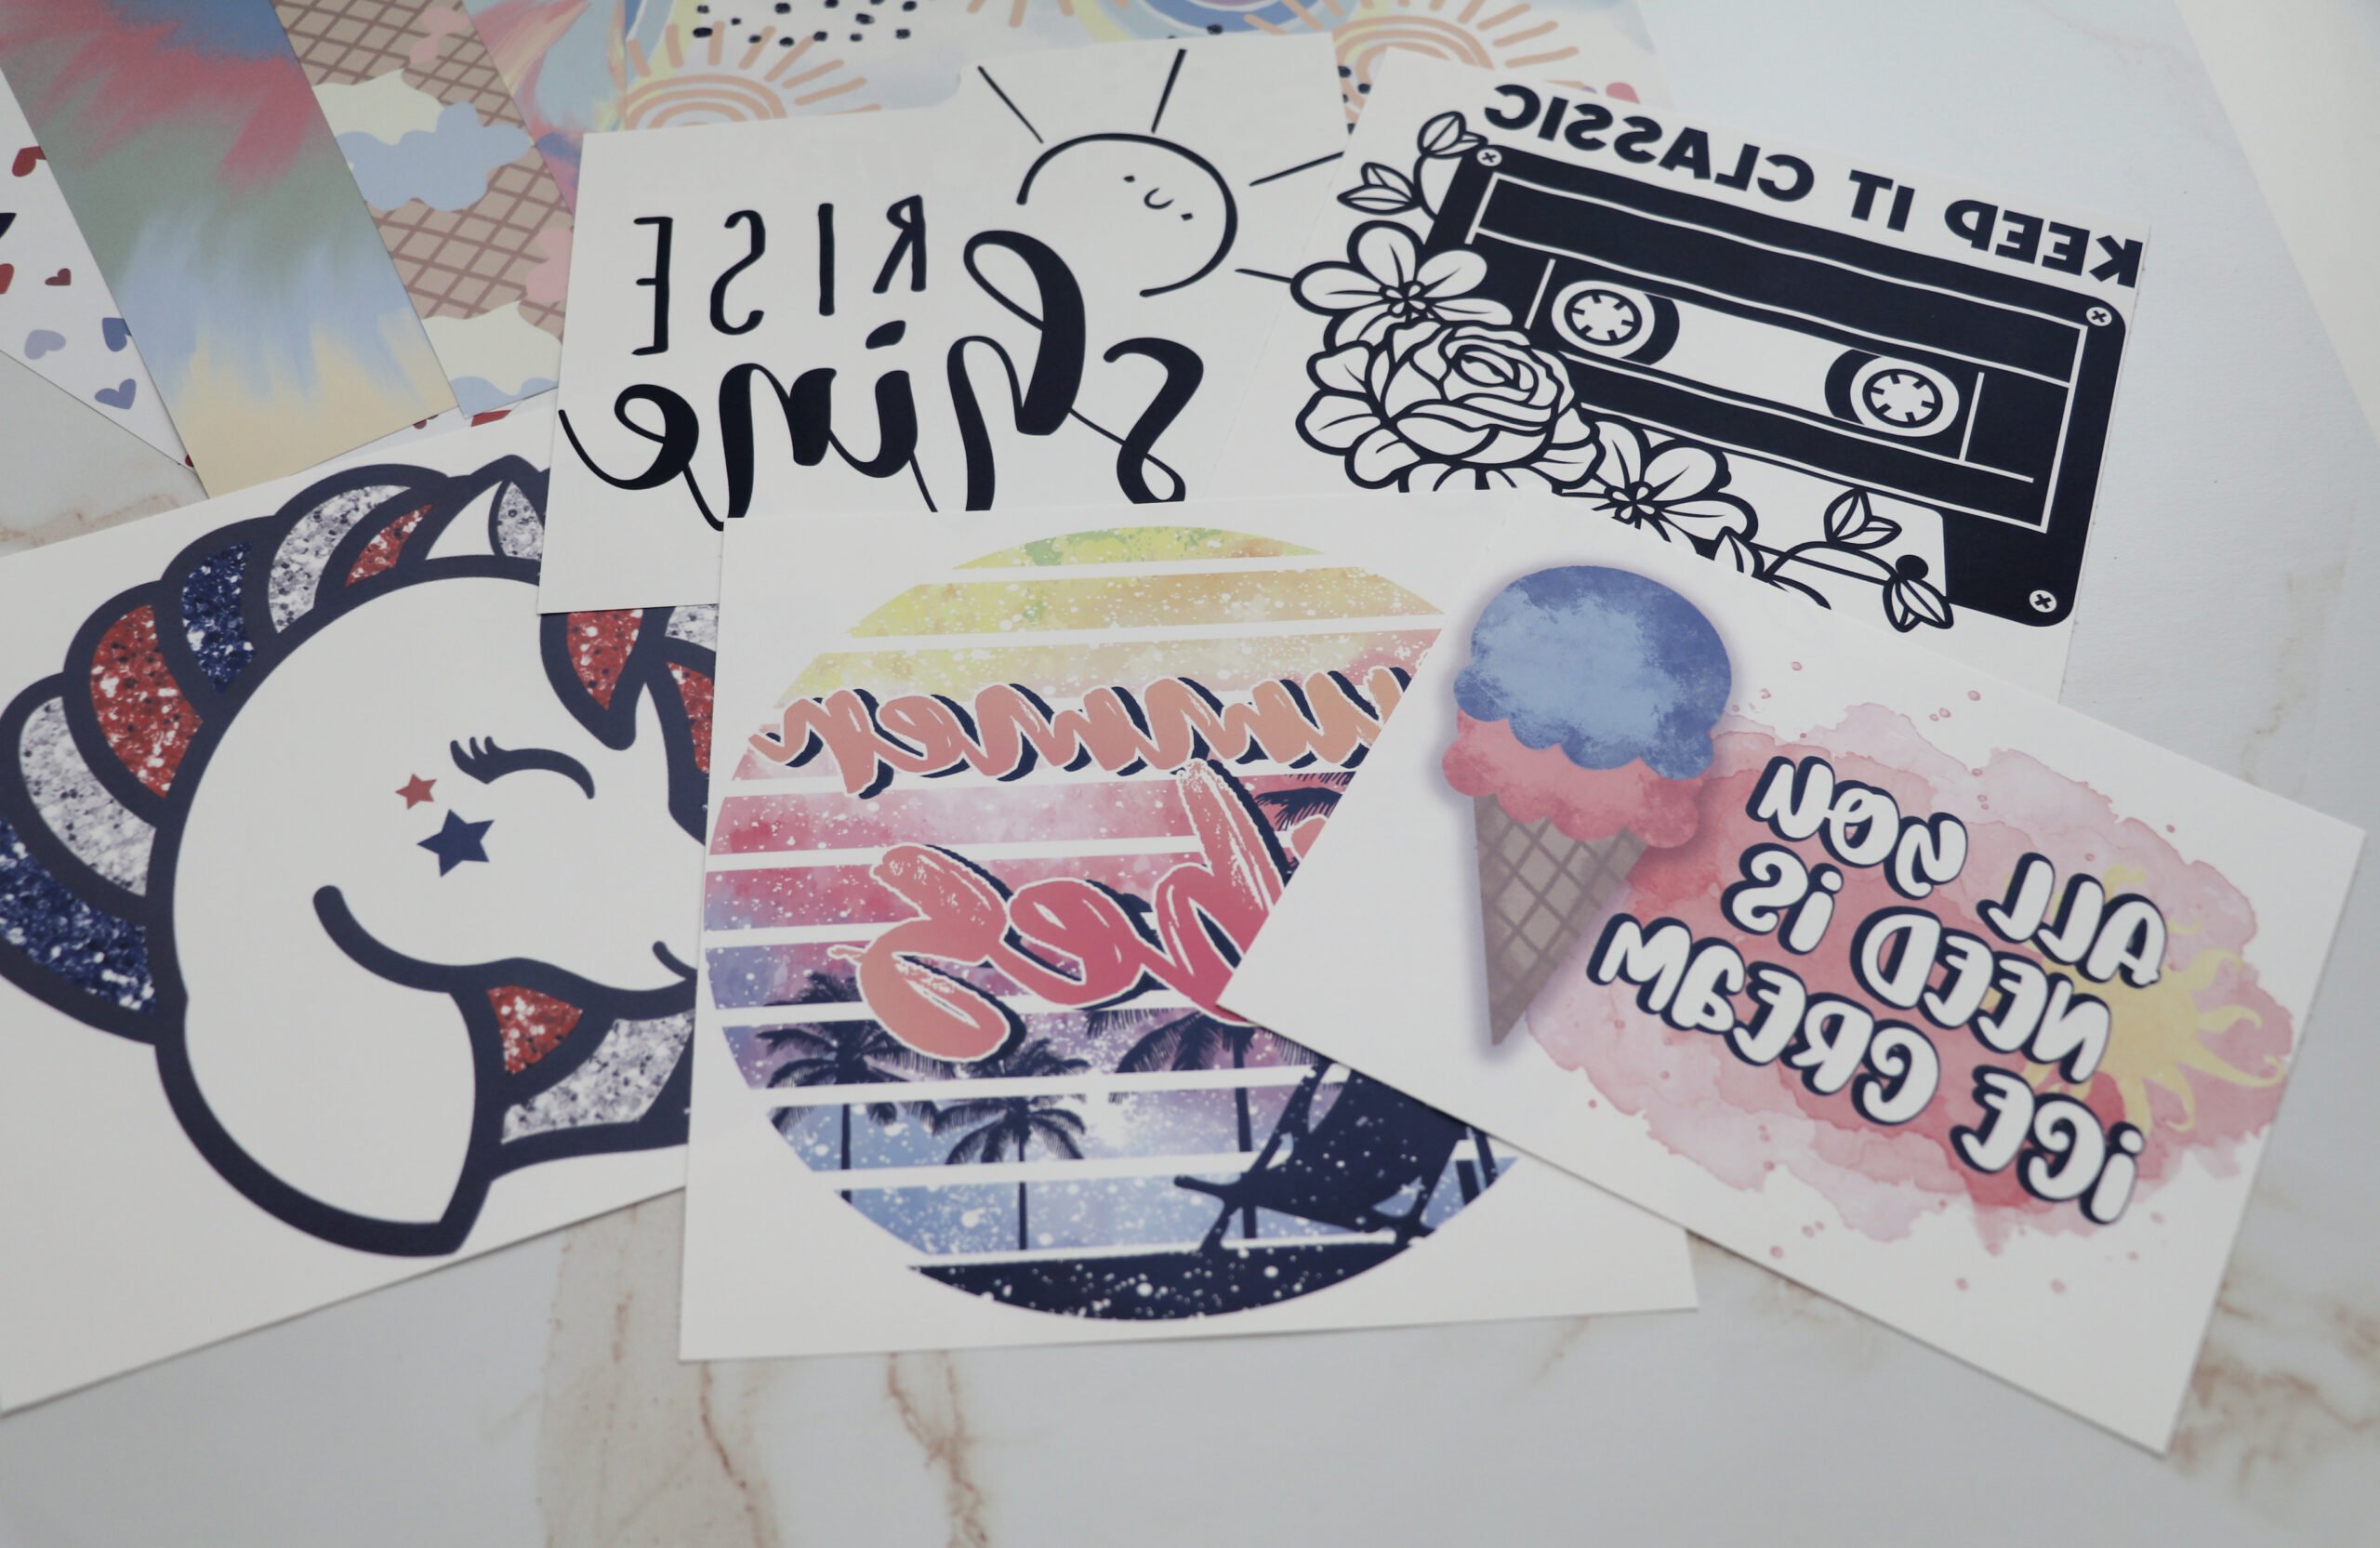
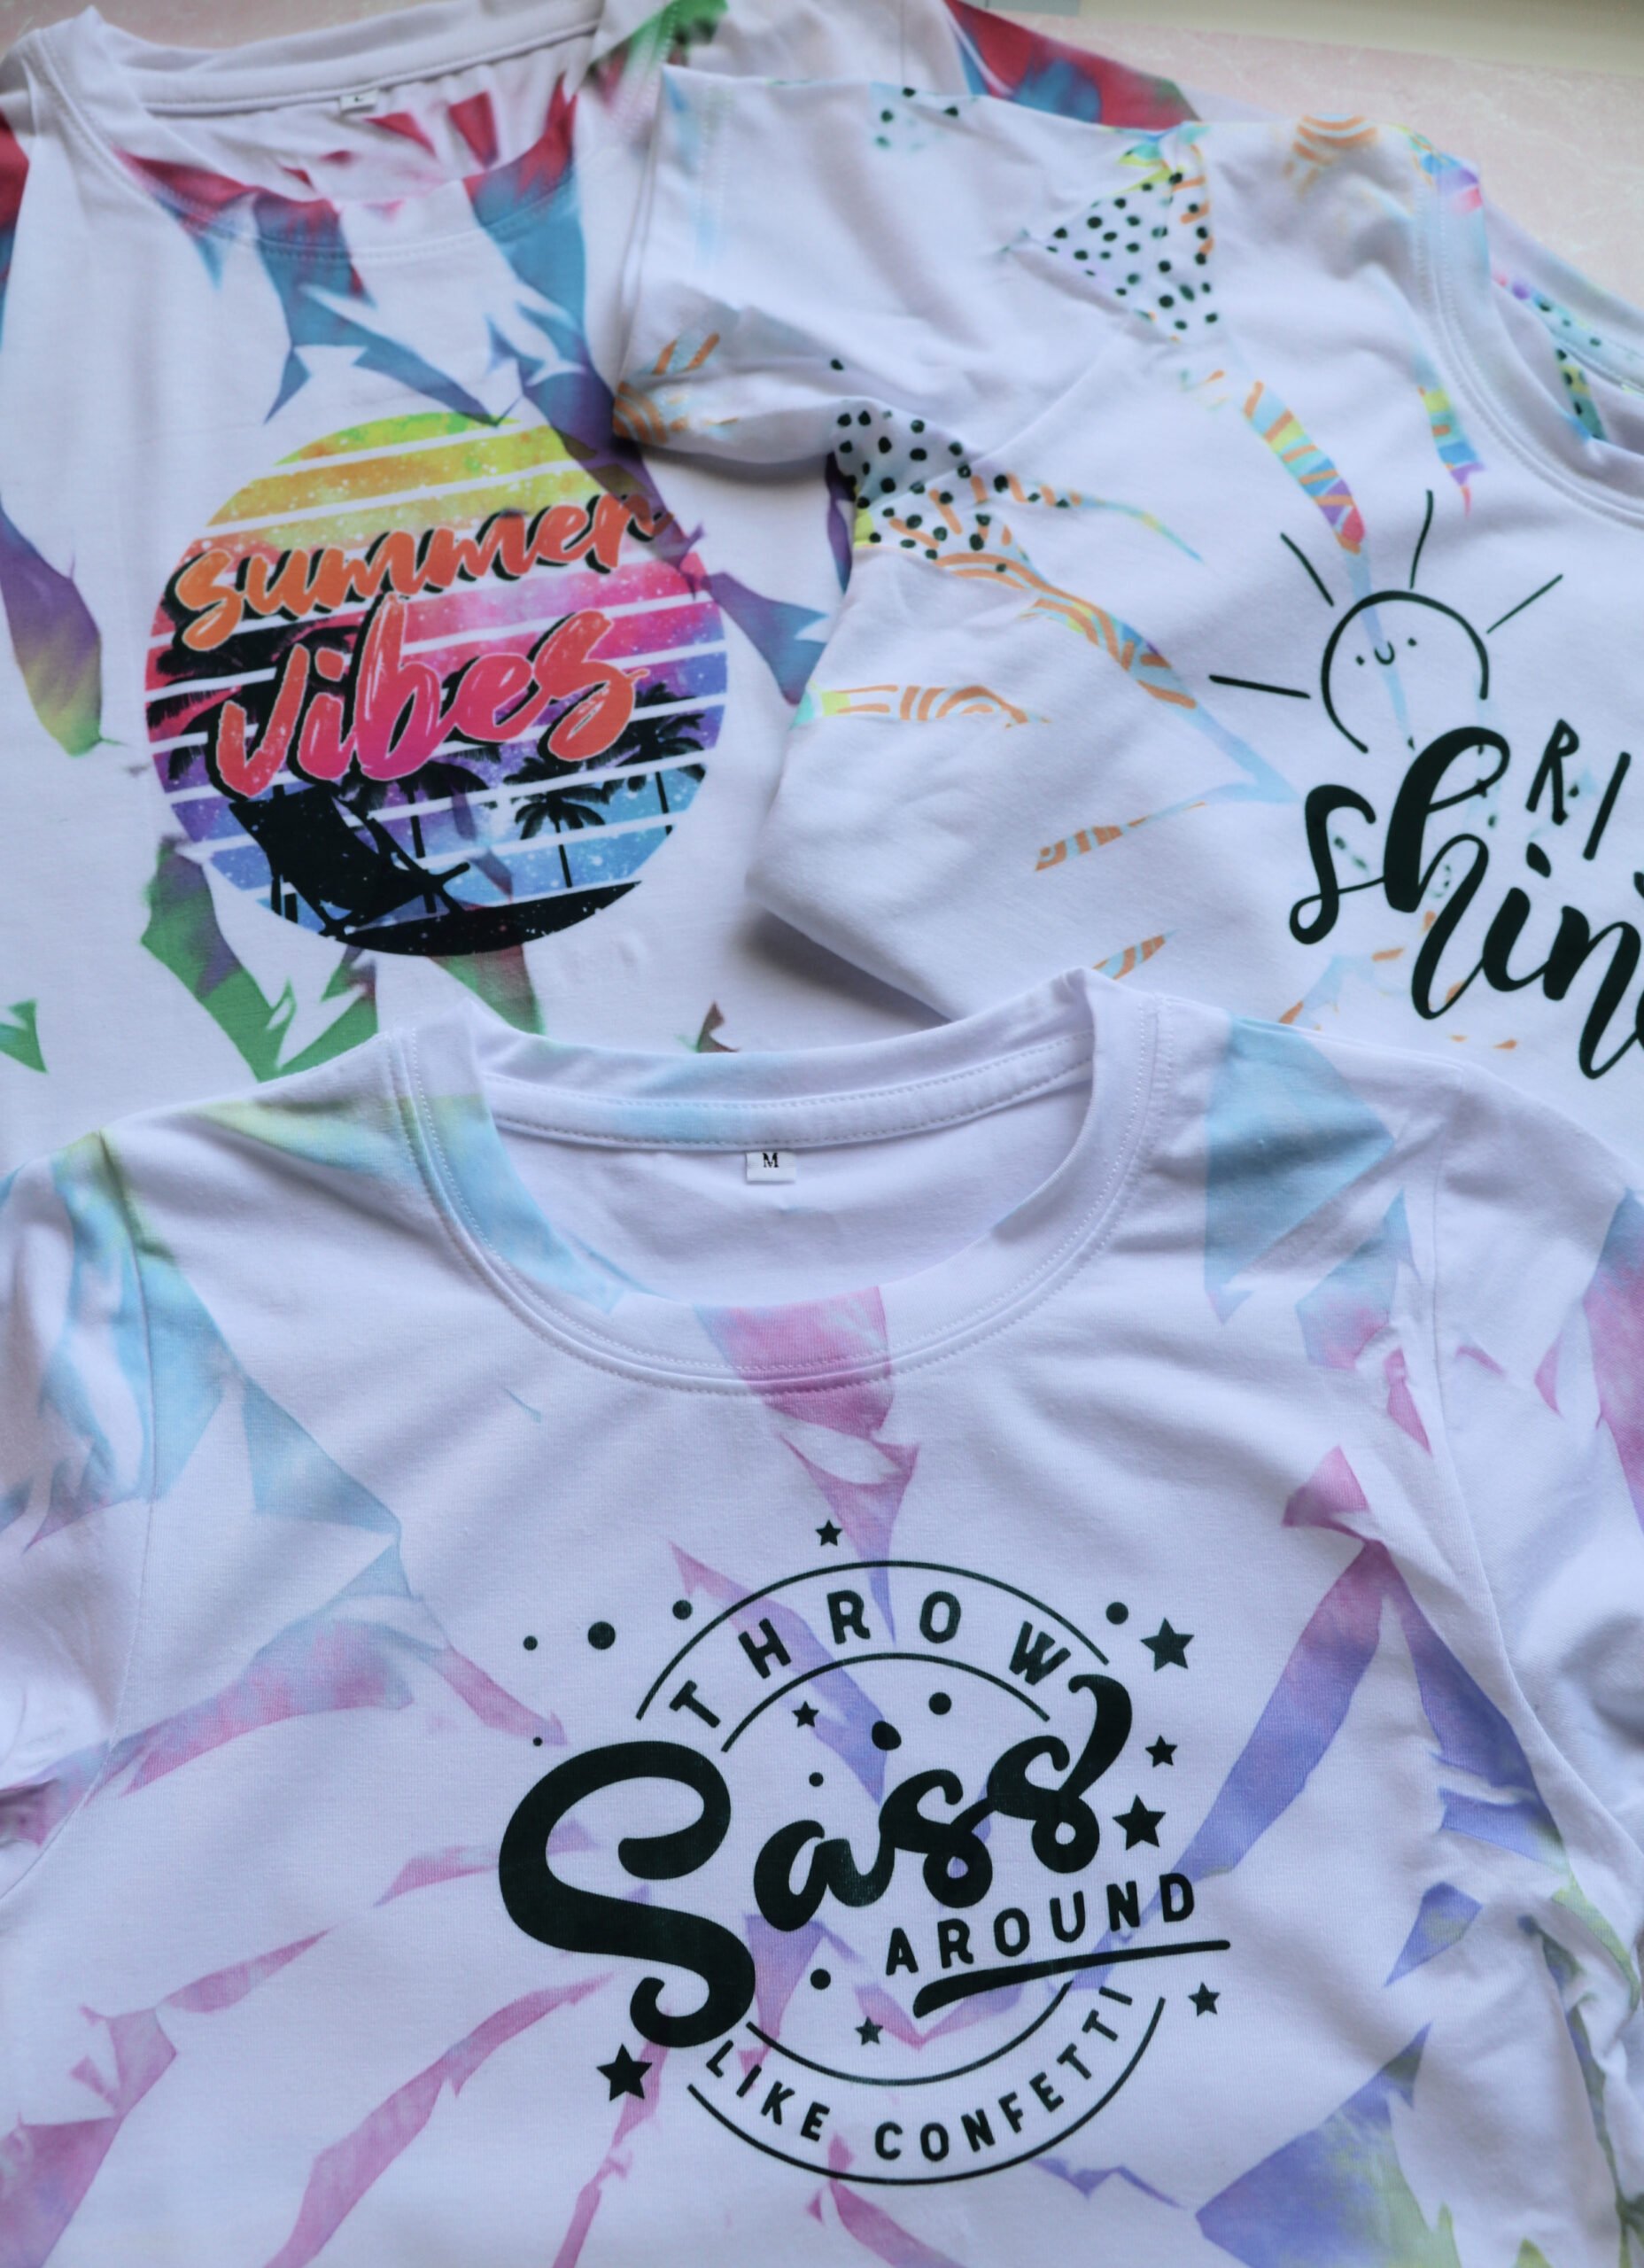
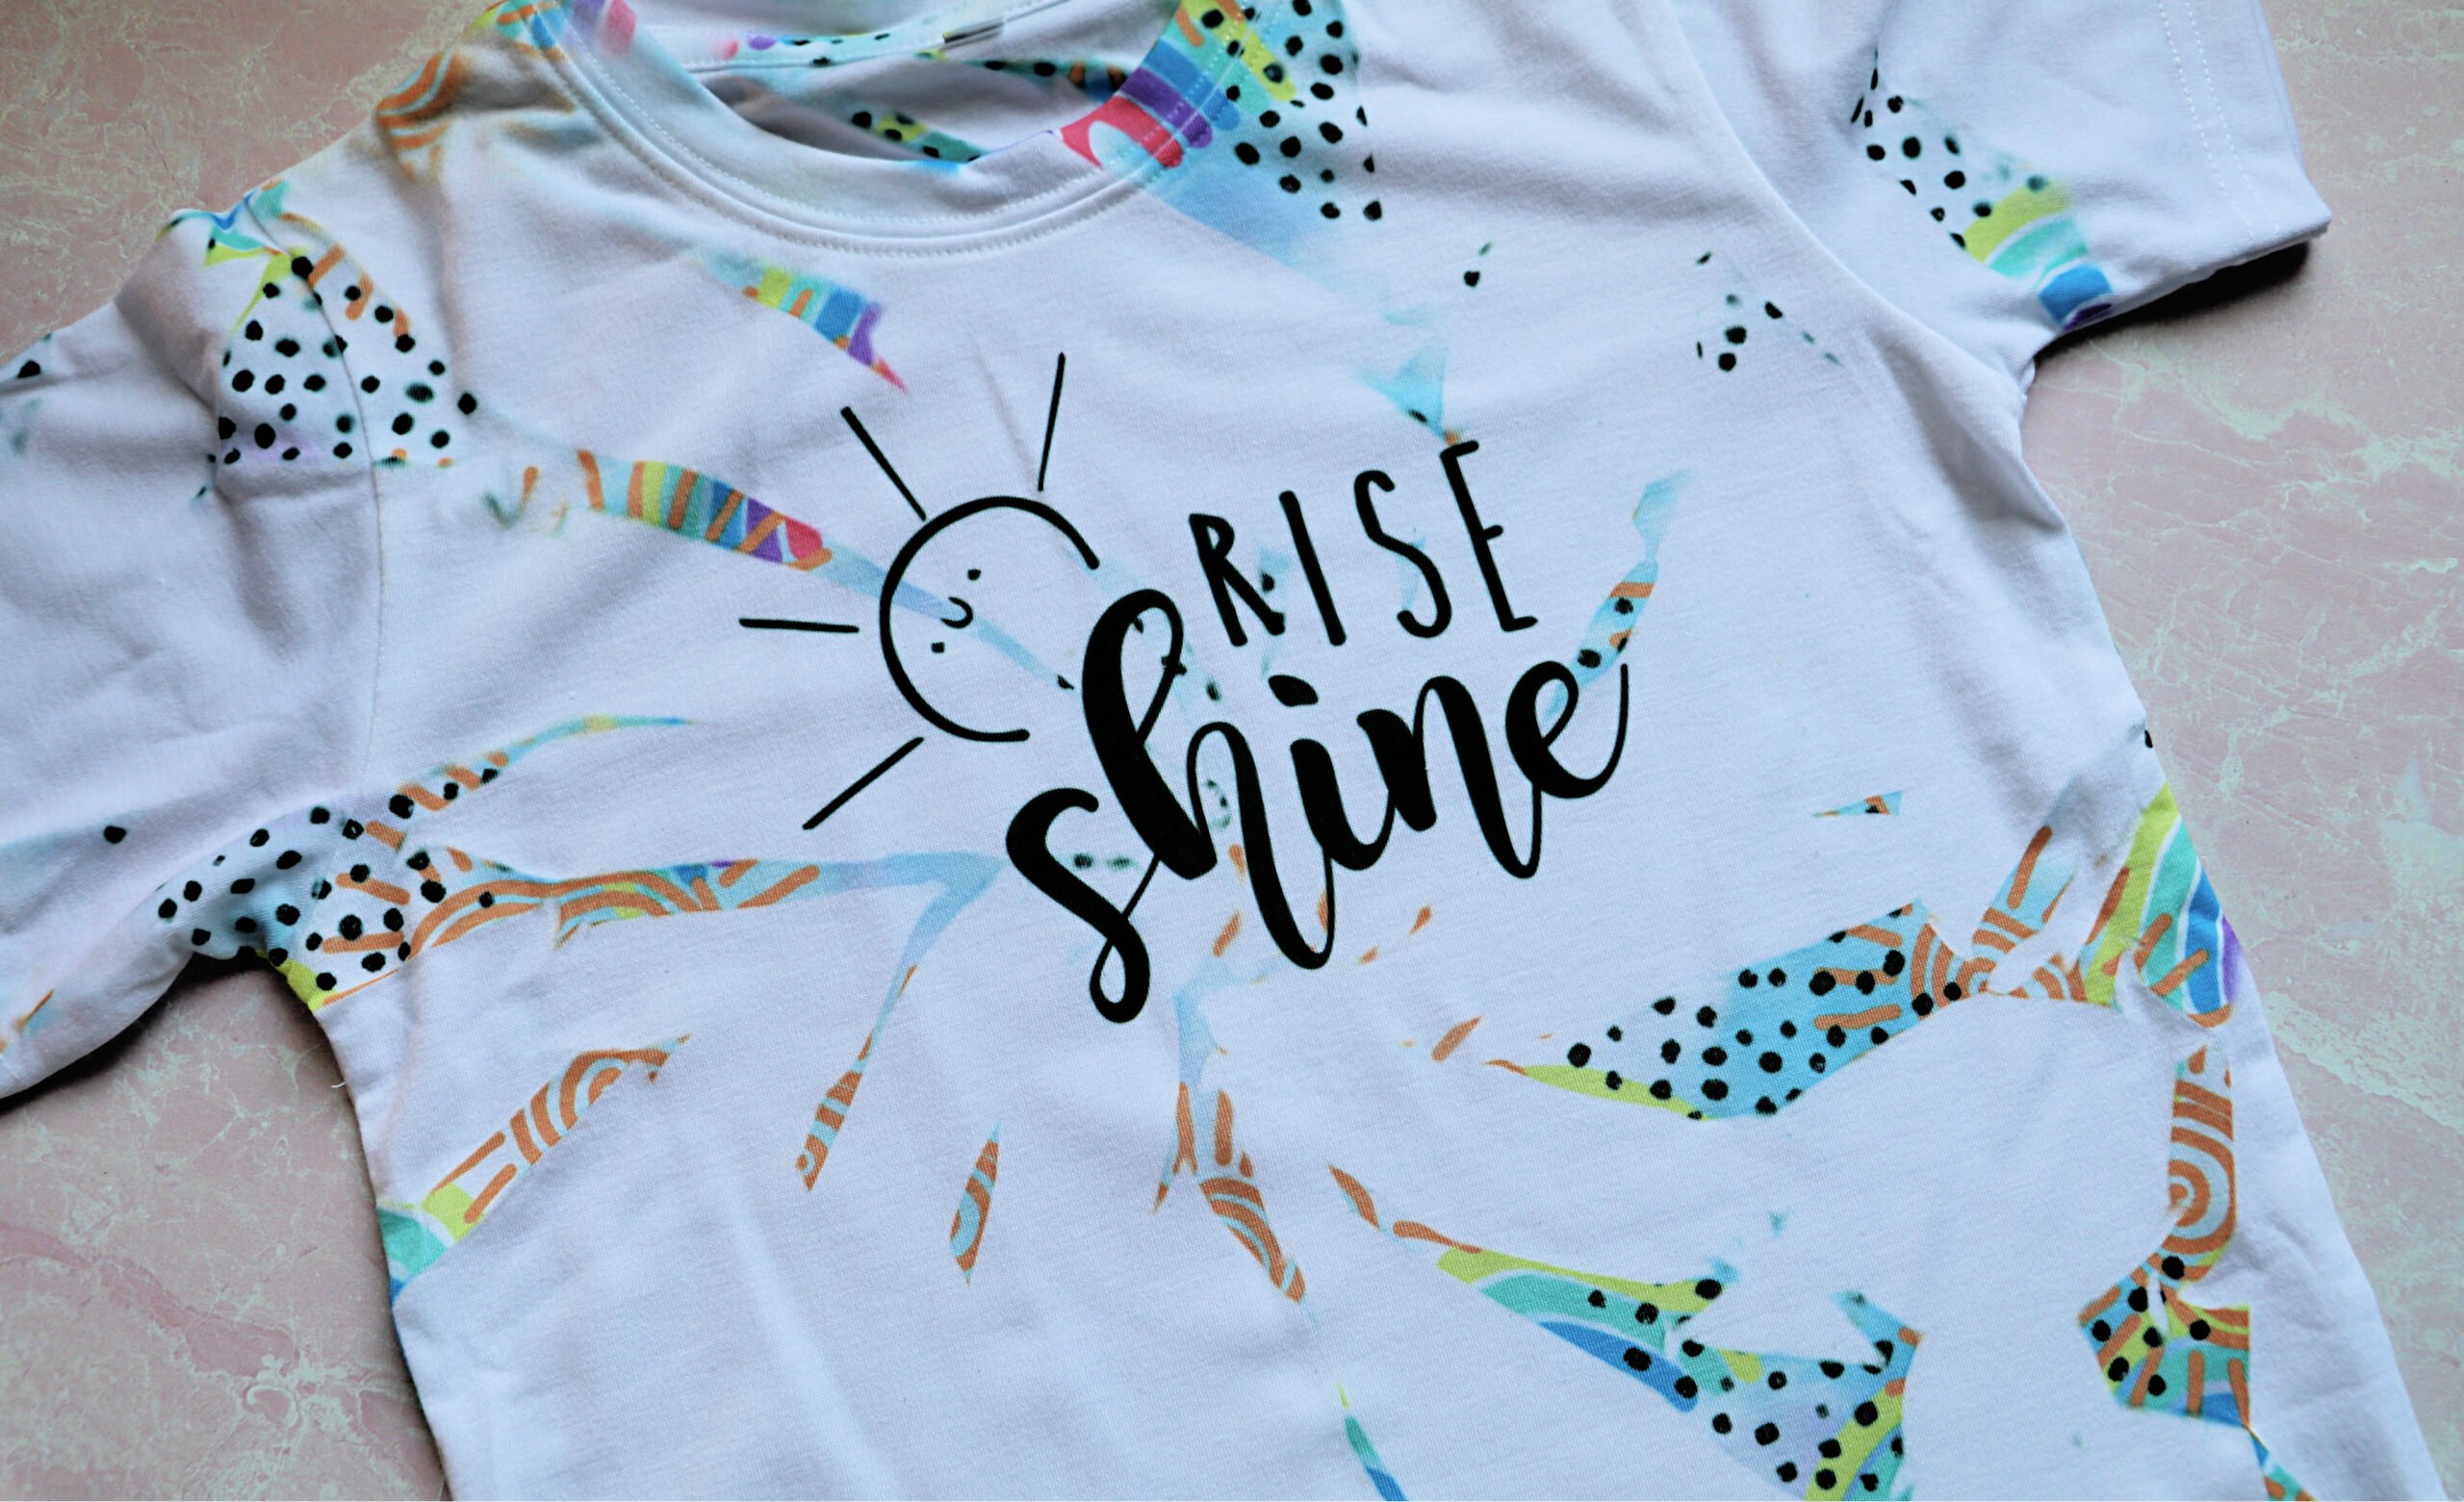
Happy Place Paper with Rise and Shine Design
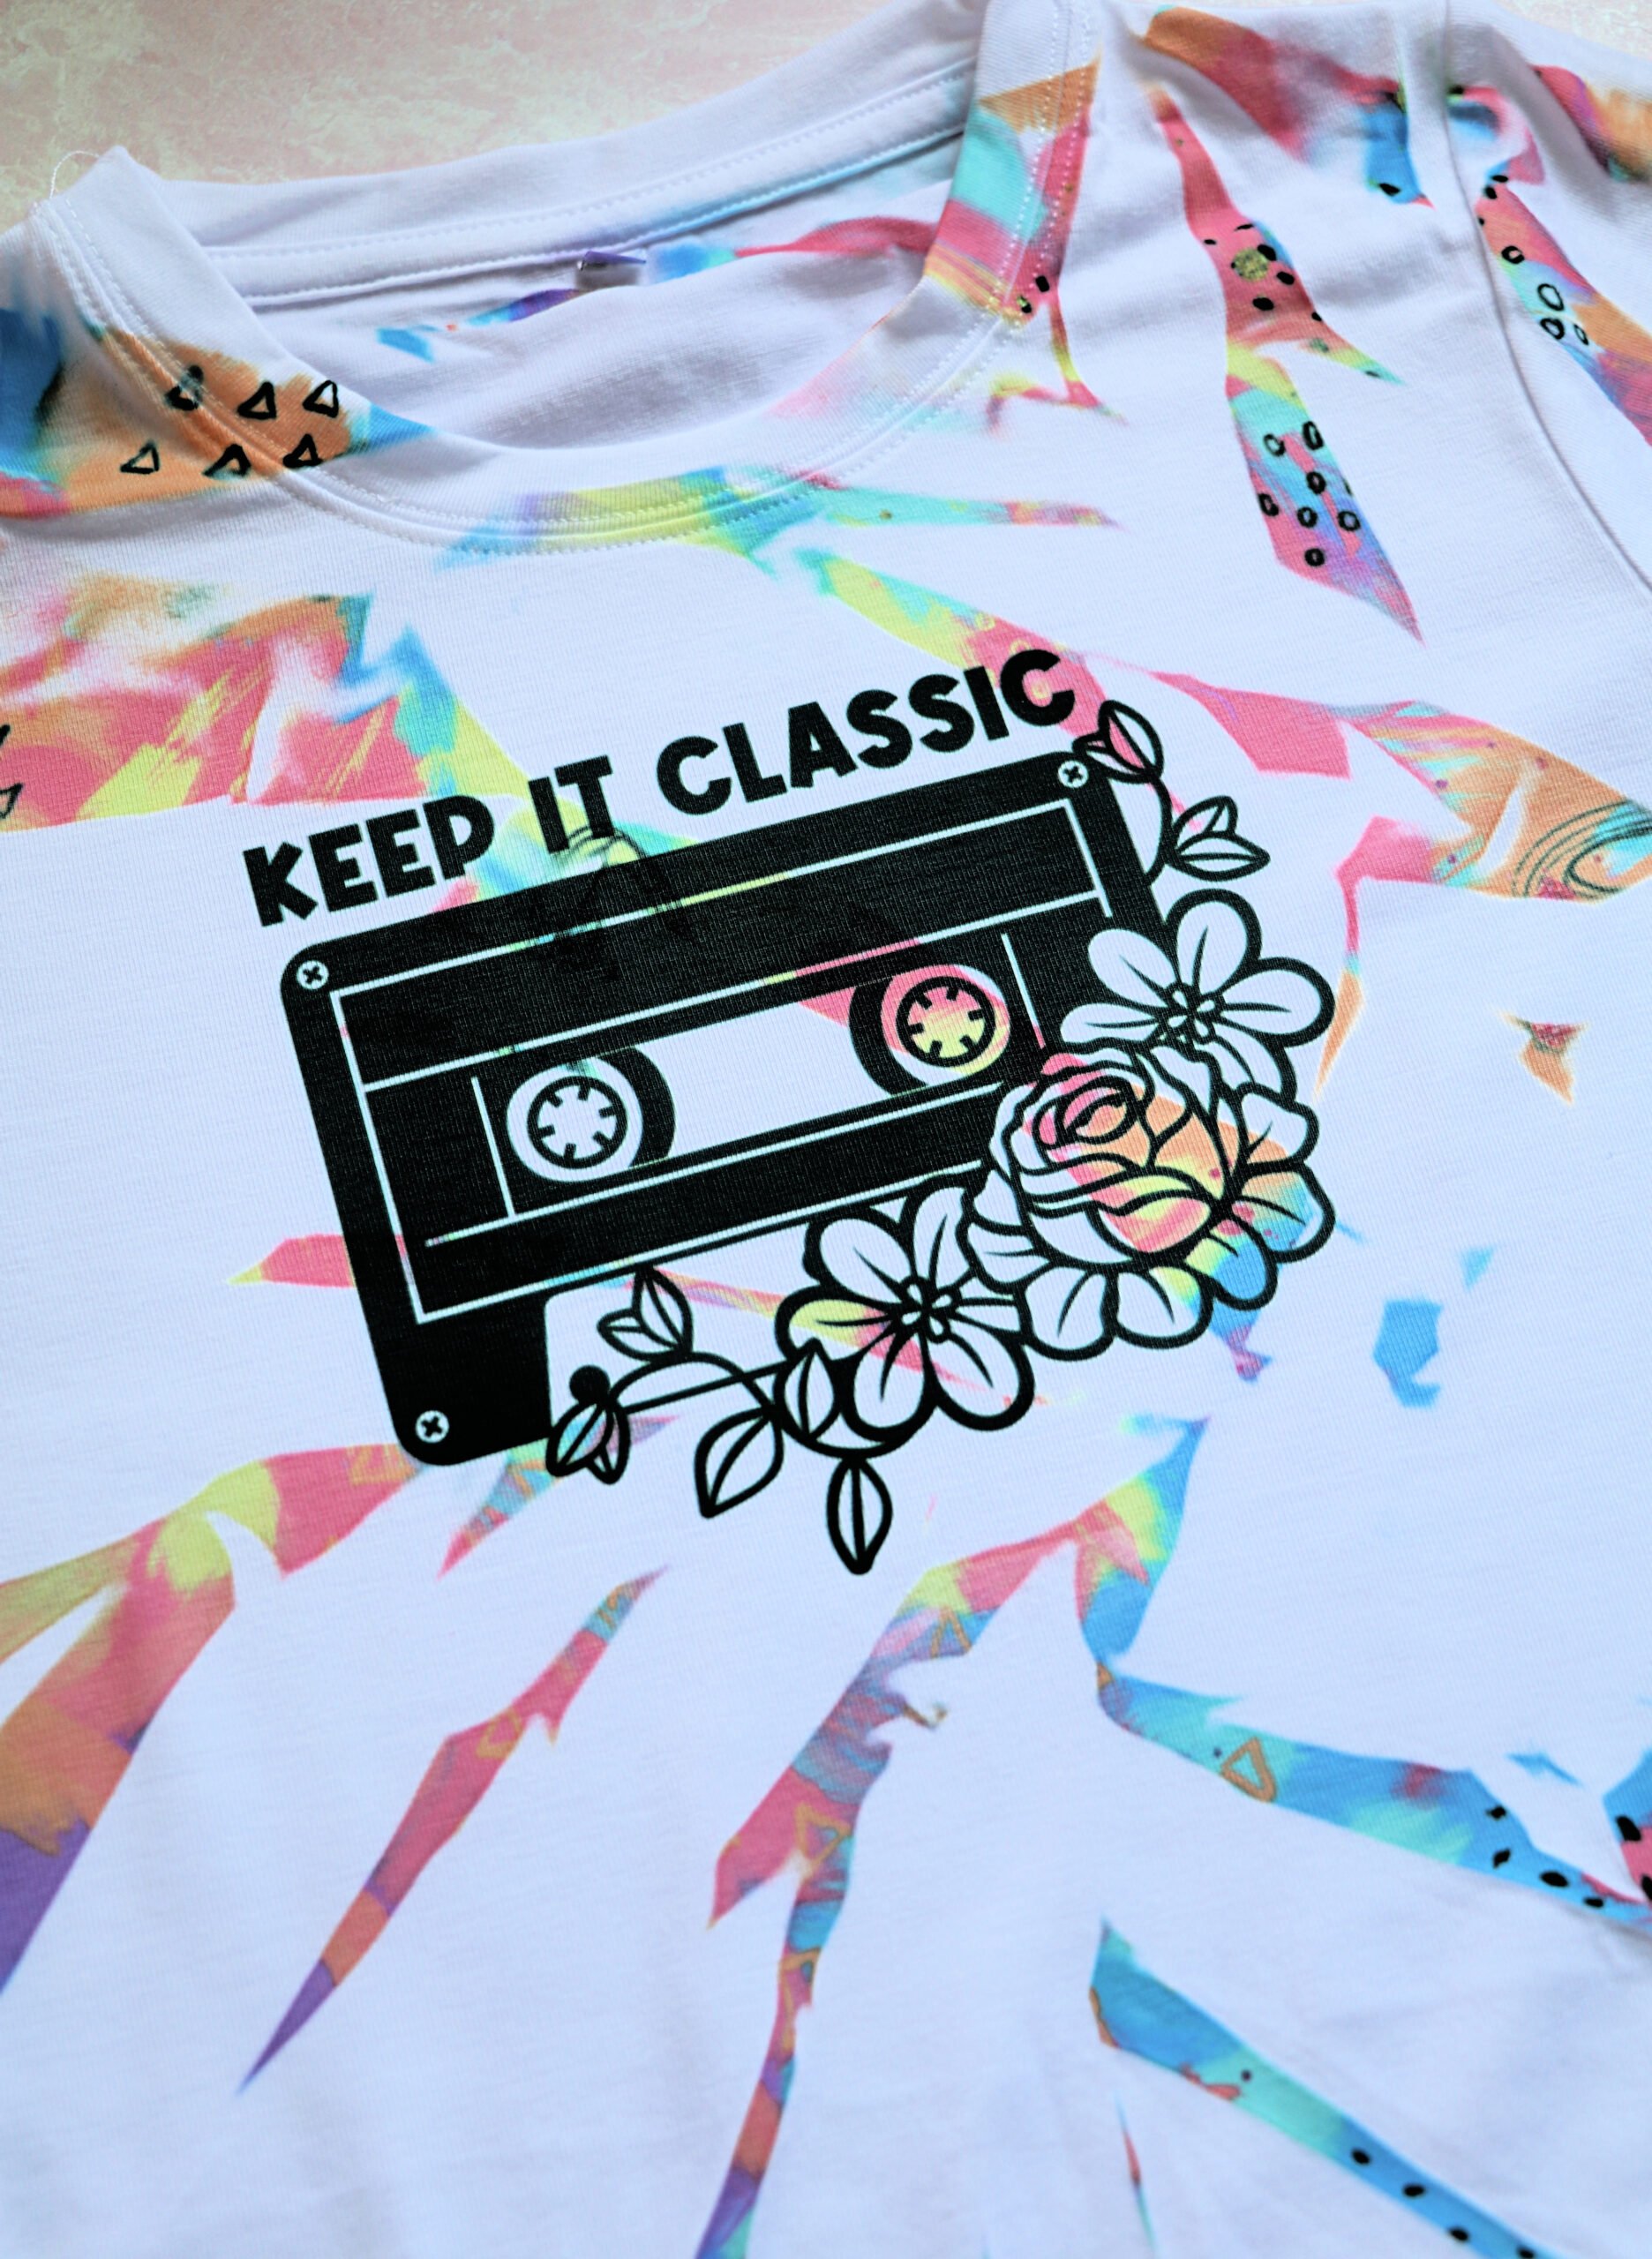
Happy Place Paper with Keep it Classic Design
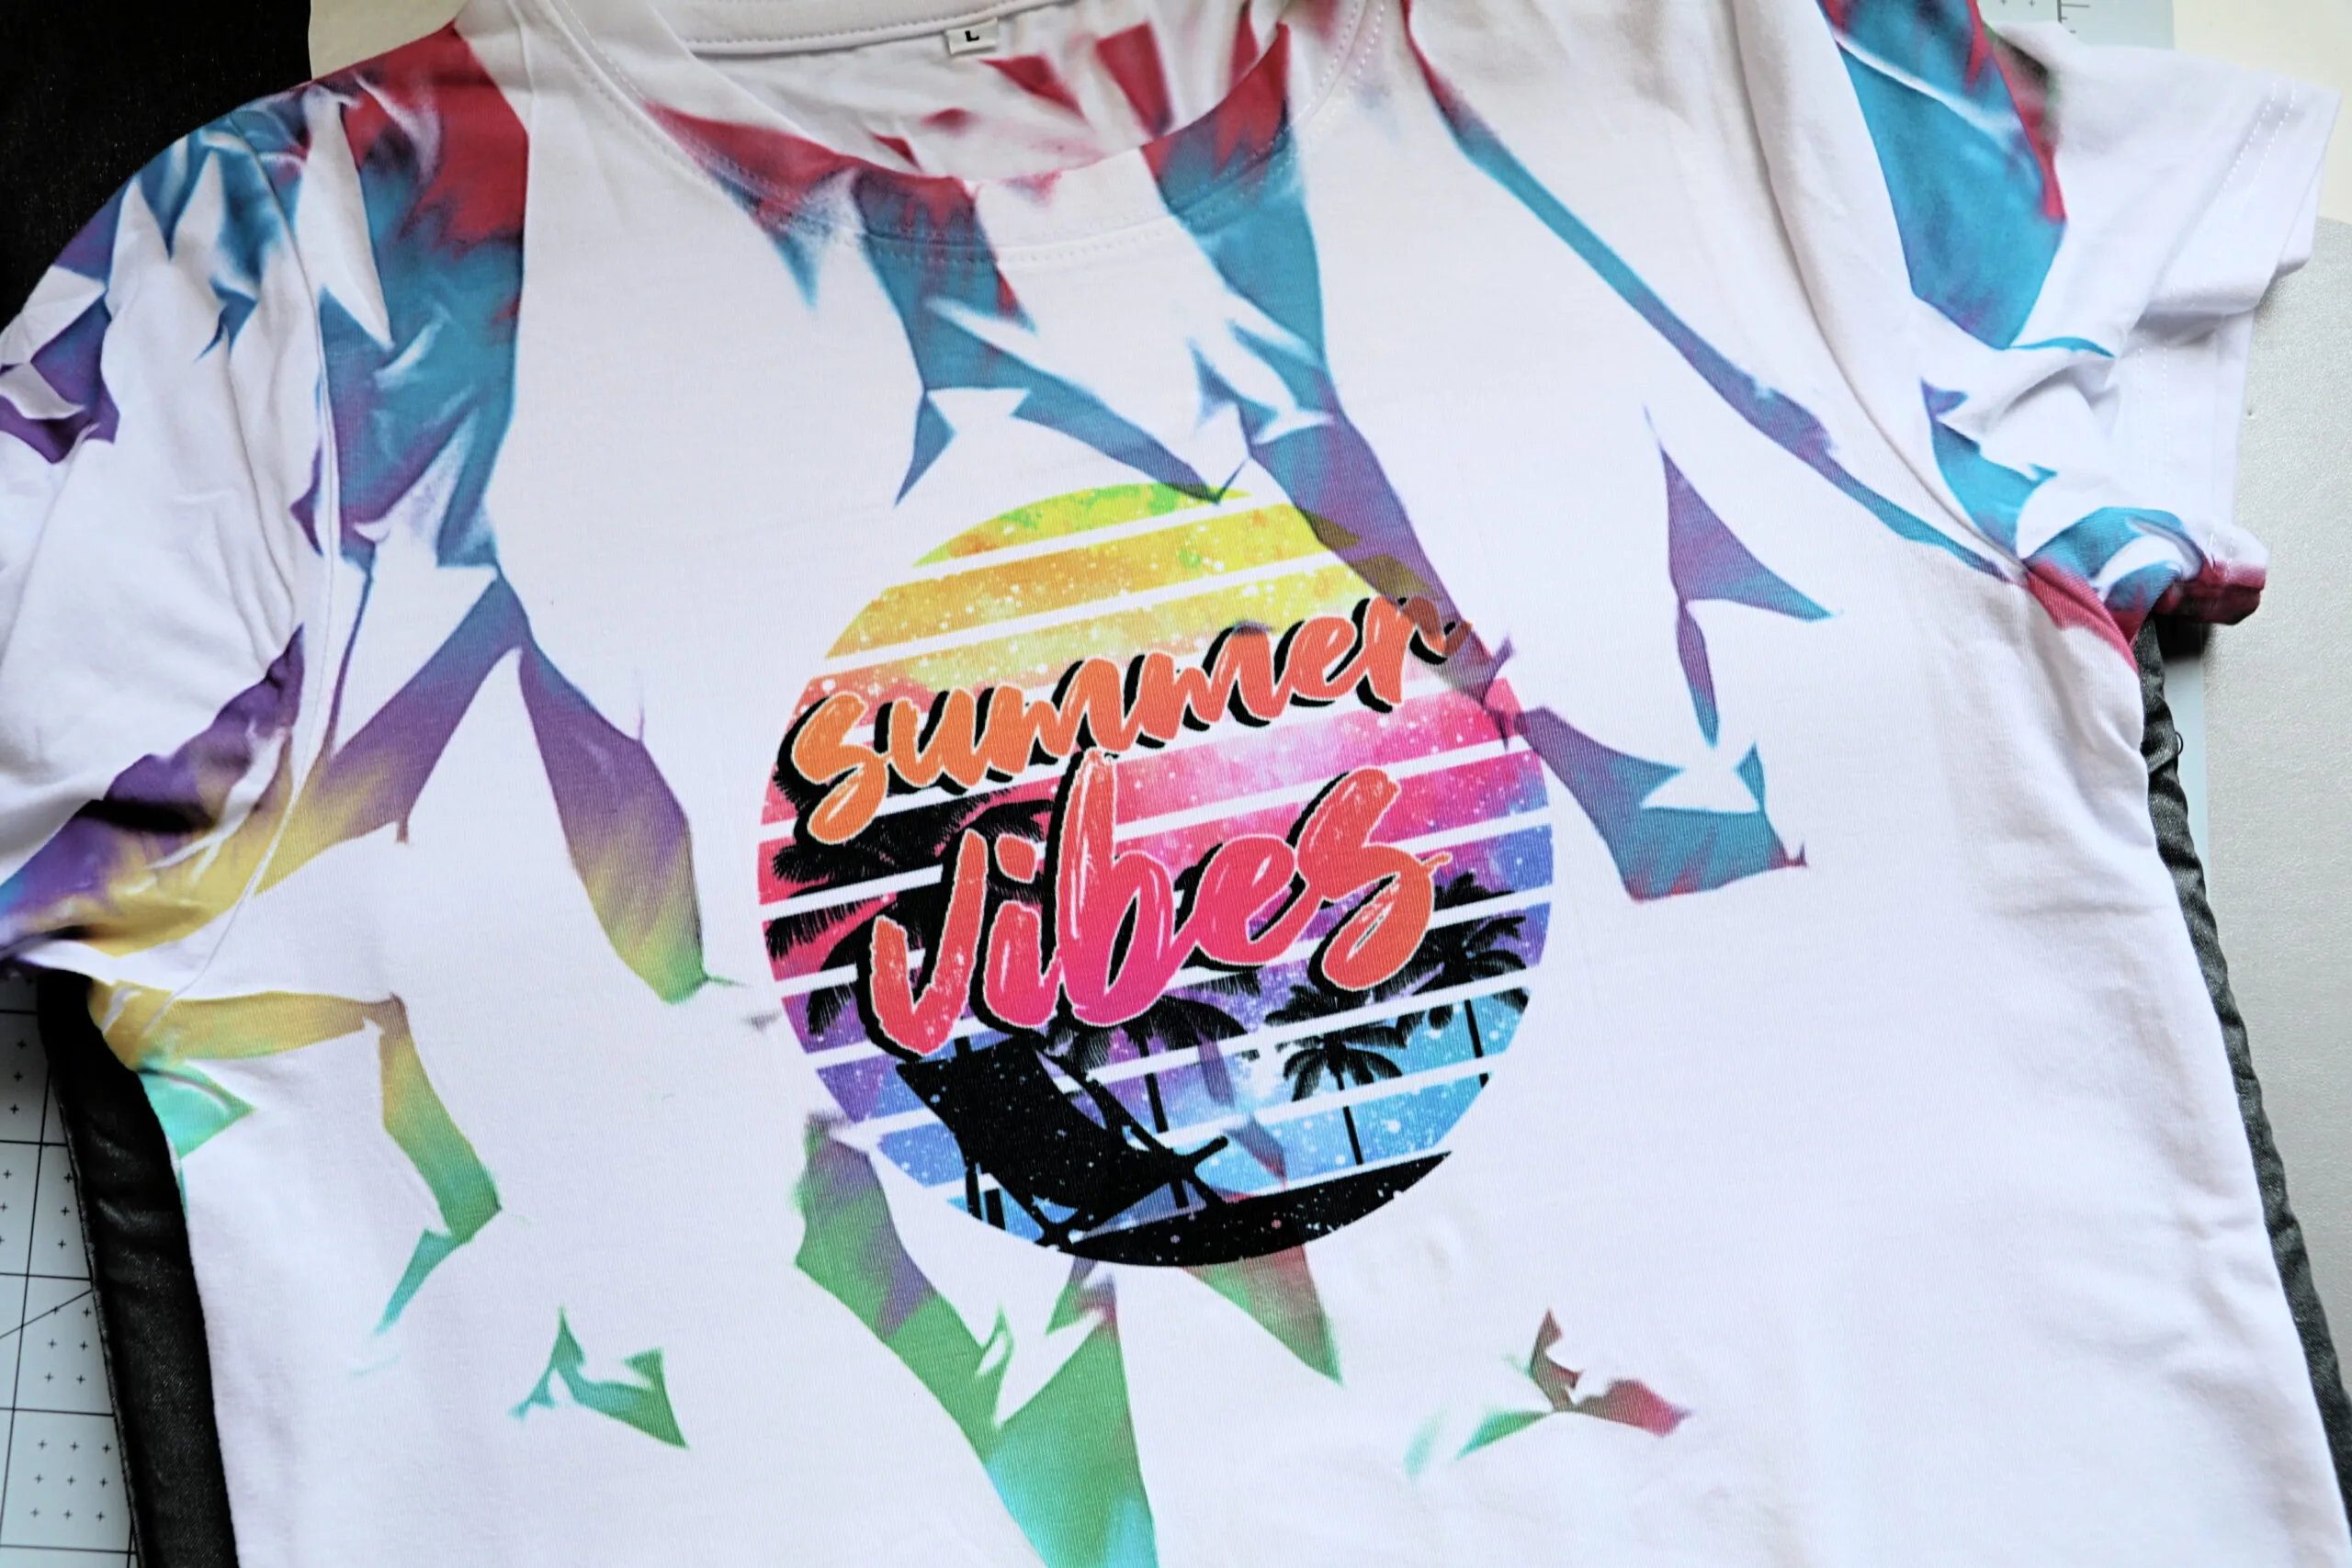
Tie Dye Paper with Summer Vibes Design
Ice Cream Paper with Ice Cream Design
Patriotic Heart Paper with Patriotic Unicorn – The paper for this was from another website. Here are 2 options that would look cute with this design. THIS and THIS.
Tie Dye paper with Throw Sass Around Design
Stay Wild Sunflower Design – the paper I used for this one I had already. A yellow/orange tie-dye would be pretty with this.
How to make a Sublimation Tie-Dye Shirt
Now that all our designs are printed let’s make a shirt!
You are going to need:
- Sublimation Printer with Sublimation Ink – I use Cosmos Ink in an Epson Printer
- Heat Tape
- Printed Designs – Paper and Design
- Heat Press or EasyPress
- Polyester Shirt – I use the Cricut brand because I had them on hand. You’ll want a shirt that is 60% polyester or higher. For the most vibrancy a 100% polyester.
- Butcher Paper – 2 pieces bigger than your shirt
- Lint Roller
- Scissors
How to make a sublimation tie dye shirt
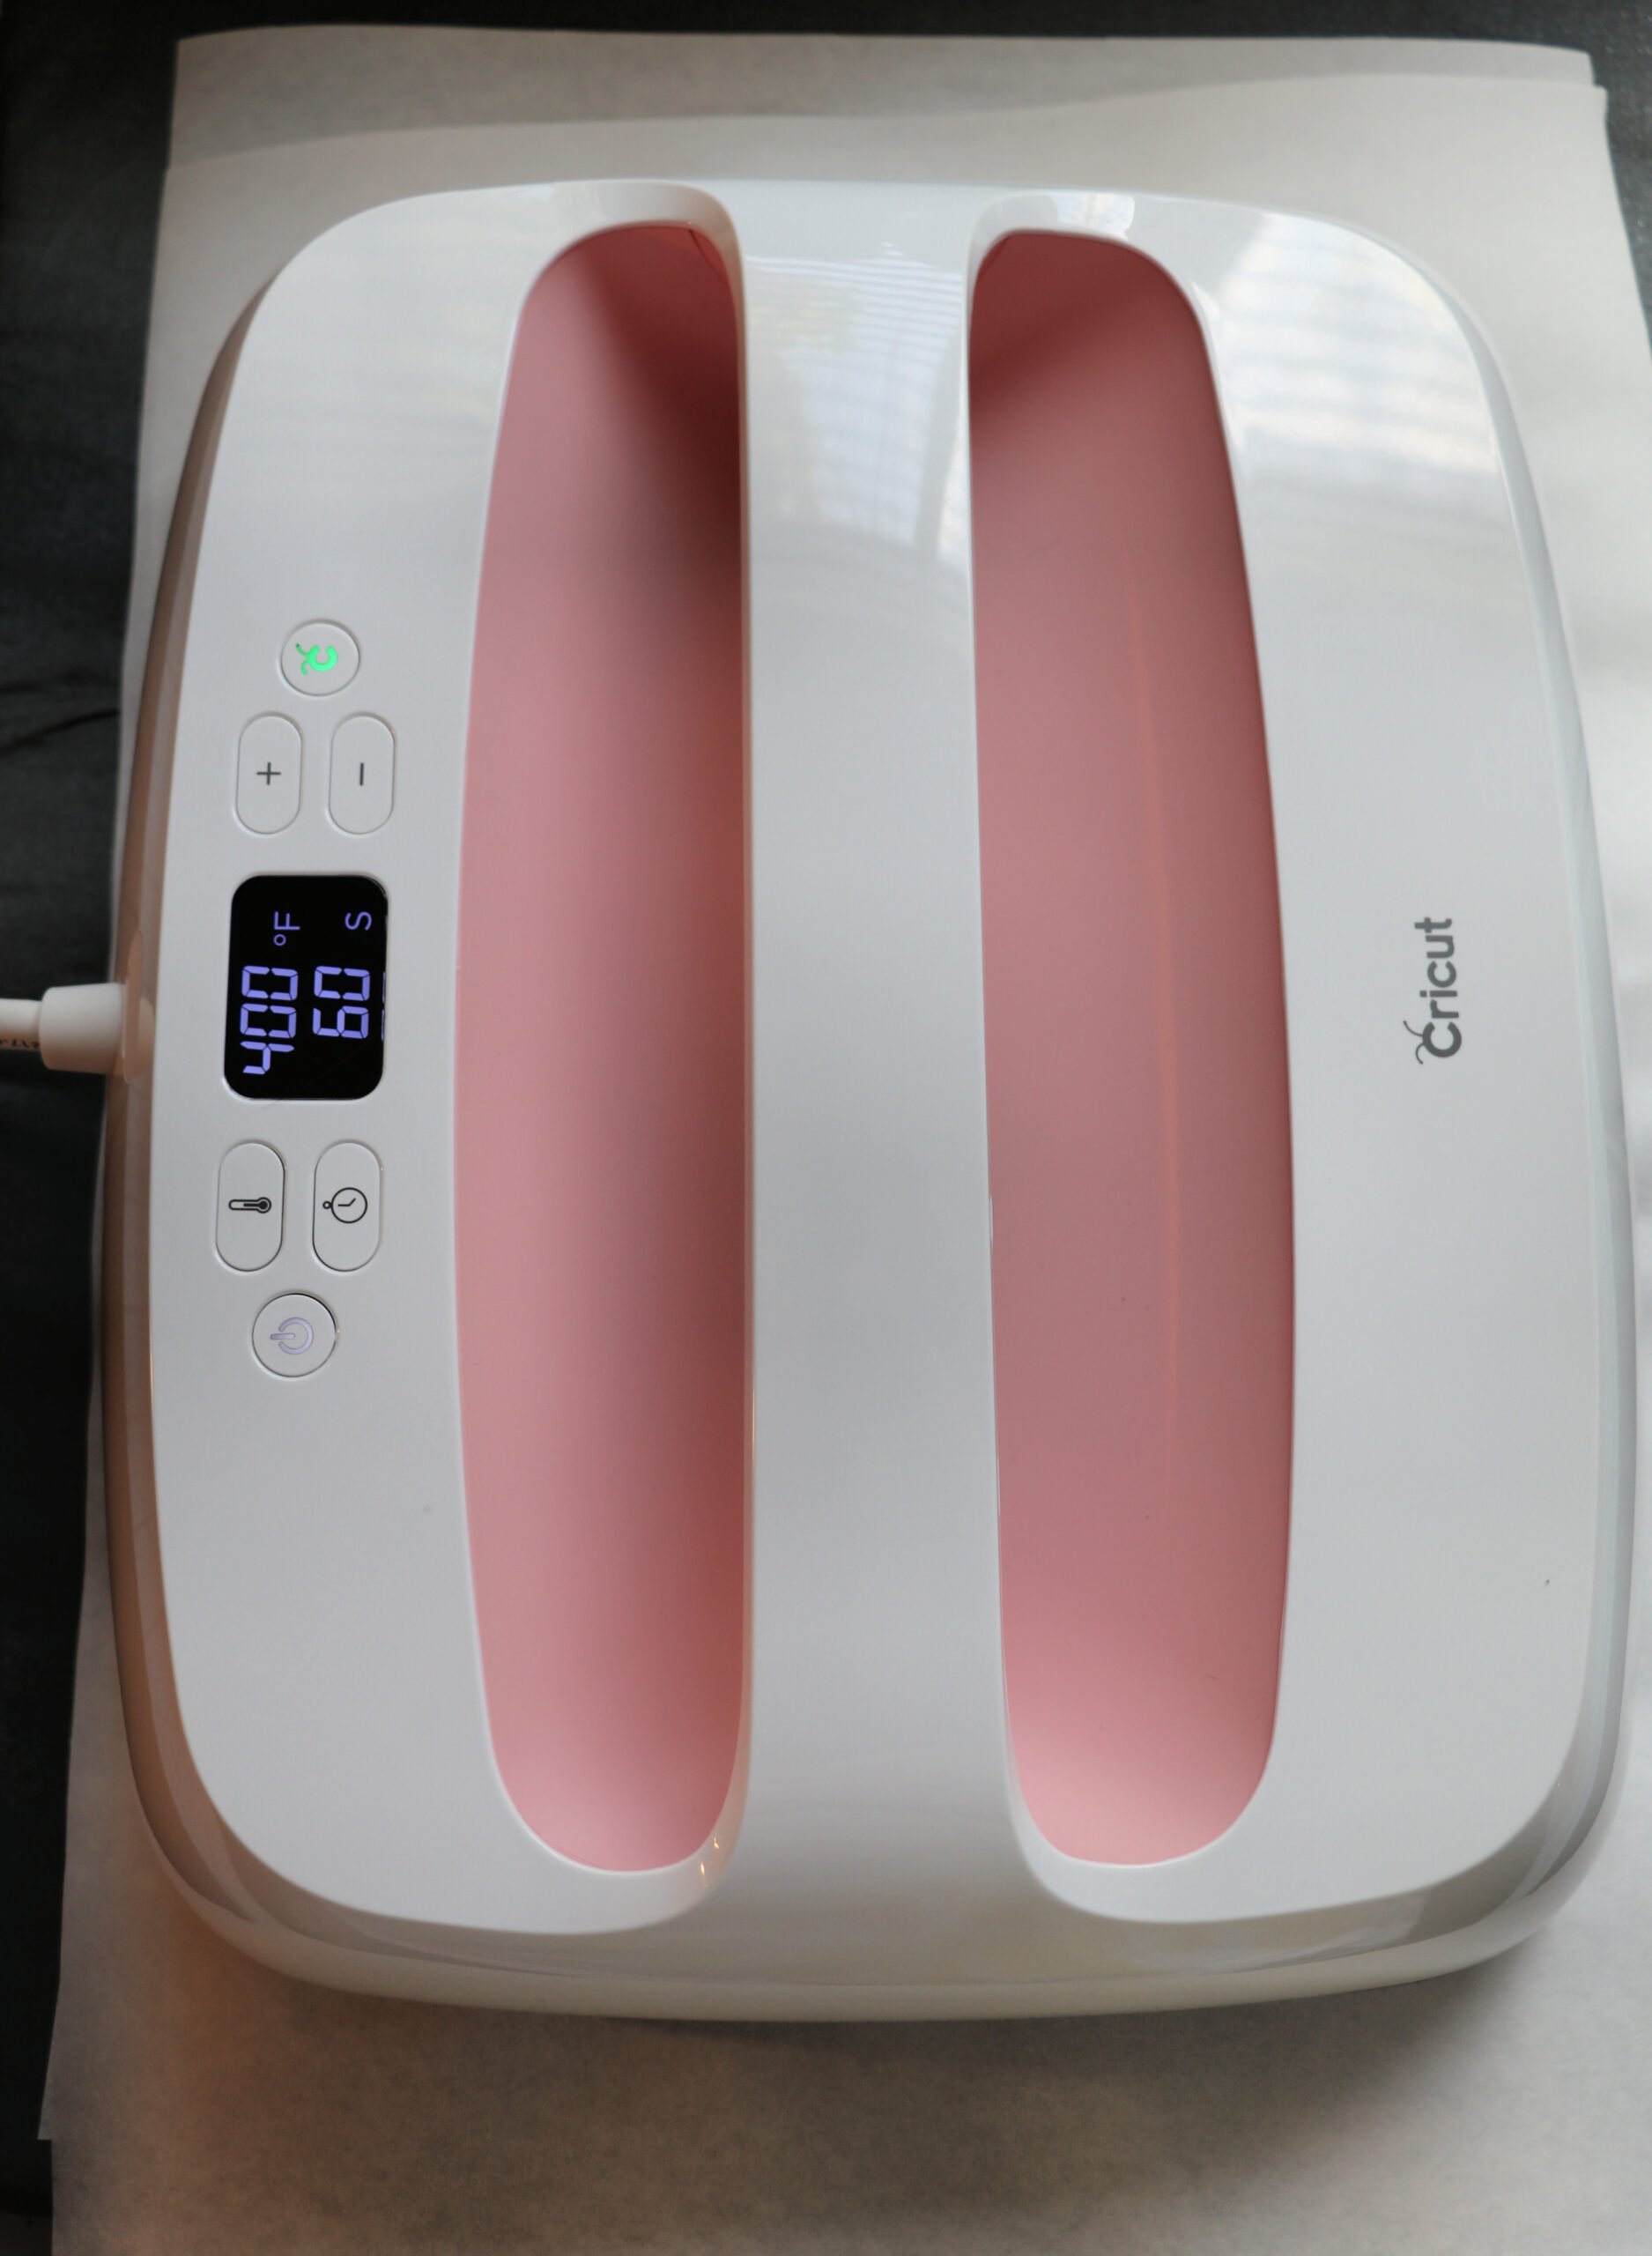
Warm up your heat press. I set mine to 400 for 60 seconds.
Lint roll the front and back of your shirt. I also dust off the surface I am working on.
Place a piece of butcher paper down to protect your surface. Whether it be on your heat-press or your table. I am using my EasyPress for this project so I place the butcher paper over my EasyPress mat. This will protect your surface from any ink the bleeds off the shirt.
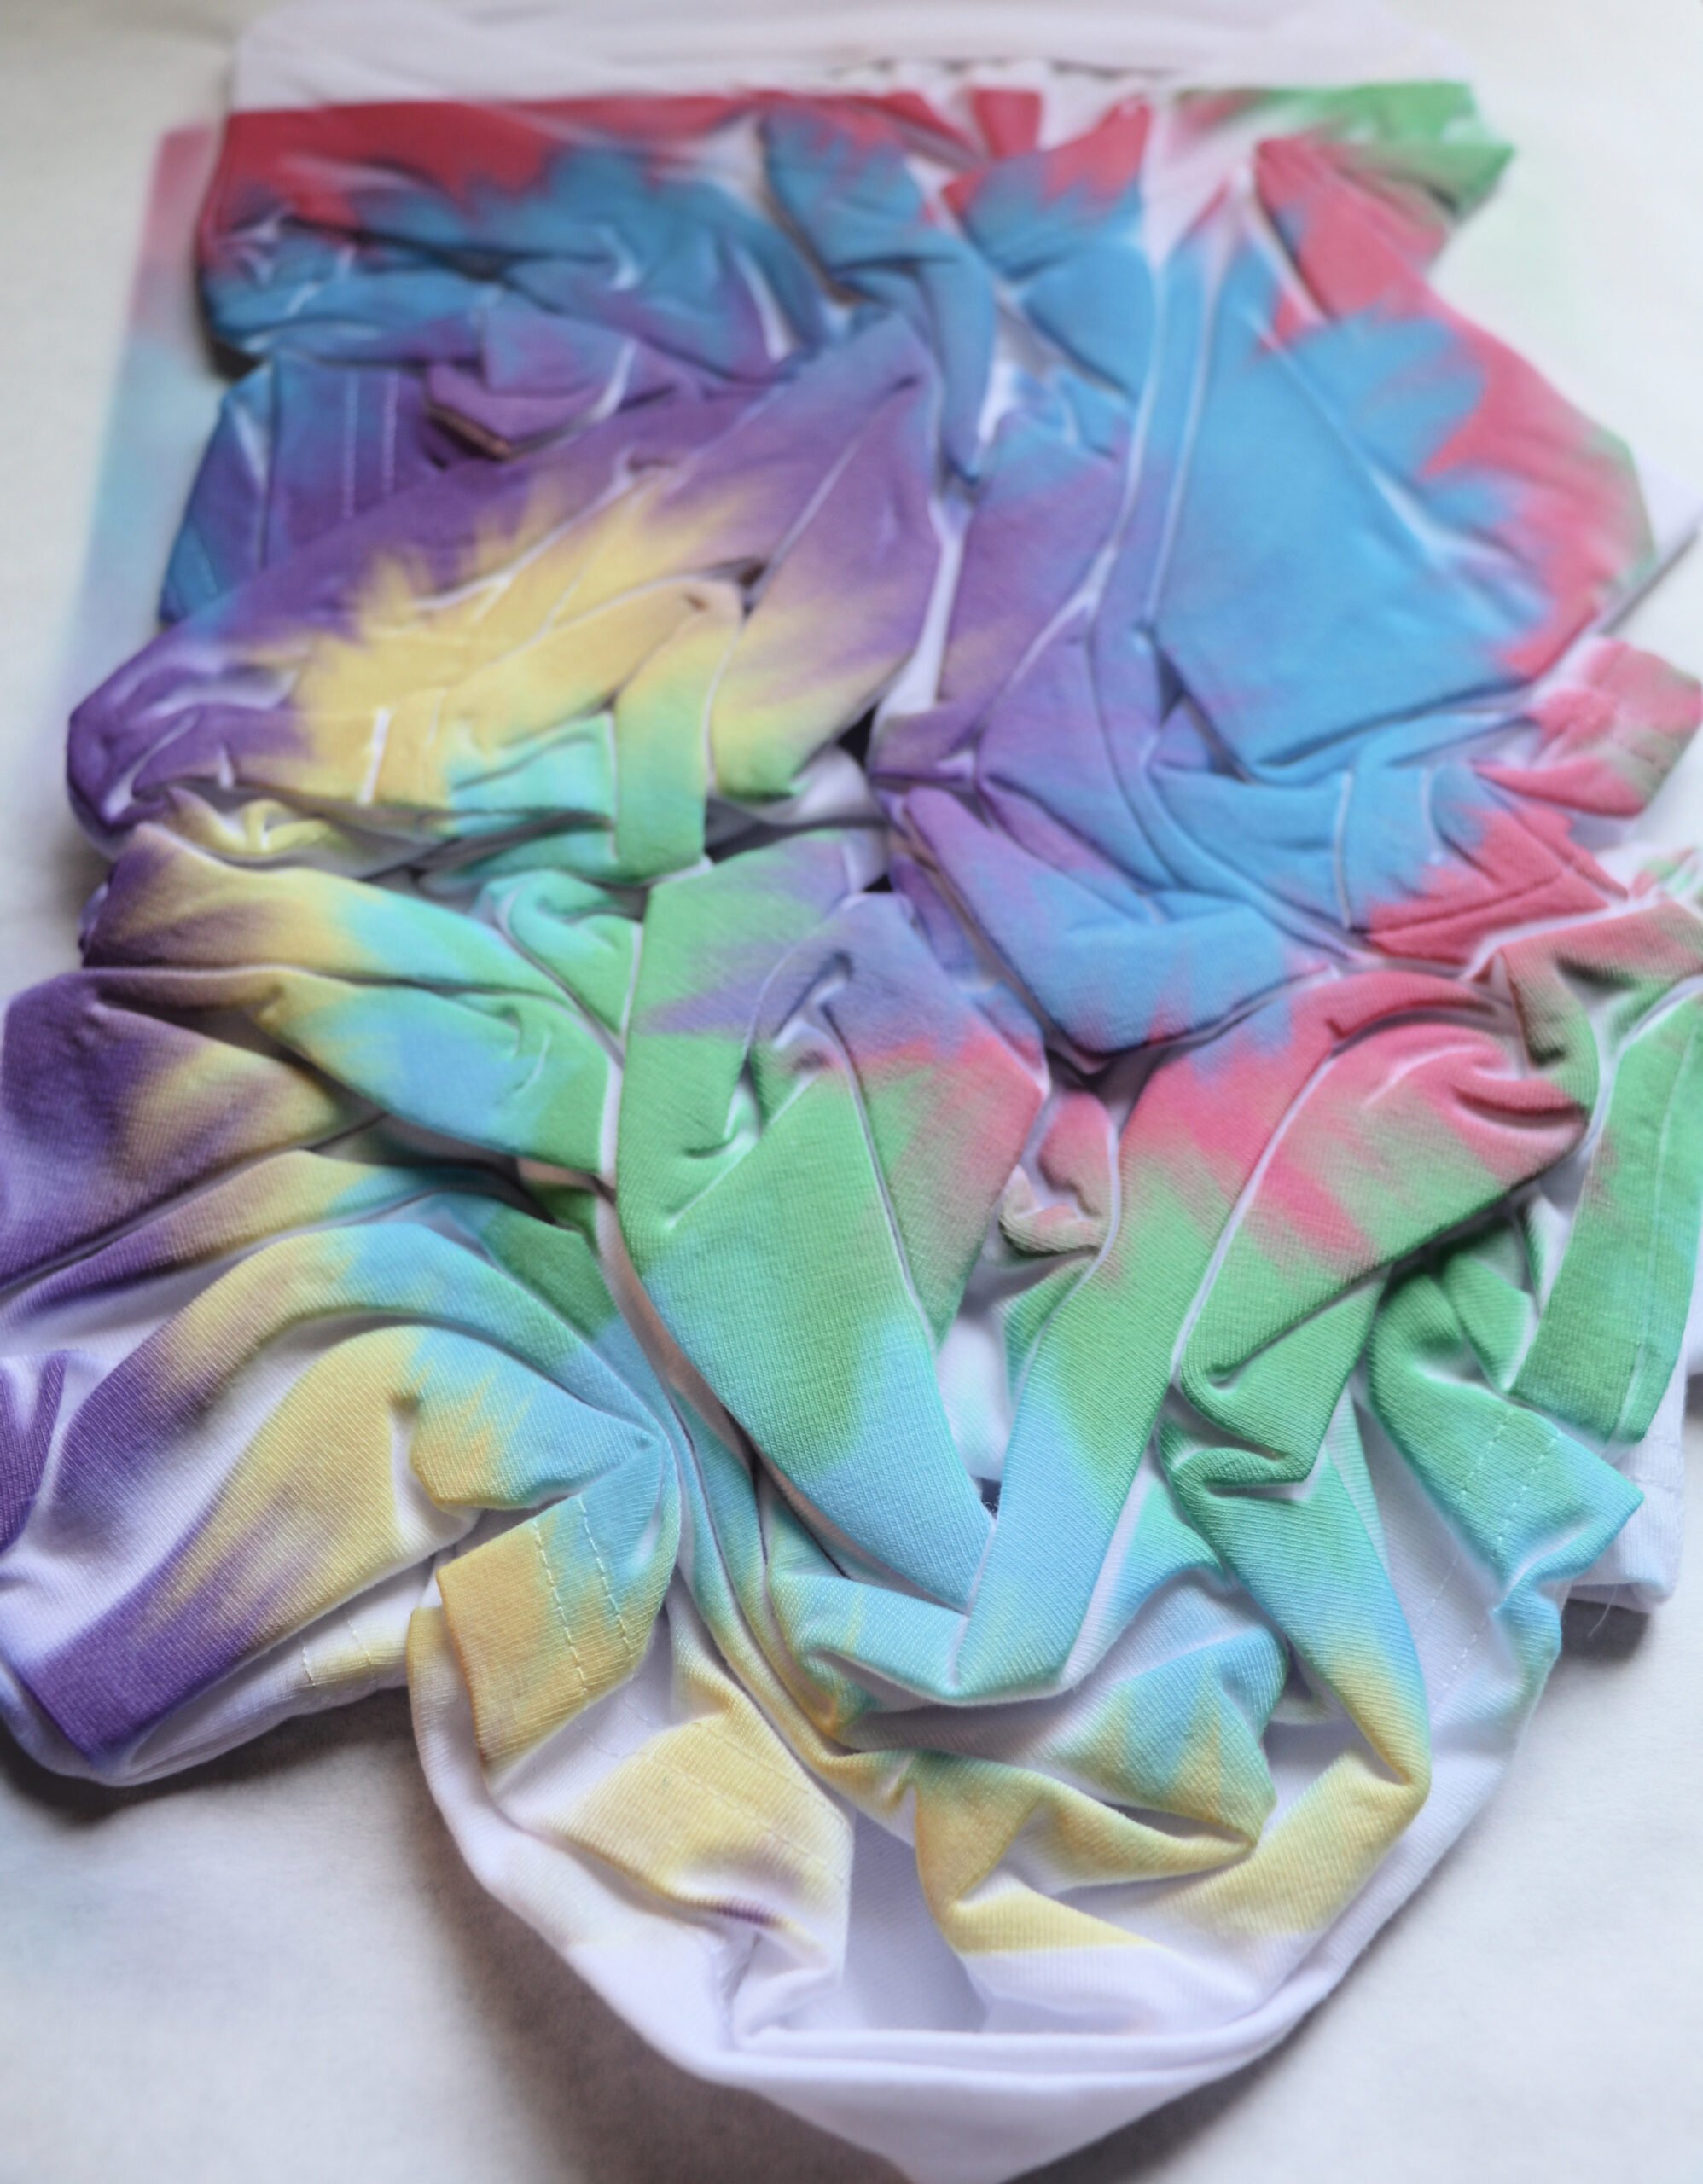
Place your shirt on the butcher paper and bunch it up. You can do a tradition tie dye swirl or bunch it up anyway you like. I swirl the center of mine and then bunch up the outer layers towards the center.
You do not need rubber bands for this and if you did use them they would melt from the heat.
Place your digital paper design over the shirt, with the color side touching the shirt. You’ll want to make sure most of your shirt is under the design. Tuck in the edges of the shirt if you need too. You can tape down the paper design to the shirt, but I didn’t feel like it was needed.
If you are doing a shirt and your paper isn’t big enough to cover the shirt you can cut or tear the sublimation paper into strips/chunks and lay them over the shirt to cover it. You would print the design 2-3 times depending on how much coverage you need. You can tape the paper together to help keep it in place.
Place a piece of butcher paper over the shirt and paper design.
Press on 400 or 60 seconds.
If using your EasyPress make sure to give the EasyPress some decent pressure by holding it down while pressing.
Remove the press, take off the butcher paper, and remove the sublimation paper. Flatten out the shirt and let it cool for a minute or two. You don’t want to put your design on the shirt while it’s hot because it could start to transfer and mess up your design.
Attach the design to the shirt with heat tape.
Place butcher paper over the shirt. You’ll want to make sure the whole shirt is covered so ink doesn’t transfer onto our press from the shirt. I use a new piece of butcher paper just in case the first piece has any ink bleed on it.
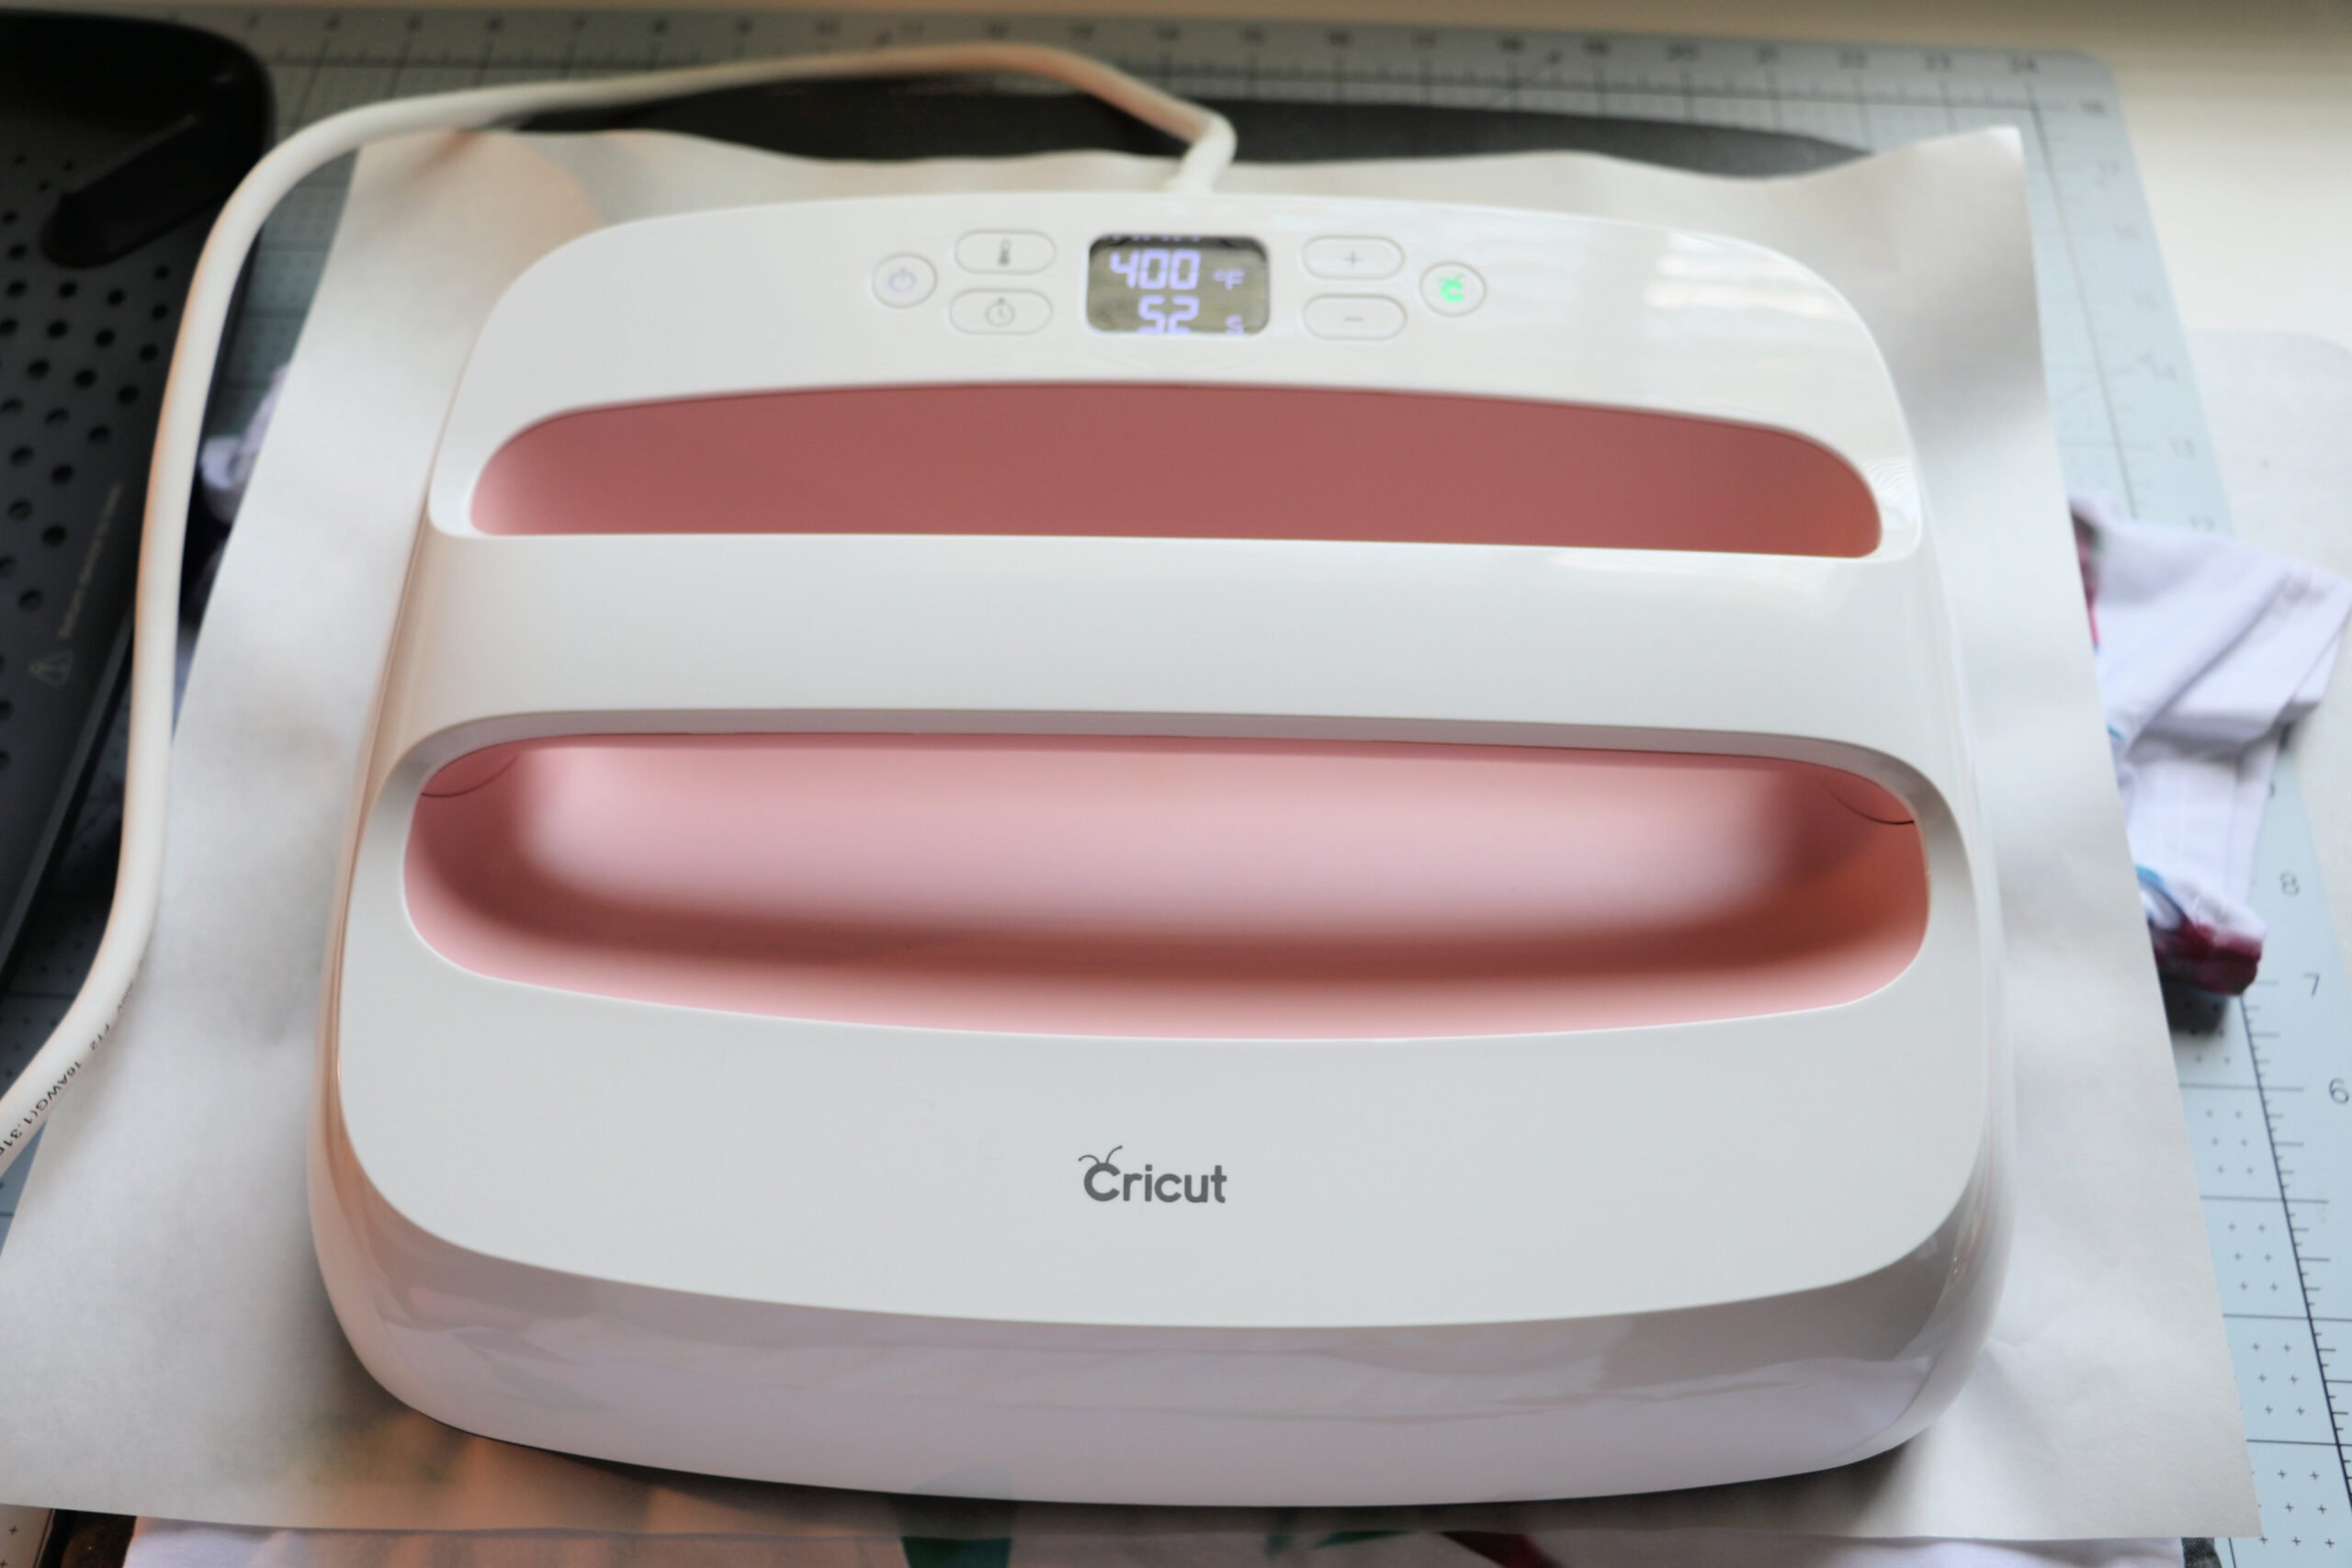
Press for 400 or 60 seconds.
Remove everything from the shirt and you’re done!

This post contains affiliate links.