

Learn how to make an infusible ink tie dye t-shirt with Cricut Infusible Ink.
Tie-Dye is all the rage these days. I love it… My kids love it… and everyone seems to love it. You can’t walk into a store without seeing some tie-dye clothing. Last summer we made some tie-dye shirts and my kids wear them as soon as they get washed. So when I saw this Infusible Ink Tie Dye project on the Joann website I knew I had to try it out.
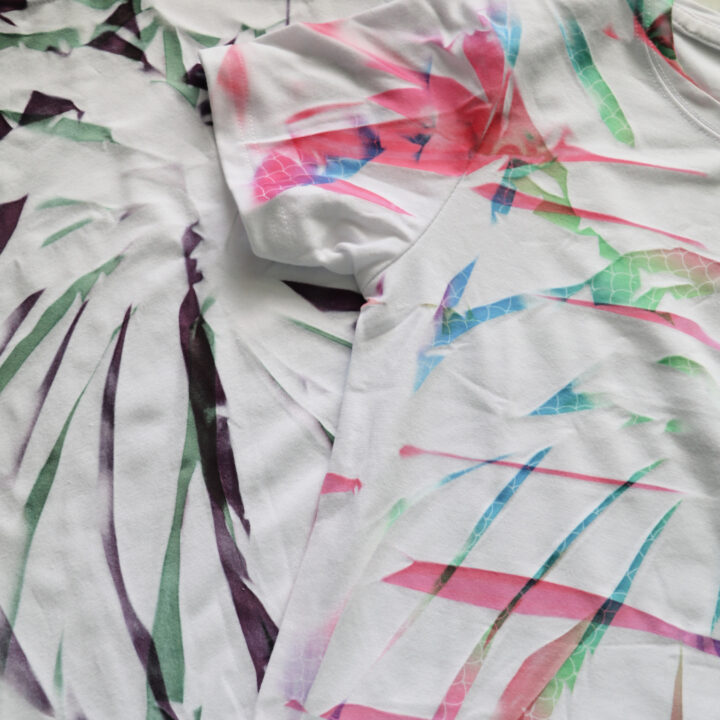
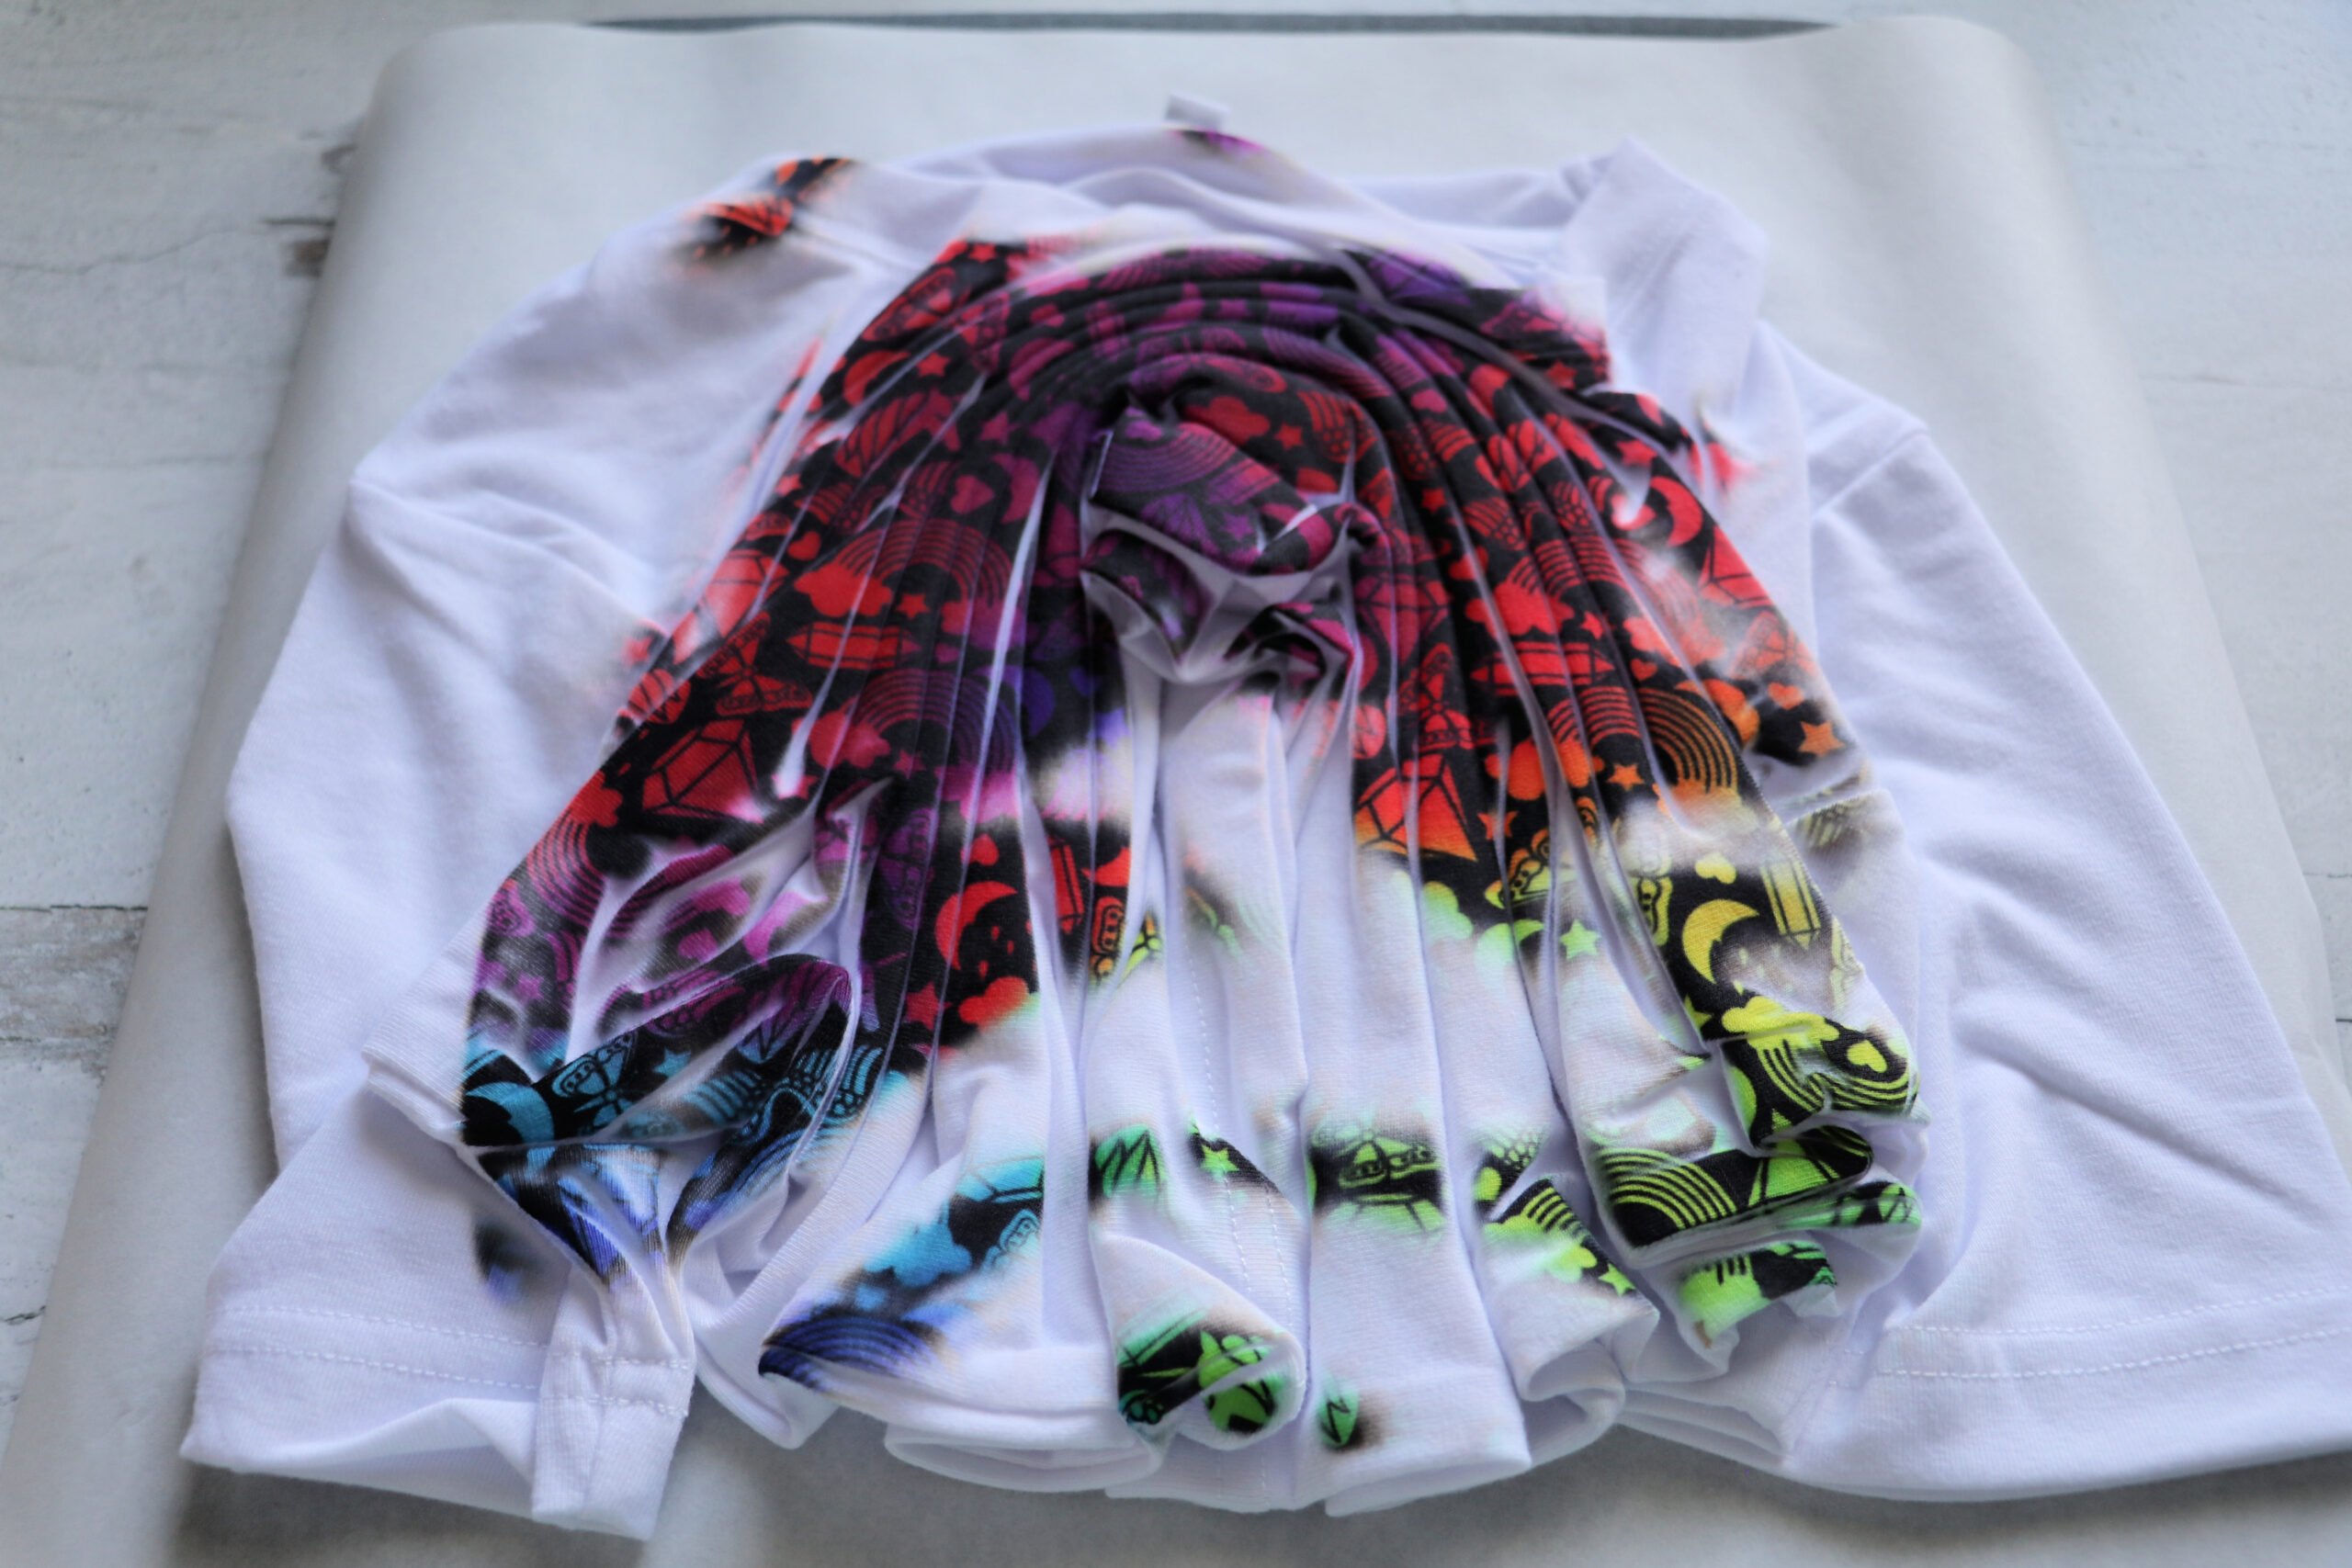
Infusible Ink Tie Dye is an easy process to do. You bunch up a shirt as you would do with normal tie-dye, however, you don’t use rubber bands. I am pretty sure rubber bands would melt under the heat from the heat press. Then you are going to lay Infusible Ink sheets on top of your shirt, press it, unroll the shirt, roll it a different way, and press again. You’ll do this process 2-3 times.
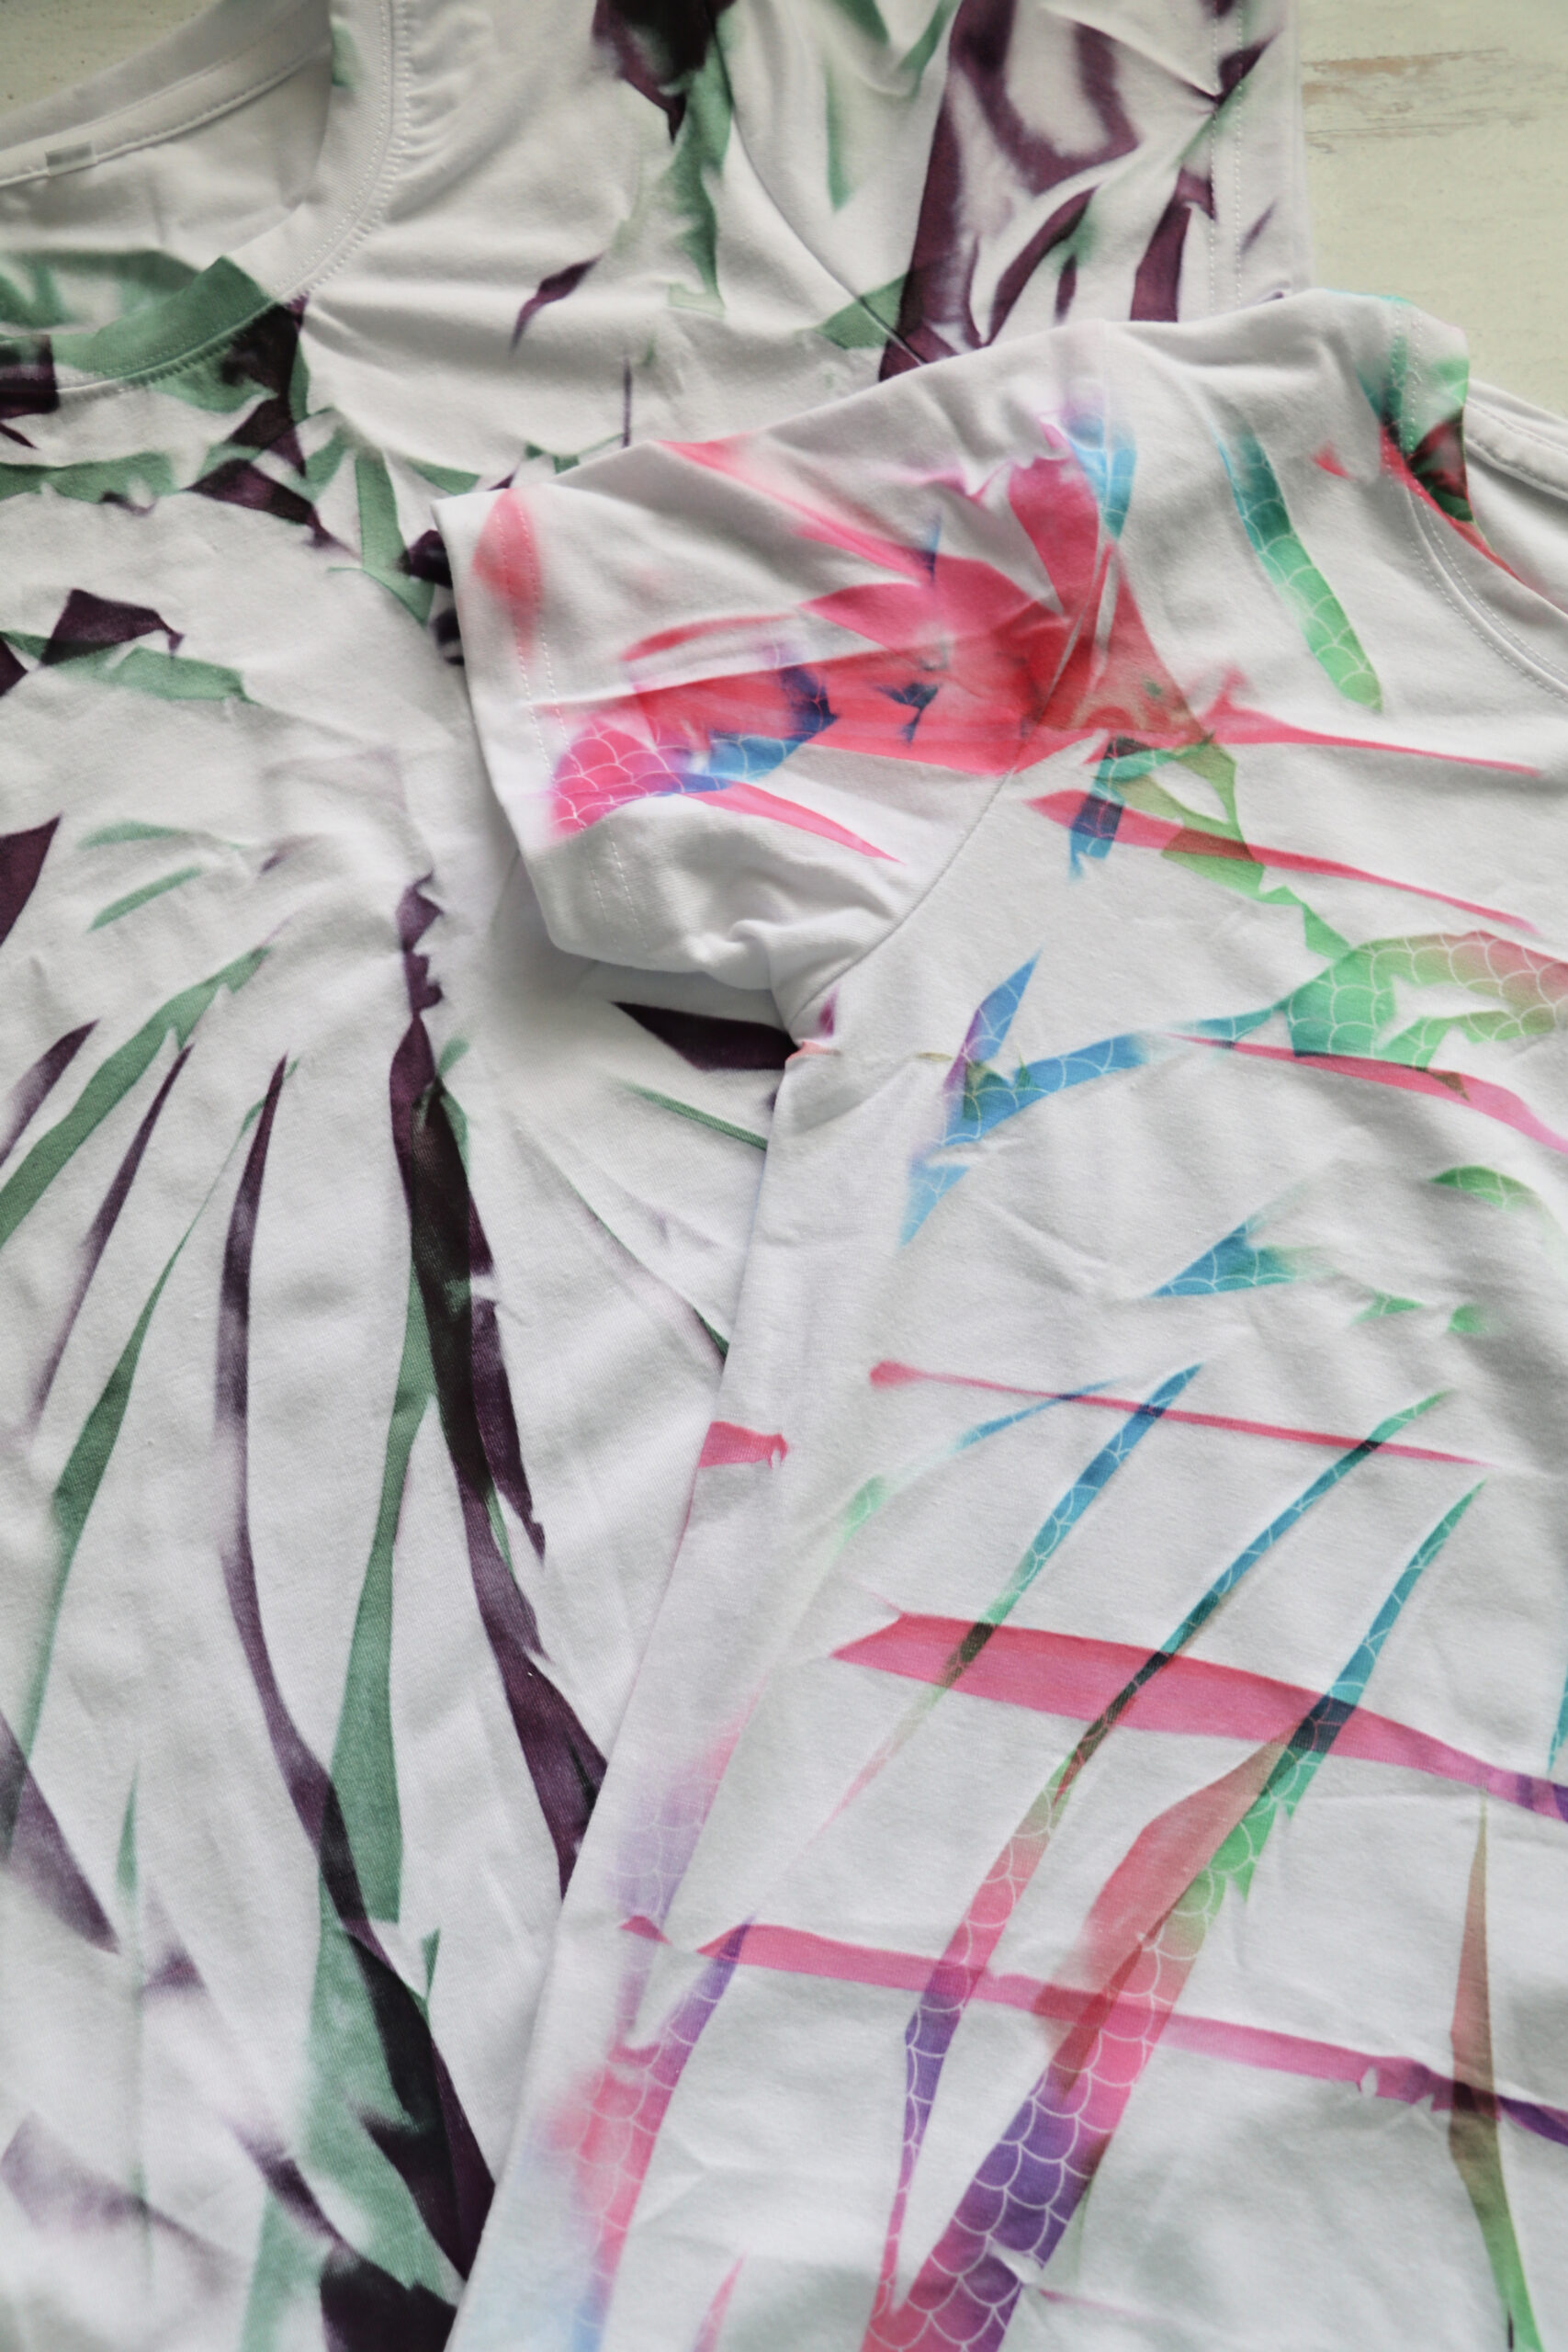
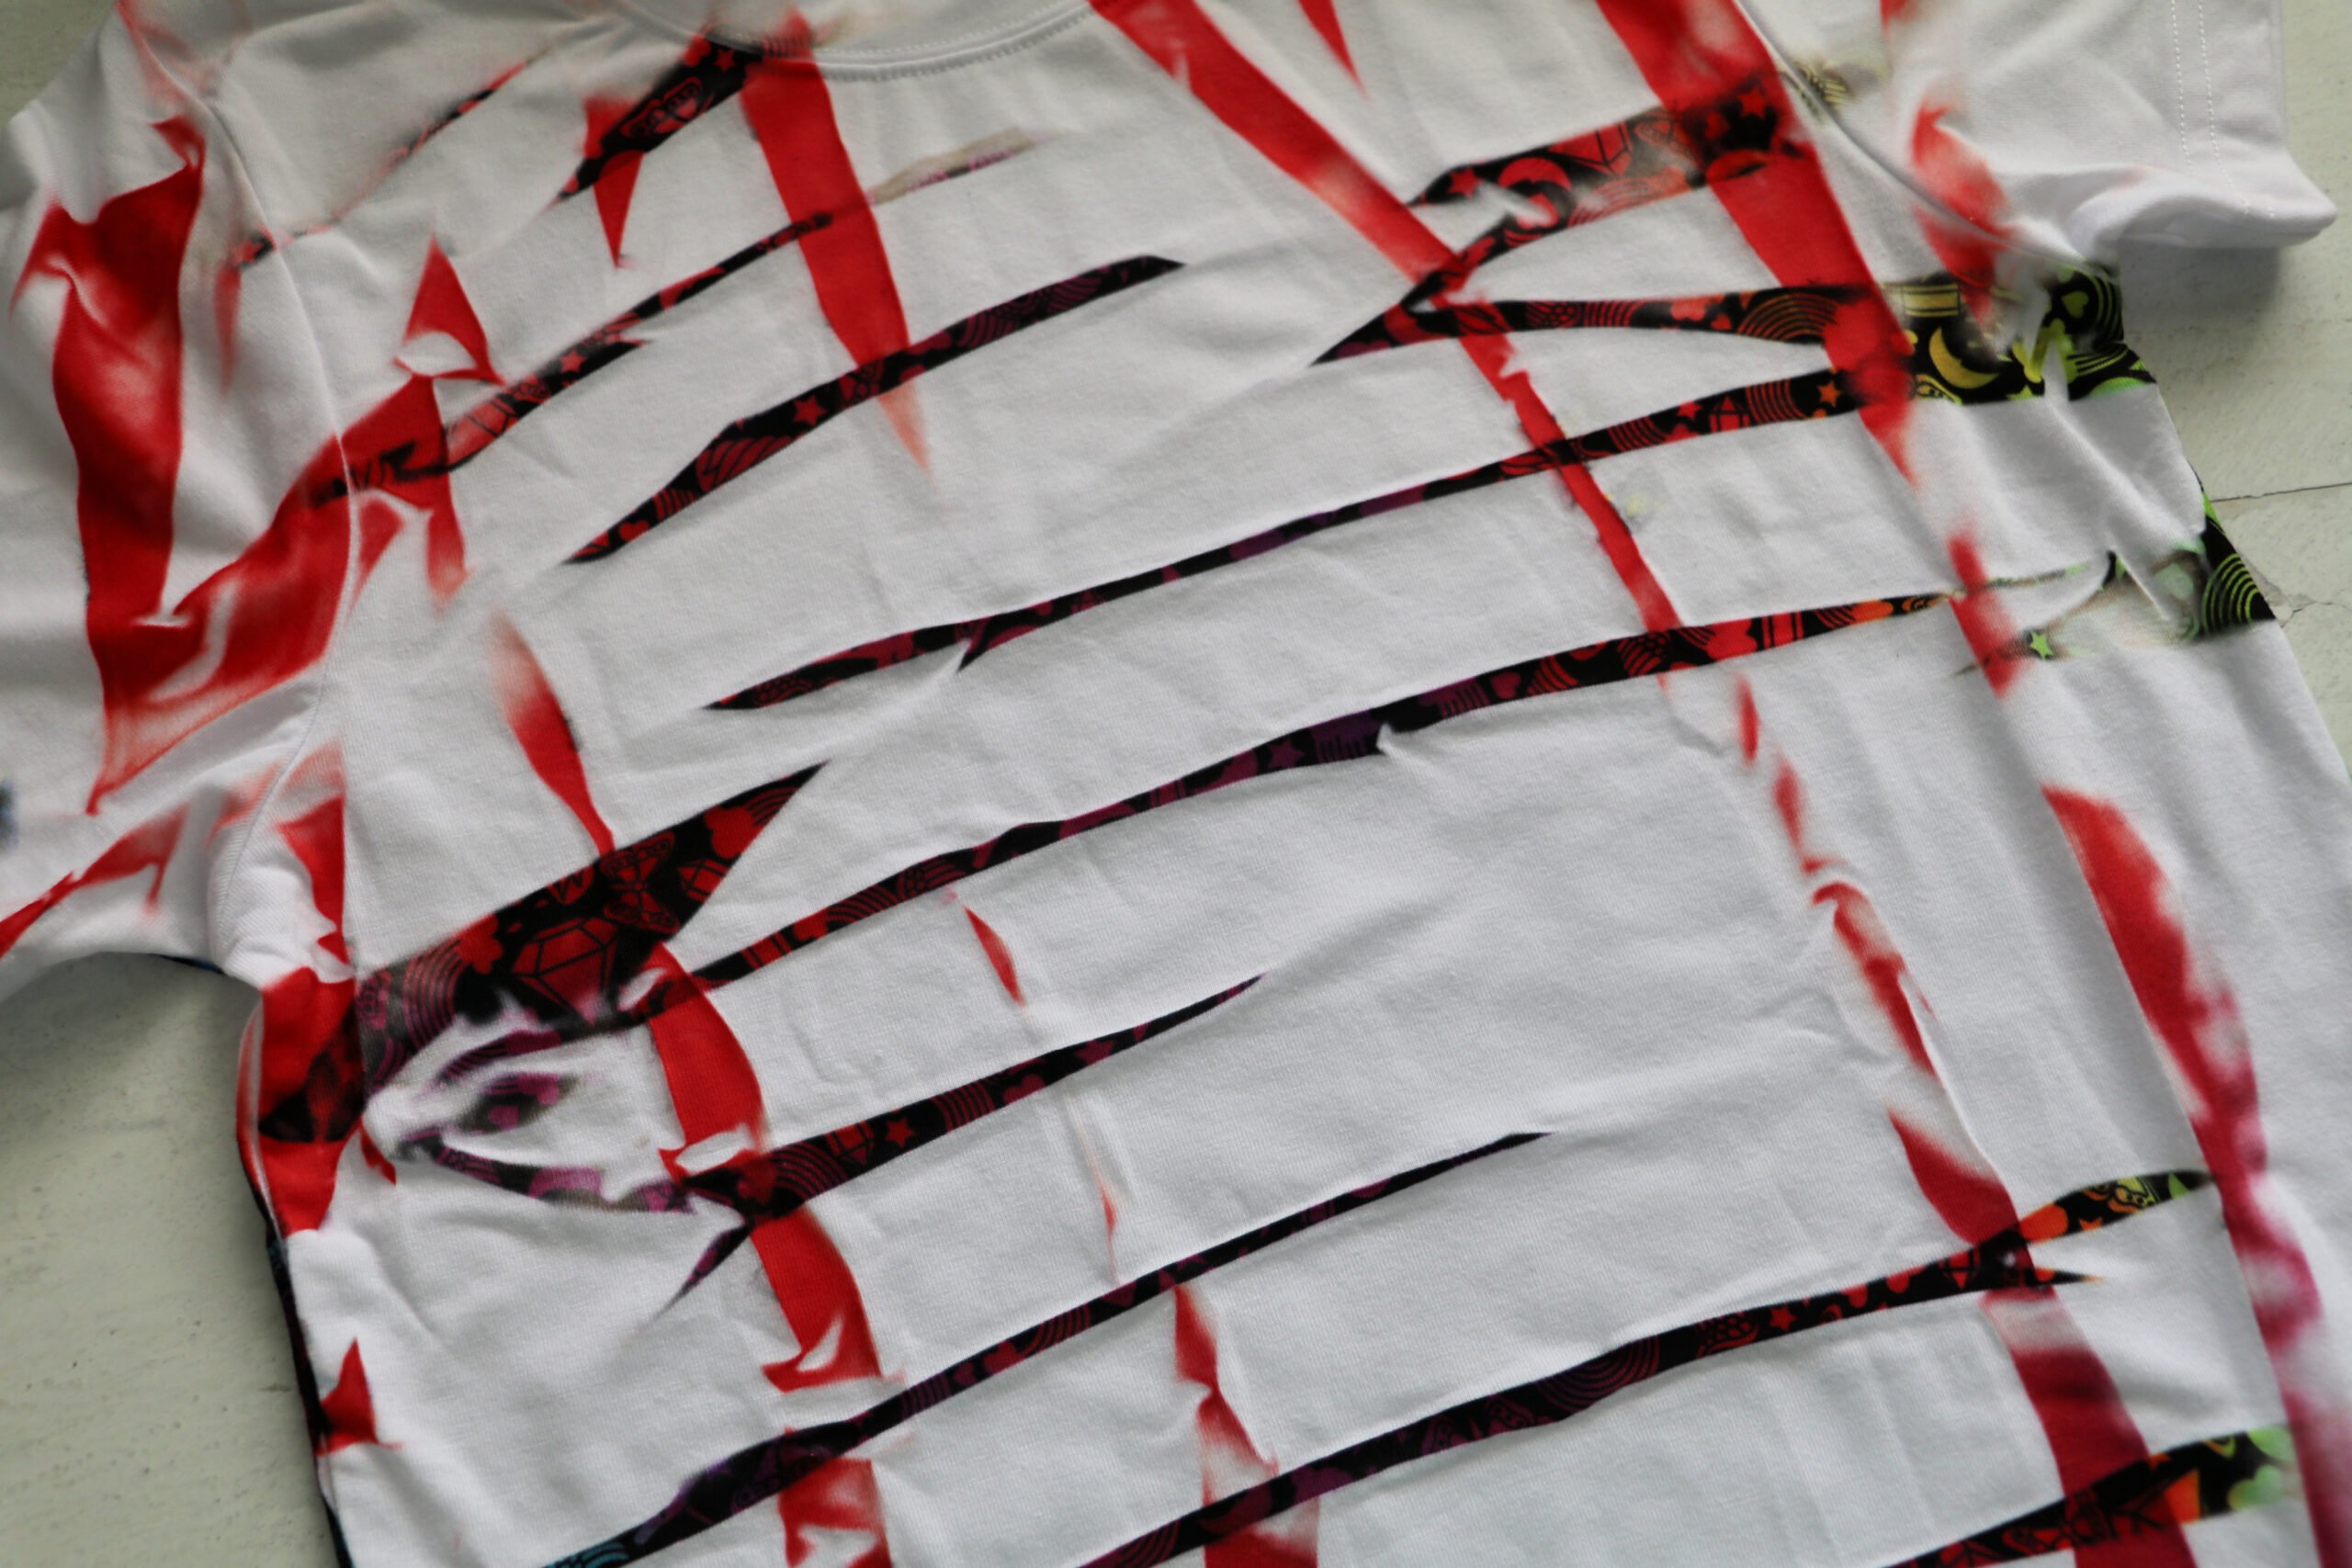
This project won’t be for everyone and that’s ok, but I love the look of the peek-a-boo patterns. On the mermaid shirt I did a pattern sheet and solid sheet while the purple and green were both solid colors.
What is Infusible Ink?
Infusible Ink is similar to sublimation ink except that it’s printed onto sheets for you already. If you aren’t familiar with sublimation ink, sublimation ink is a special ink that uses heat to become permanent on its surface like shirts, tote bags, pillowcases, mugs, and various other materials. Sublimation Ink and Infusible Ink are a process in which heat and pressure are being used in a way that turns the ink directly into a gas without first liquefying it. The high temperature allows the ink to transfers permanently onto items and the ink won’t crack, smudge, peel, lift, or come off of the surface.
How to make an Infusible Ink Tie Dye Shirt
When making an infusible ink tie-dye shirt you won’t need a Cricut or other type of cutting machine.
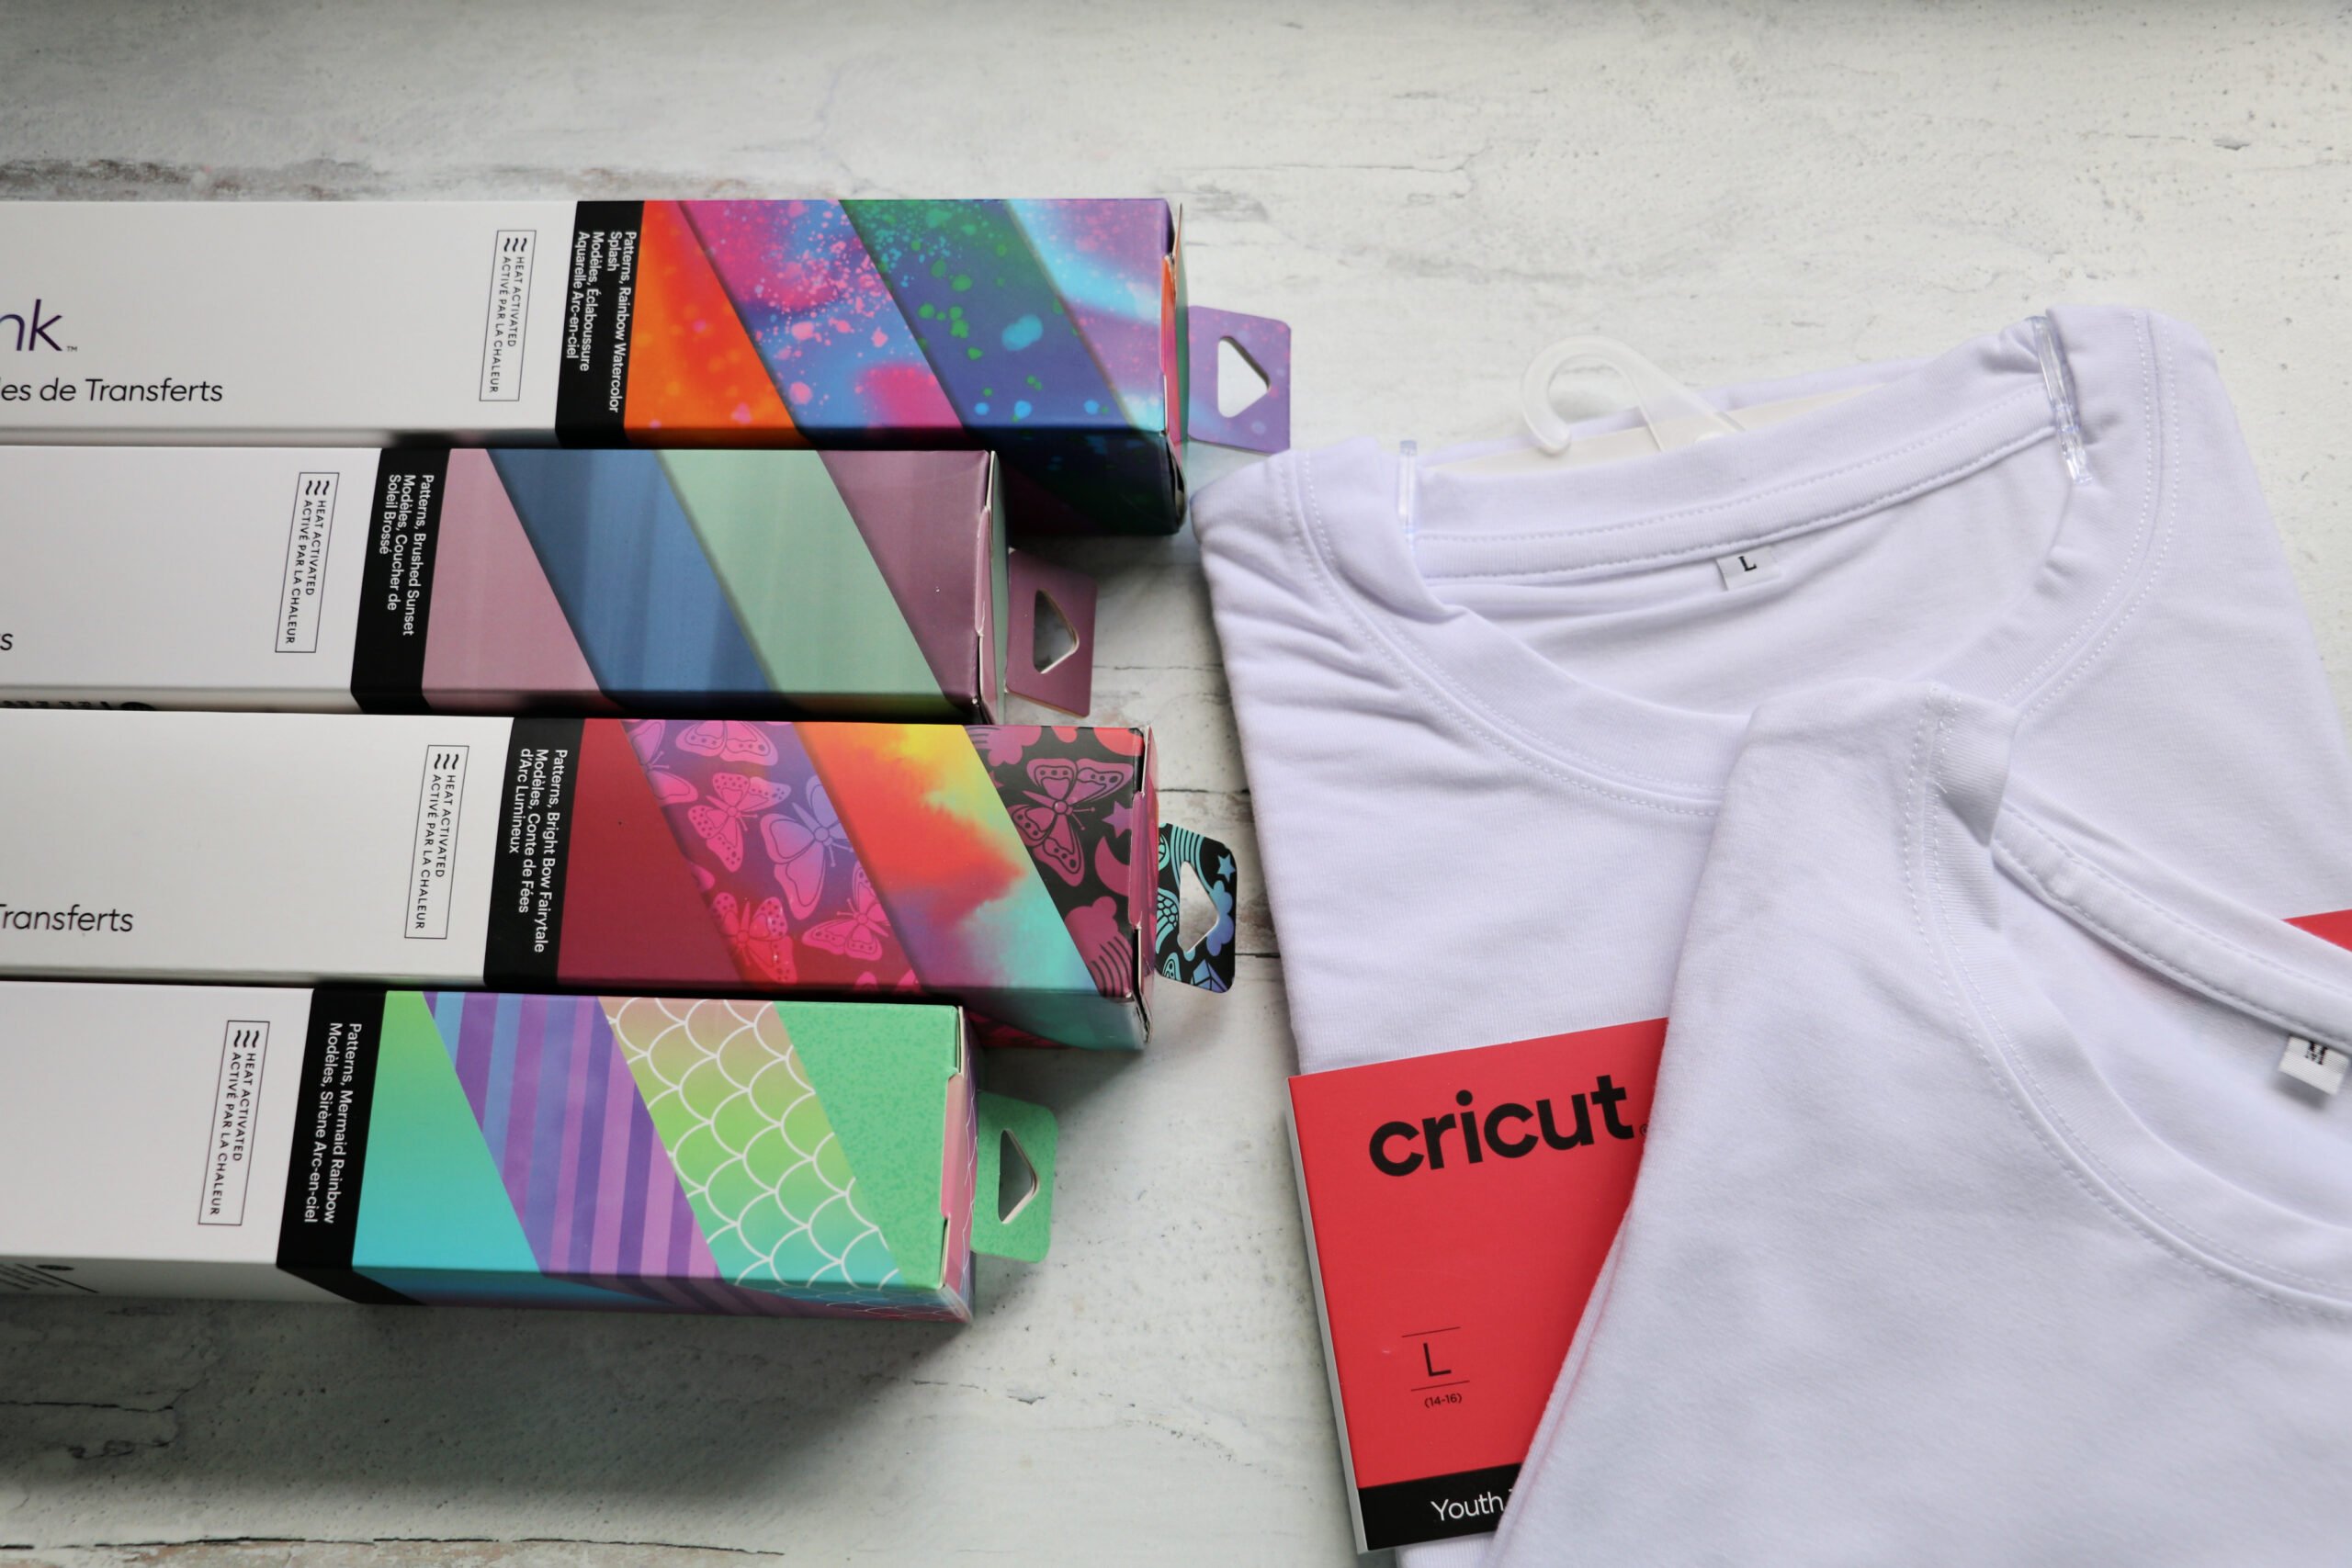
Here are the supplies you’ll need:
- Cricut Infusible Ink T-shirt or a T-shirt that is 60% polyester or higher
- Infusible Ink Sheets 1-3 colors/patterns per shirt -the big sized ones)
- Cricut Easy Press & Mat
- Butcher Paper, your infusible ink sheets should come with some
- Lint Roller
- Scissors
- Cotton String, optional (to use in place of rubber bands, but it’s not necessary)
Here’s how to make an infusible ink tie dye shirt
This method could also be used on tote bags, pillowcases, wine bags, and face masks. Just make sure each item you’re using is for sublimation or a Cricut infusible ink blank.
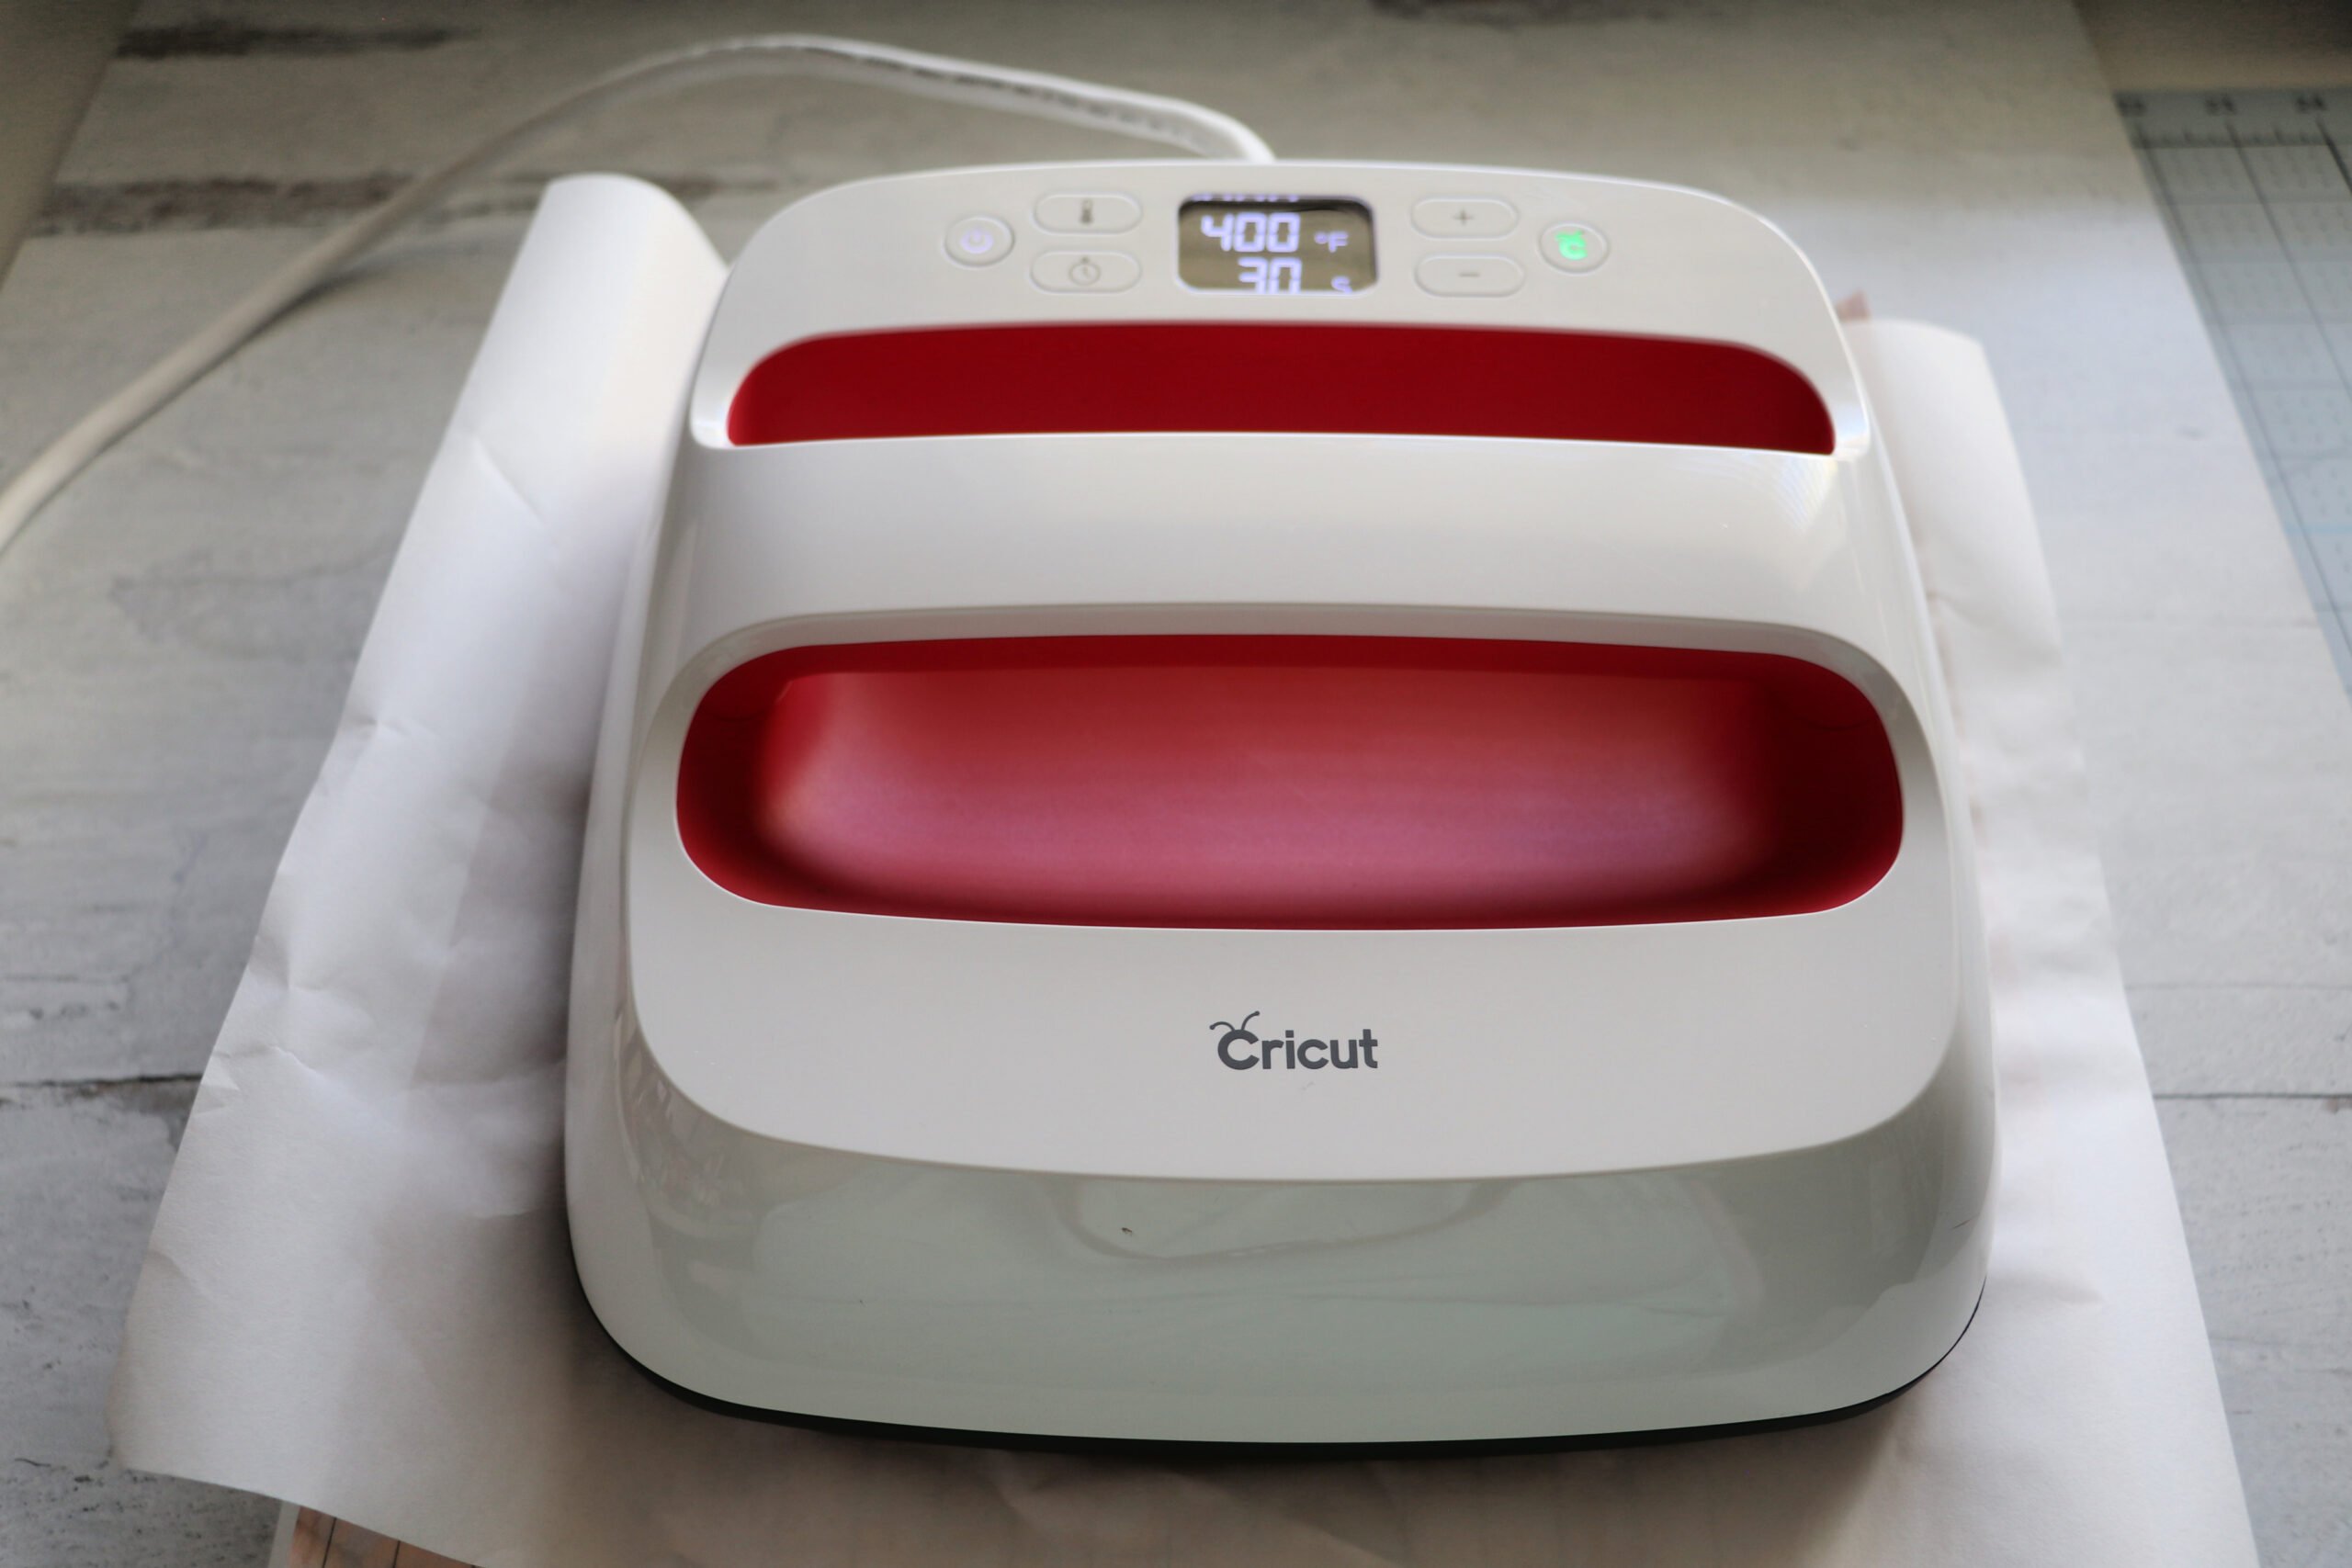
Preheat your EasyPress to 400
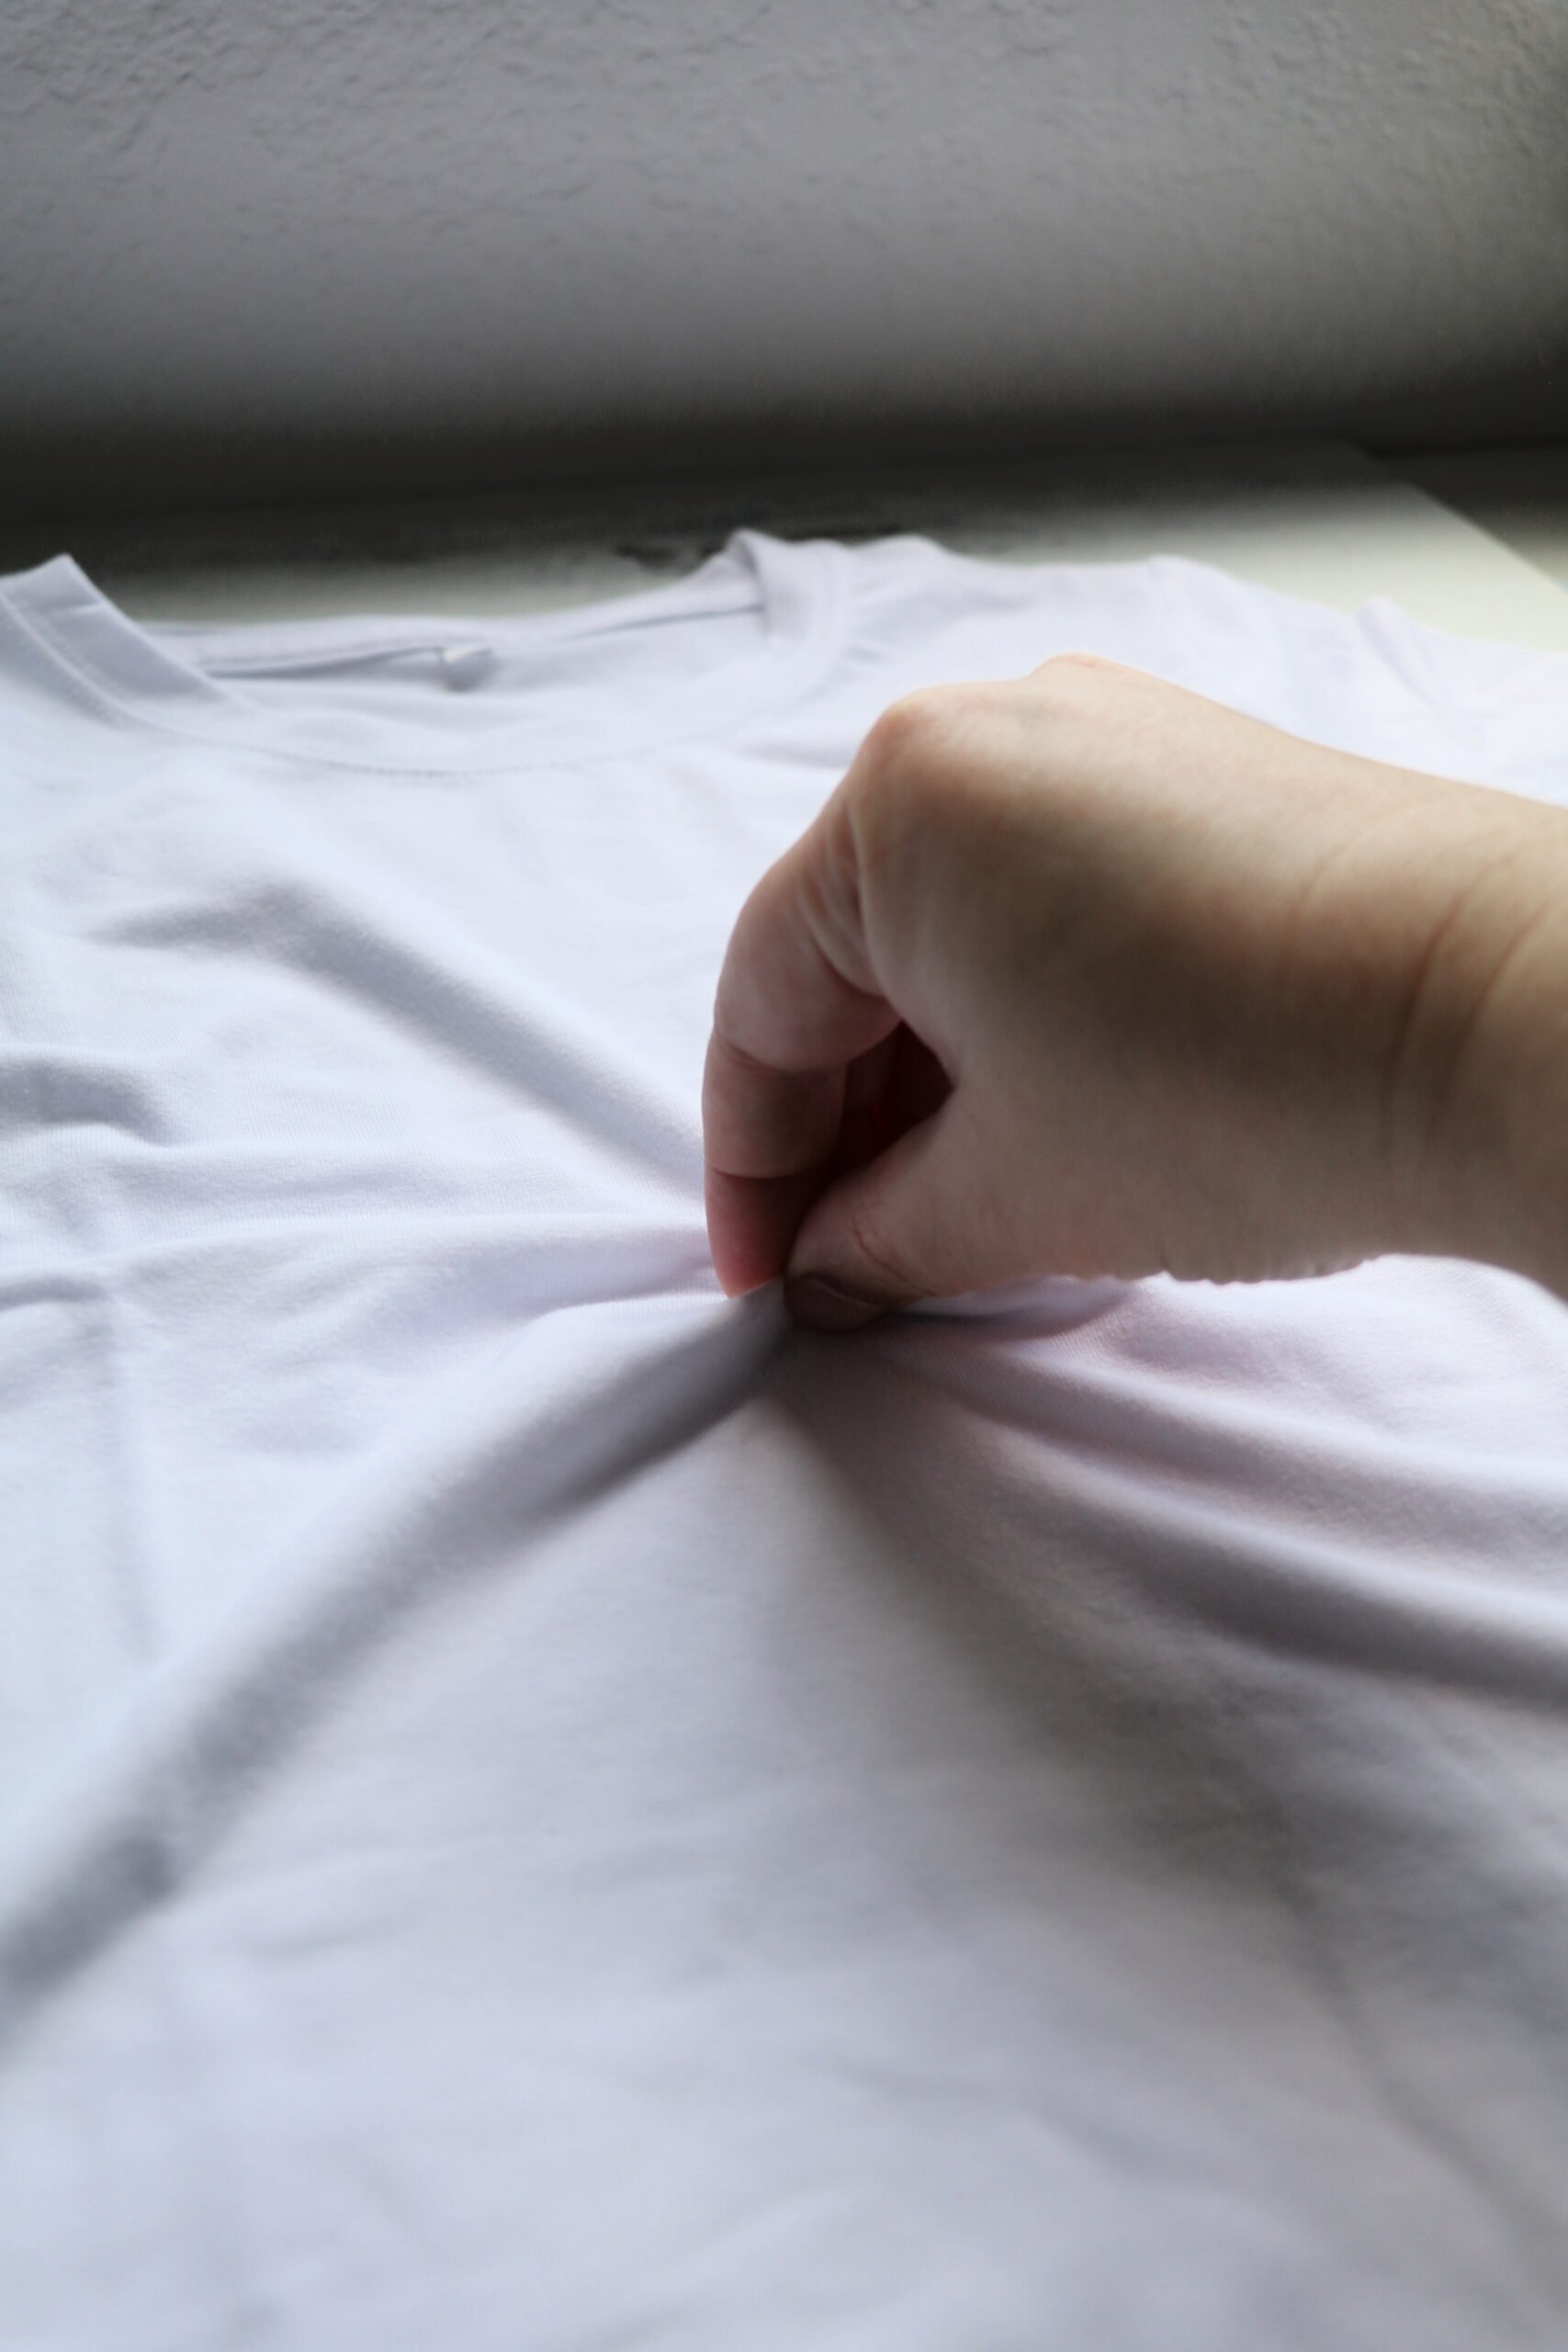
Lint roll your shirt.
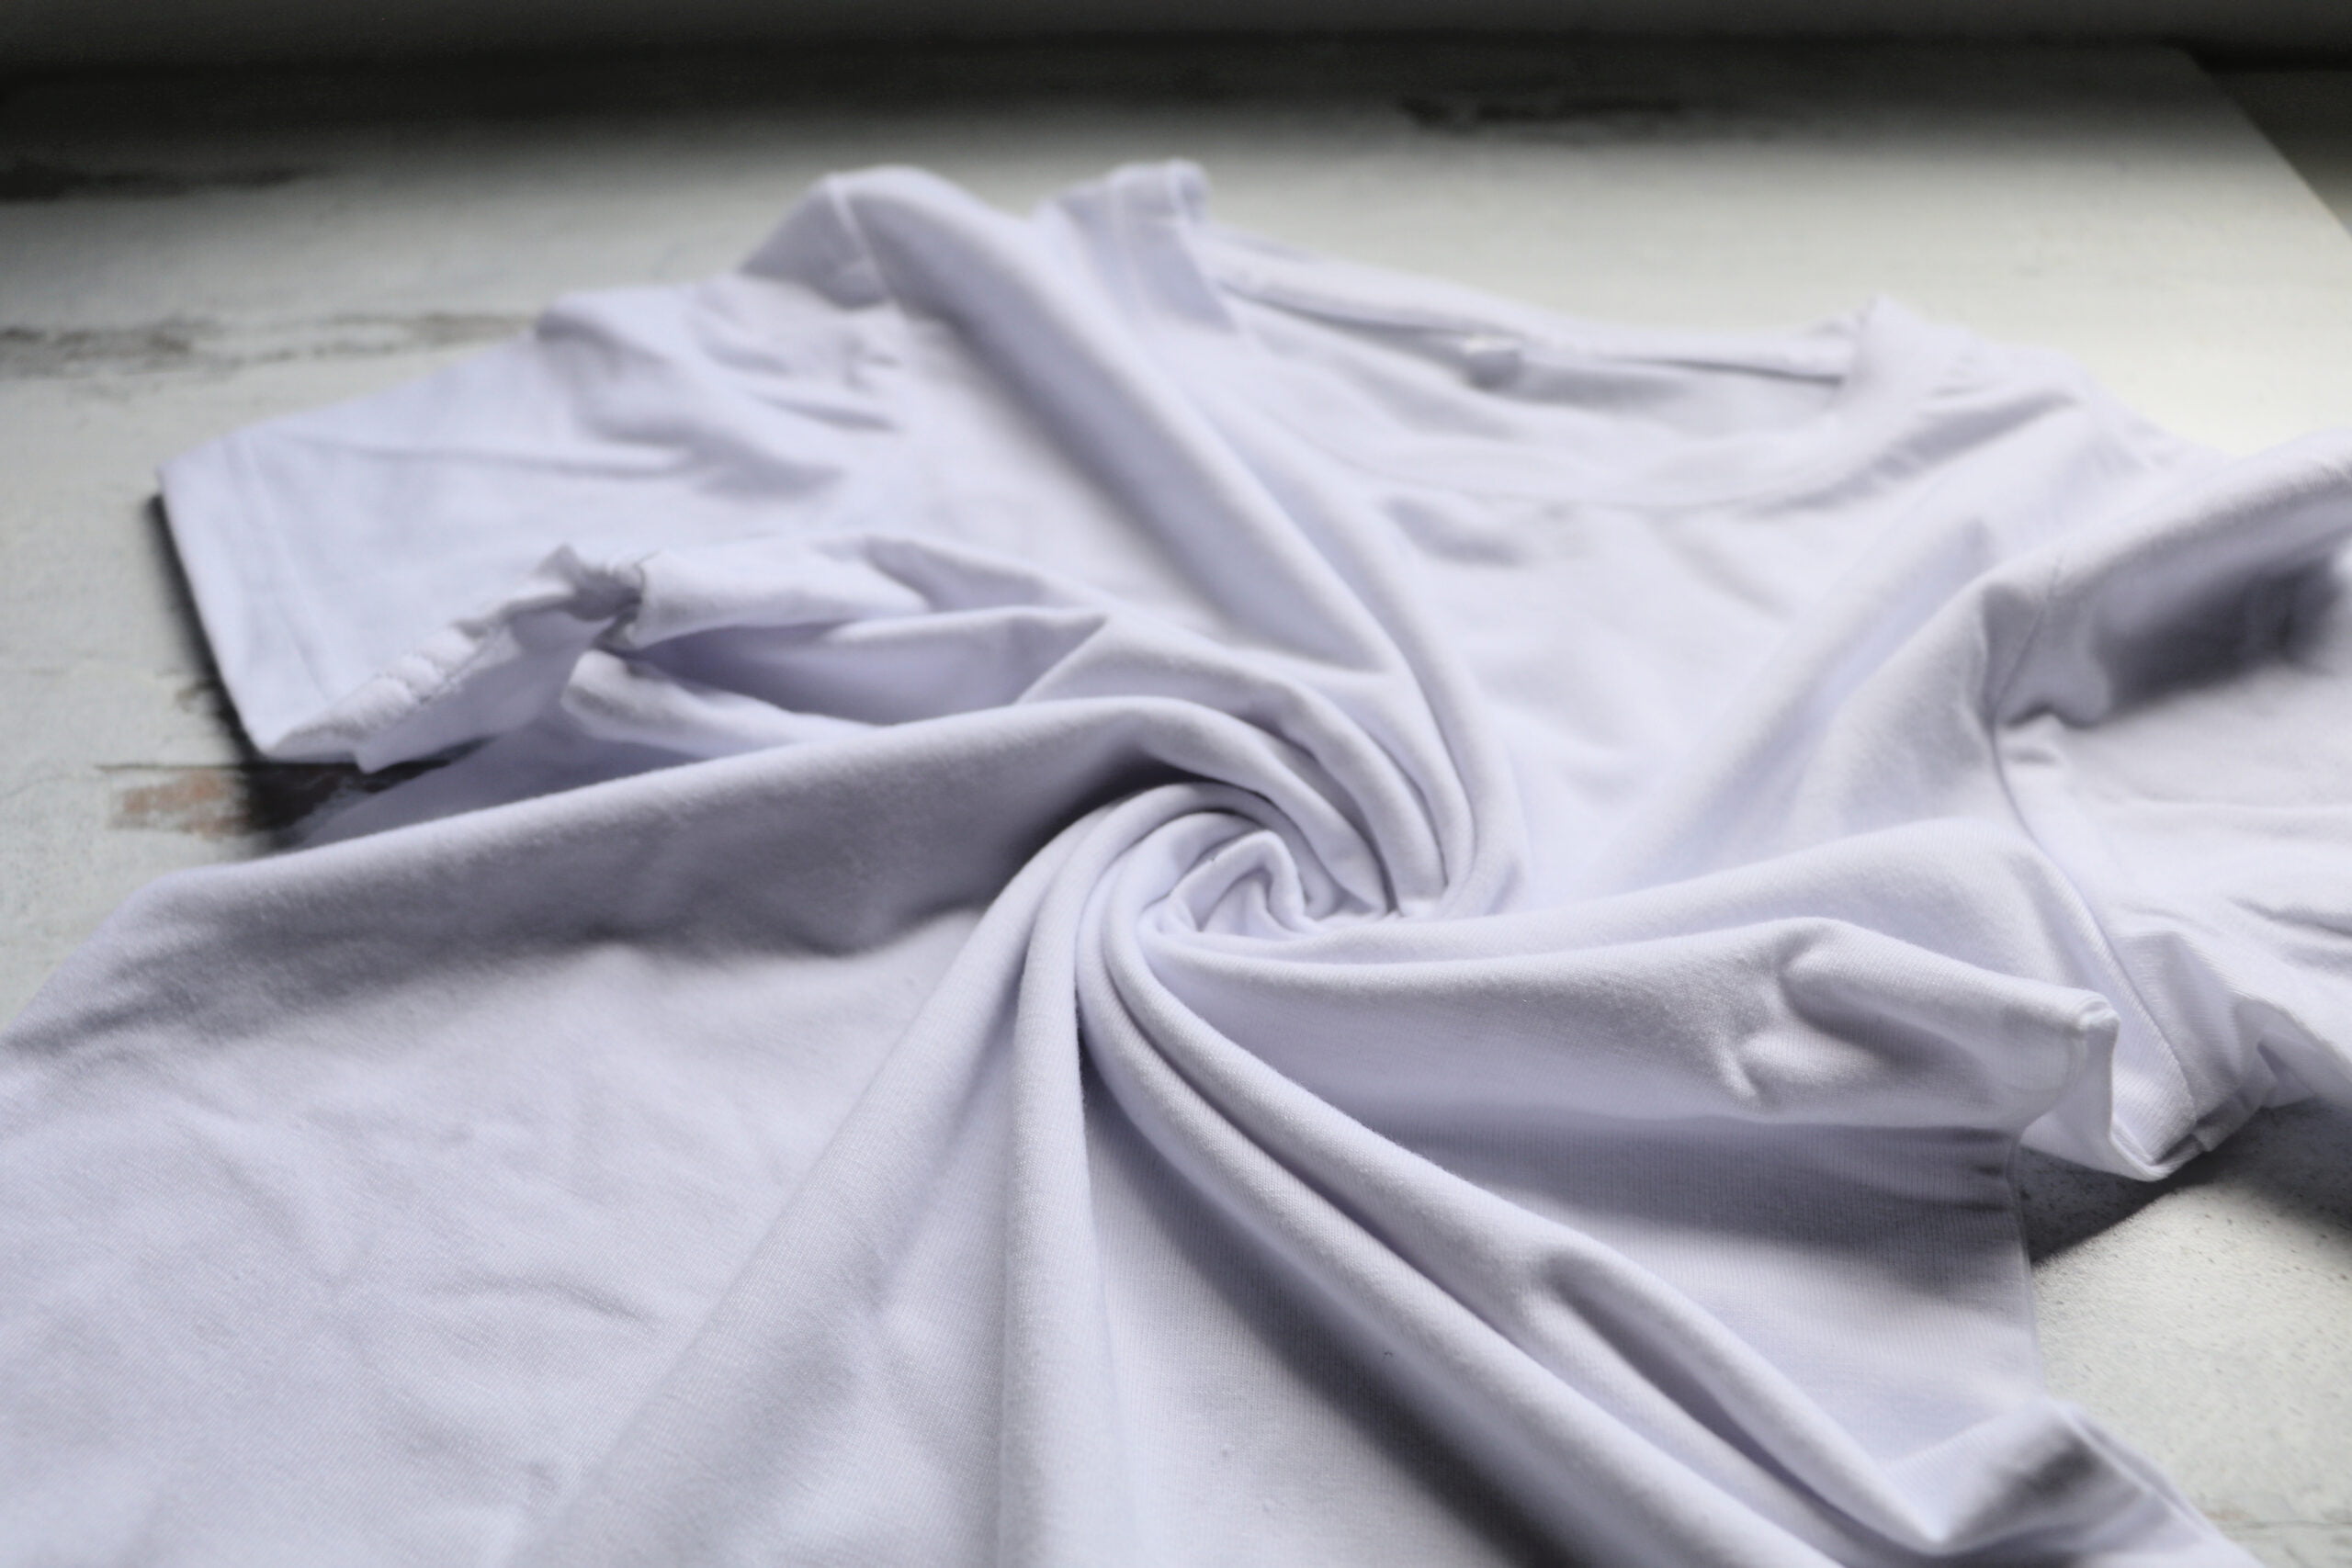
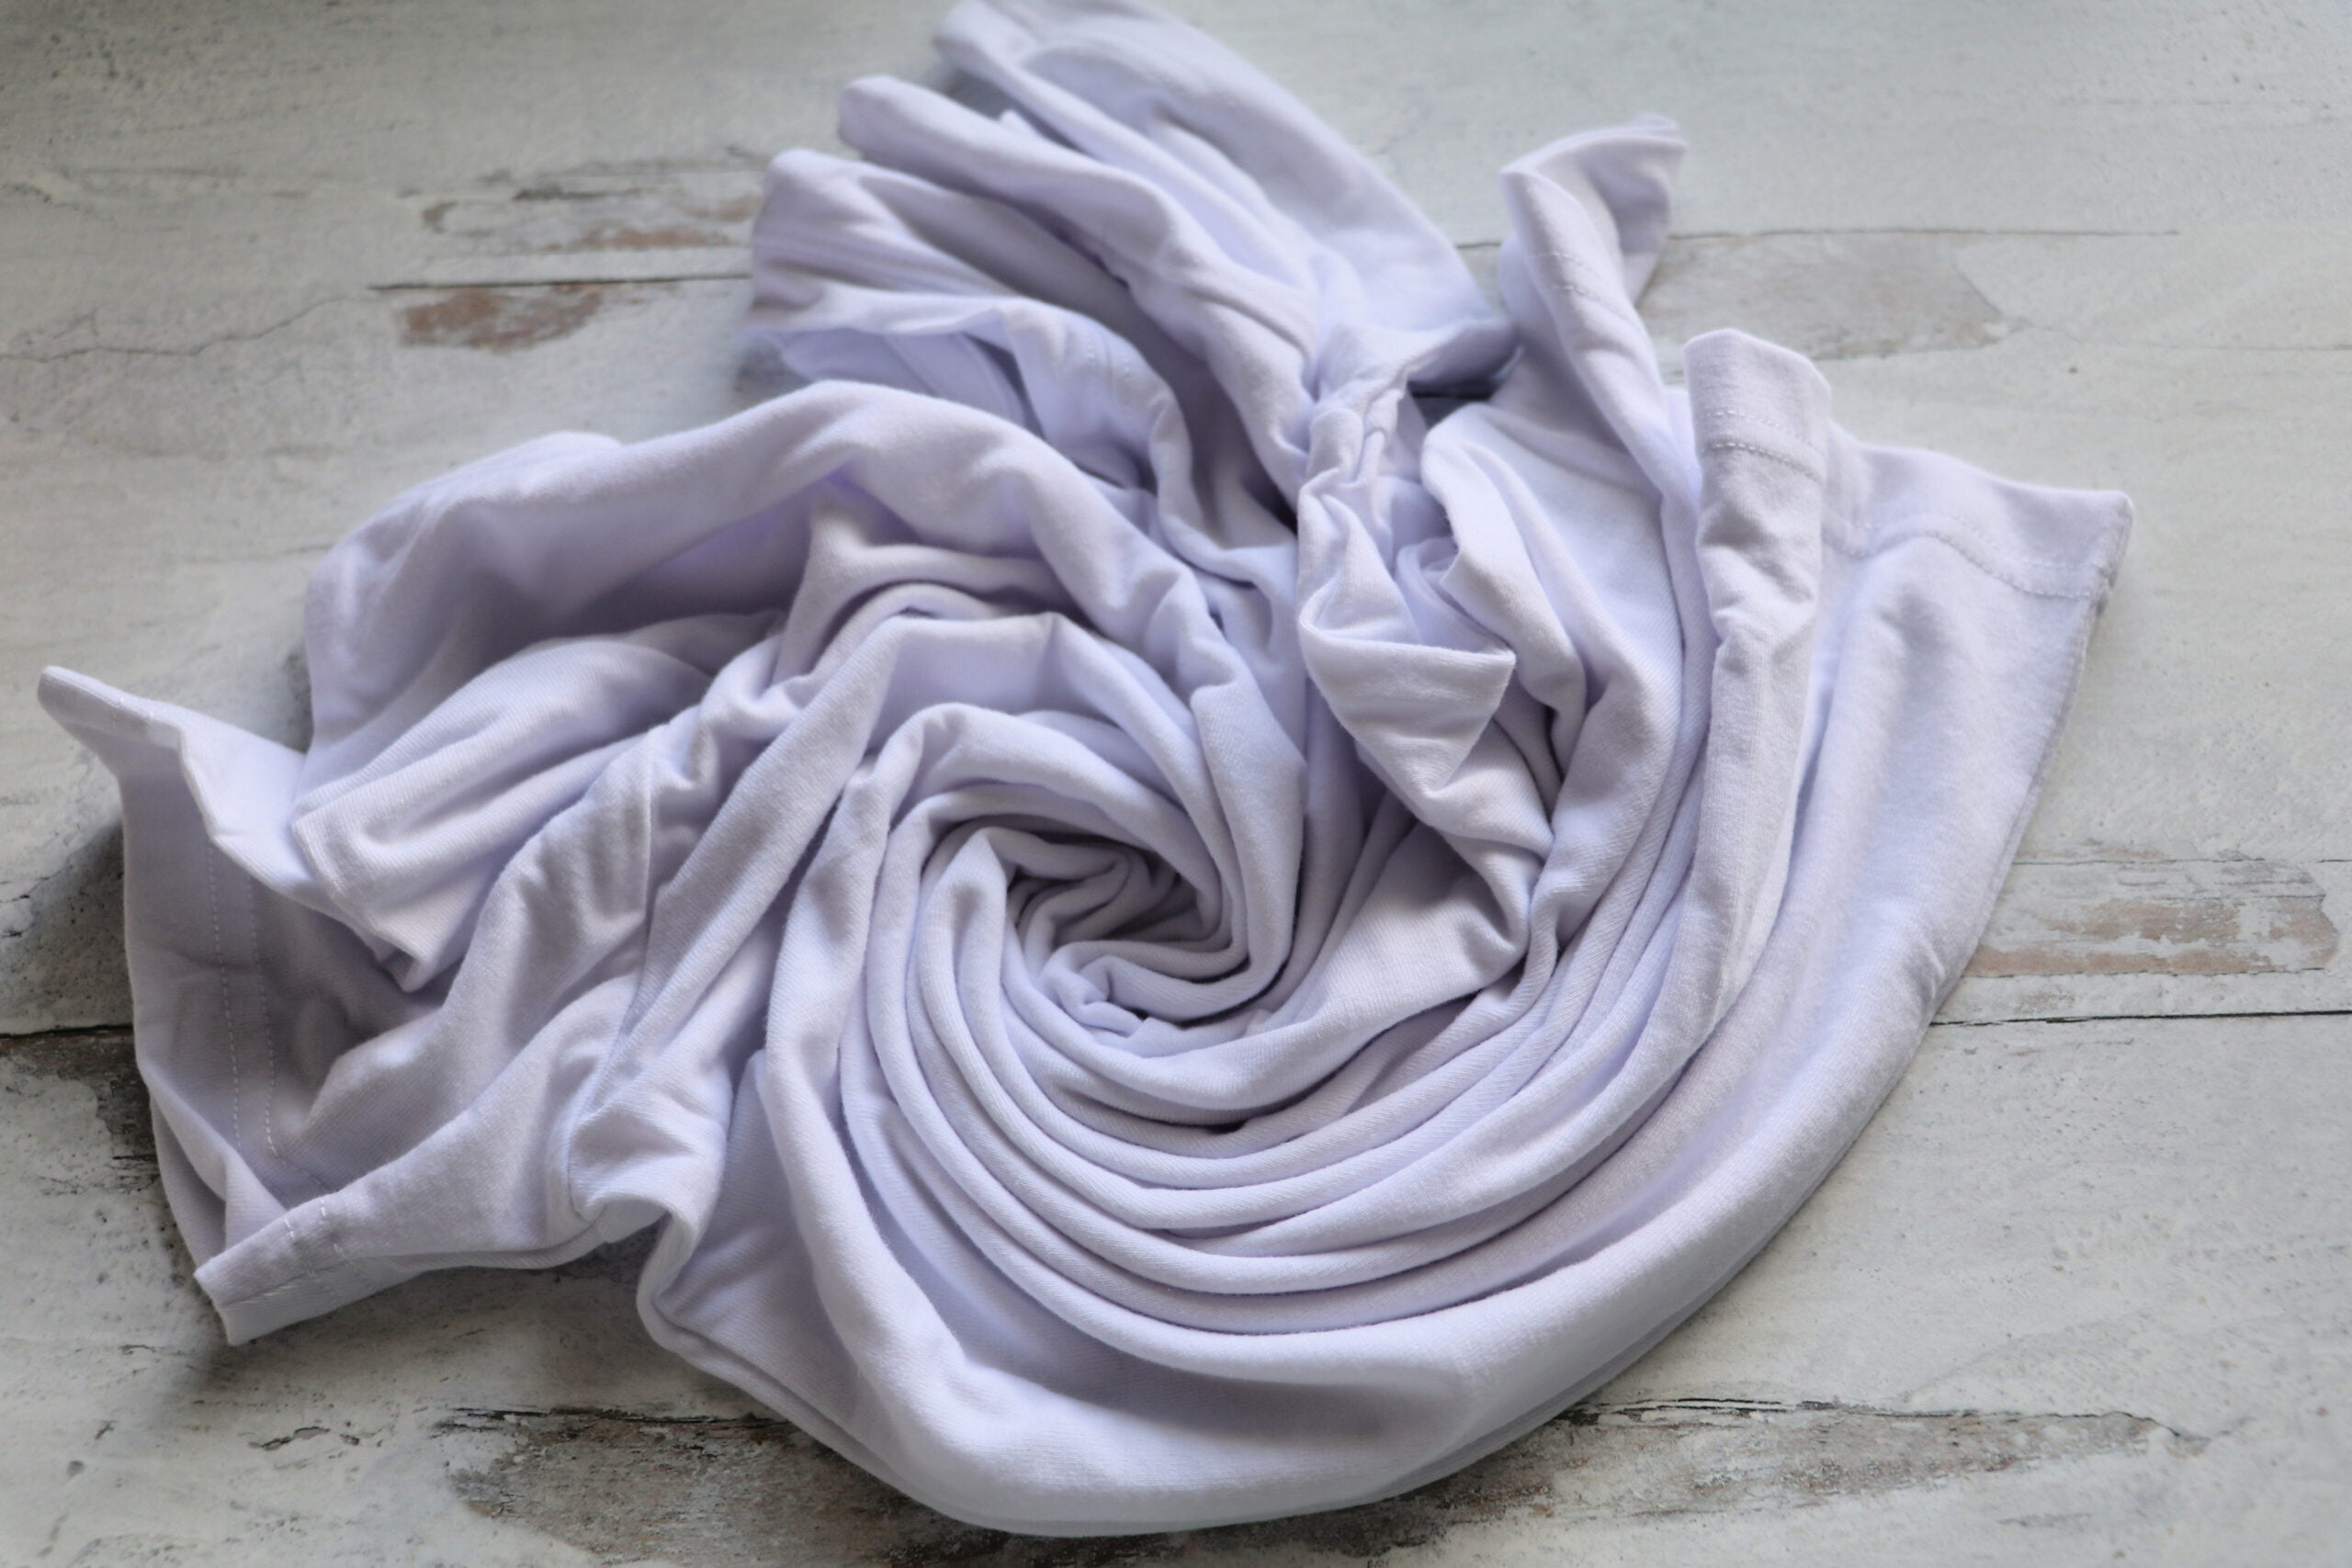
You’ll need to use a flat work surface for this project. Lay your shirt flat and pinch the middle of the shirt. Twirl your shirt around the middle pinched part. (see video for tutorial)
You can use cotton string to hold your shirt in place, in place of rubber bands, but this step is optional.
You are going to move your spiraled shirt onto your EasyPress mat, but before you do that you will need to line your EasyPress mat with butcher paper. This will keep the ink from accidentally bleeding onto the mat. If ink bleeds onto the mat it could transfer onto future projects. Make sure the butcher paper is bigger than the mat.
Open your first infusible ink sheet, unroll it, and trim it down to the size of the shirt. Save the excess pieces for smaller projects or use them in the next steps.
Place the infusible ink sheet over your spiraled shirt.
Place a piece of butcher paper over the infusible ink sheet.
Place EasyPress on top of the shirt (it should be preheated to 400) for 30 seconds.
Remove the EasyPress and let the shirt cool for a few minutes.
Once the shirt is cool you will fold your shirt in a spiral again but in the other direction. Then repeat the previous steps with your next color.
If you feel like your shirt needs more color you can do these steps again with a third color.
this post contains affiliate links.


Infusible Ink Tie Dye T-Shirt
Create a tie-dye shirt using Cricut infusible ink
Materials
- Cricut Infusible Ink T-shirt or a T-shirt that is 60% polyester or higher
- Infusible Ink Sheets 1-3 colors/patterns per shirt -the big sized ones)
- Butcher Paper, your infusible ink sheets should come with some
- Lint Roller
- Cotton String, optional (to use in place of rubber bands, but it’s not necessary)
Tools
- Cricut Easy Press & Mat
- Scissors
Instructions
- Preheat your EasyPress to 400
- Lint roll your shirt.
- You’ll need to use a flat work surface for this project. Lay your shirt flat and pinch the middle of the shirt. Twirl your shirt around the middle pinched part. (see video for tutorial)
- You can use cotton string to hold your shirt in place, in place of rubber bands, but this step is optional.
- You are going to move your spiraled shirt onto your EasyPress mat, but before you do that you will need to line your EasyPress mat with butcher paper. This will keep the ink from accidentally bleeding onto the mat. If ink bleeds onto the mat it could transfer onto future projects. Make sure the butcher paper is bigger than the mat.
- Open your first infusible ink sheet, unroll it, and trim it down to the size of the shirt. Save the excess pieces for smaller projects or use them in the next steps.
- Place the infusible ink sheet over your spiraled shirt.
- Place a piece of butcher paper over the infusible ink sheet.
- Place EasyPress on top of the shirt (it should be preheated to 400) for 30 seconds.
- Remove the EasyPress and let the shirt cool for a few minutes.
- Once the shirt is cool you will fold your shirt in a spiral again but in the other direction. Then repeat the previous steps with your next color.
- If you feel like your shirt needs more color you can do these steps again with a third color.