How to make personalized mugs with the Cricut Mug Press for Christmas, Mother’s Day, Birthdays, and more. If you want to make custom or personalized mugs with your Cricut machine this is the post for you!
This post is sponsored by Cricut.com
No matter the occasion personalized mugs are fun to make. You can change the mug type, design, and colors to match any aesthetic or theme you’re going for. Whether it’s a just-because gift or there is a special occasion in mind you can never go wrong with a personalized mug.
How to Make a Personalized Mug with the Cricut Mug Press
I’ve had my Cricut Mug Press since it first came out and I have a few posts on getting started with your Cricut Mug Press like:
What Machine to Use with Your Cricut Mug Press
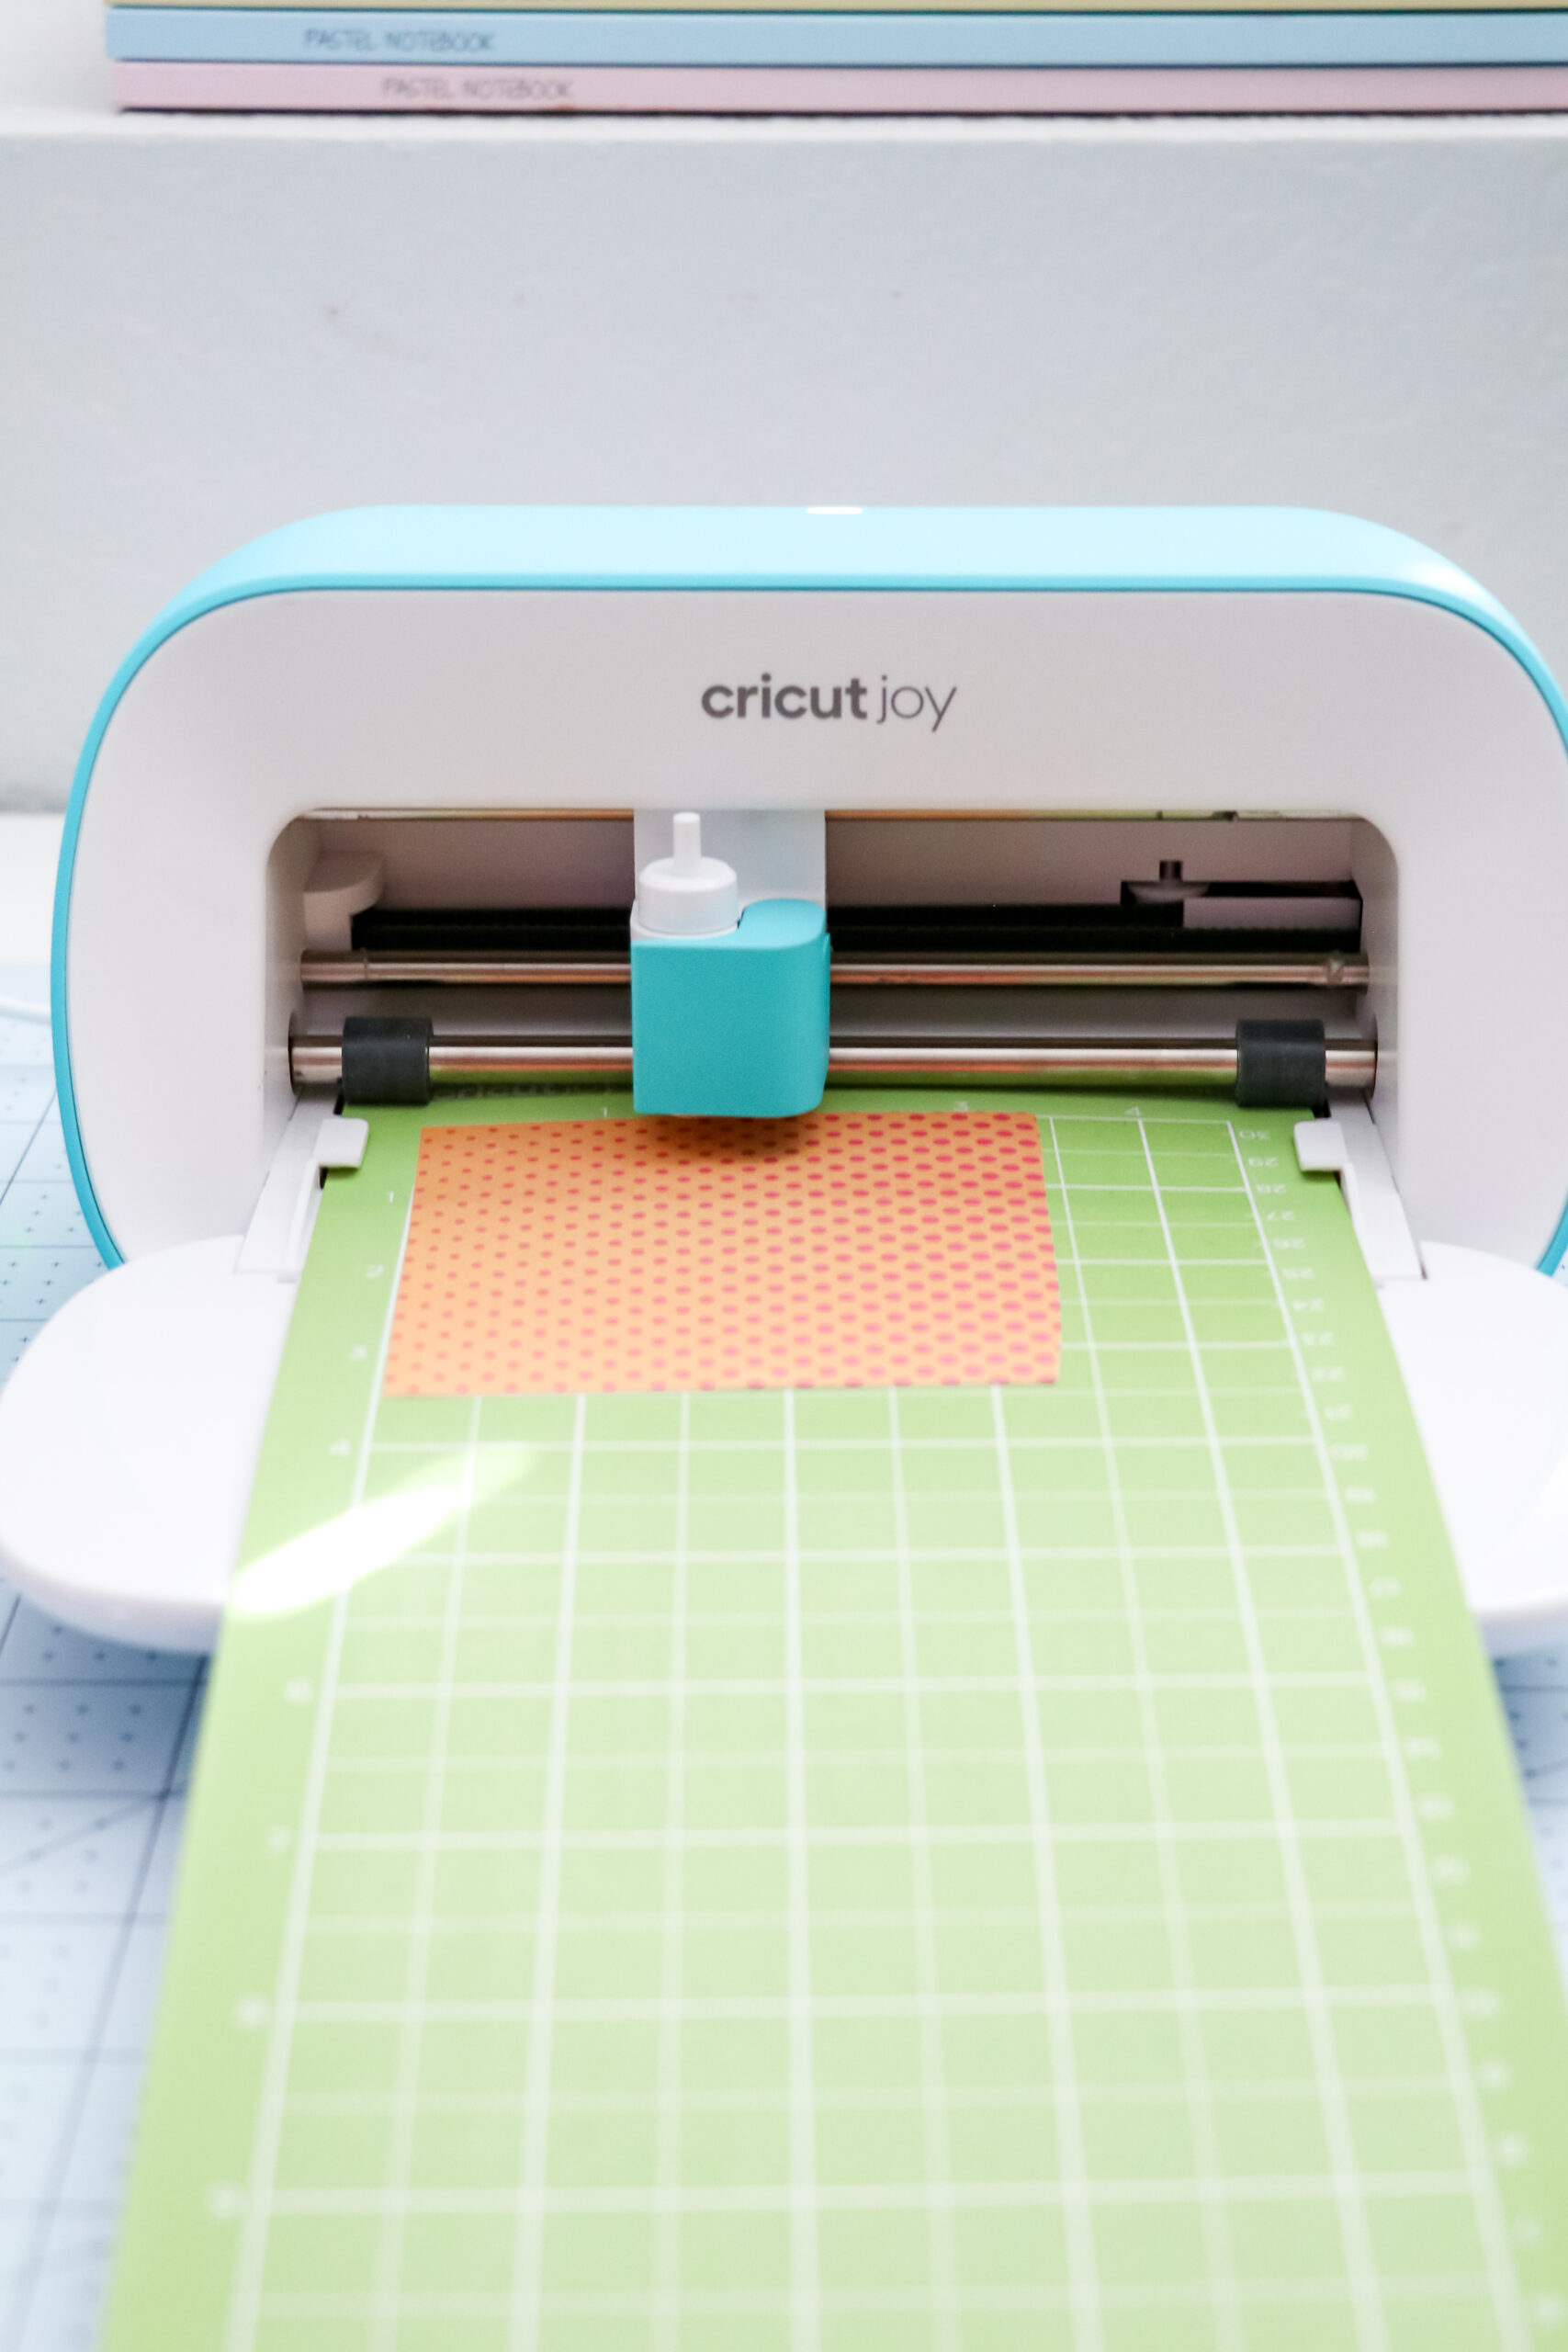
You can use any machine you like with your Cricut Mug Press, but my favorite machine to use is the Cricut Joy. It’s small, lightweight, portable, and easy to use, and it’s perfect for the Cricut Mug Press. The Joy cuts the perfect mug-size designs every time and the Cricut Joy infusible ink sheets are sized perfectly to fit the Cricut Mugs. However, use whatever Cricut machine you have on hand. When using the bigger infusible ink sheets I use my Cricut Maker 3.
What Designs to Use for Personalized Mugs
You can use any design you want. Cricut has a bunch of premade designs in Design Space that are perfectly sized for the Cricut Mugs or you can use any design in Design Space to make your own mug design. Of course, you can even use items you upload yourself, but today we’re using some of the fun designs Cricut has to offer.
Have you been in Cricut Design Space lately? They have added a lot of fun and pretty designs over the last year with a lot of new designers!
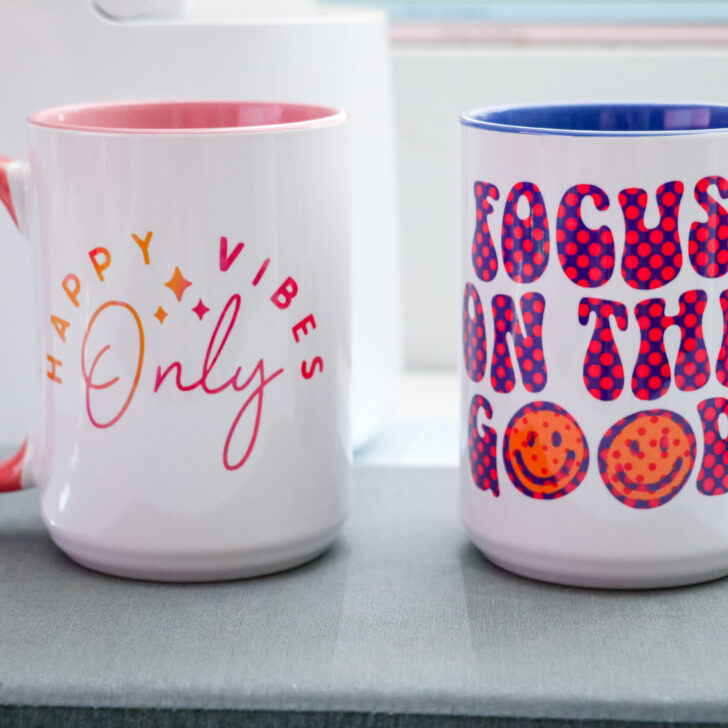
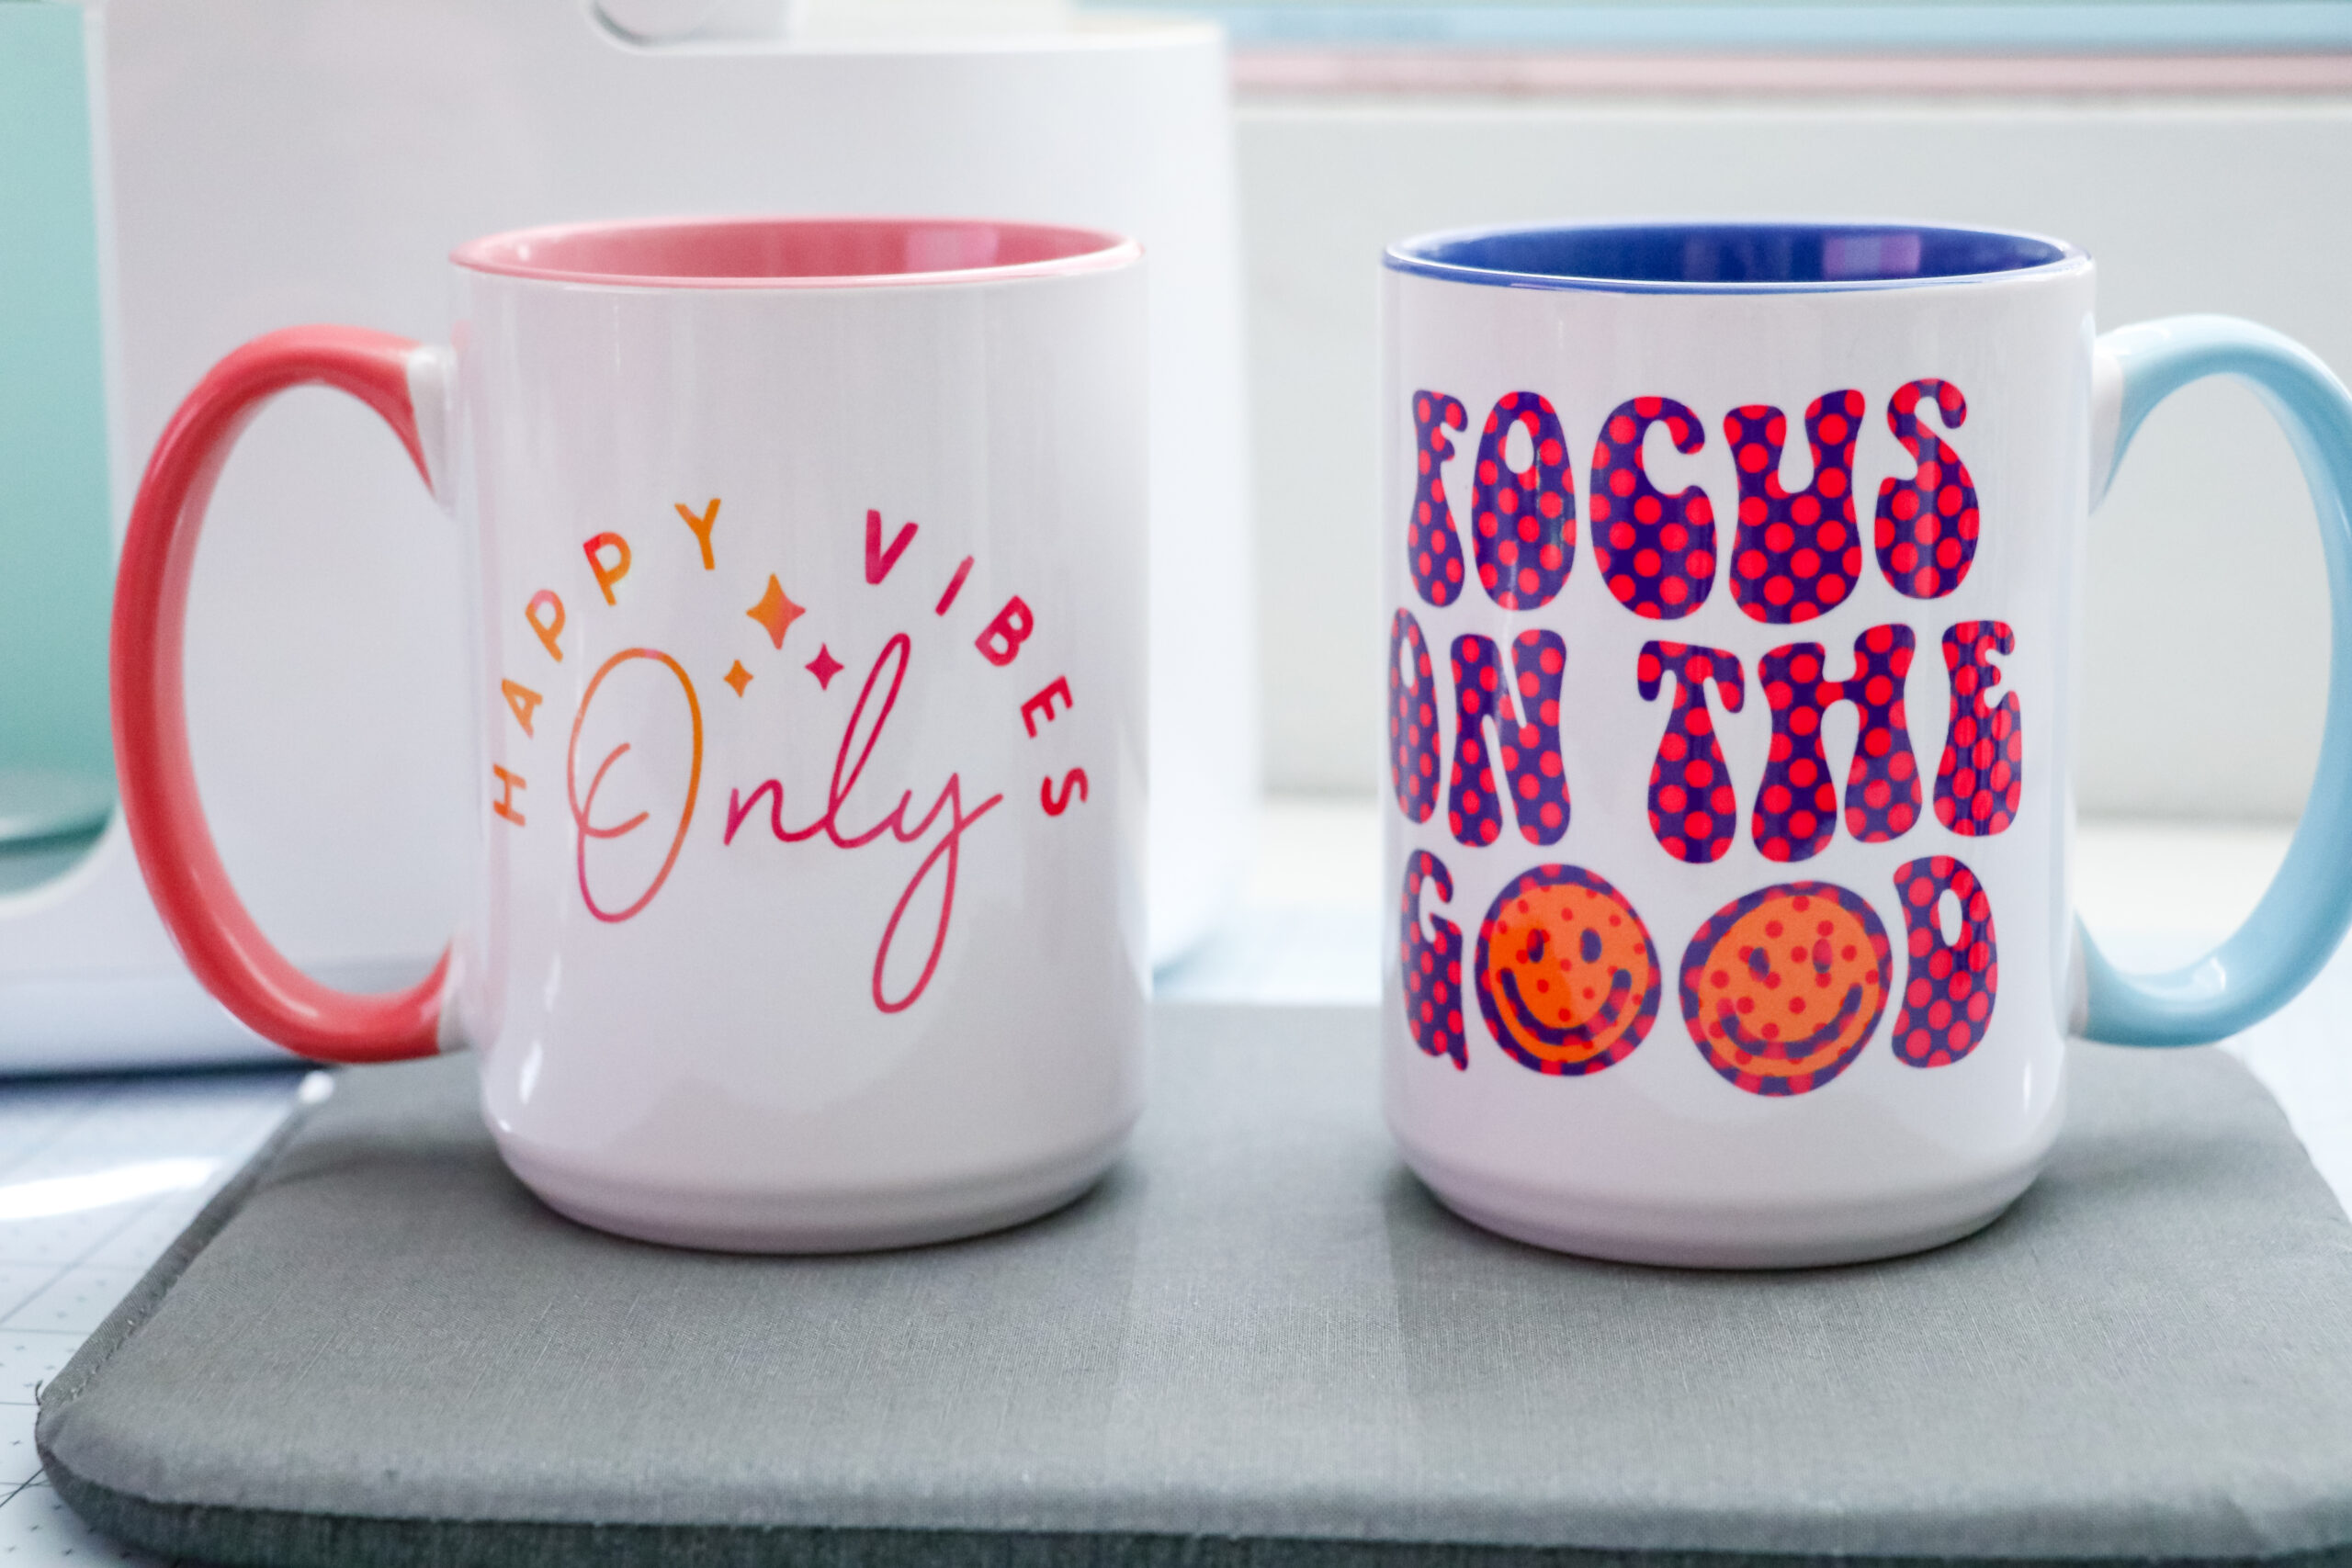
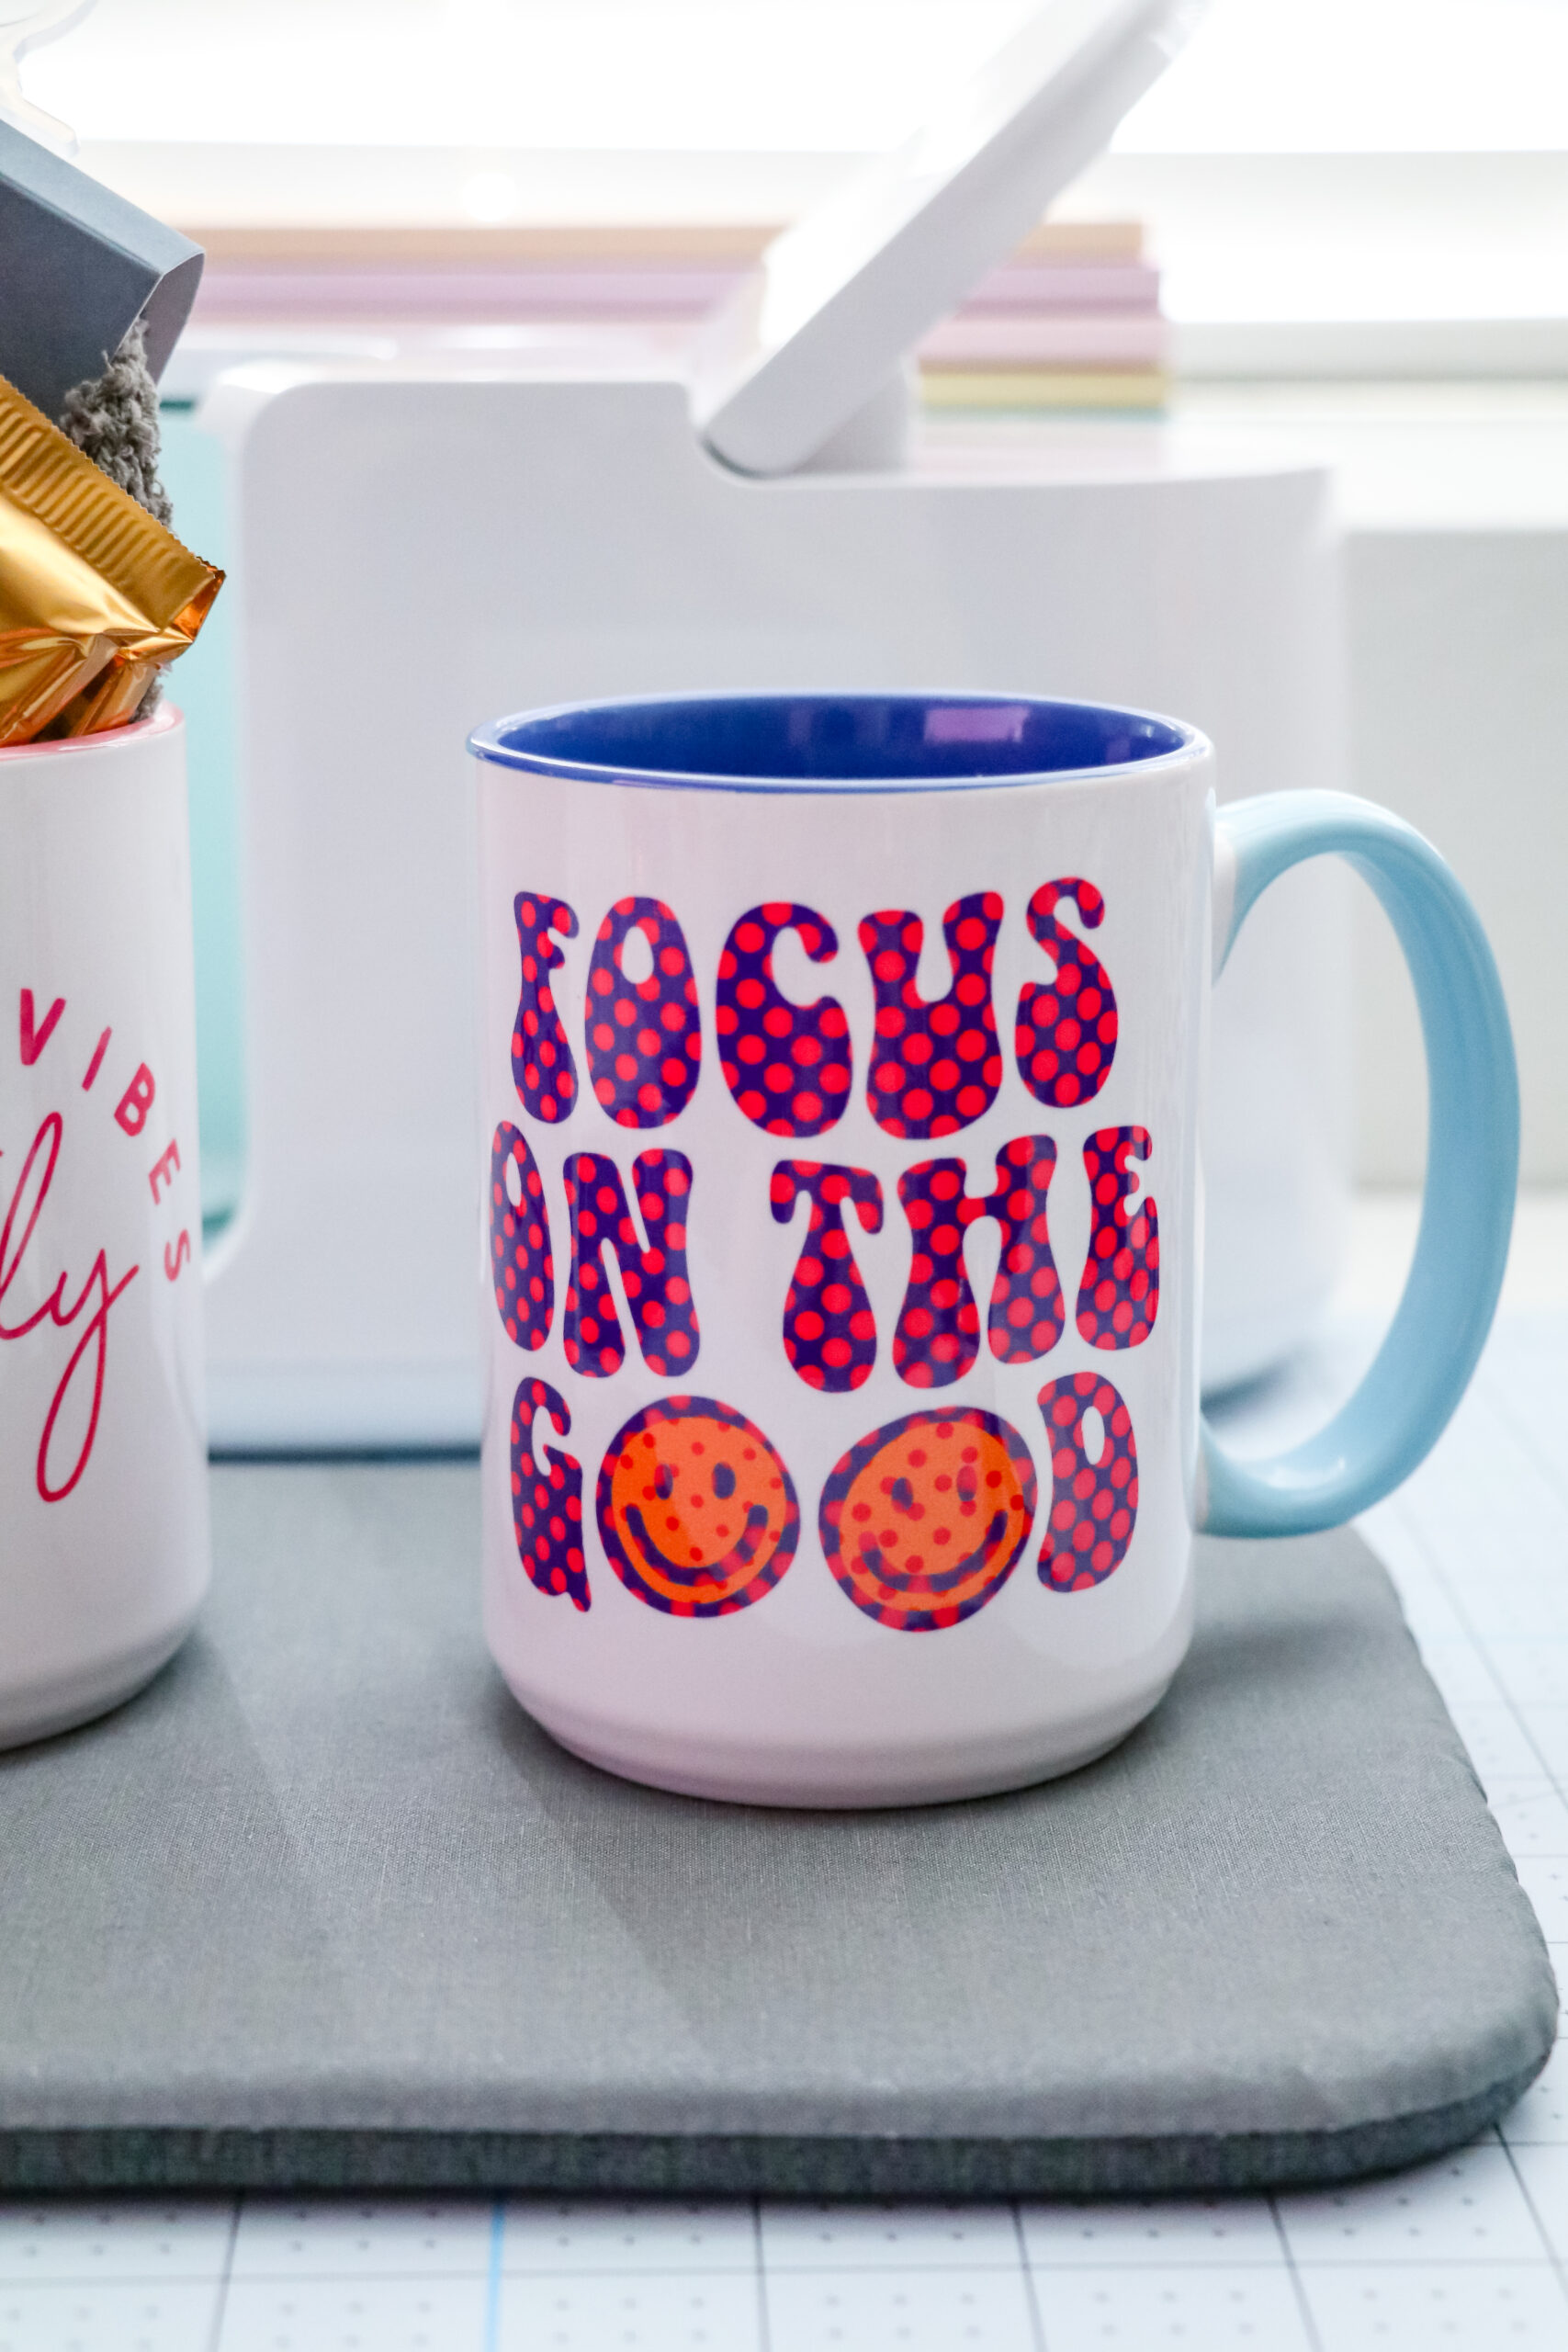
For this project, I used the following designs: Bat Leopard Print #M3F8F2664, Focus On The Good #M3F819512, and Happy Vibes Only #M3E6A2675.
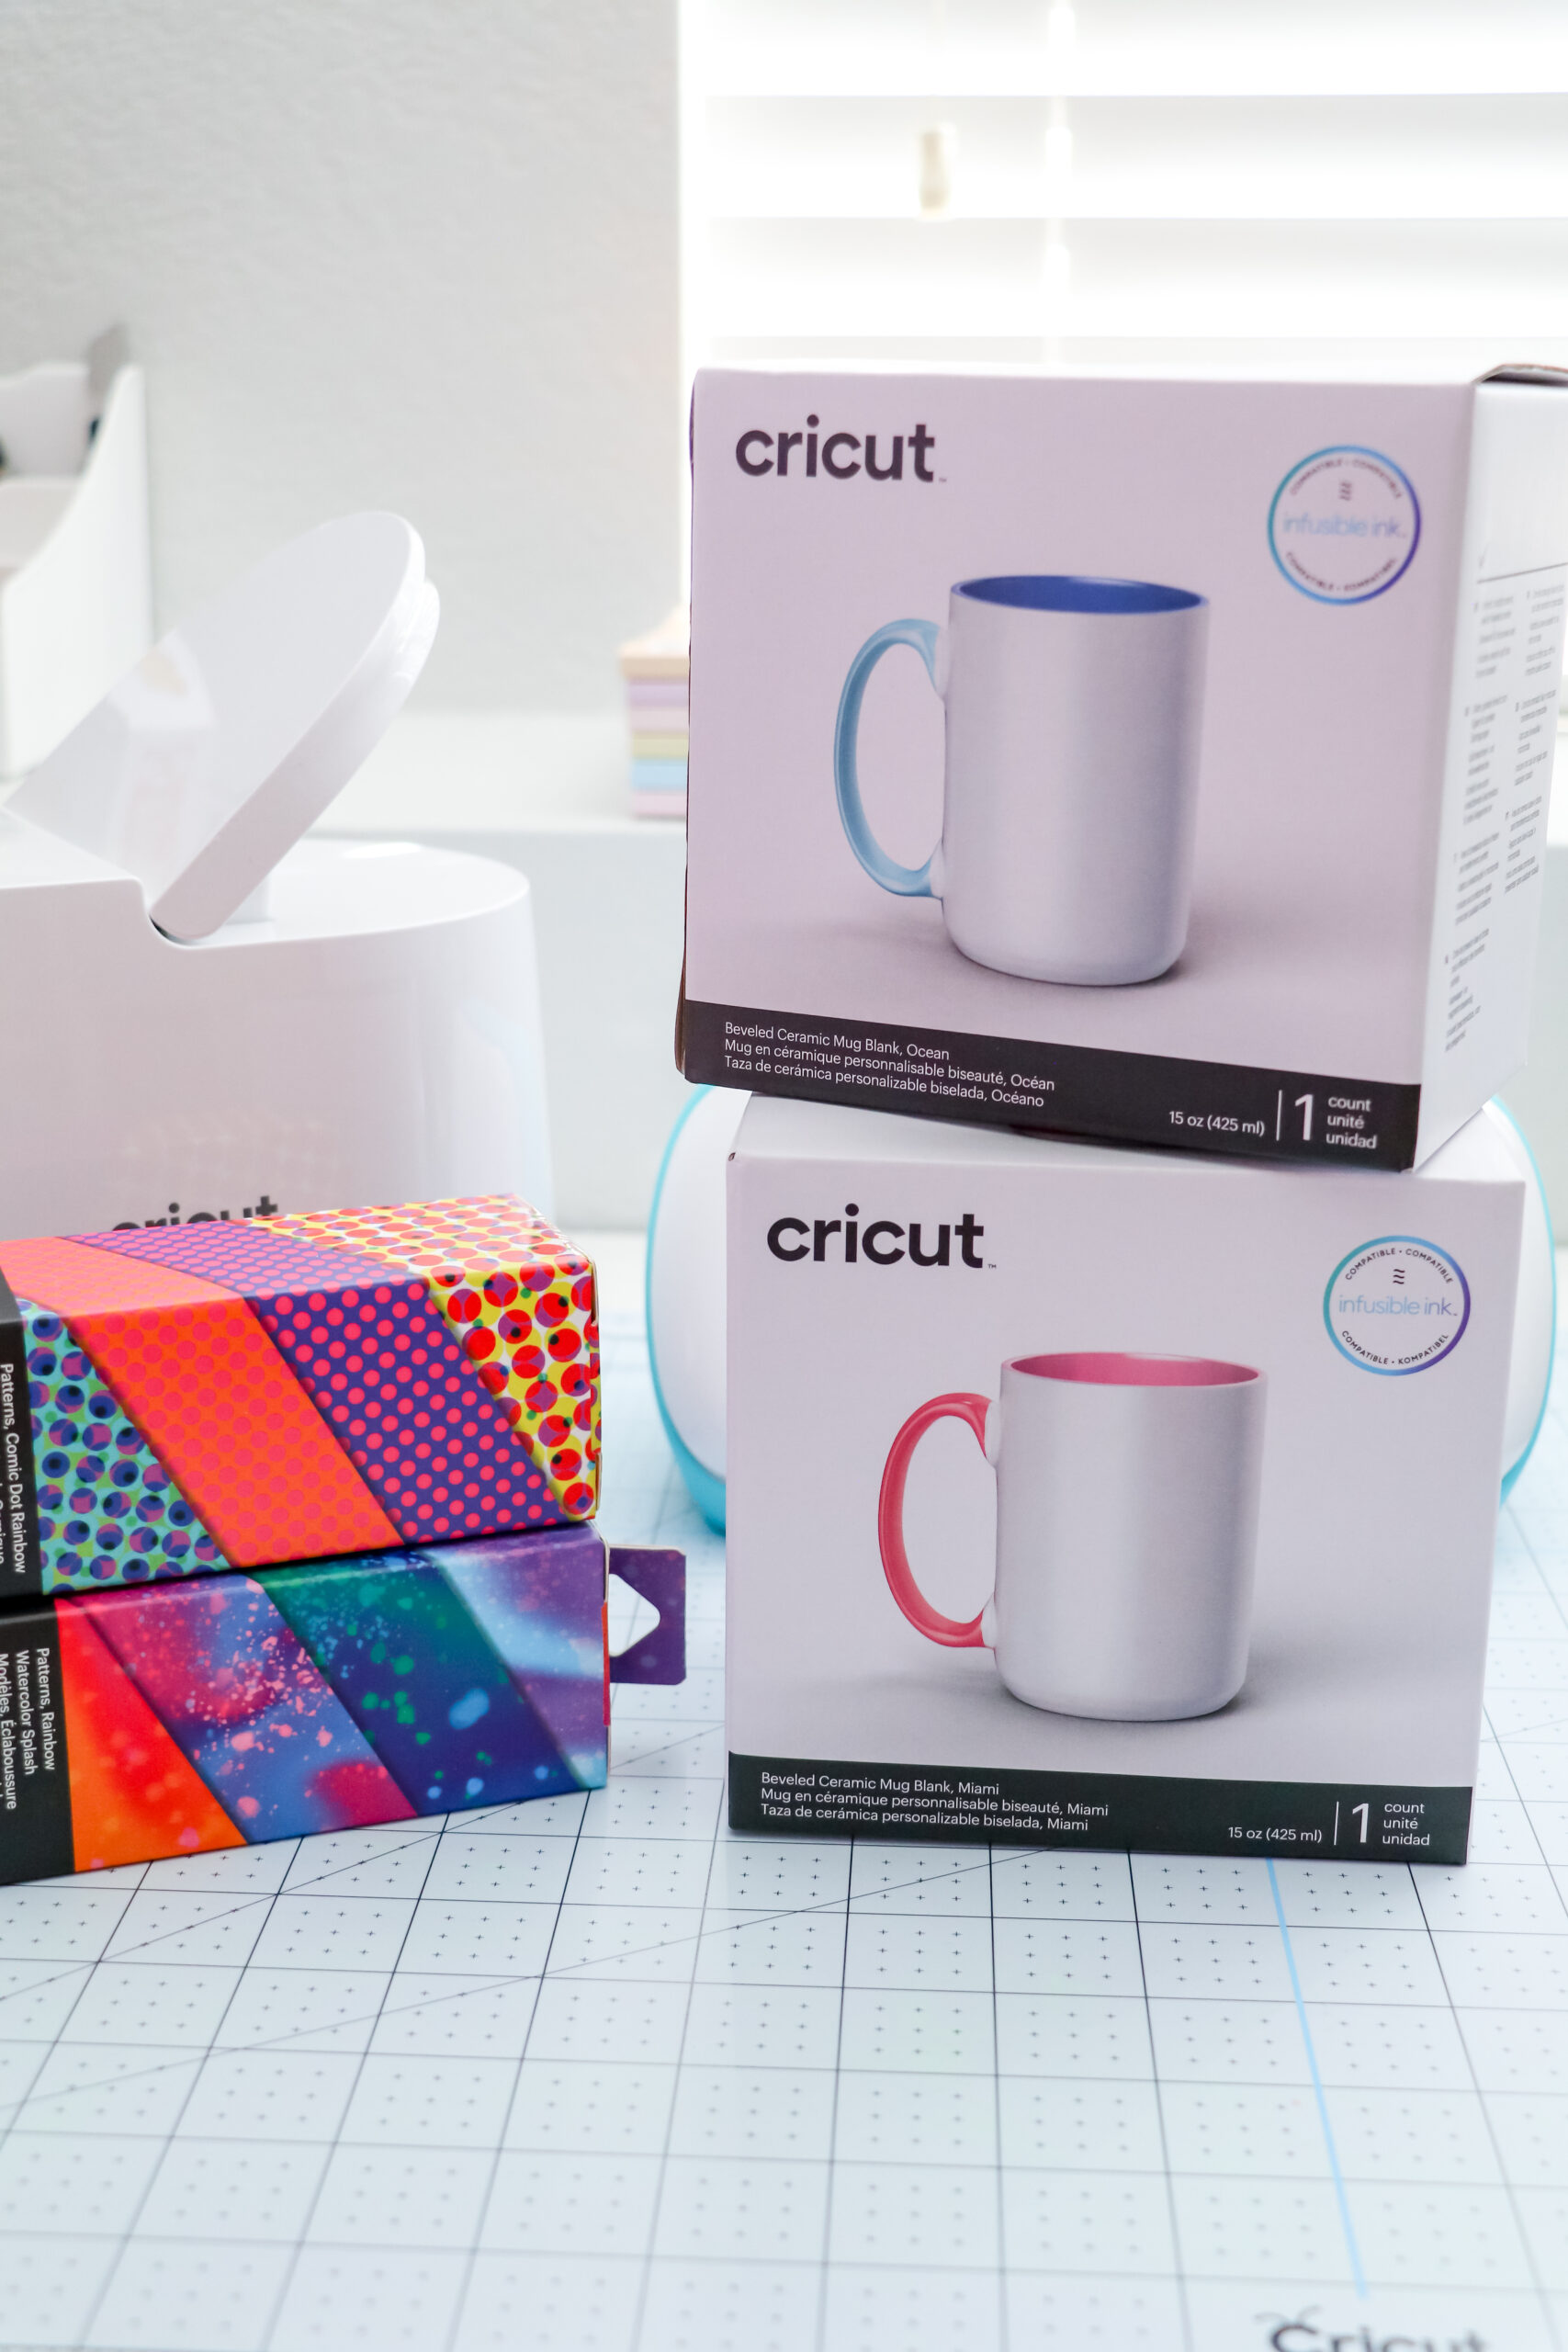
Supplies Needed to Make a Cricut Personalized Mug
- Cricut Mug Press – I used the beveled mugs in Grey, Miami, and Ocean.
- Cricut Machine
- Blank, Cricut Mugs
- Infusible Ink Sheets – I used Black, Comic Rainbow, and Rainbow Watercolor Splash.
- Lint Roller
- Heat Tape
How to Make a Personalized Cricut Mug
Step 1: Pick a design in DesignSpace
You can either use a premade Cricut Mug Design or use the blank mug wrap, add a design to it, and size it to fit the template.
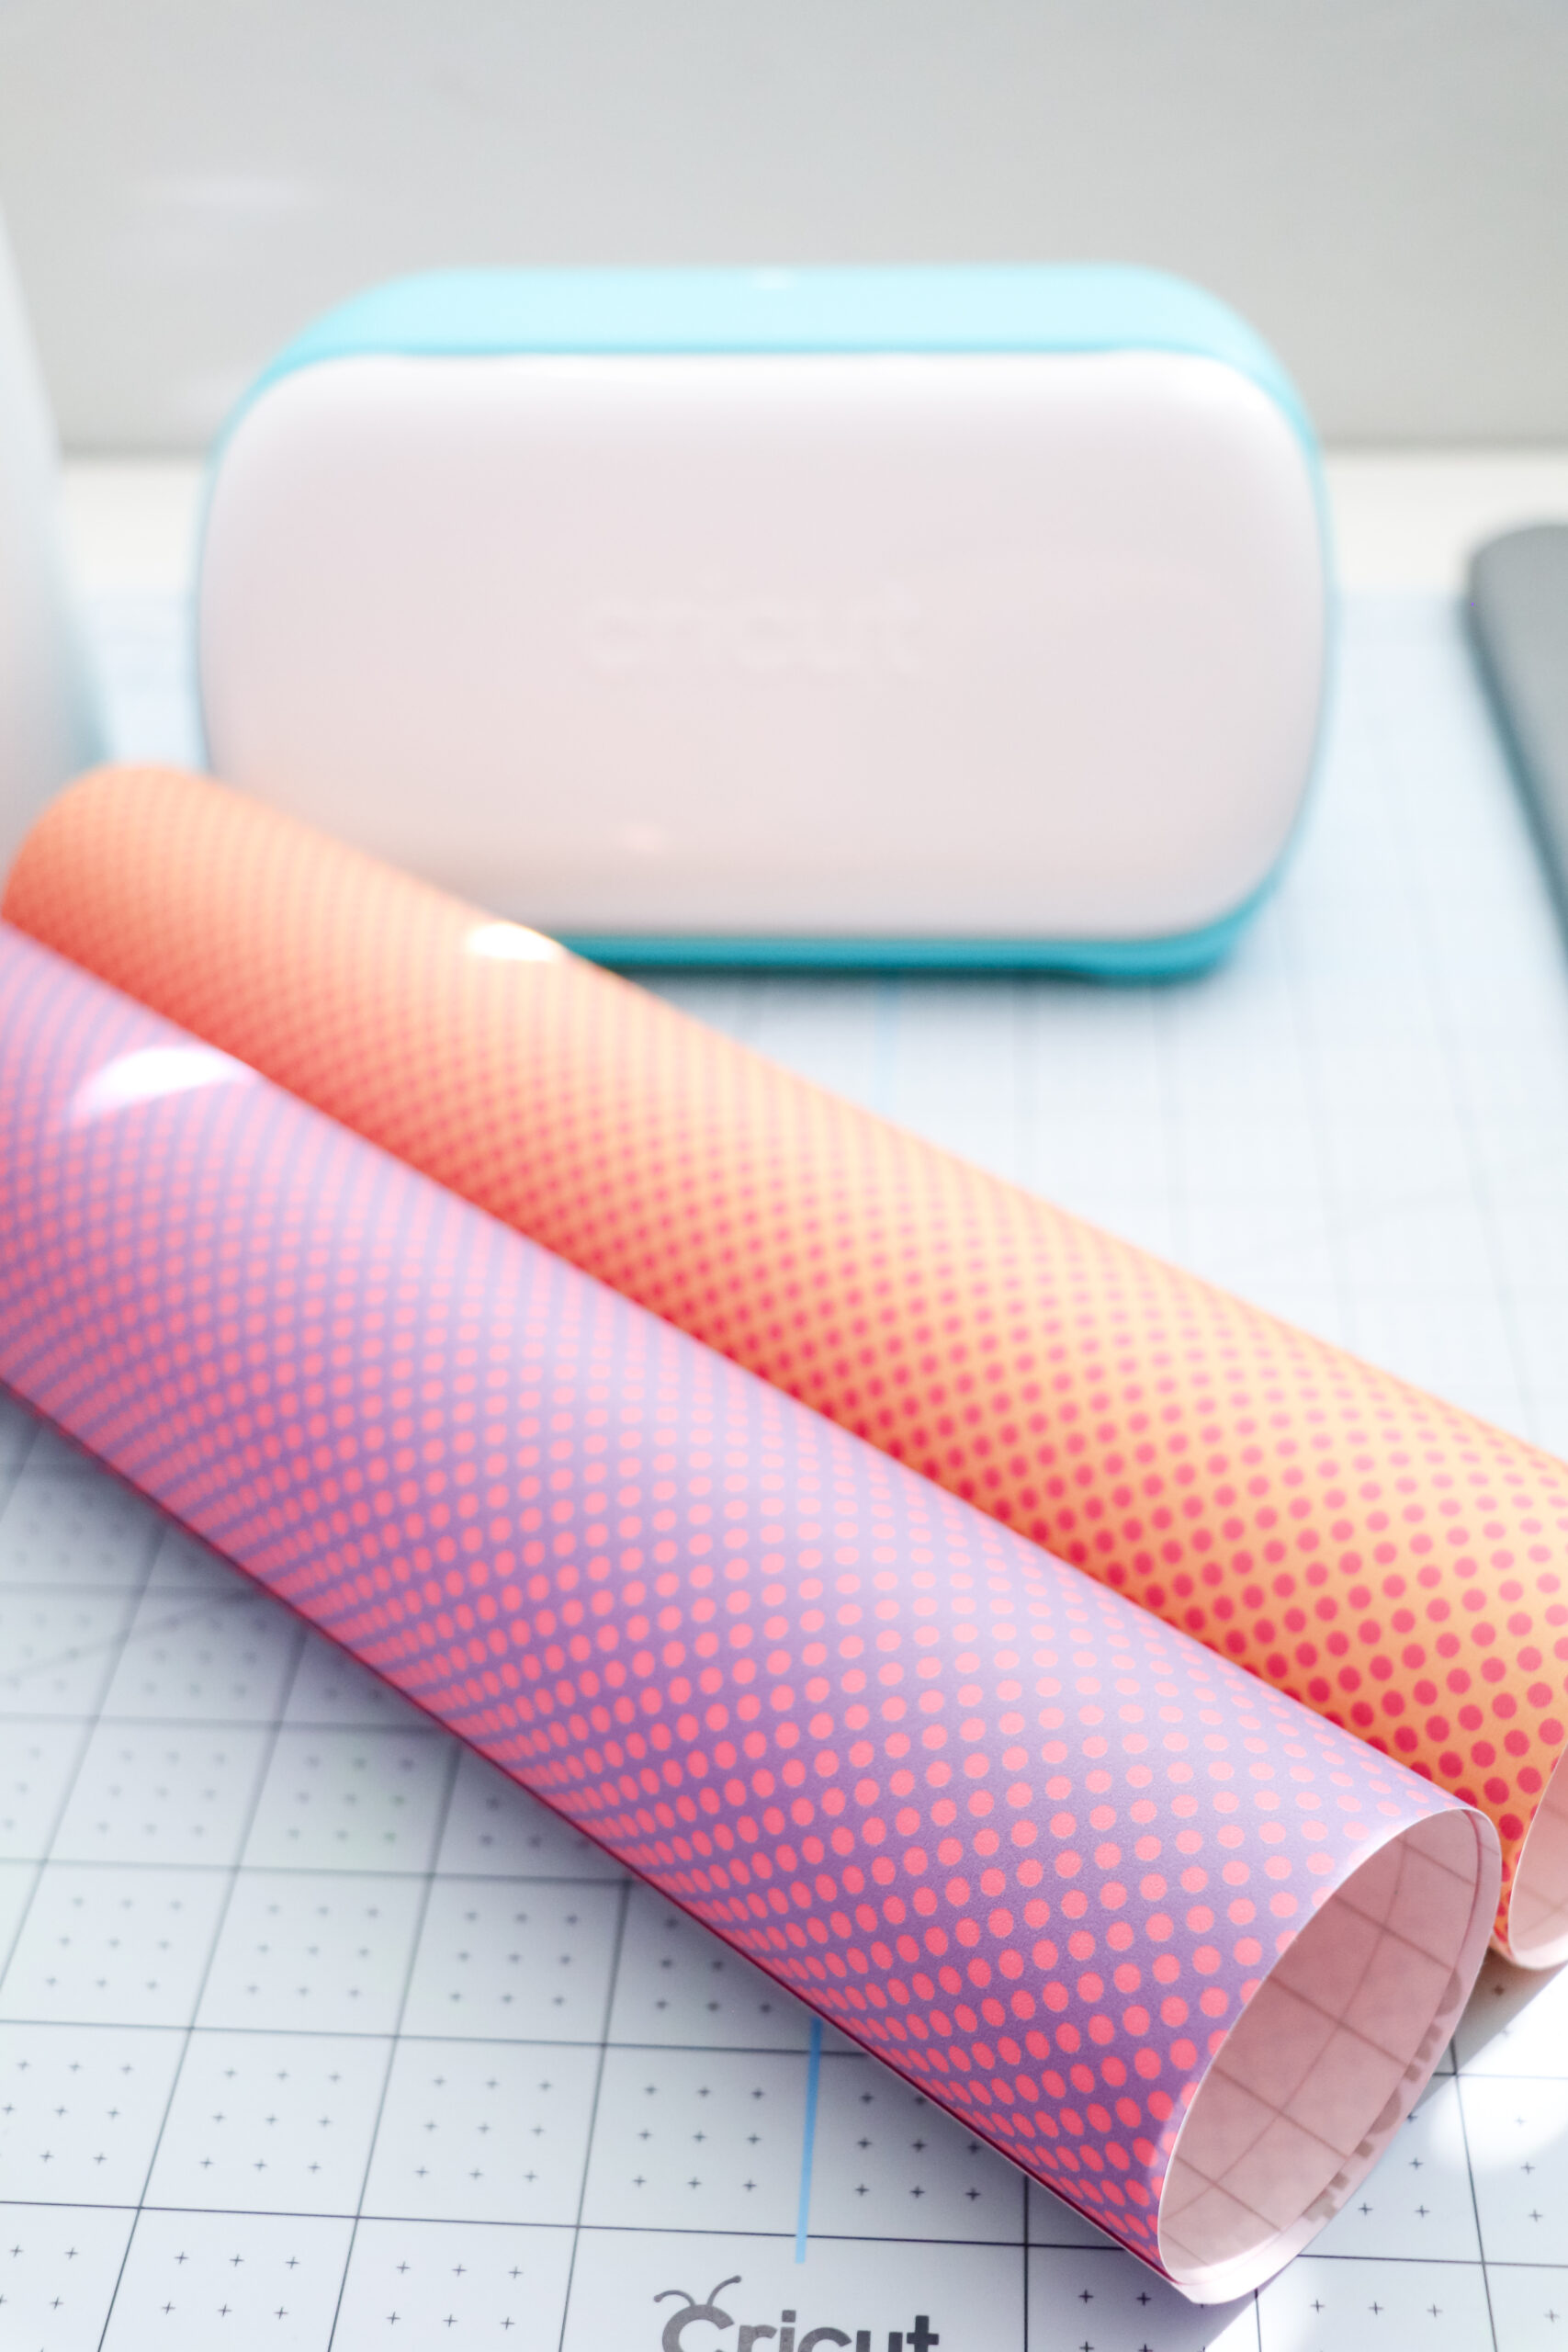
Step 2: Cut your design out on Infusible Ink.
Make sure to mirror!
Step 3: Weed your Design.
After you cut your design weed it. If you need help weeding infusible ink I have a video explaining how I weed my designs.
Step 4: Clean your mug blank.
Lint roll your Cricut mug blank to get any dust or debris off it.
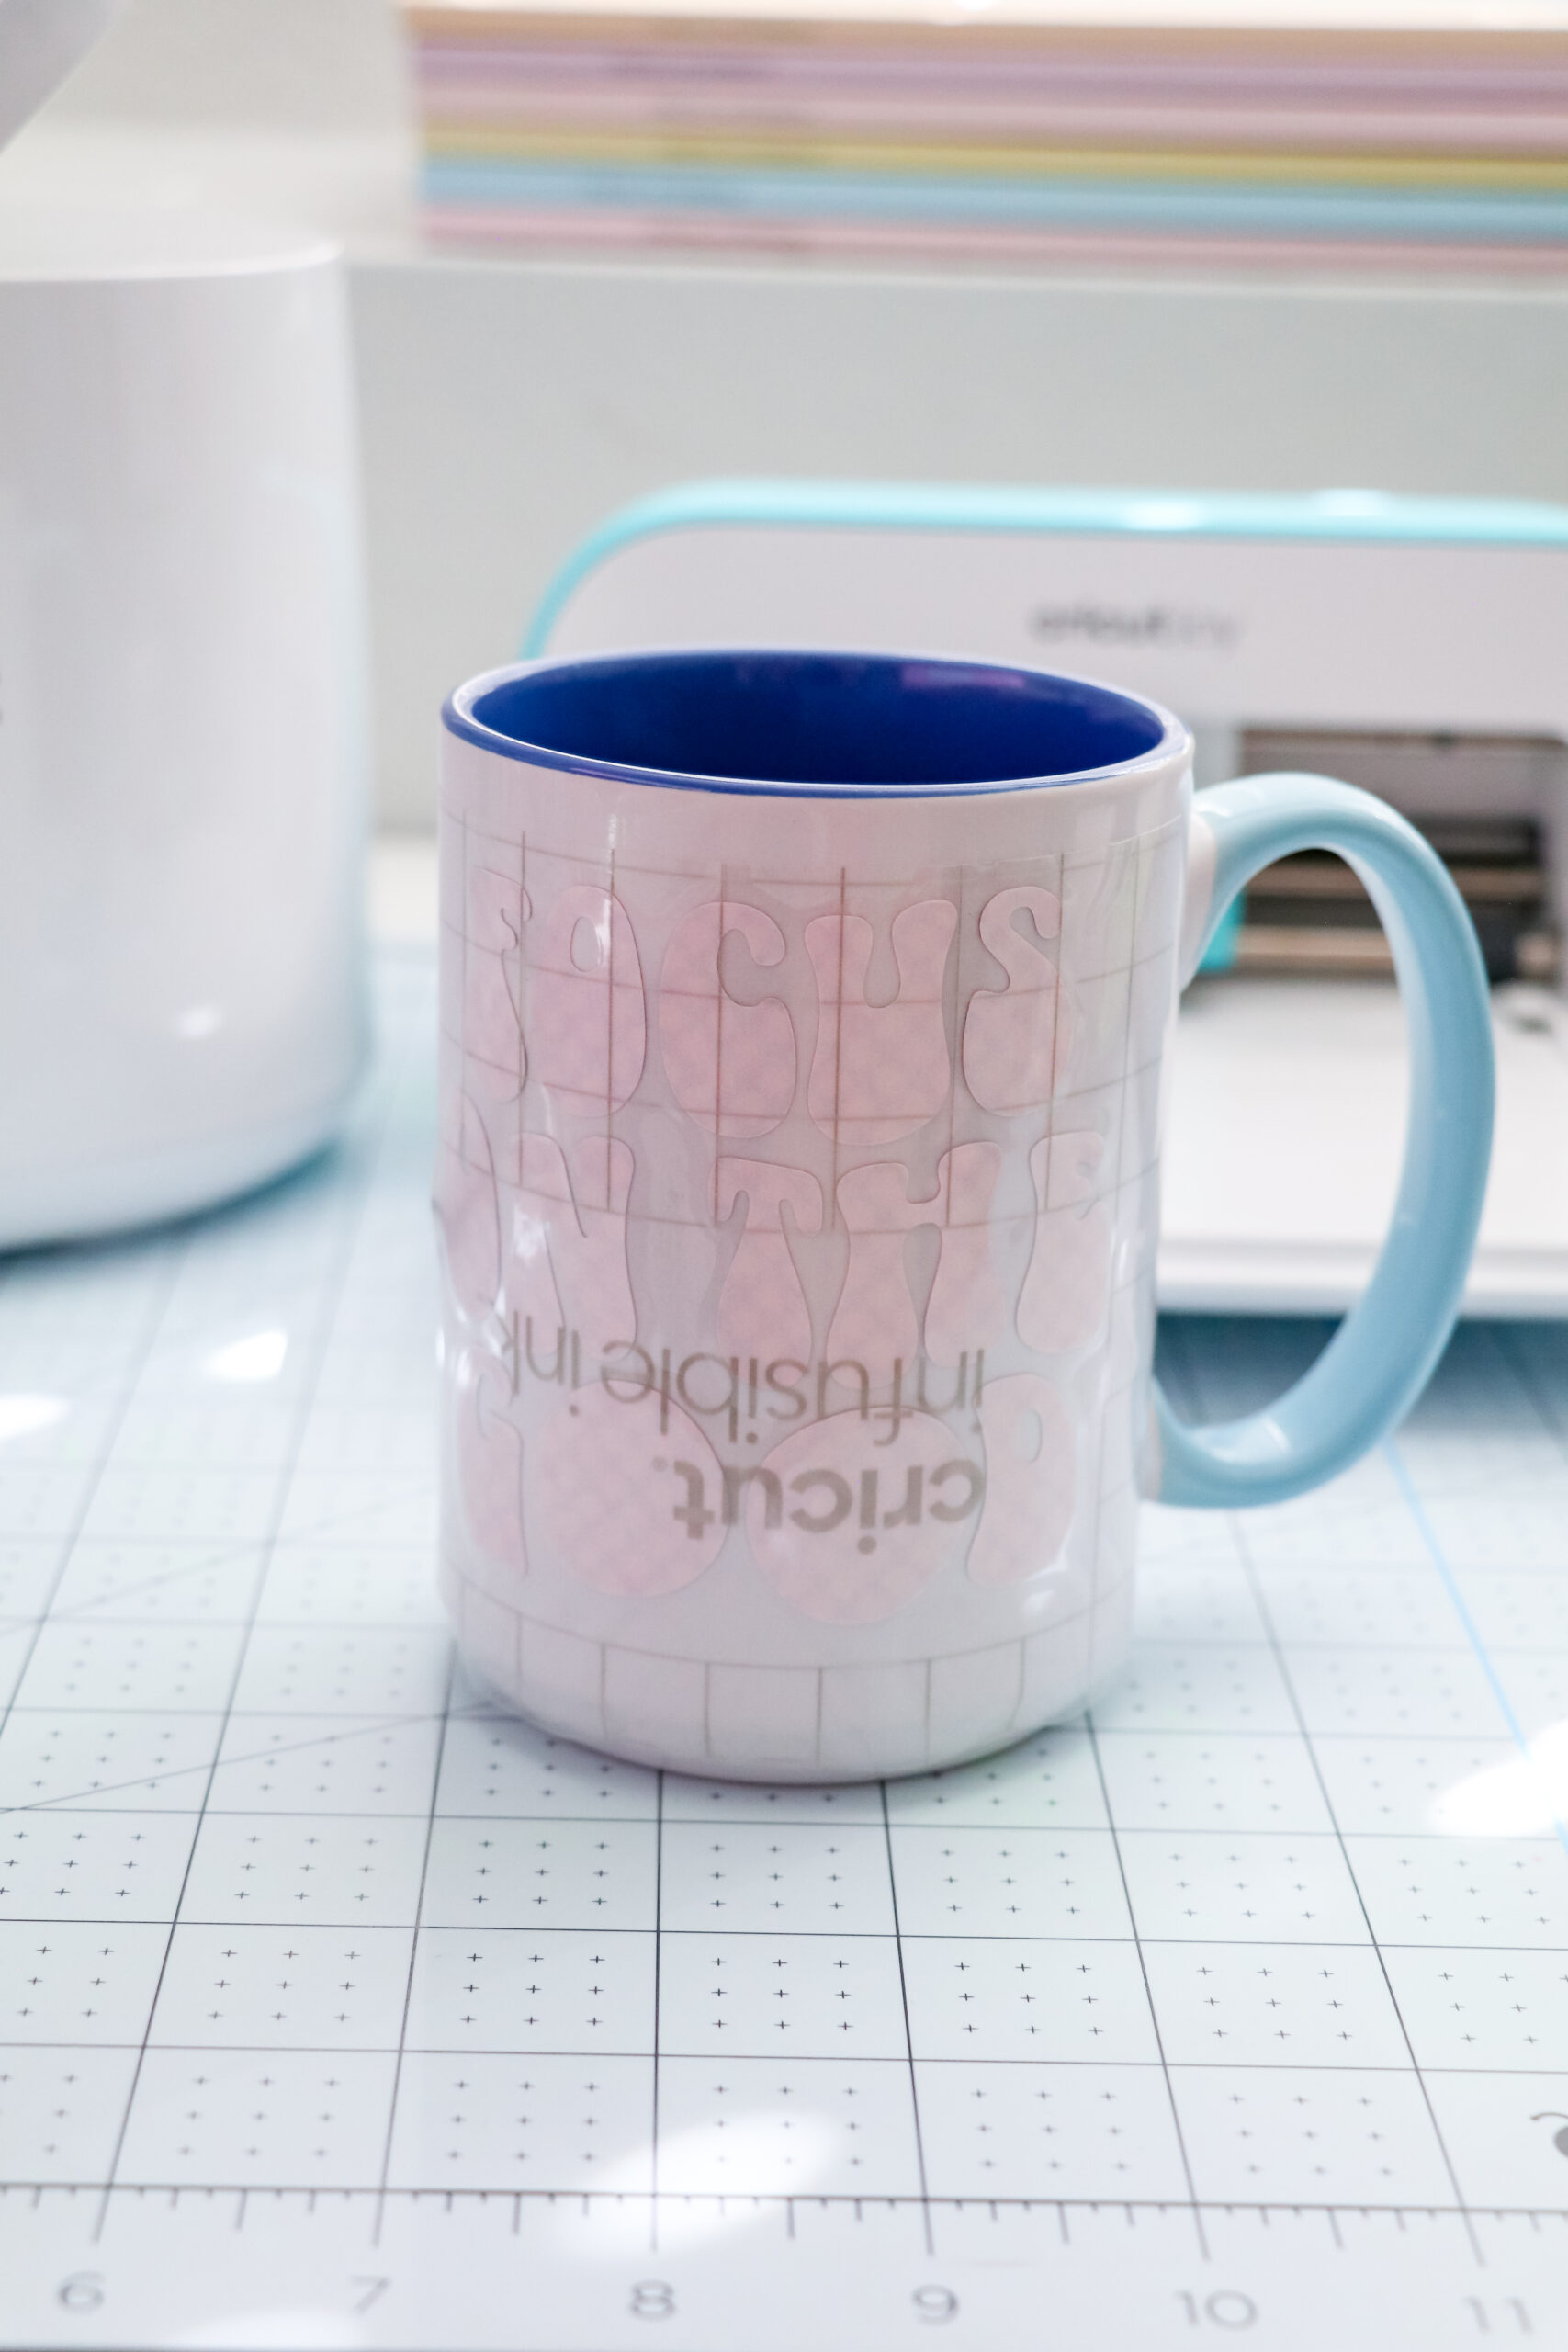
Step 5: Place the Design on Your Mug.
Place your design on your mug, making sure it’s perfectly lined up with the rim of the mug. Tape around the top and bottom of the design to make sure it’s secure in place.
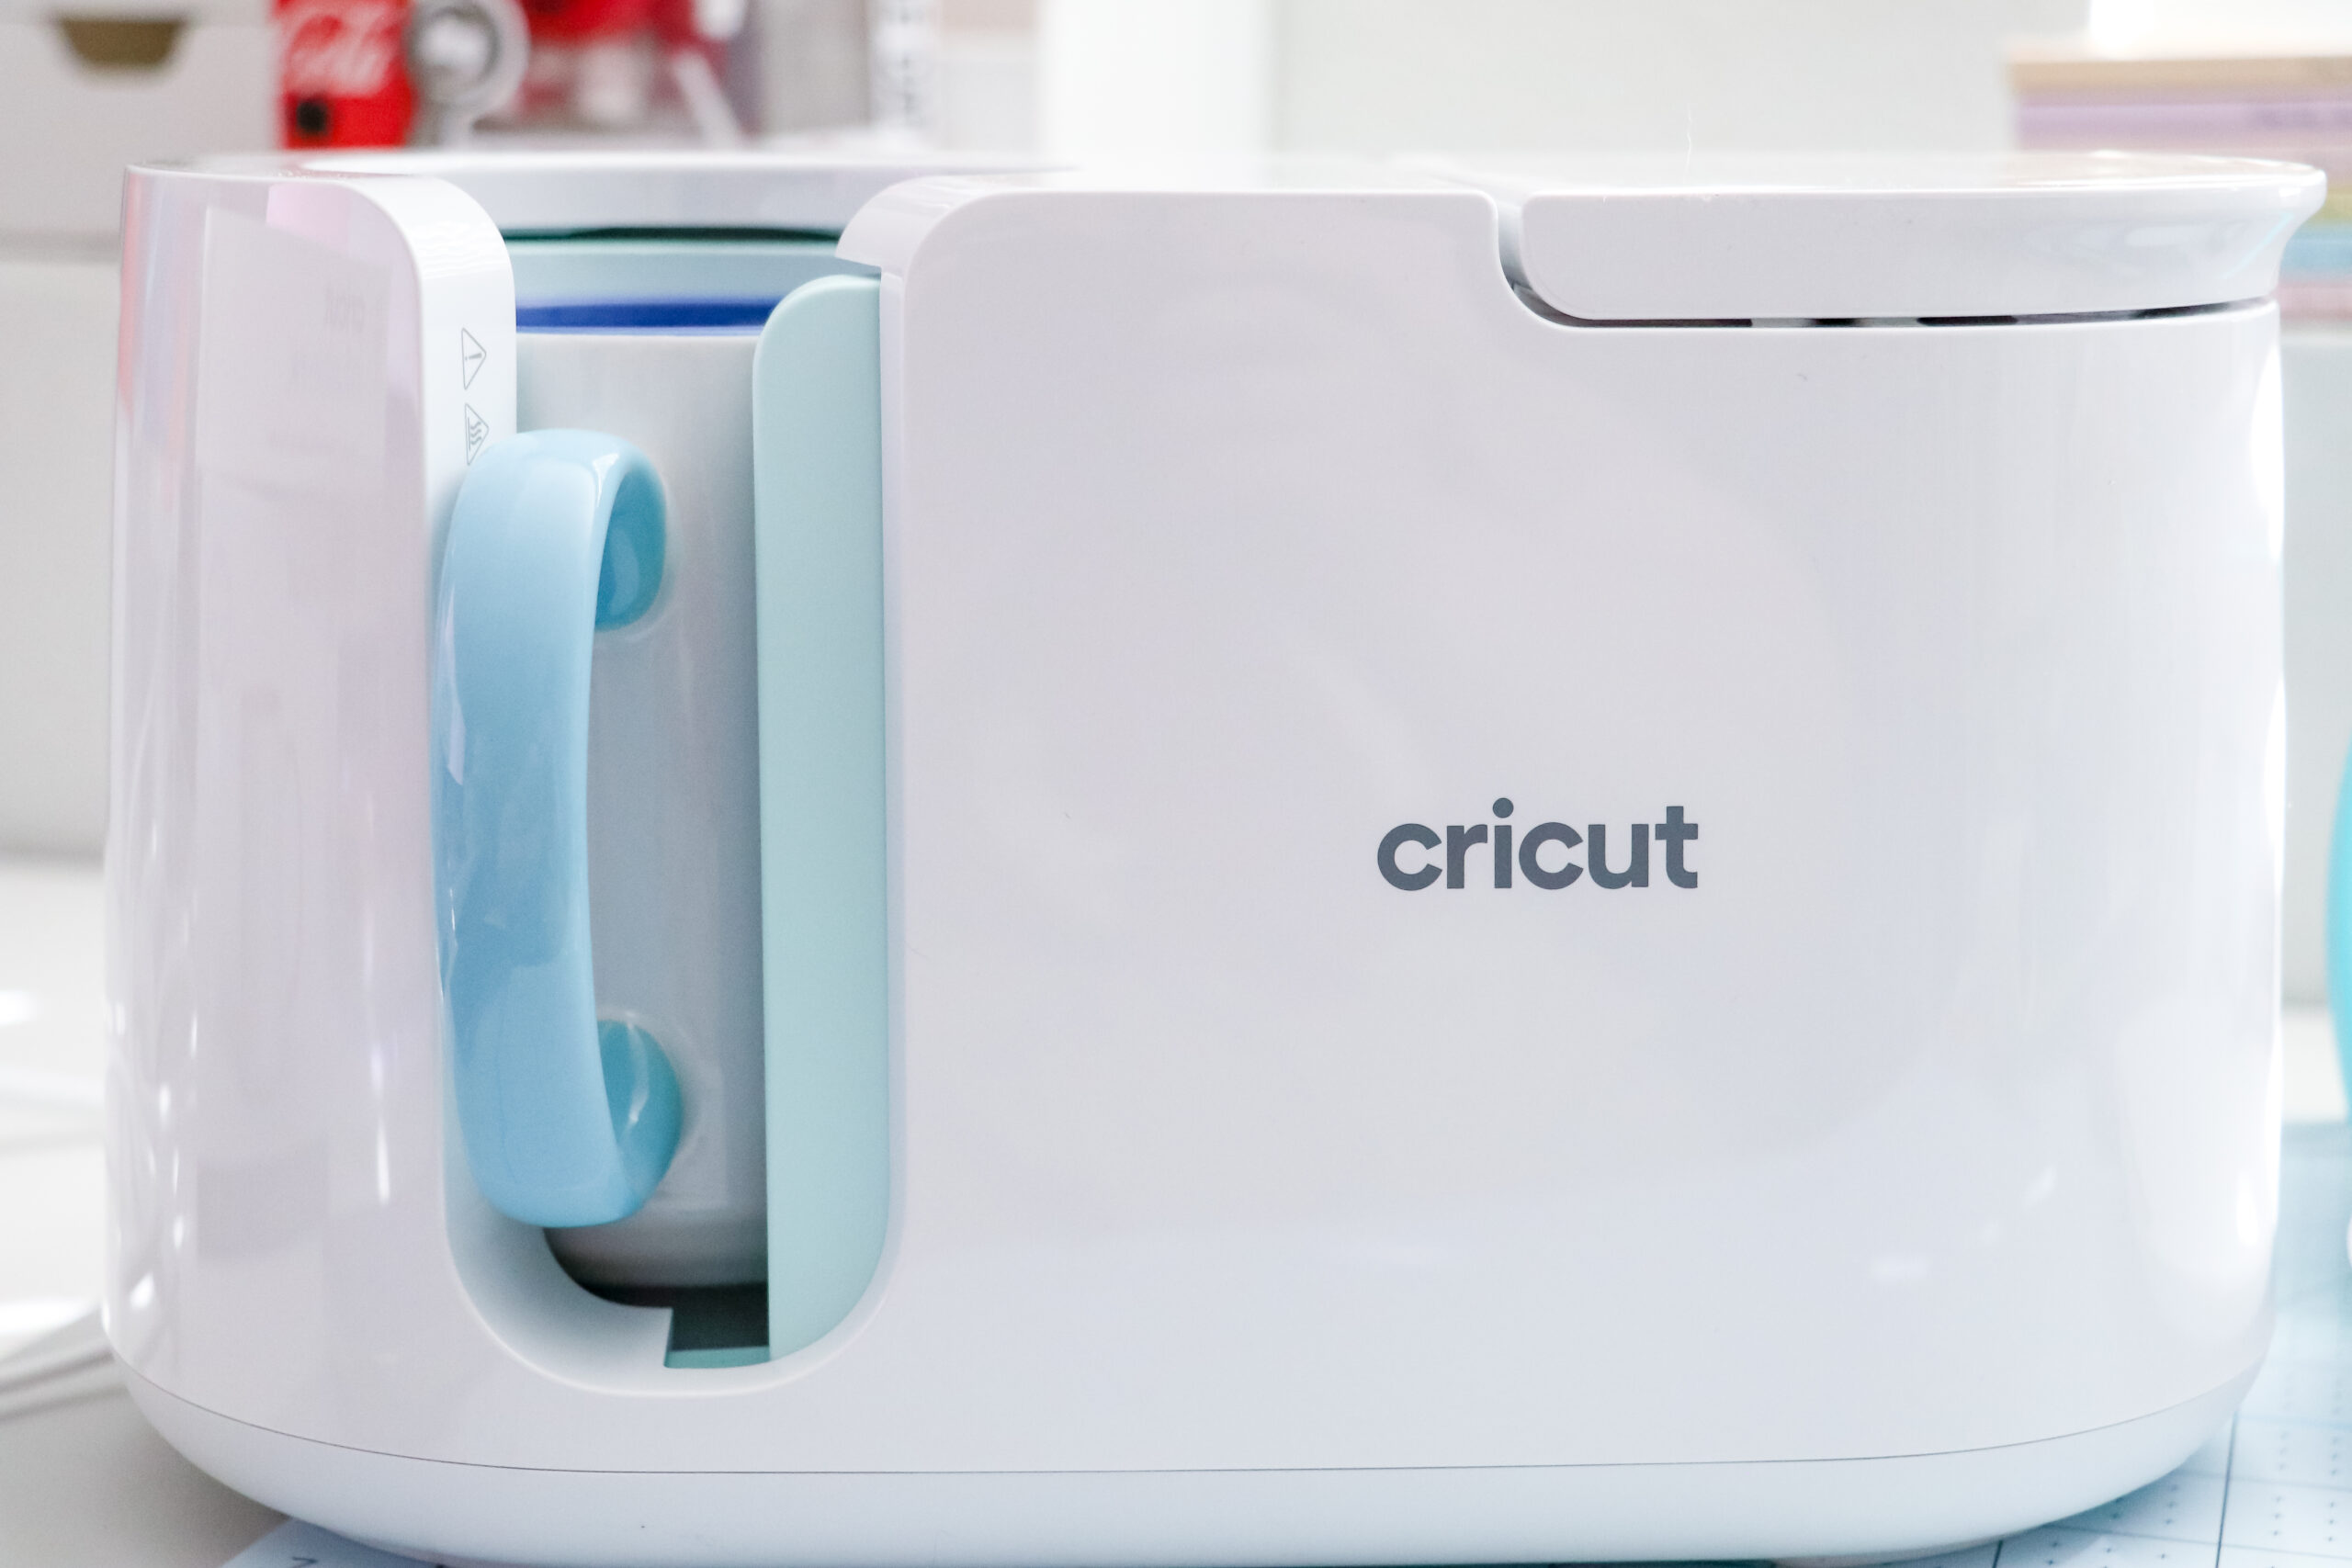
Step 6: Press Your Mug
Place your mug in the Cricut Mug Press and push the lever down until the timer is done.
Step 7: Let Mug Cool and Peel Design
Let your mug cool completely and then remove the infusible ink and tape. Do not try to do this while the mug is still hot since you can burn yourself and it can cause ghosting on the design.
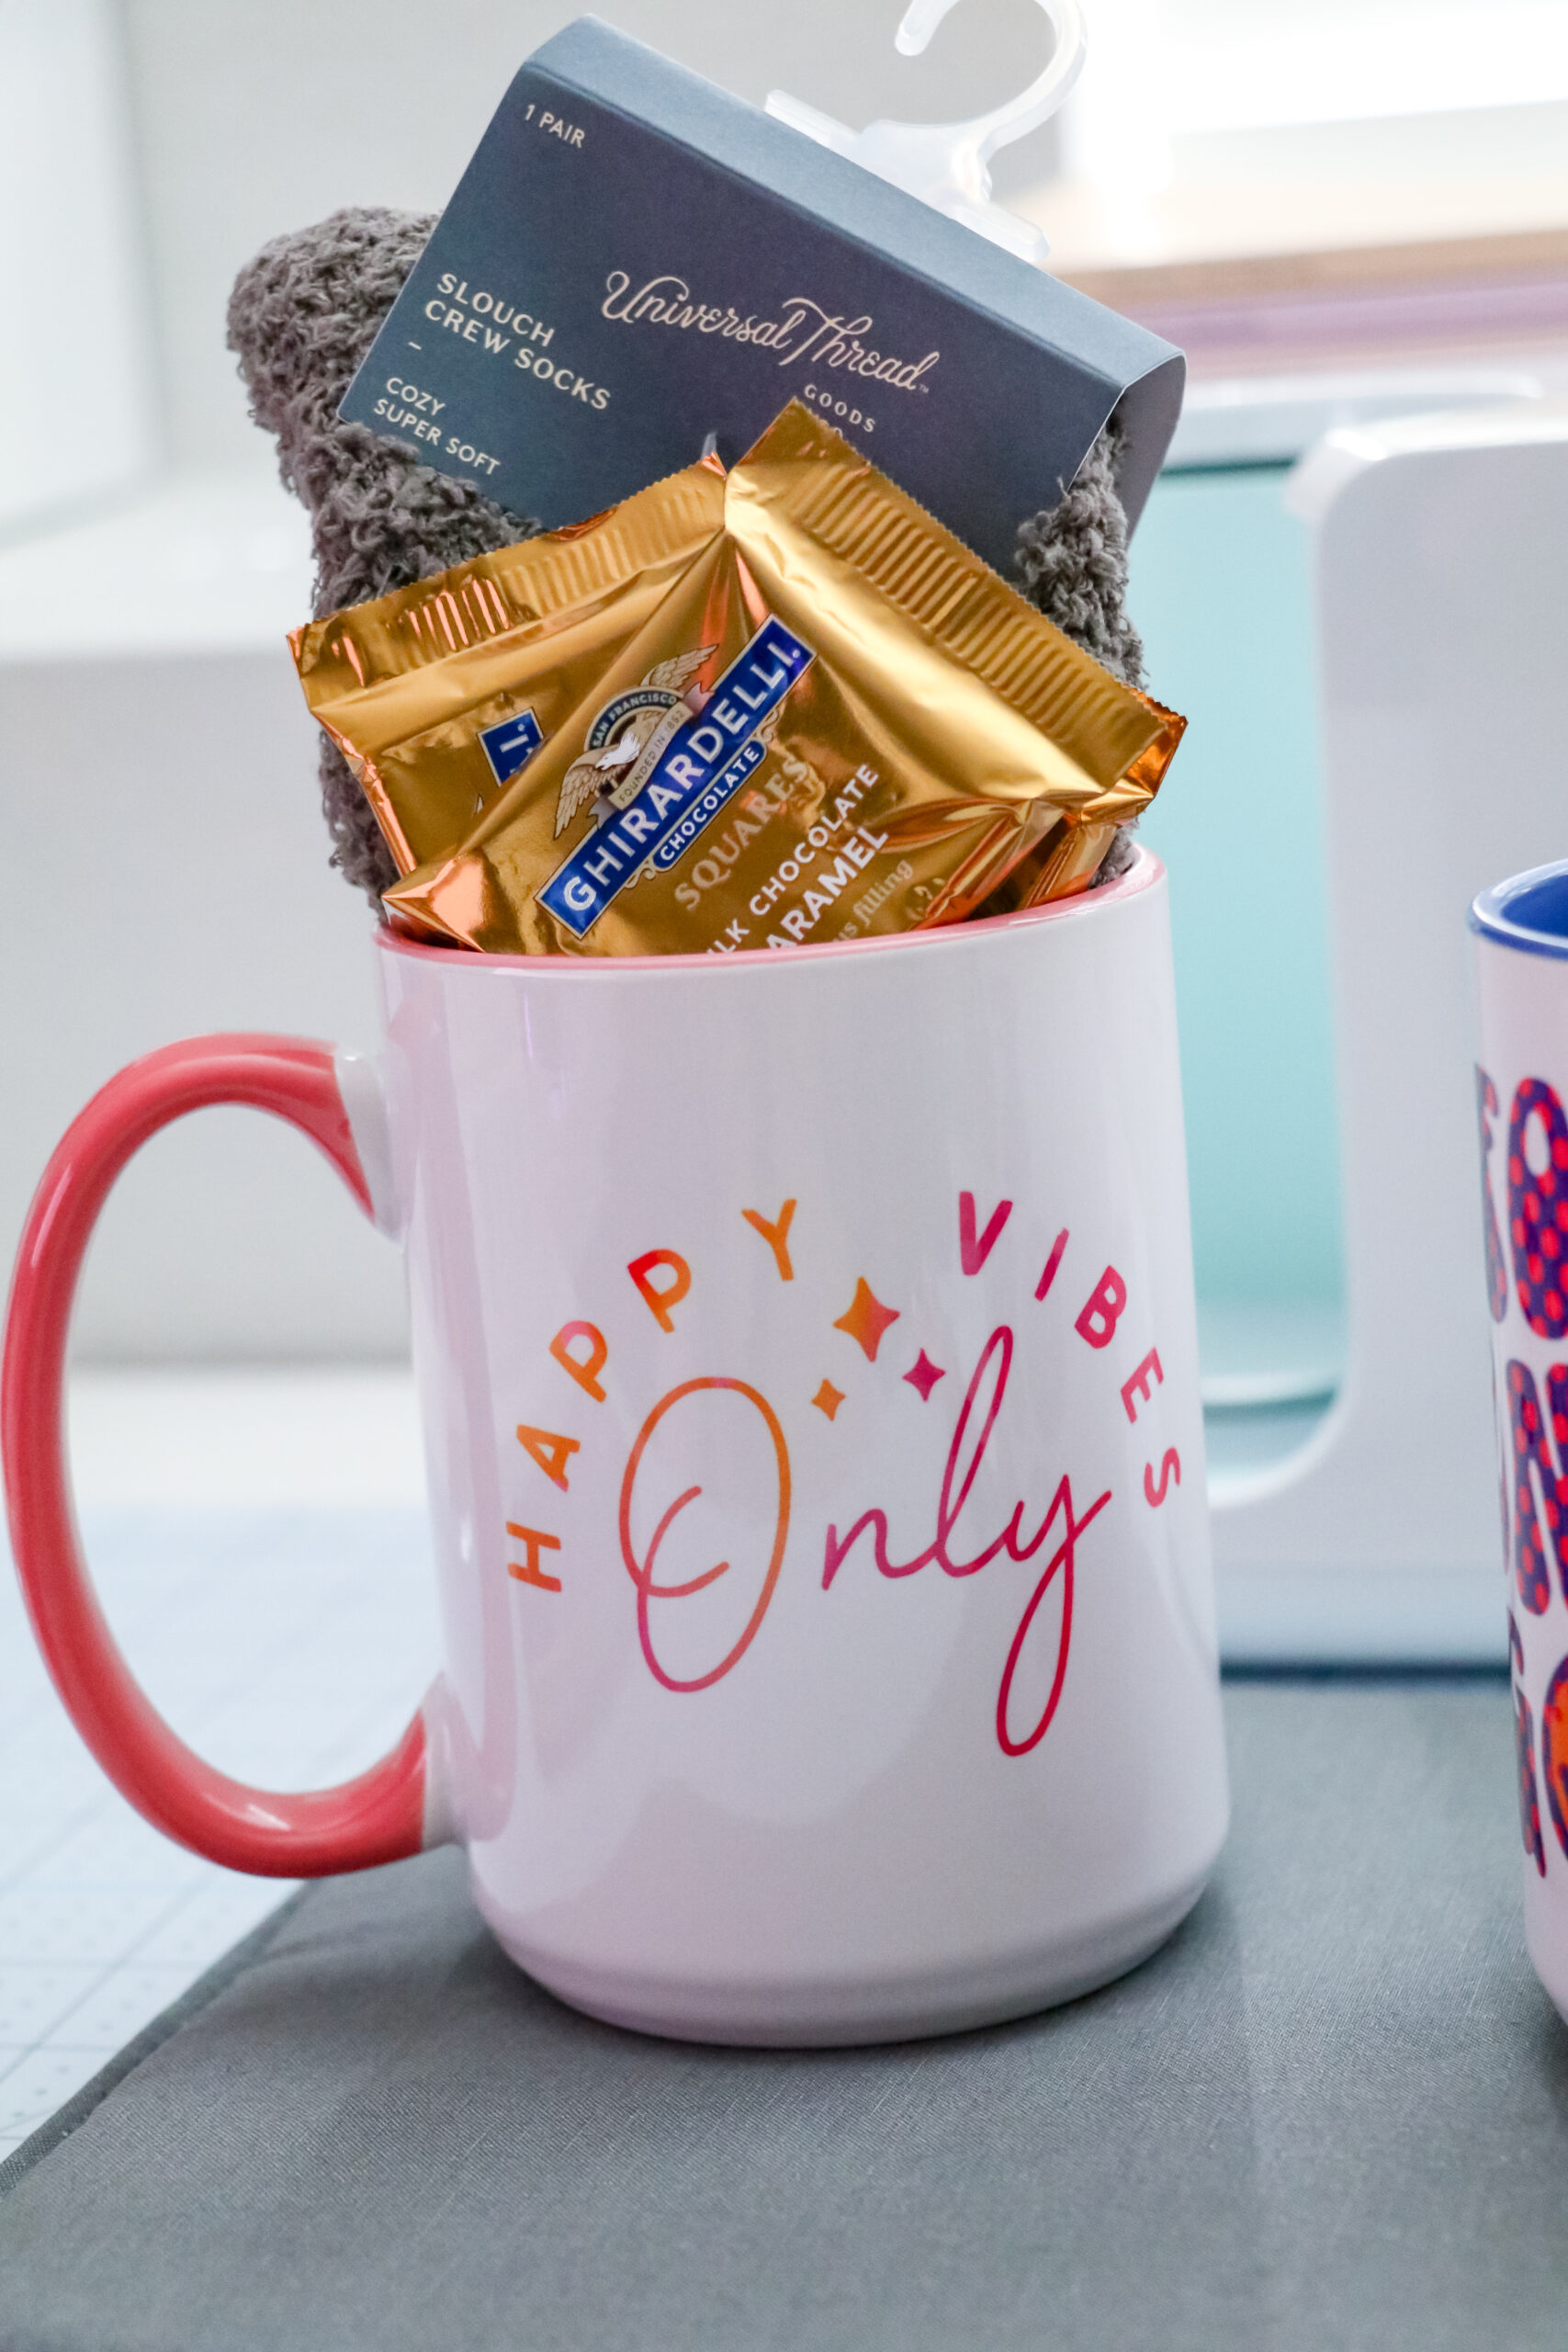
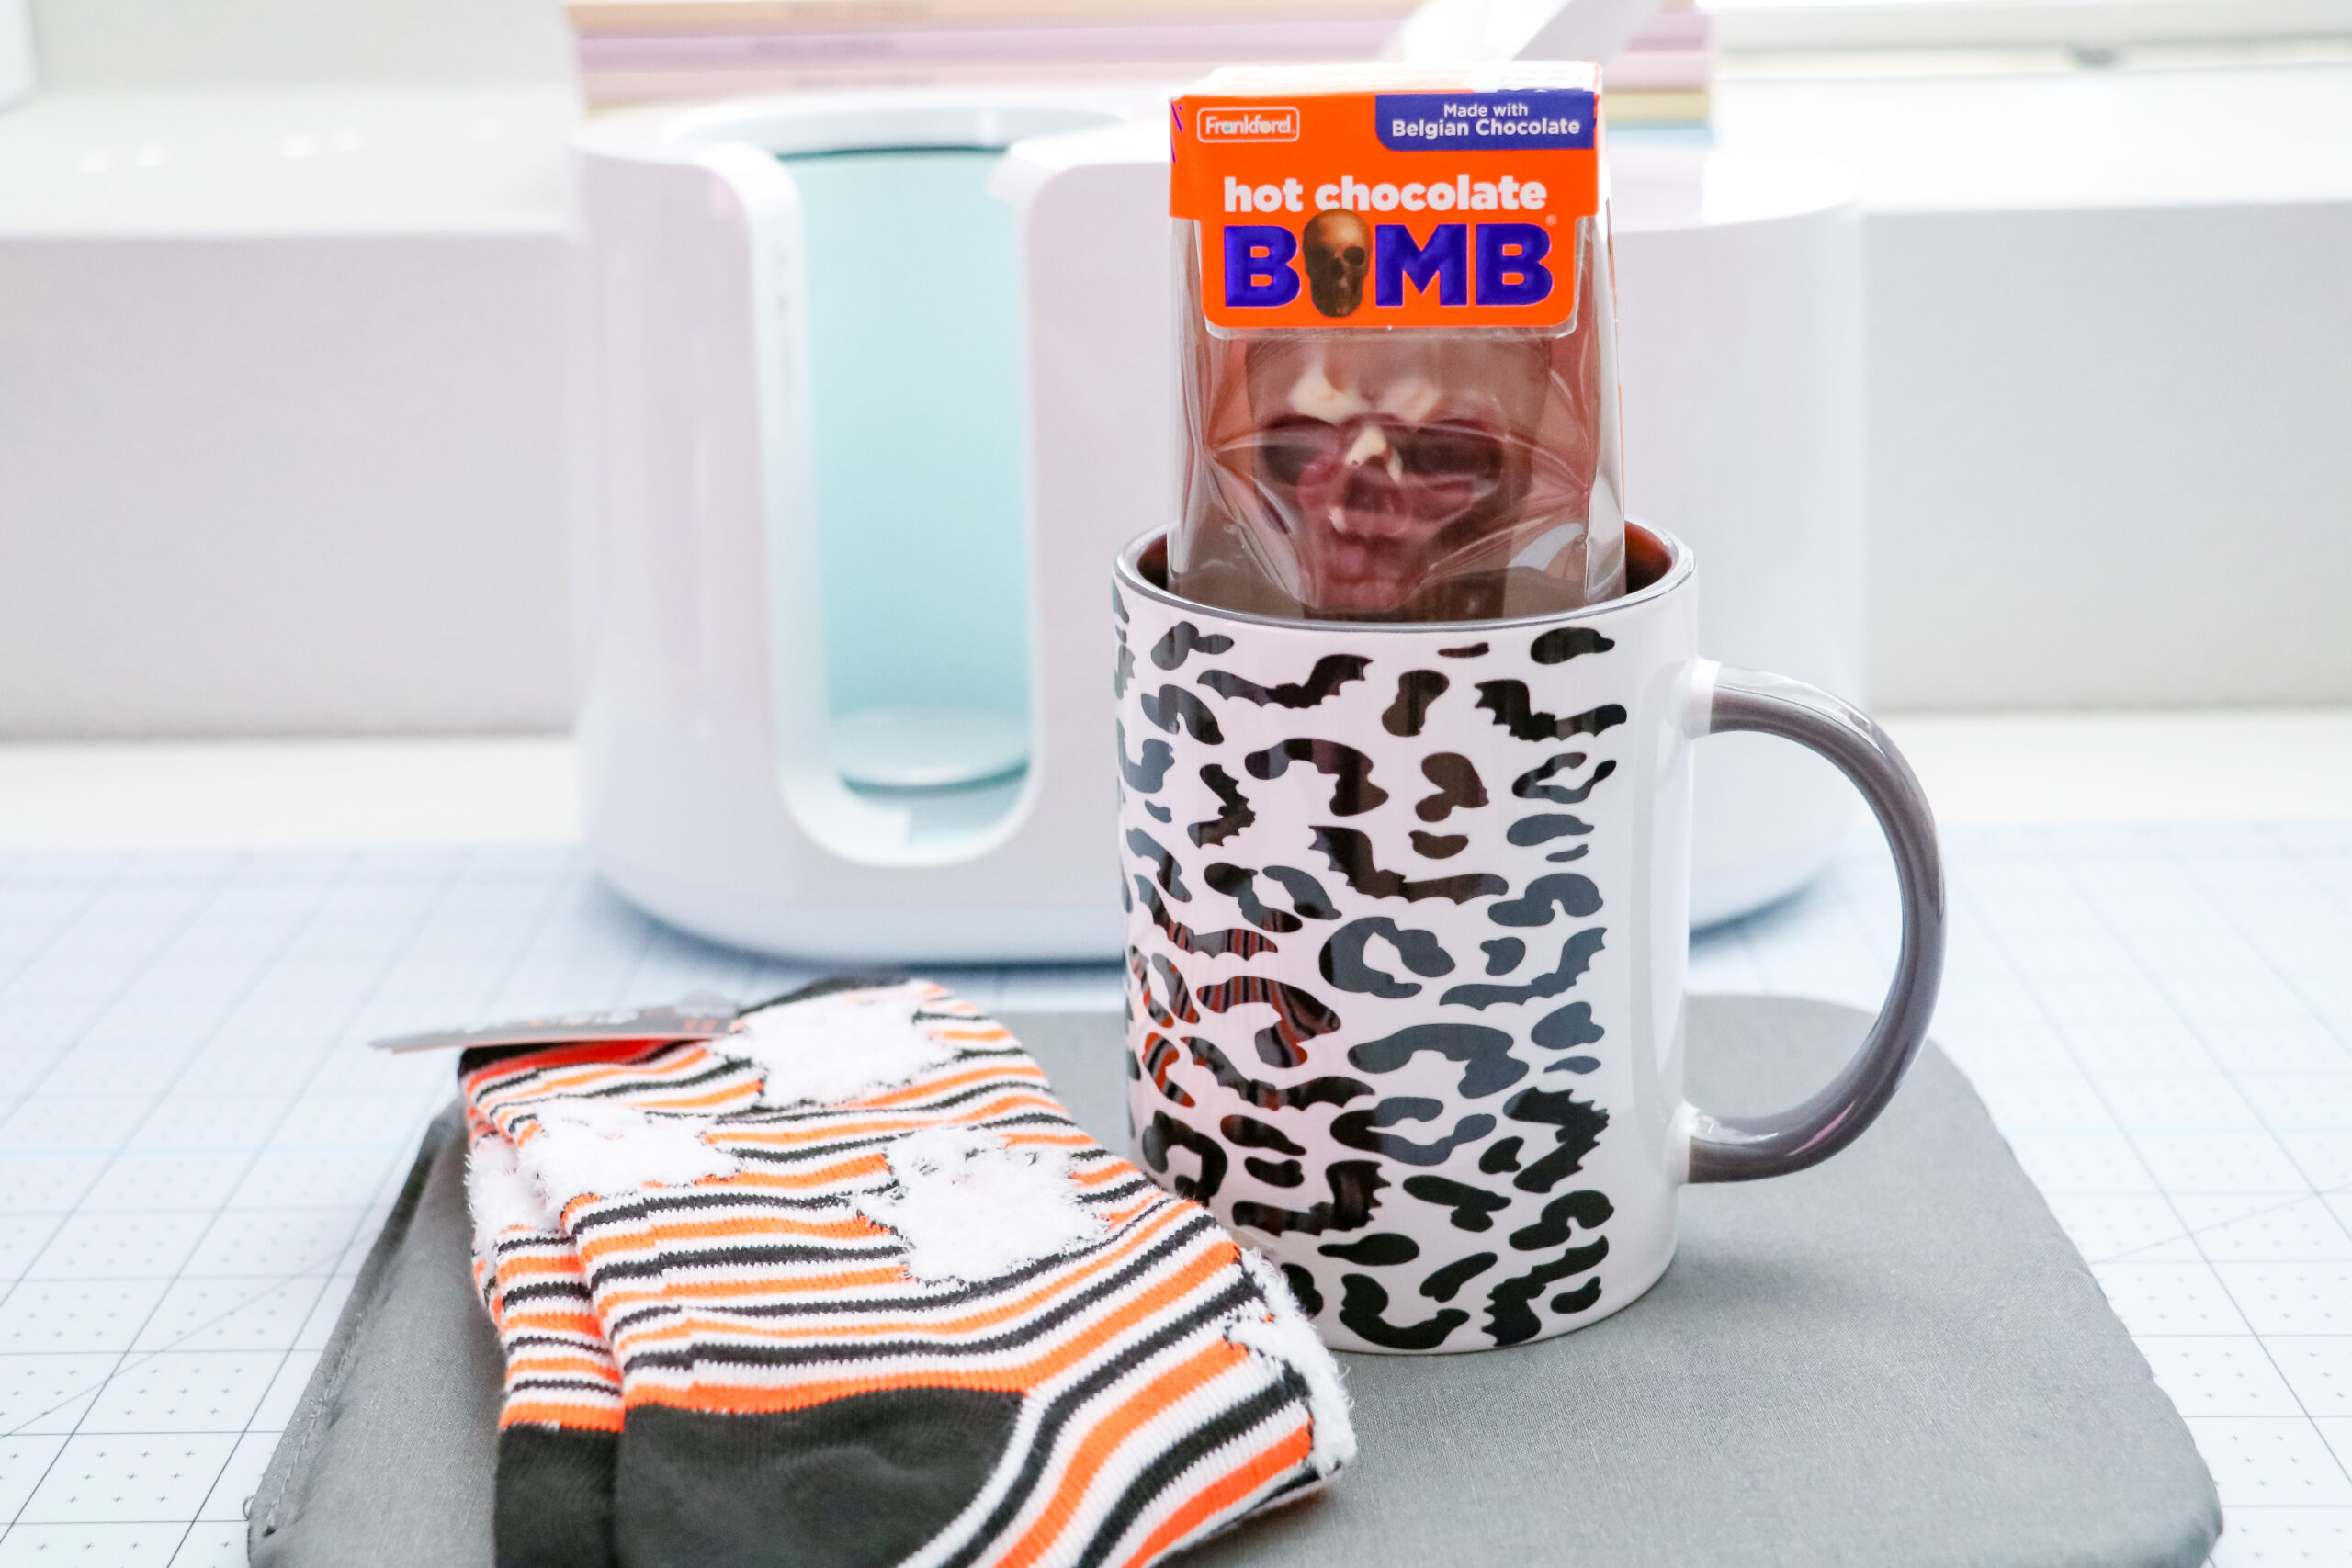
Step 8: Add Small Gifts to Your Mug
This step is totally optional, but add small gifts to your mug. Socks, Gift Cards, Candy, Snacks, Lottery Scratcher Tickets, Lip Balm, Hot Cocoa or Coffee packets, etc. Add personal touches you know the person will enjoy.