


Wondering how to use the Cricut Mug Press or looking to see how it works before purchasing it? Here I’ll go over everything from opening your box to making your first mug.
Join my Facebook group for Cricut Mug Press Inspiration and More!
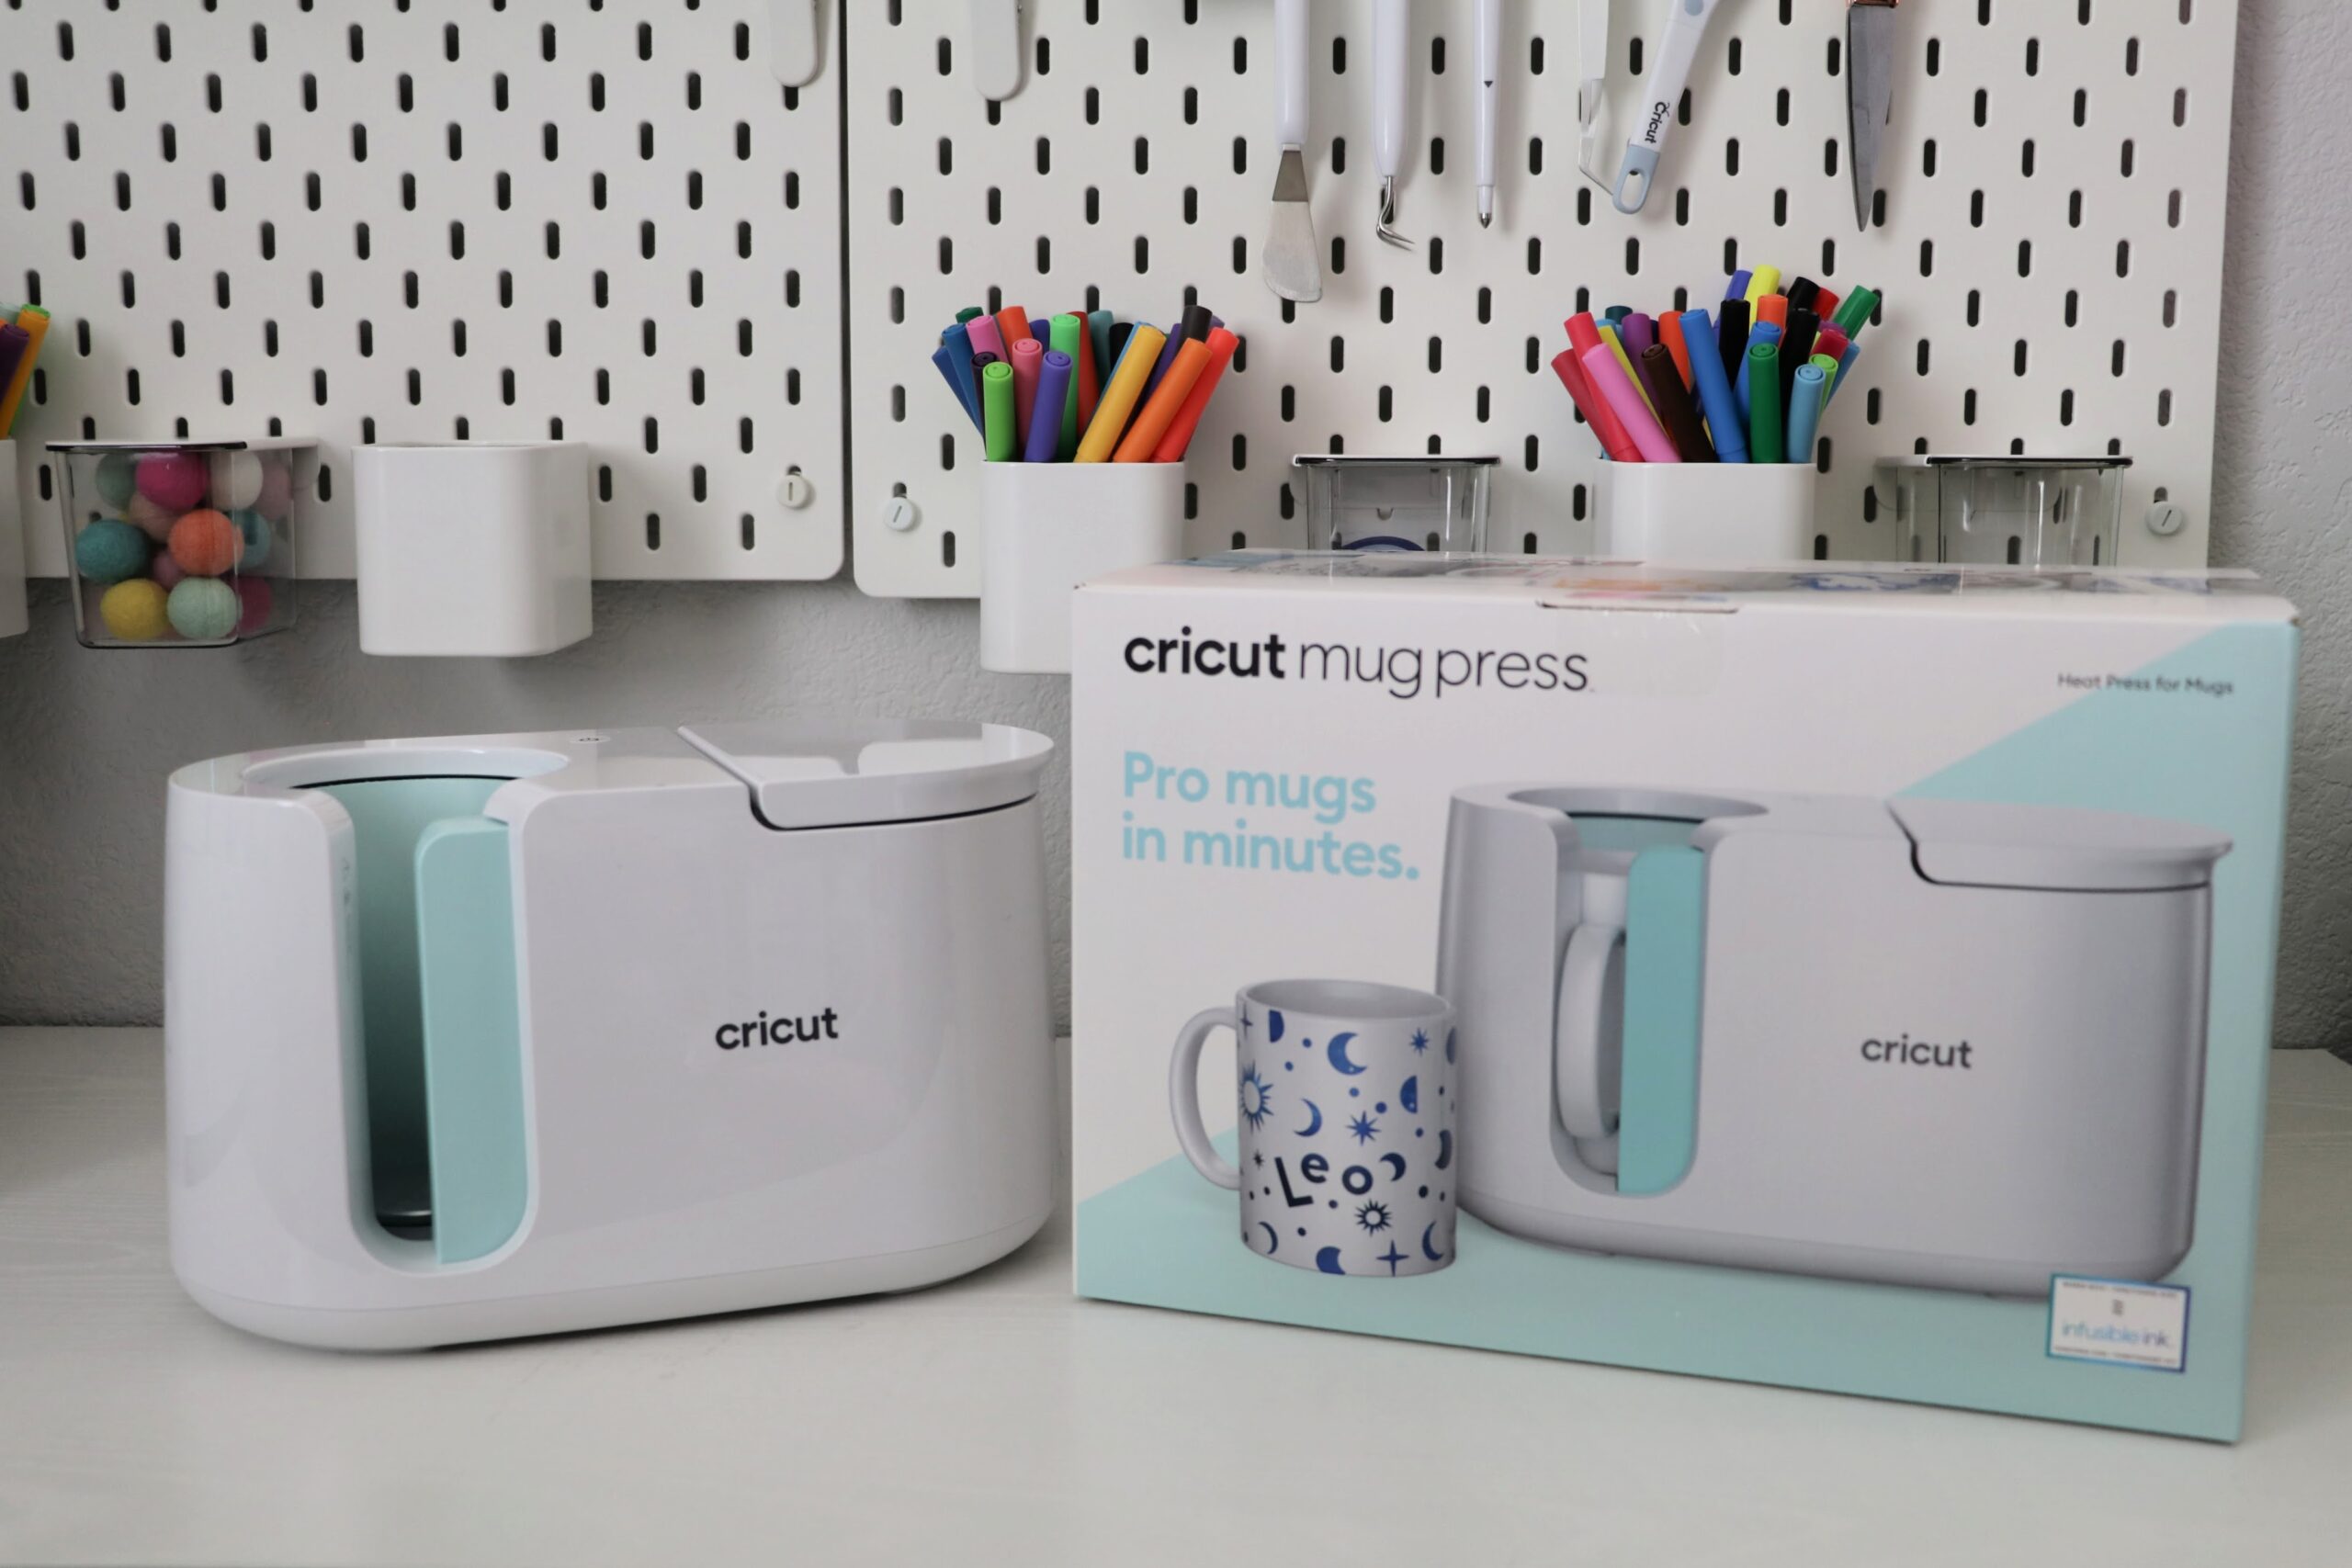
The Cricut Mug Press is the newest machine in the Cricut Family. The Cricut Mug Press is a heat press, but for mugs. This means you won’t have to use an EasyPress, iron, or oven to make infusible ink mugs anymore. Learn everything about the Cricut Mug Press in this Q&A post.
The Cricut Mug Press allows you to safely and easily make mugs that are perfect for yourself, gifts, selling, and more. If you want to know more about the Cricut Mug Press along with lots of FAQ’s check out my Everything You Need to Know About the Cricut Mug Press post. I try to cover all the main questions about the Cricut Mug Press.
Cricut Mug Press Review
I am just going to start this review with the fact that I LOVE my Cricut Mug Press.
Why I love my Cricut Mug Press:
- It’s easy to use. I don’t have to worry about getting pressure, time, or temp correct. The mug press is designed to do all of that for you and all you do is press a button and lever.
- It gives the perfect press every time. There is no fading or lighter areas with the Cricut Mug Press.
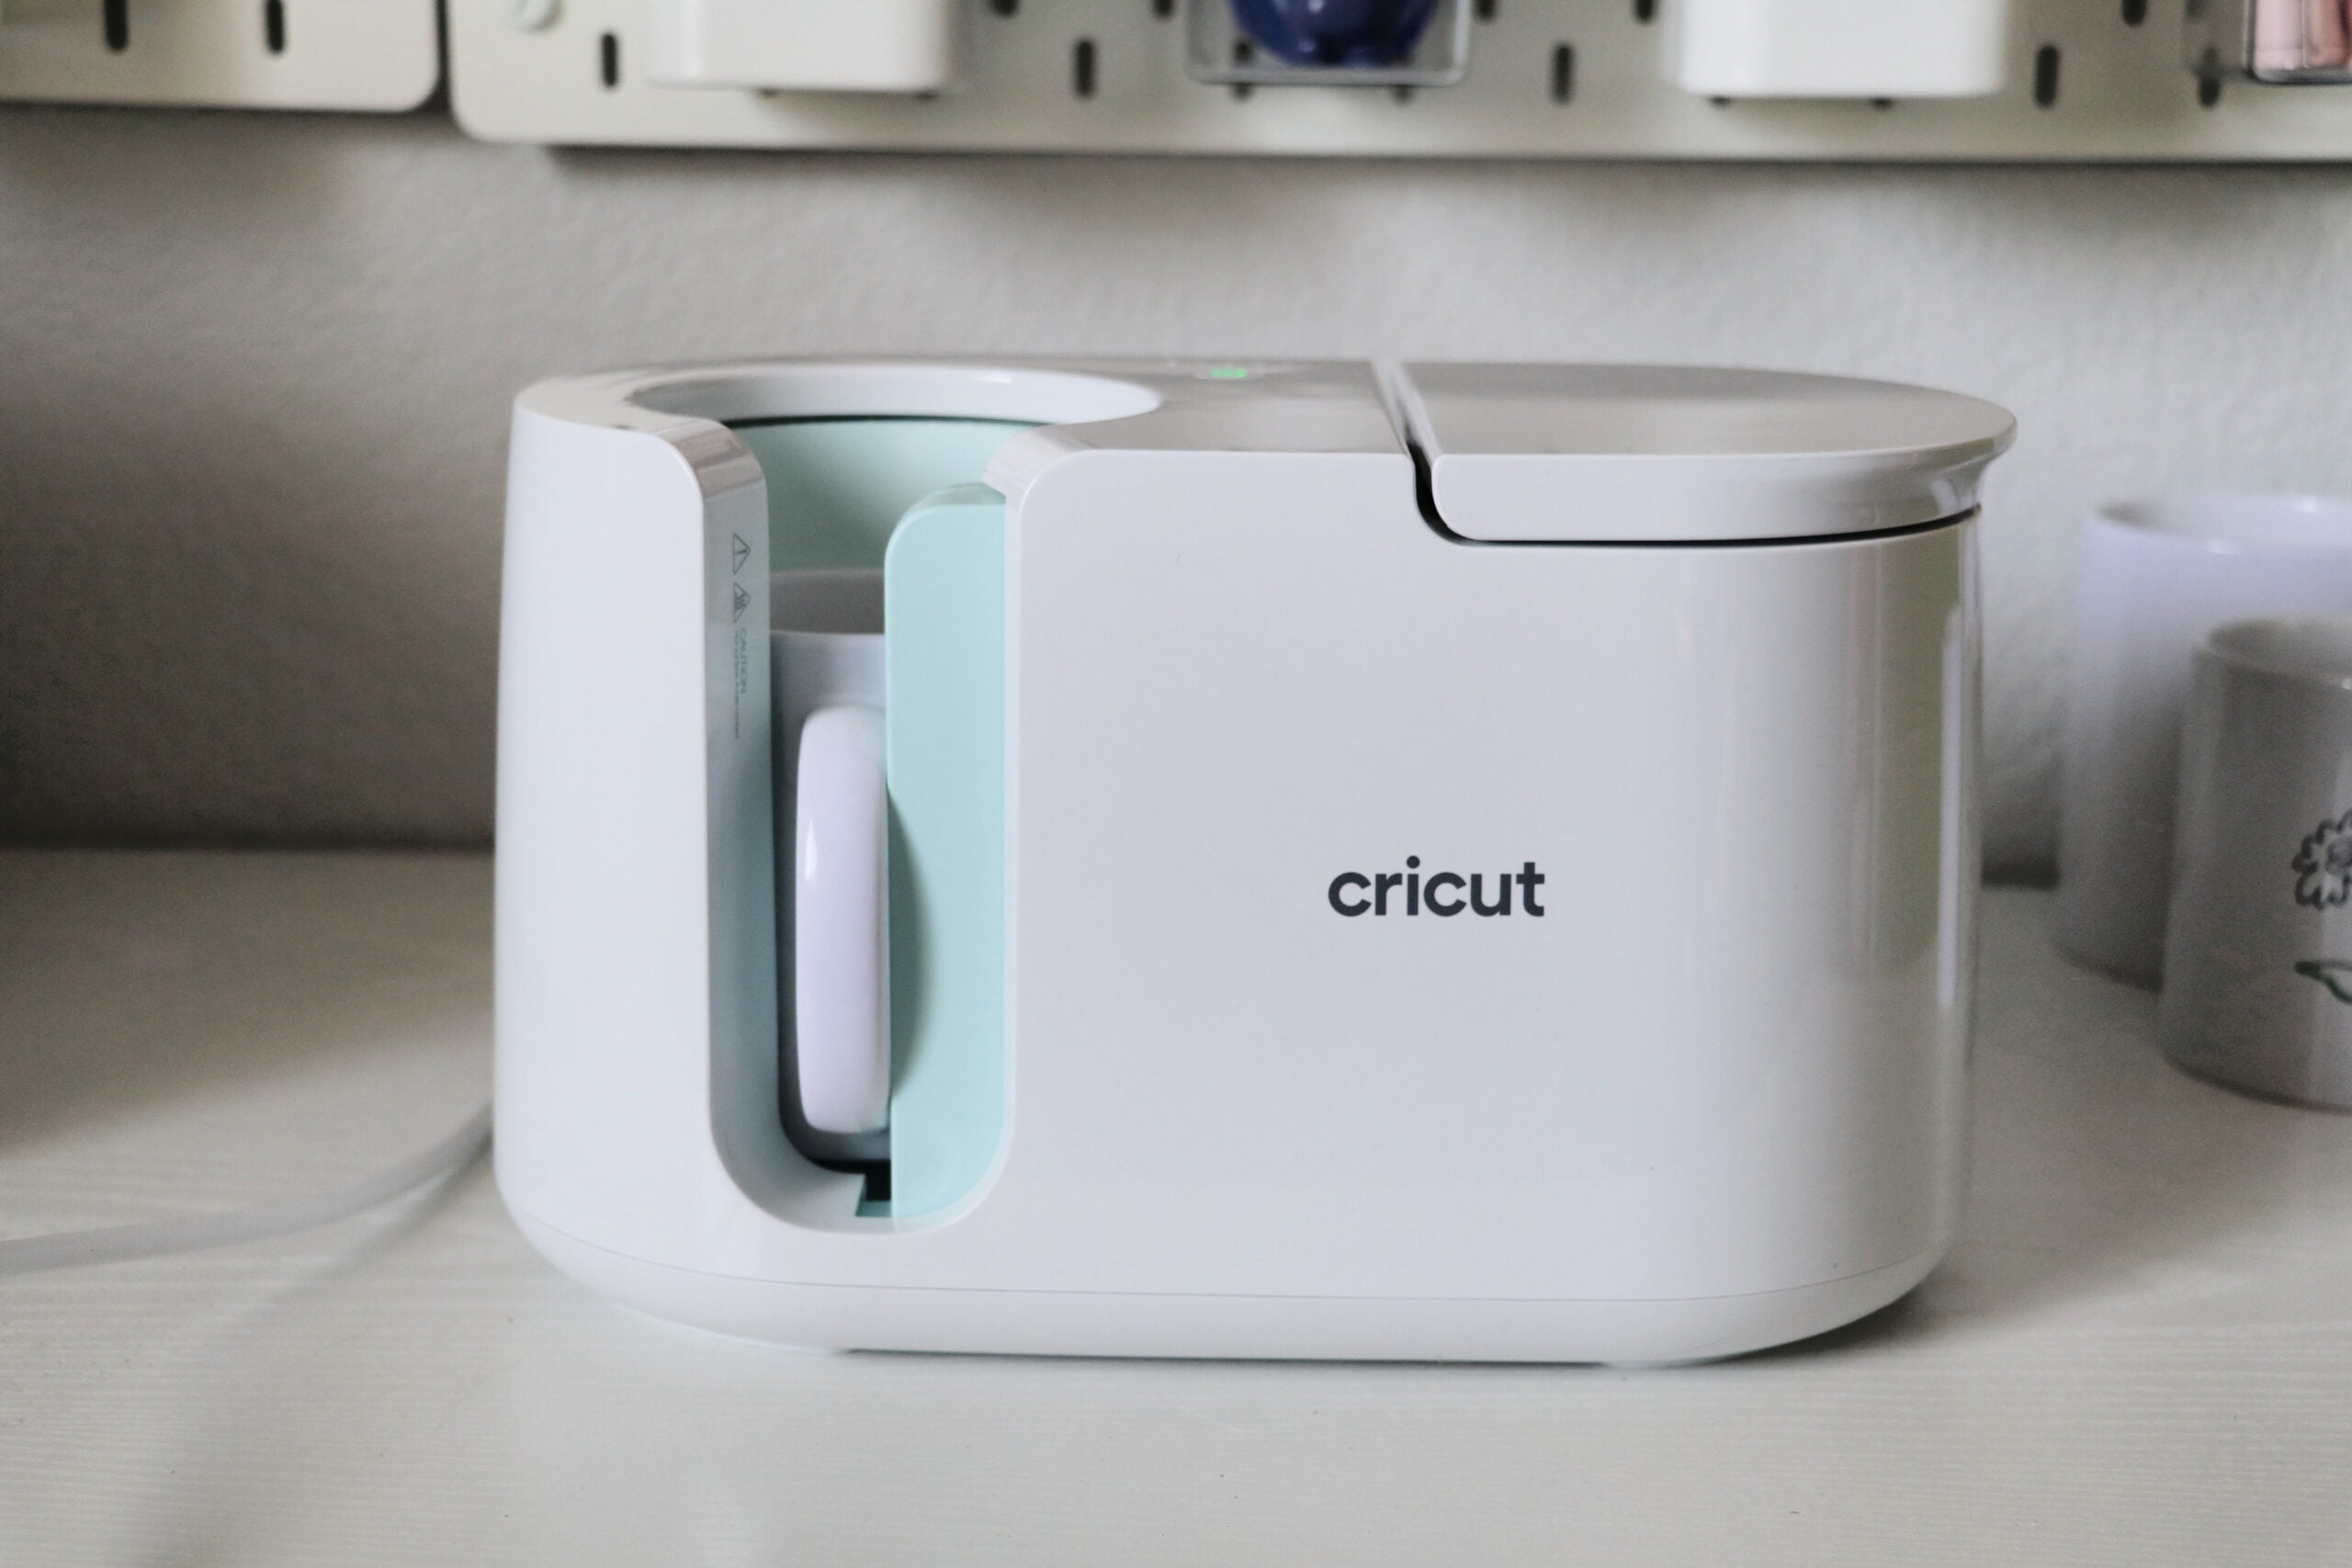
- It’s small, sleek, and lightweight. I have been wanting a mug press, but others are big, bulky, and heavy. I didn’t have space for one in my office, but with the Cricut Mug Press, it fits perfectly on a shelf, my desk, or my Cricut rolling cart. And the design, it’s so cute! I love the mint color, especially since my Explore Air 2 is mint and now they match.
- The mug press designs are so pretty! Those edge designs have me swooning and I can’t wait to make ALL THE MUGS for friends and family this year.
- I love Infusible Ink. Infusible Ink is my favorite material to work with and now I get even more reasons to use it. Have you seen my infusible ink totes? I love the seamless design and that it doesn’t crack, fade, or peel over time. While vinyl is fun, infusible ink has my heart.
10/10 I recommend the Cricut Mug Press to anyone who wants to make mugs.
How to Use the Cricut Mug press
Let’s get started. Do you have your Cricut Mug Press? Awesome! Take it out of the box and take the plastic wrapping off. Under the mug press, you’ll find the power cord and USB cord. Aren’t you in love with the sleek and small design? I know I am! I’ve been wanting a mug press for a while now, but they’re all so big and bulky. Thankfully the Cricut Mug Press is small, not too heavy, and easy to store.

Ok, now that your mug press is out of the box and unwrapped you’ll want to plug it into a wall outlet. Do not use an extension cord with your mug press (or any heat press). Plug the USB cord into the back of the mug press, the port is right above the power port. The usb cord allows you to register your Cricut Mug Press, which you will need to do before you can start using it. You will need a laptop or computer with a USB port to register your Cricut Mug Press. This step cannot be done from a phone or tablet.
Hit the power button on top of the Cricut Mug Press to turn it on.
How to Activate the Cricut Mug Press
On your computer go to Cricut.com/setup. You’ll be prompted to open Design Space. Hit Open.
A screen will pop-up asking you which type of product you want to setup. Click Heat Press.
Click the Cricut Mug Press.
Follow the steps for turning on and setting up your Cricut Mug Press.
This process is very easy and the Cricut guide will walk you through each step.
While you’re doing that I’ll be here waiting. This process should only take 1-2 minutes and there should be a firmware update that it will do.
All setup? Let’s make our first mug!
How to Make a Cricut Mug with the Mug Press
YAY! You are now the proud owner of the Cricut Mug Press. How exciting! I know I squealed when mine arrived because I have been wanting to do mug projects and I just love new craft supplies.
OK, let’s go.
Your mug press should be on and warming up, right? If it’s not on hit the power button so it can get warmed up.
Note – the first few times you use your Cricut Mug Press there will be a smell. This is normal and it will go away. Make sure to use your mug press in a well-ventilated area. Crack a window if you can.
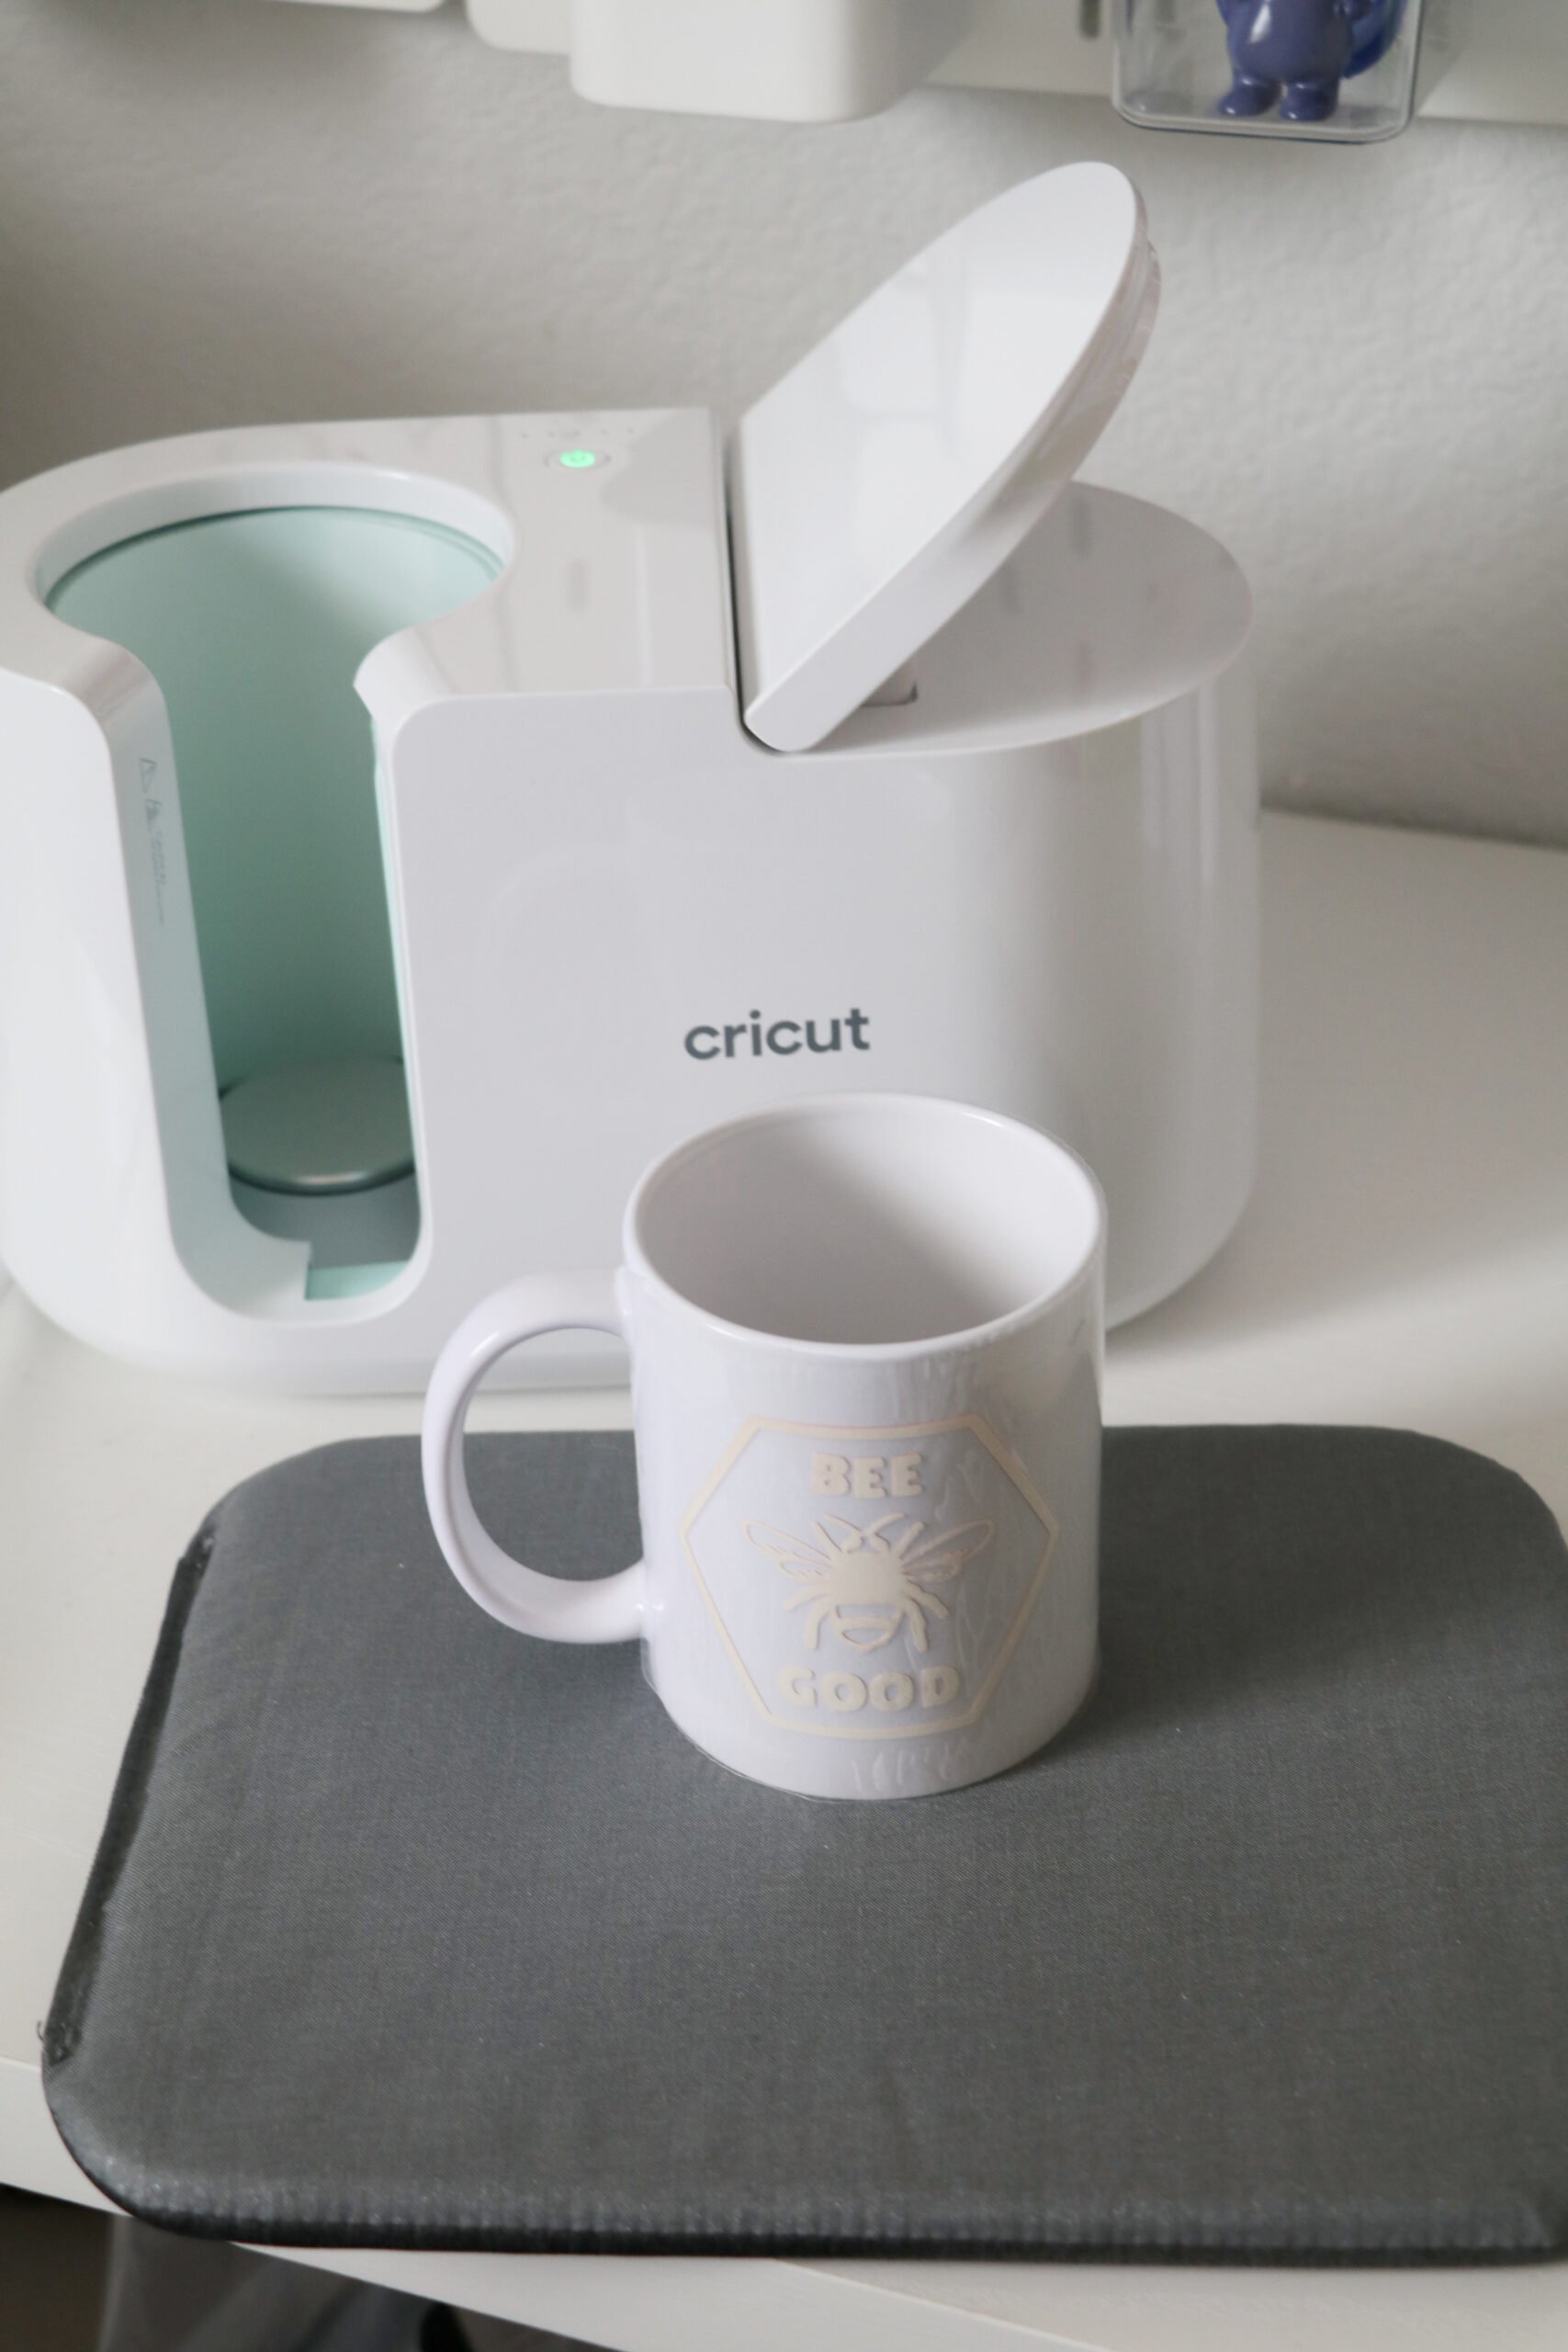
While the Cricut Mug Press is warming up the power button will be orange. Once it is ready to use it will turn green. Like other Cricut heat presses the Cricut Mug Press has a auto-off feature that will turn the mug press off after a certain amount of time. Before the mug press shuts off it will make a beeping noise. To keep using the mug press hit the power button and it will stay on.
While your mug press is heating up let’s head to design space and pick out a design for our mugs.
Cricut has some ready-to-use mug designs or you can make your own with the Mug Design Setup.
I want to walk you through making your own design so we’re going to use the Mug Design Setup. You can find it here. This will prompt you to open Design Space.
The Mug Design Setup project should be on your screen. You will need to pick your mug size and edging. You can choose either a 12oz mug or 15oz mug and then which edge you would like. Here are examples of the different edge types. I really love the wavy one, but pick the one you like.


You can preview the edge types in Design Space before picking your design. All you do is pick a different one from the drop-down and the image at the top will change to show you what the edge looks like.
Once you have picked your mug size and edge type hit customize.
On the screen will be your wrap. Now you can customize your mug by adding text or images.
Today we’ll keep this simple and add an image. Click images on the left sidebar and find an image you like. I am going with bee good. You call pull this design up by typing in #MF763B3A into the search bar. Make sure to include the #.
Click the image and insert.
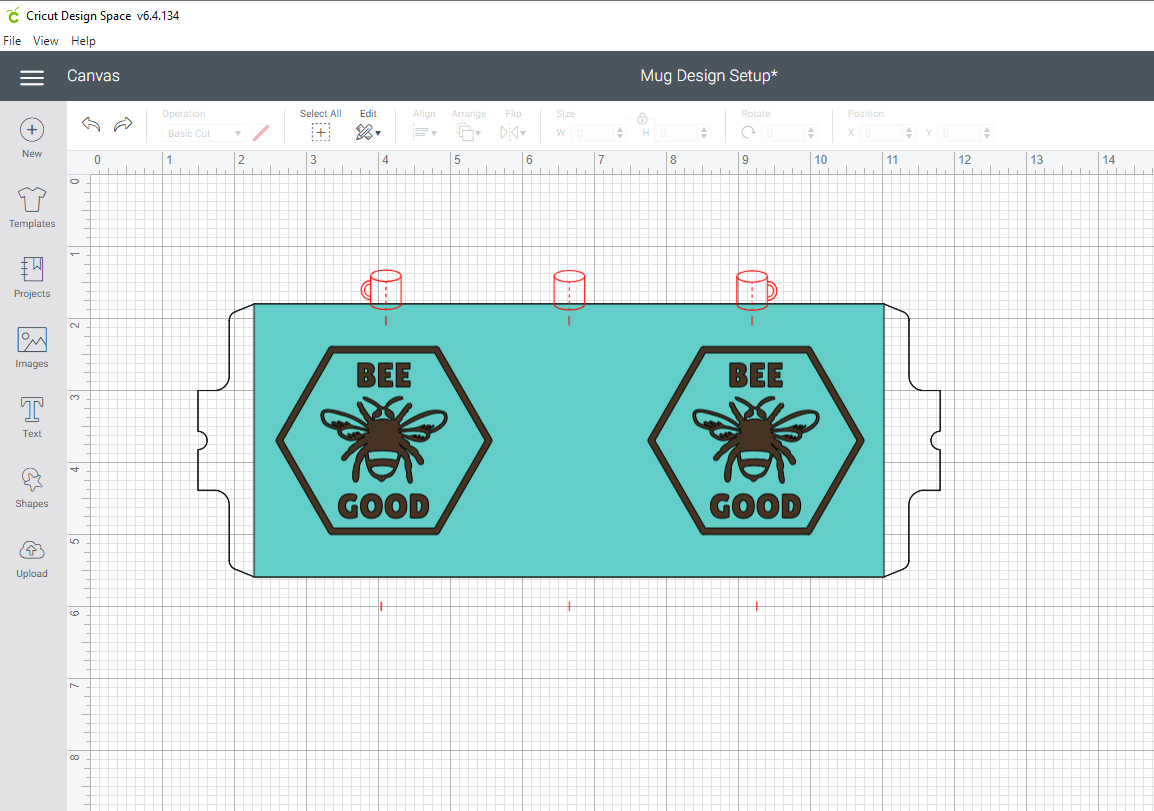
You will notice red mugs at the top of the mug wrap. Those are indicators of where the design will show on the mug. The first mug would have the design with the handle on the left. The middle would have the design in the middle of the mug. The right mug would have the design with the handle on the right. You need to hide this layer before cutting your design out. It’s only for position purposes. To hide it click the eye on the right side of the screen for the design.
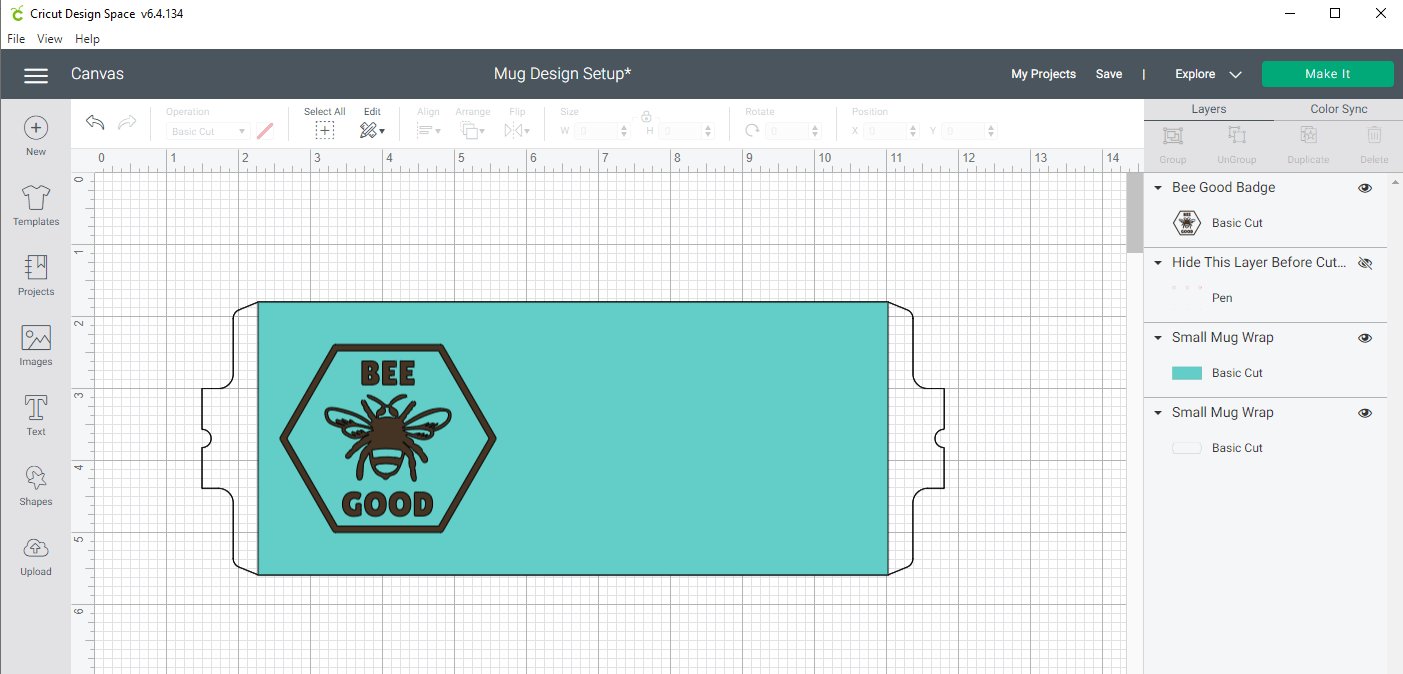
You’ll want to resize your design to fit your mug. For bee good, I did a height of 3 inches and placed it on the left mug side, but you can duplicate the design and place it on both sides of the mug if you like. Once you have your mug aligned where you like it, hide the red mug layer by clicking the little eye next to it on the layers panel. This is on the right of the screen.
Highlight the whole design and click ATTACH.
Now we’re ready to cut! Hit the green make it button on the top right of the screen.
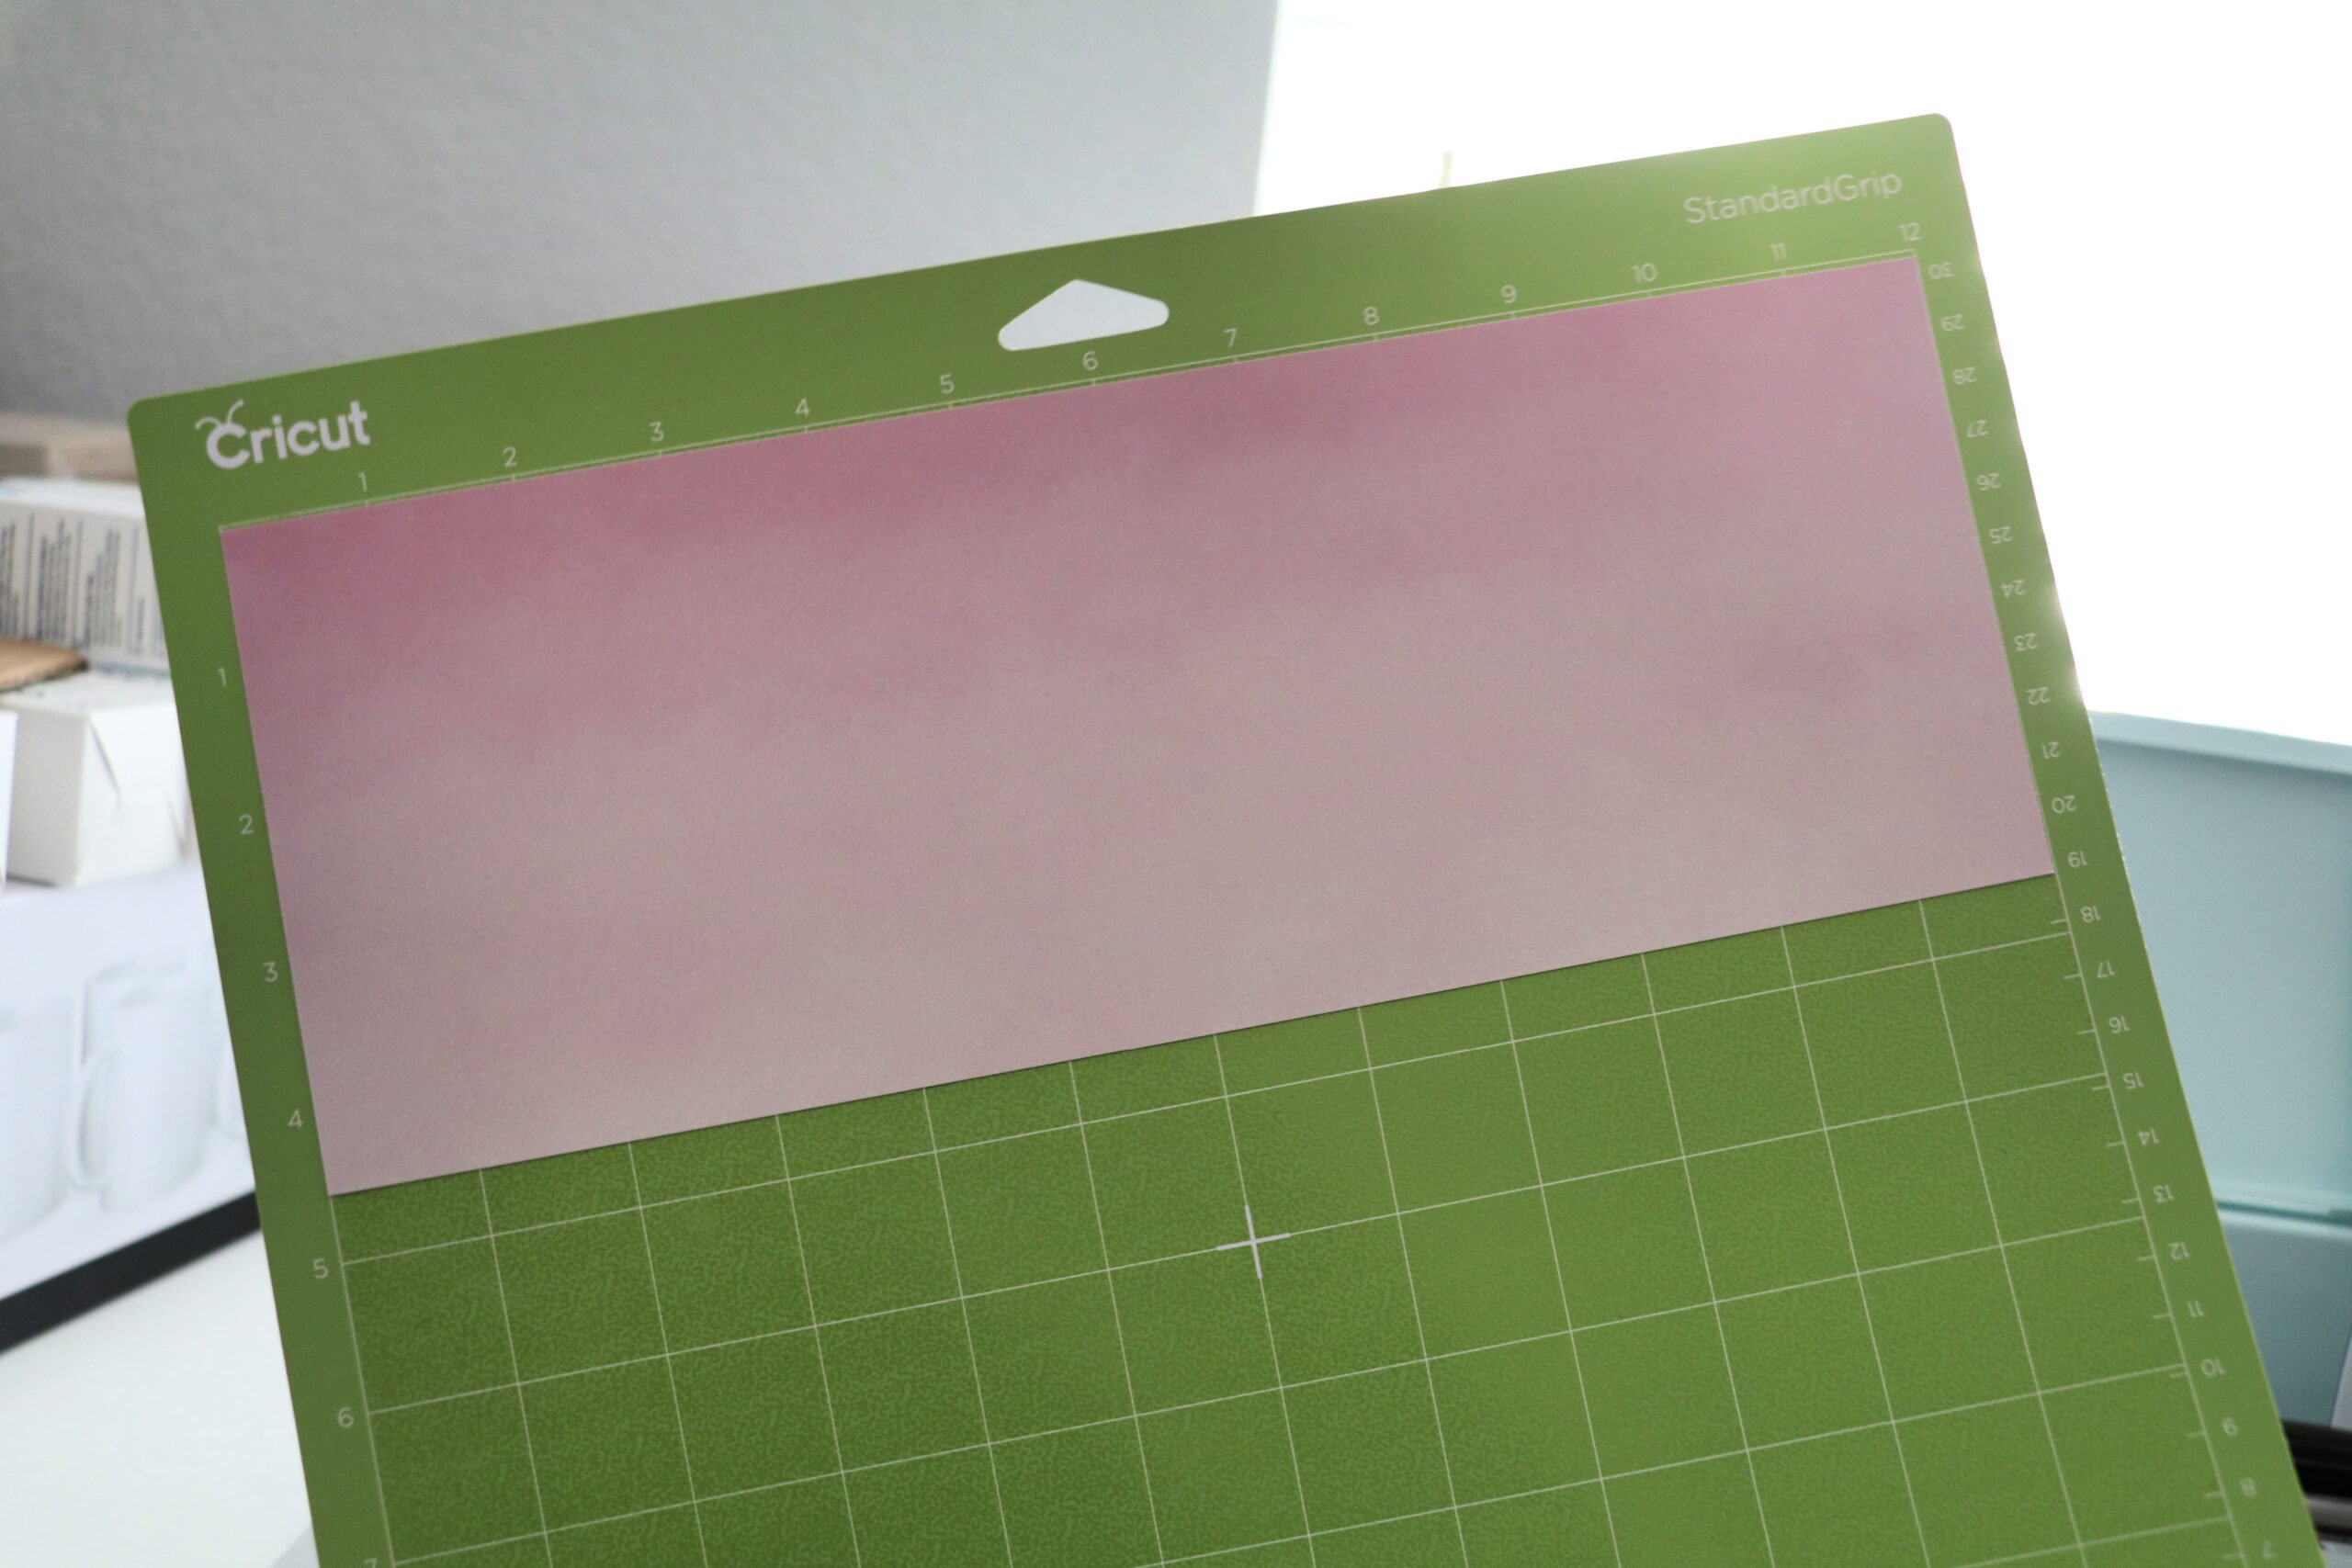
You’ll need to put your Infusible Ink sheet onto your green Cricut cutting mat. You place it with the paper/color side up. Make sure to smooth it onto the mat.
Since we are using Infusible Ink you will need to mirror your design.
Make sure the dial on your Cricut machine is turned to Custom.
Continue.
Select Infusible Ink Sheets for the material.
When it comes to the pressure on Infusible Ink I like to go with MORE.
Make sure your mat is loaded and hit the C button on your Cricut machine. I am using my Explore Air 2.
Once your design has finished cutting you will unload your mat and weed your design.
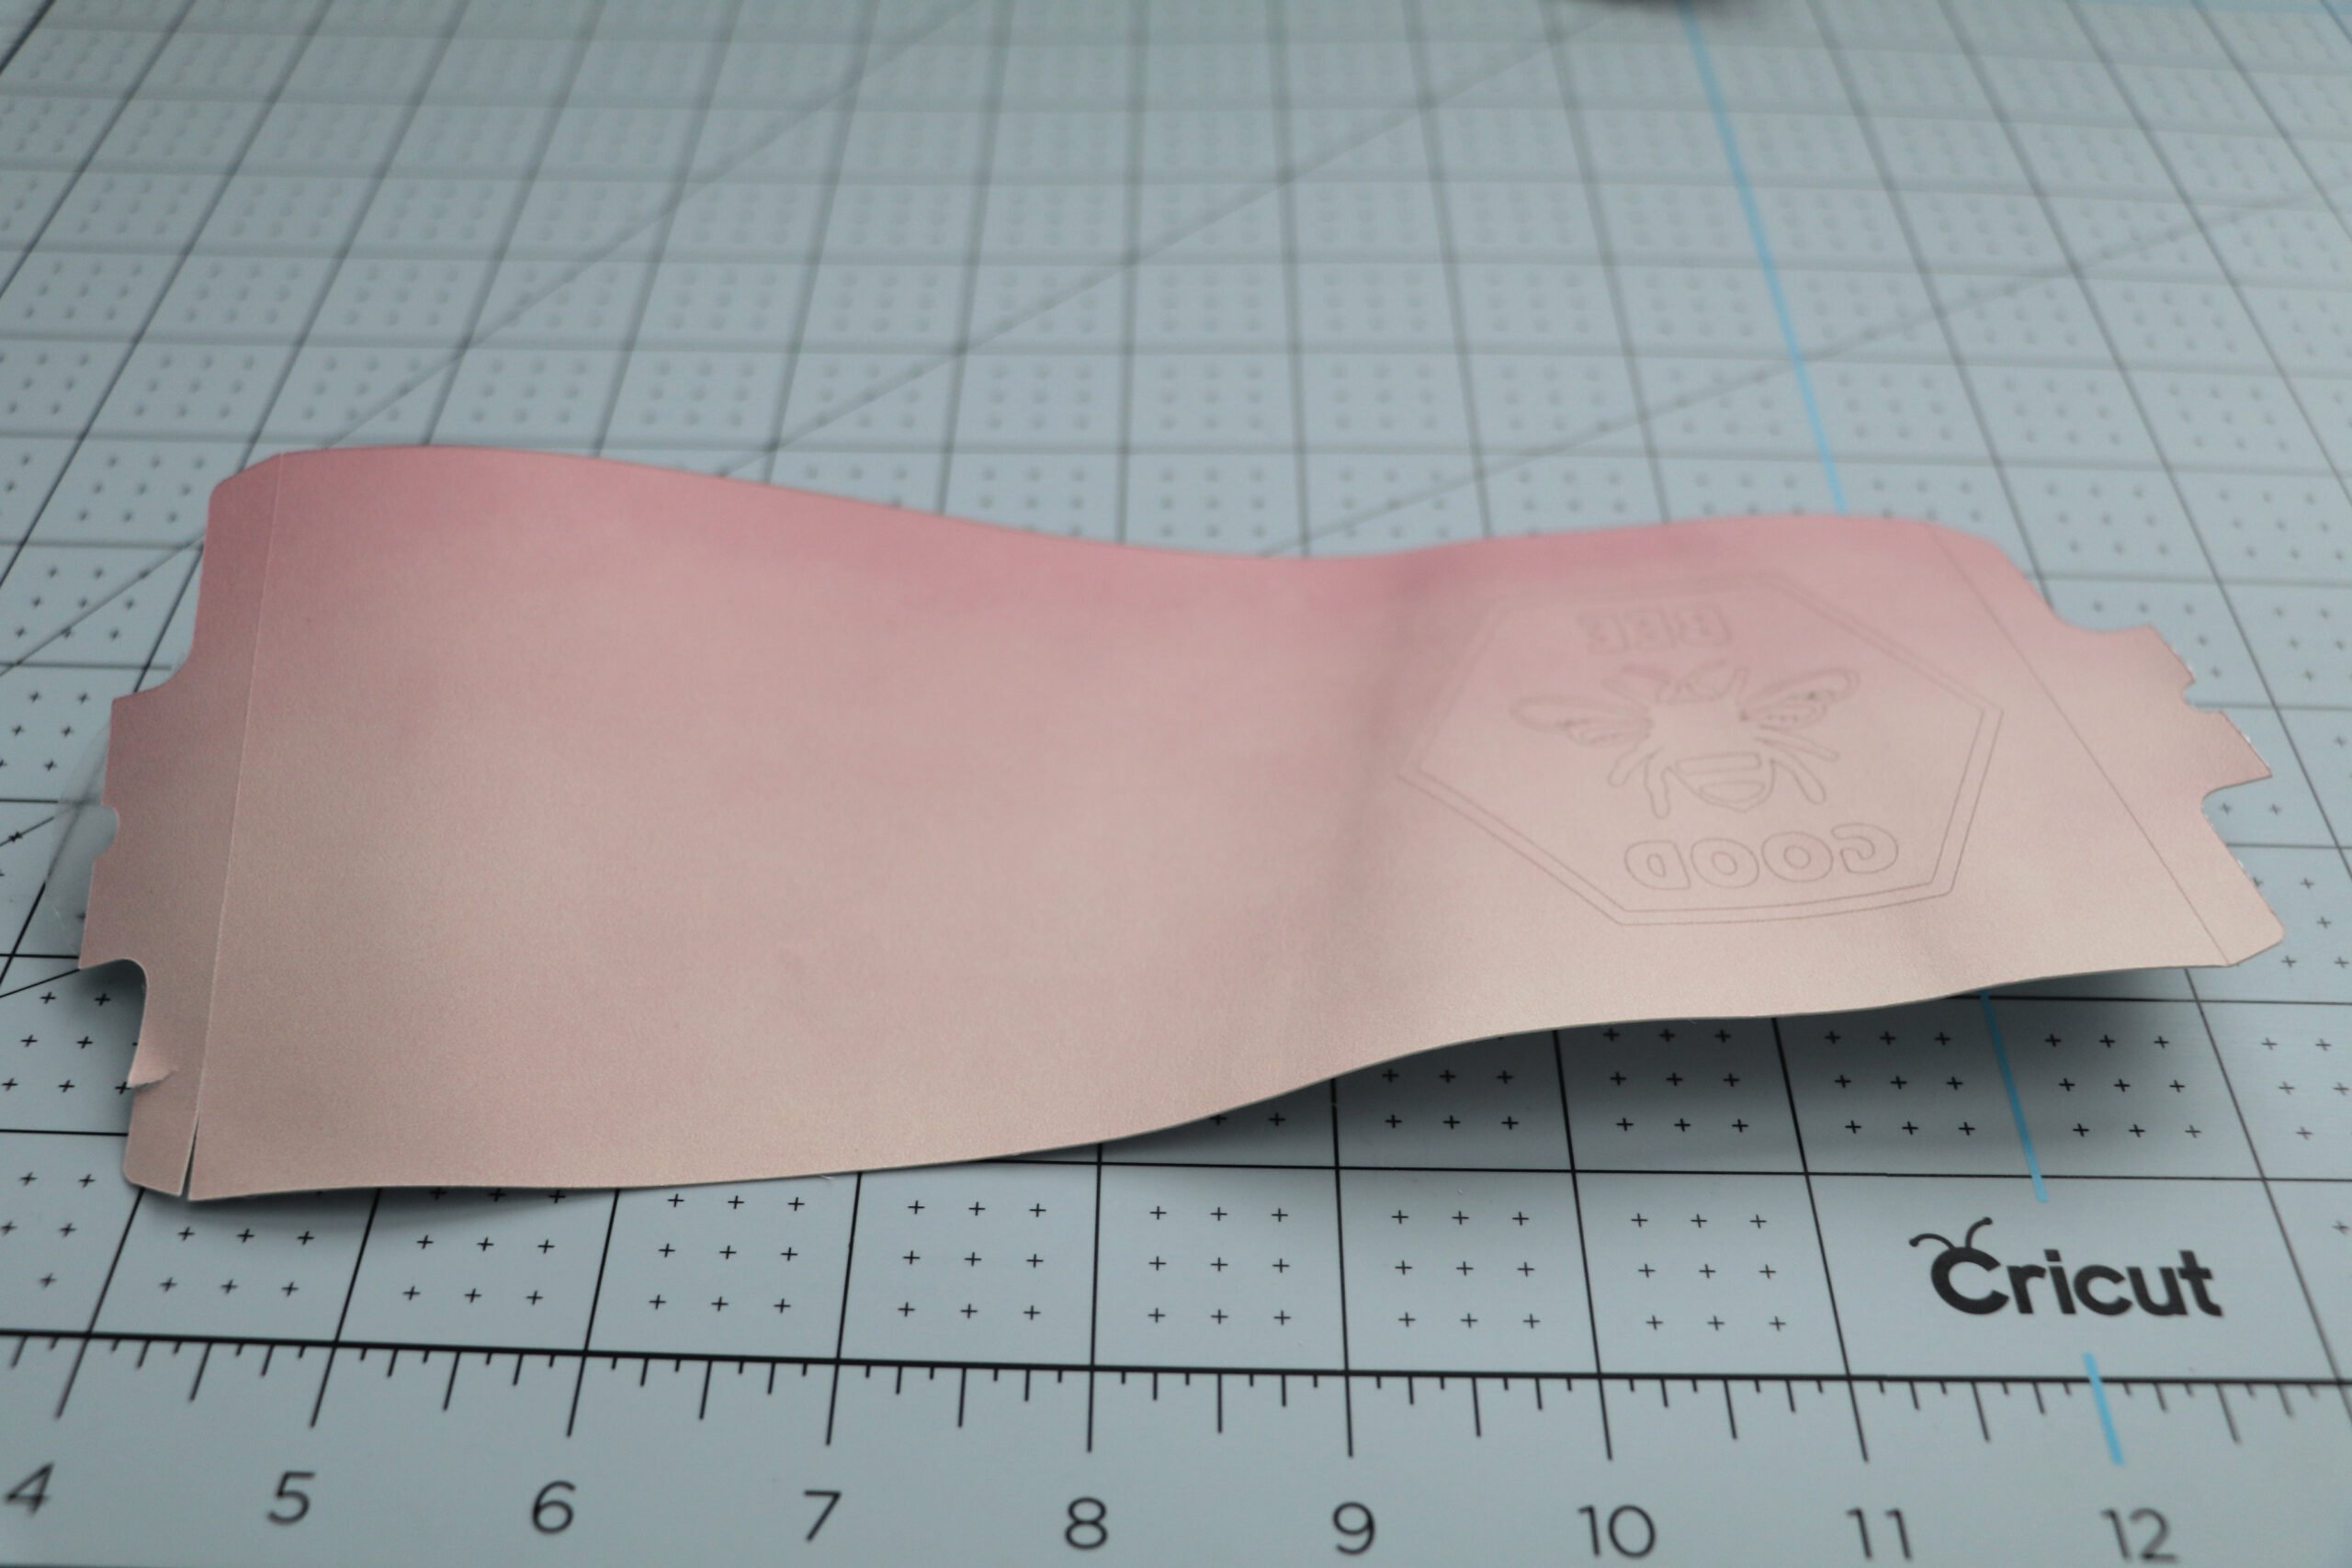
You can choose to weed your design 2 ways. You can either weed it so only the design is left or you can weed it so it has the wrap. If you want to leave the wrap you would weed it the opposite of how I did my mug since I didn’t do the wrap on this mug.

To weed Infusible Ink sheets you don’t use any tools. Instead, you roll the paper to loosen the cuts with your hands. Then you remove the parts of the design that need to be weeded out.
You don’t want to use tools because the sheets are like a thick cardstock and if you scratch, cut, or damage the potion of the sheet you need the color won’t transfer over. If you need to use a tool on a hard to weed part be VERY CAREFUL.
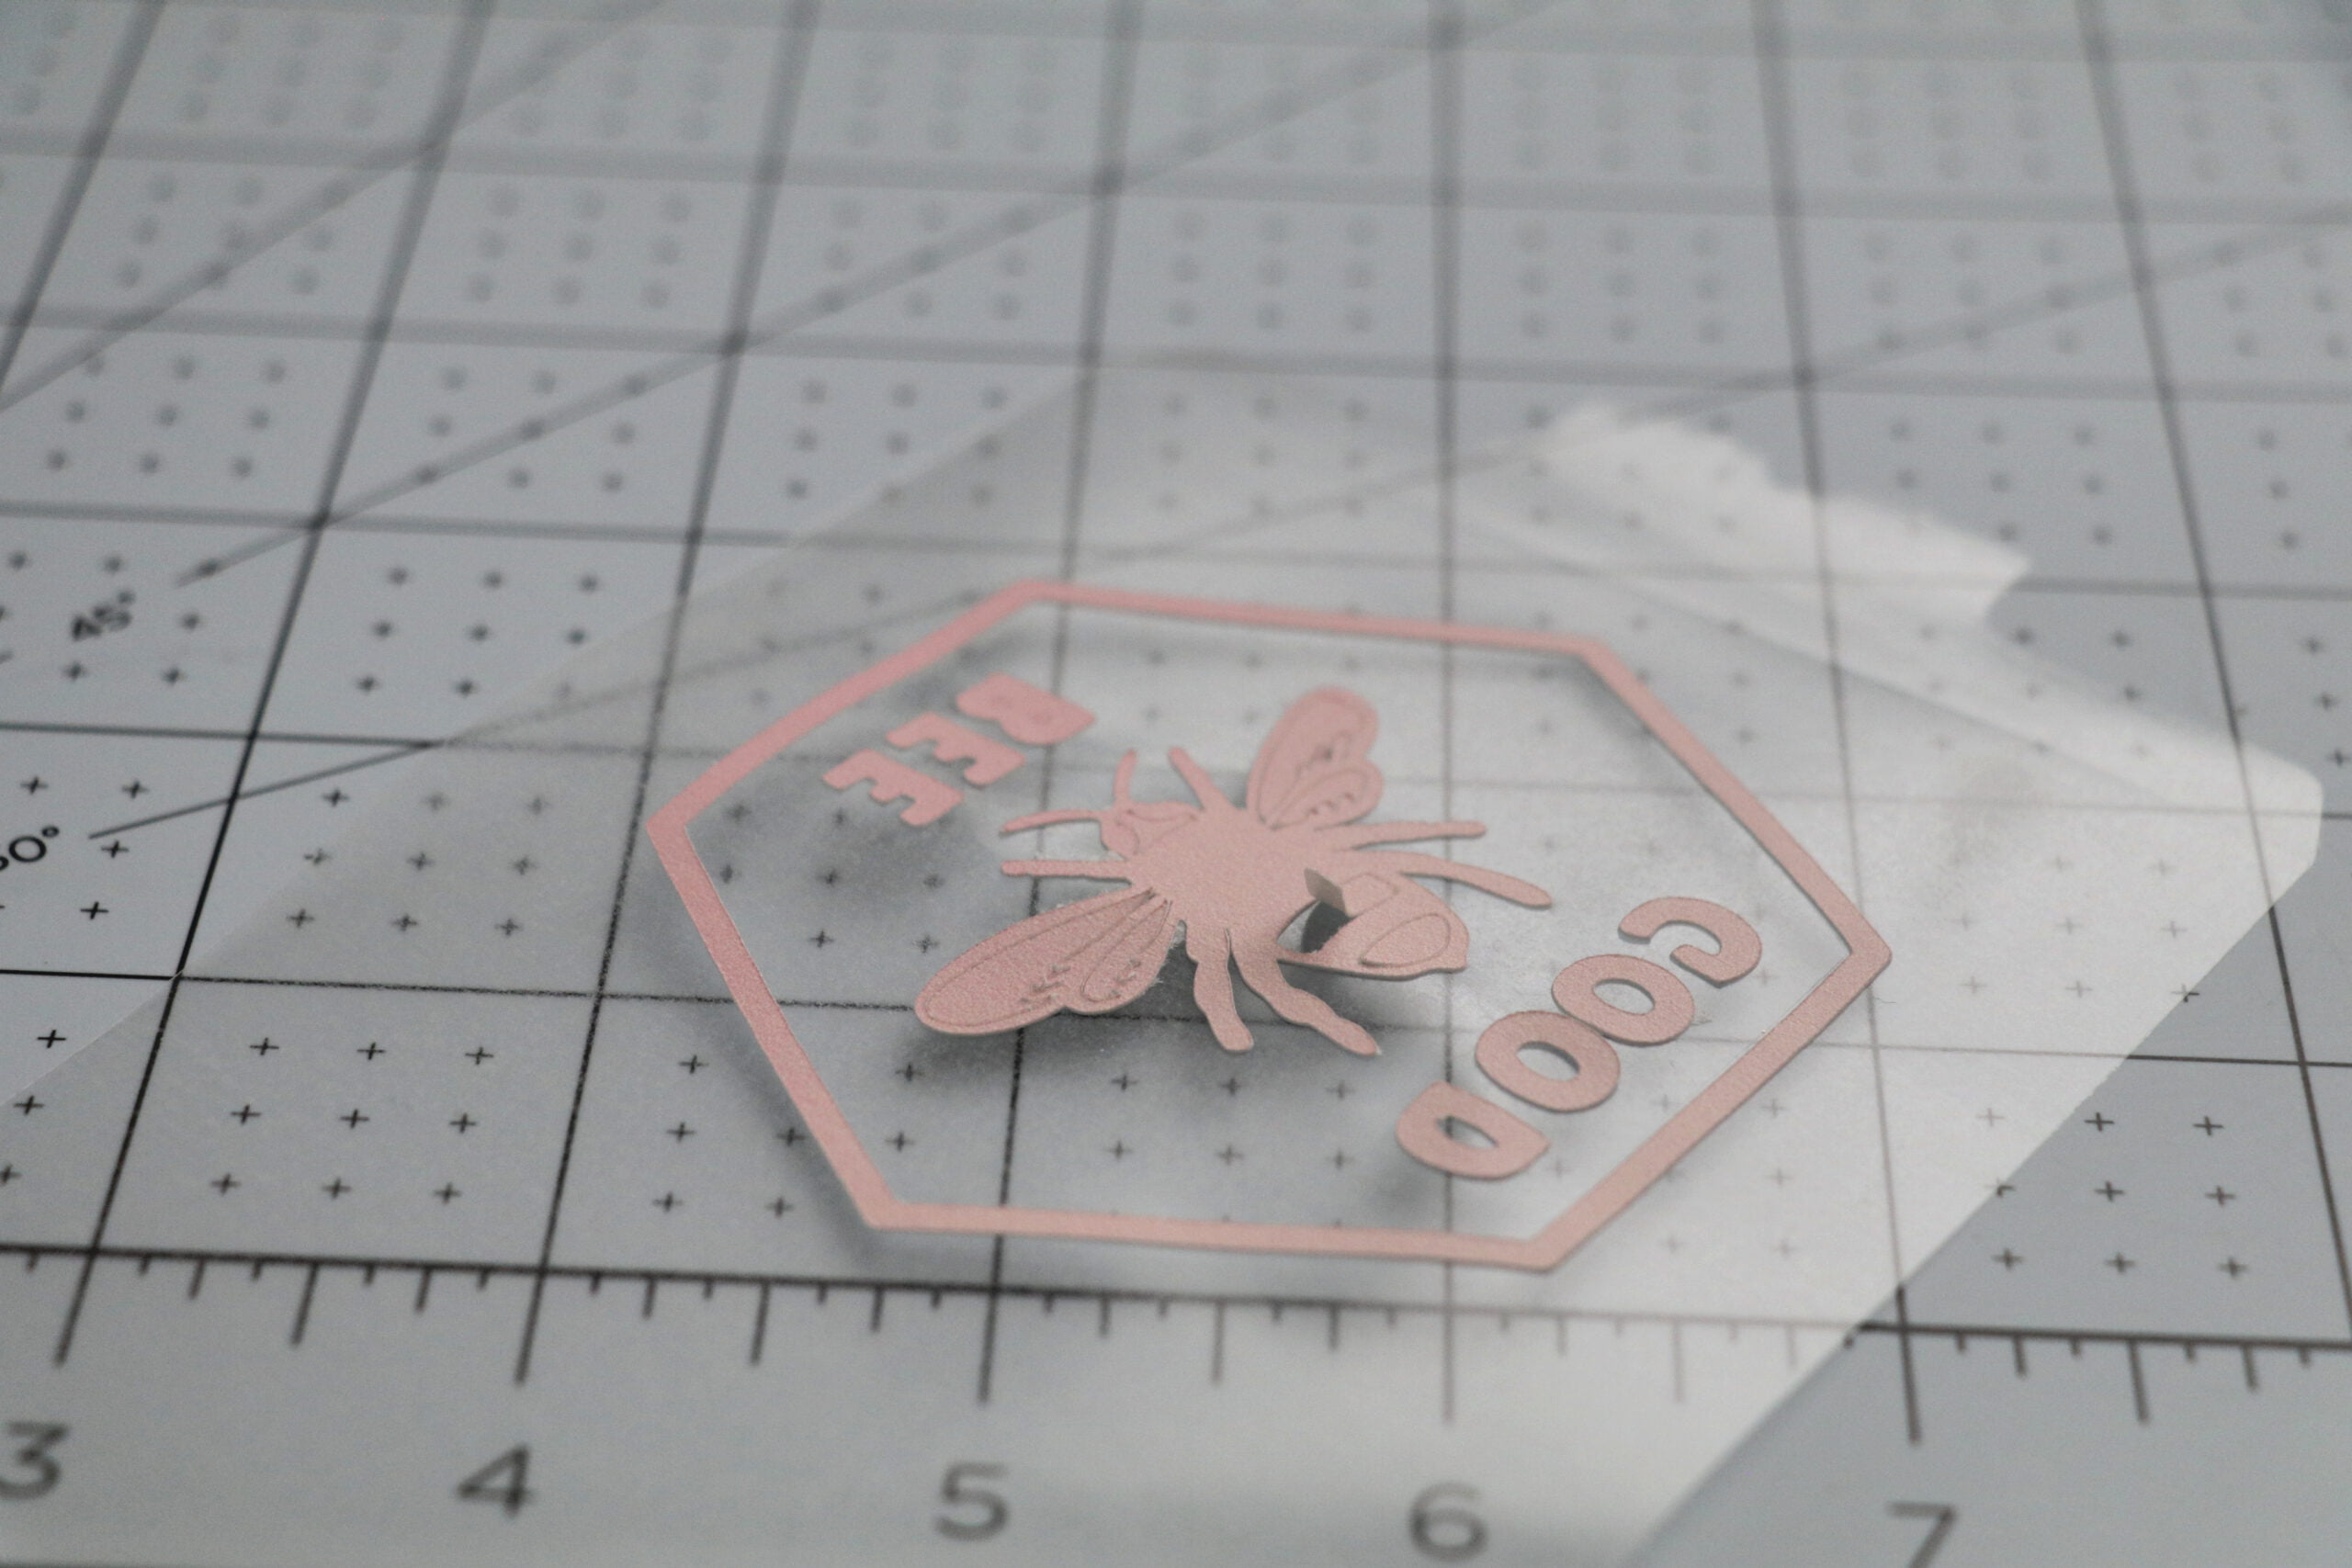
Once your design is weeded you are going to apply it to your mug.
Before applying the Infusible Ink sheet make sure you wipe your mug down with a lint-free cloth or lint roller to make sure any dust, lint, or debris is removed from the mug.
Start on one side of your mug and place the end where the handle is.
Make sure the transfer sheet is evenly lined up with the rim and bottom of the mug and then apply the infusible ink sheet to the mug, going around the whole mug.
Smooth out the transfer sheet as you apply it to remove any air bubbles, kinks, ect.
If you choose to do the mug with the wrap you’ll need heat transfer tape. I like to run the tape around the top rim and bottom of the mug to help prevent any discoloration around the top and bottom of the mug. If you are doing just the design you don’t need to do this step.
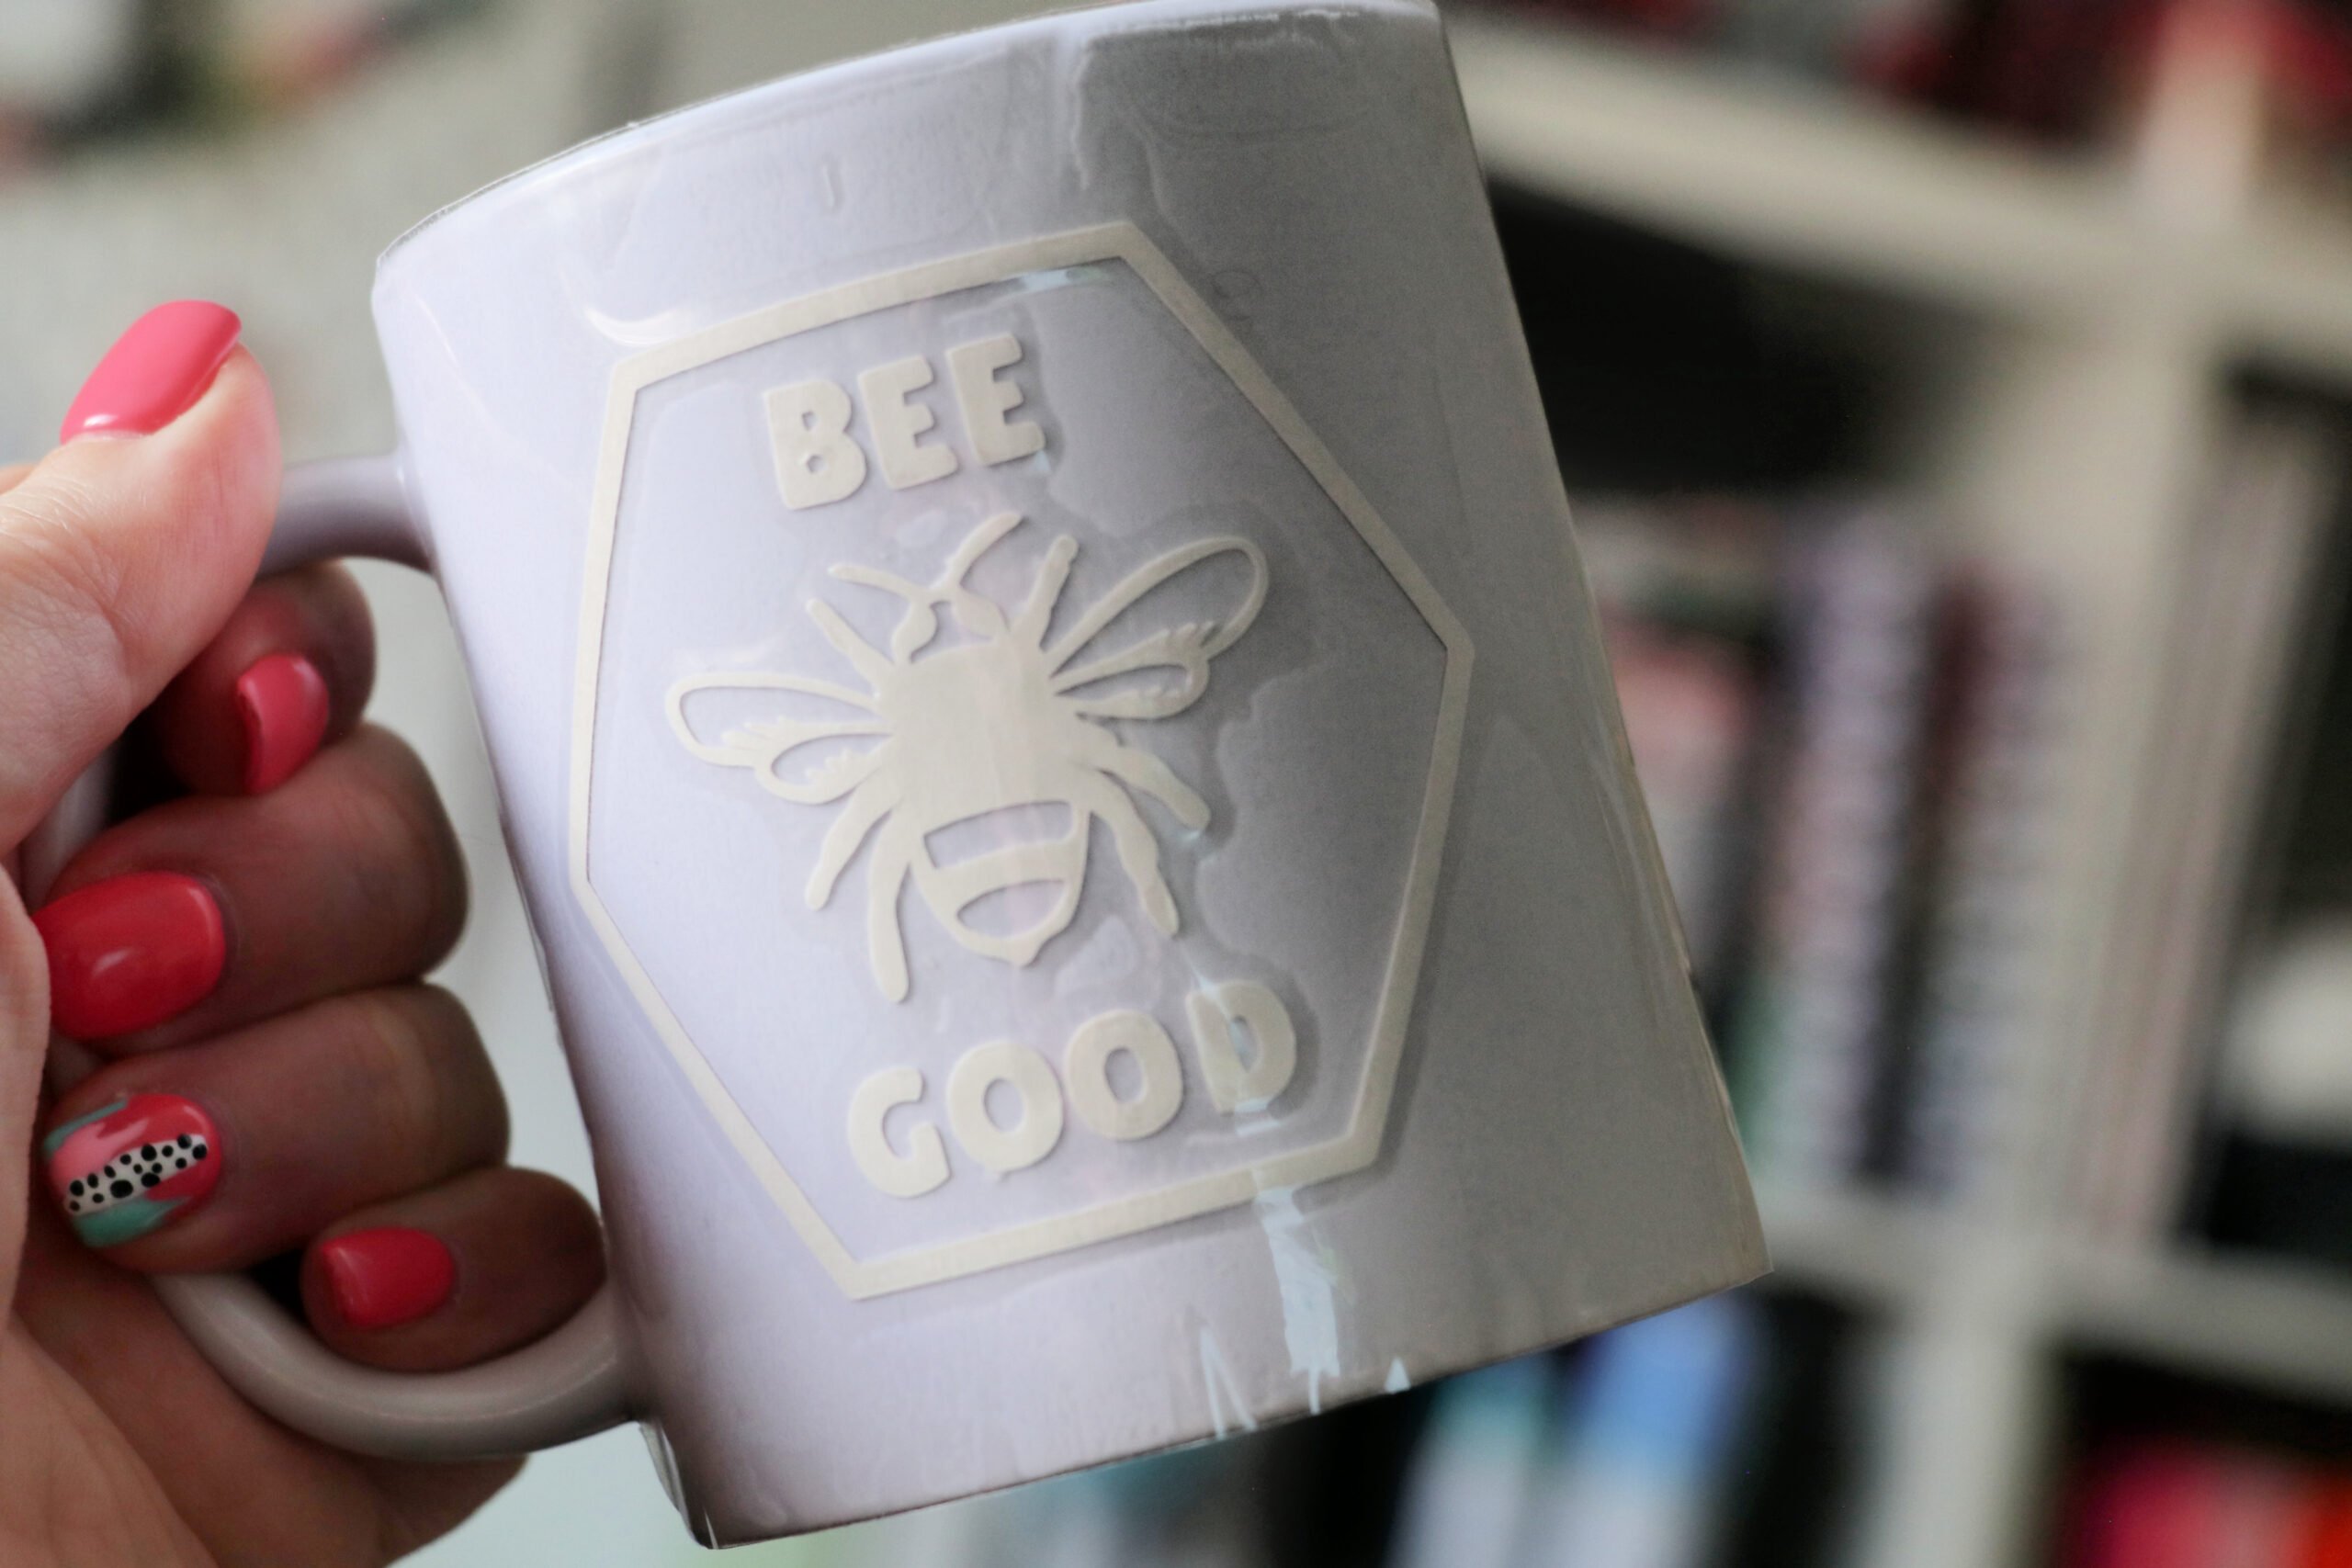
Once the transfer sheet is onto the mug go to the design and give it a good rub to make sure it’s smooth on the mug.
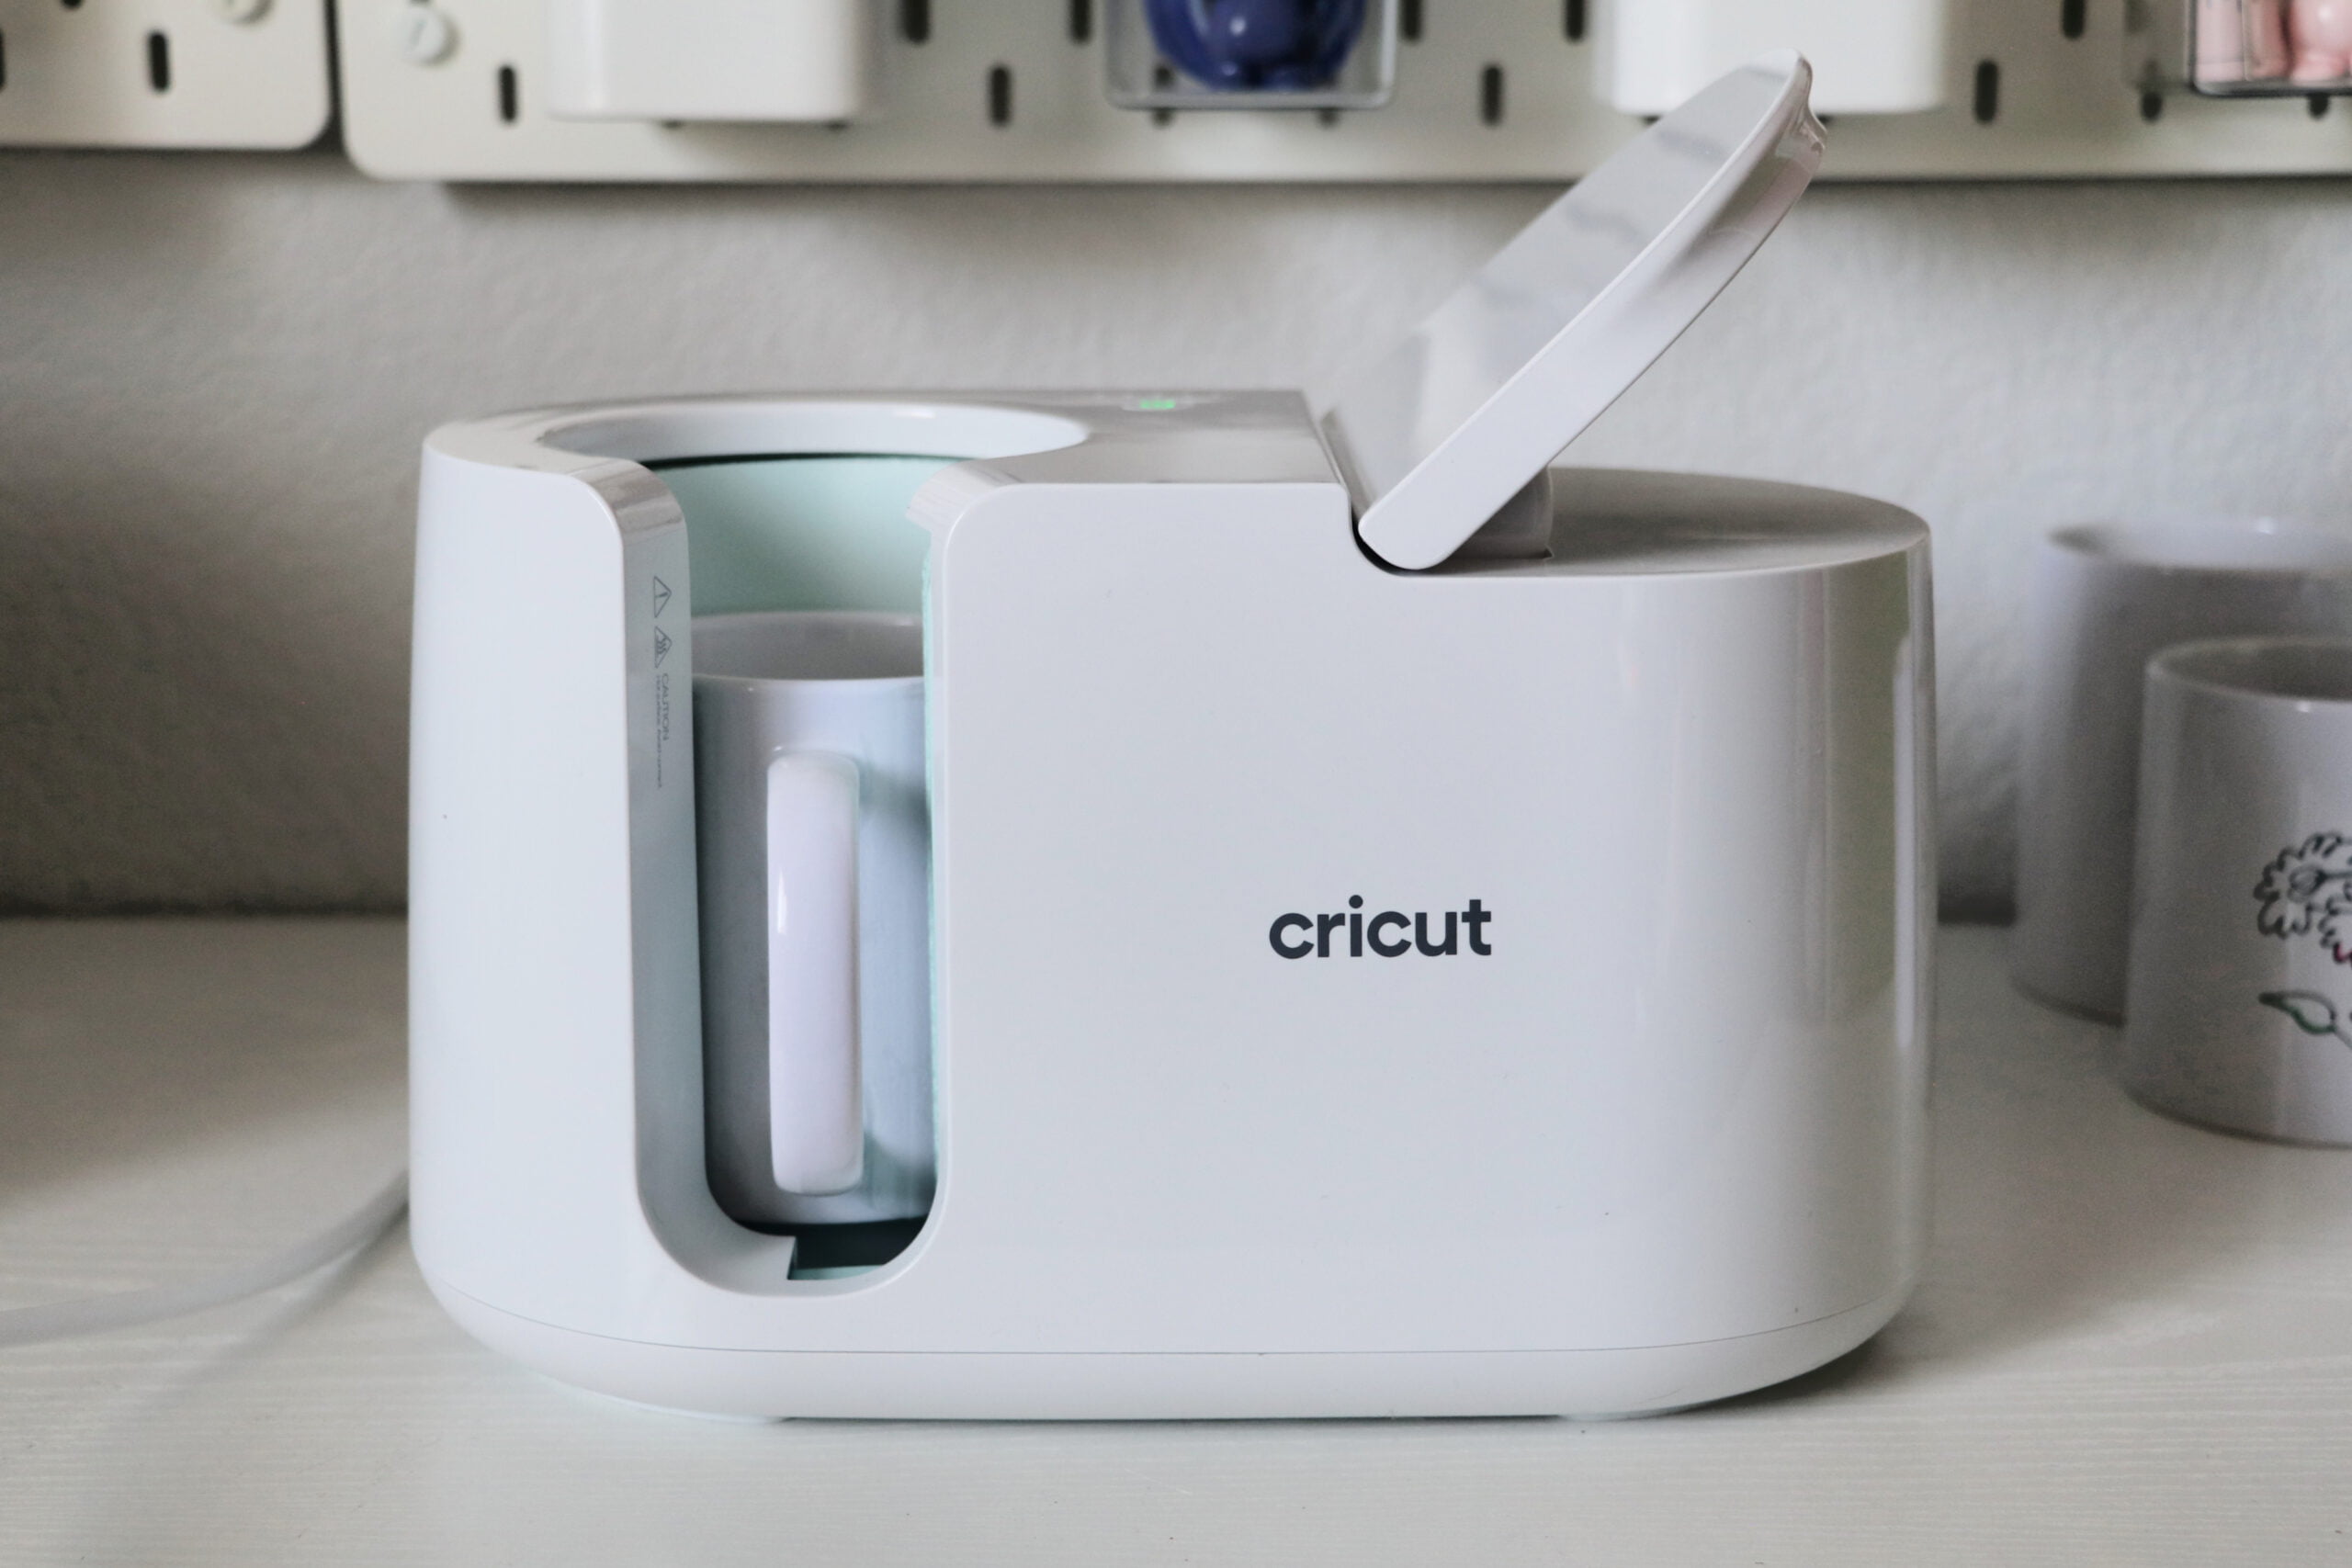
Once your Cricut easy press for mugs is heated up, place your mug into your press and push the lever down.
The Mug Press will beep when it’s done. My mugs take about 5-6 minutes.
When the mug press is done, pull the lever up and carefully remove the mug by the handle.
Be careful because the handle will not be hot, but the rest of the mug will be hot.
Place your mug on a pot holder or EasyPress Mat to cool. About 15+ mins.
Once your mug has cooled off you’ll want to remove the Infusible Ink Sheet.
Now your mug is ready to gift or use!
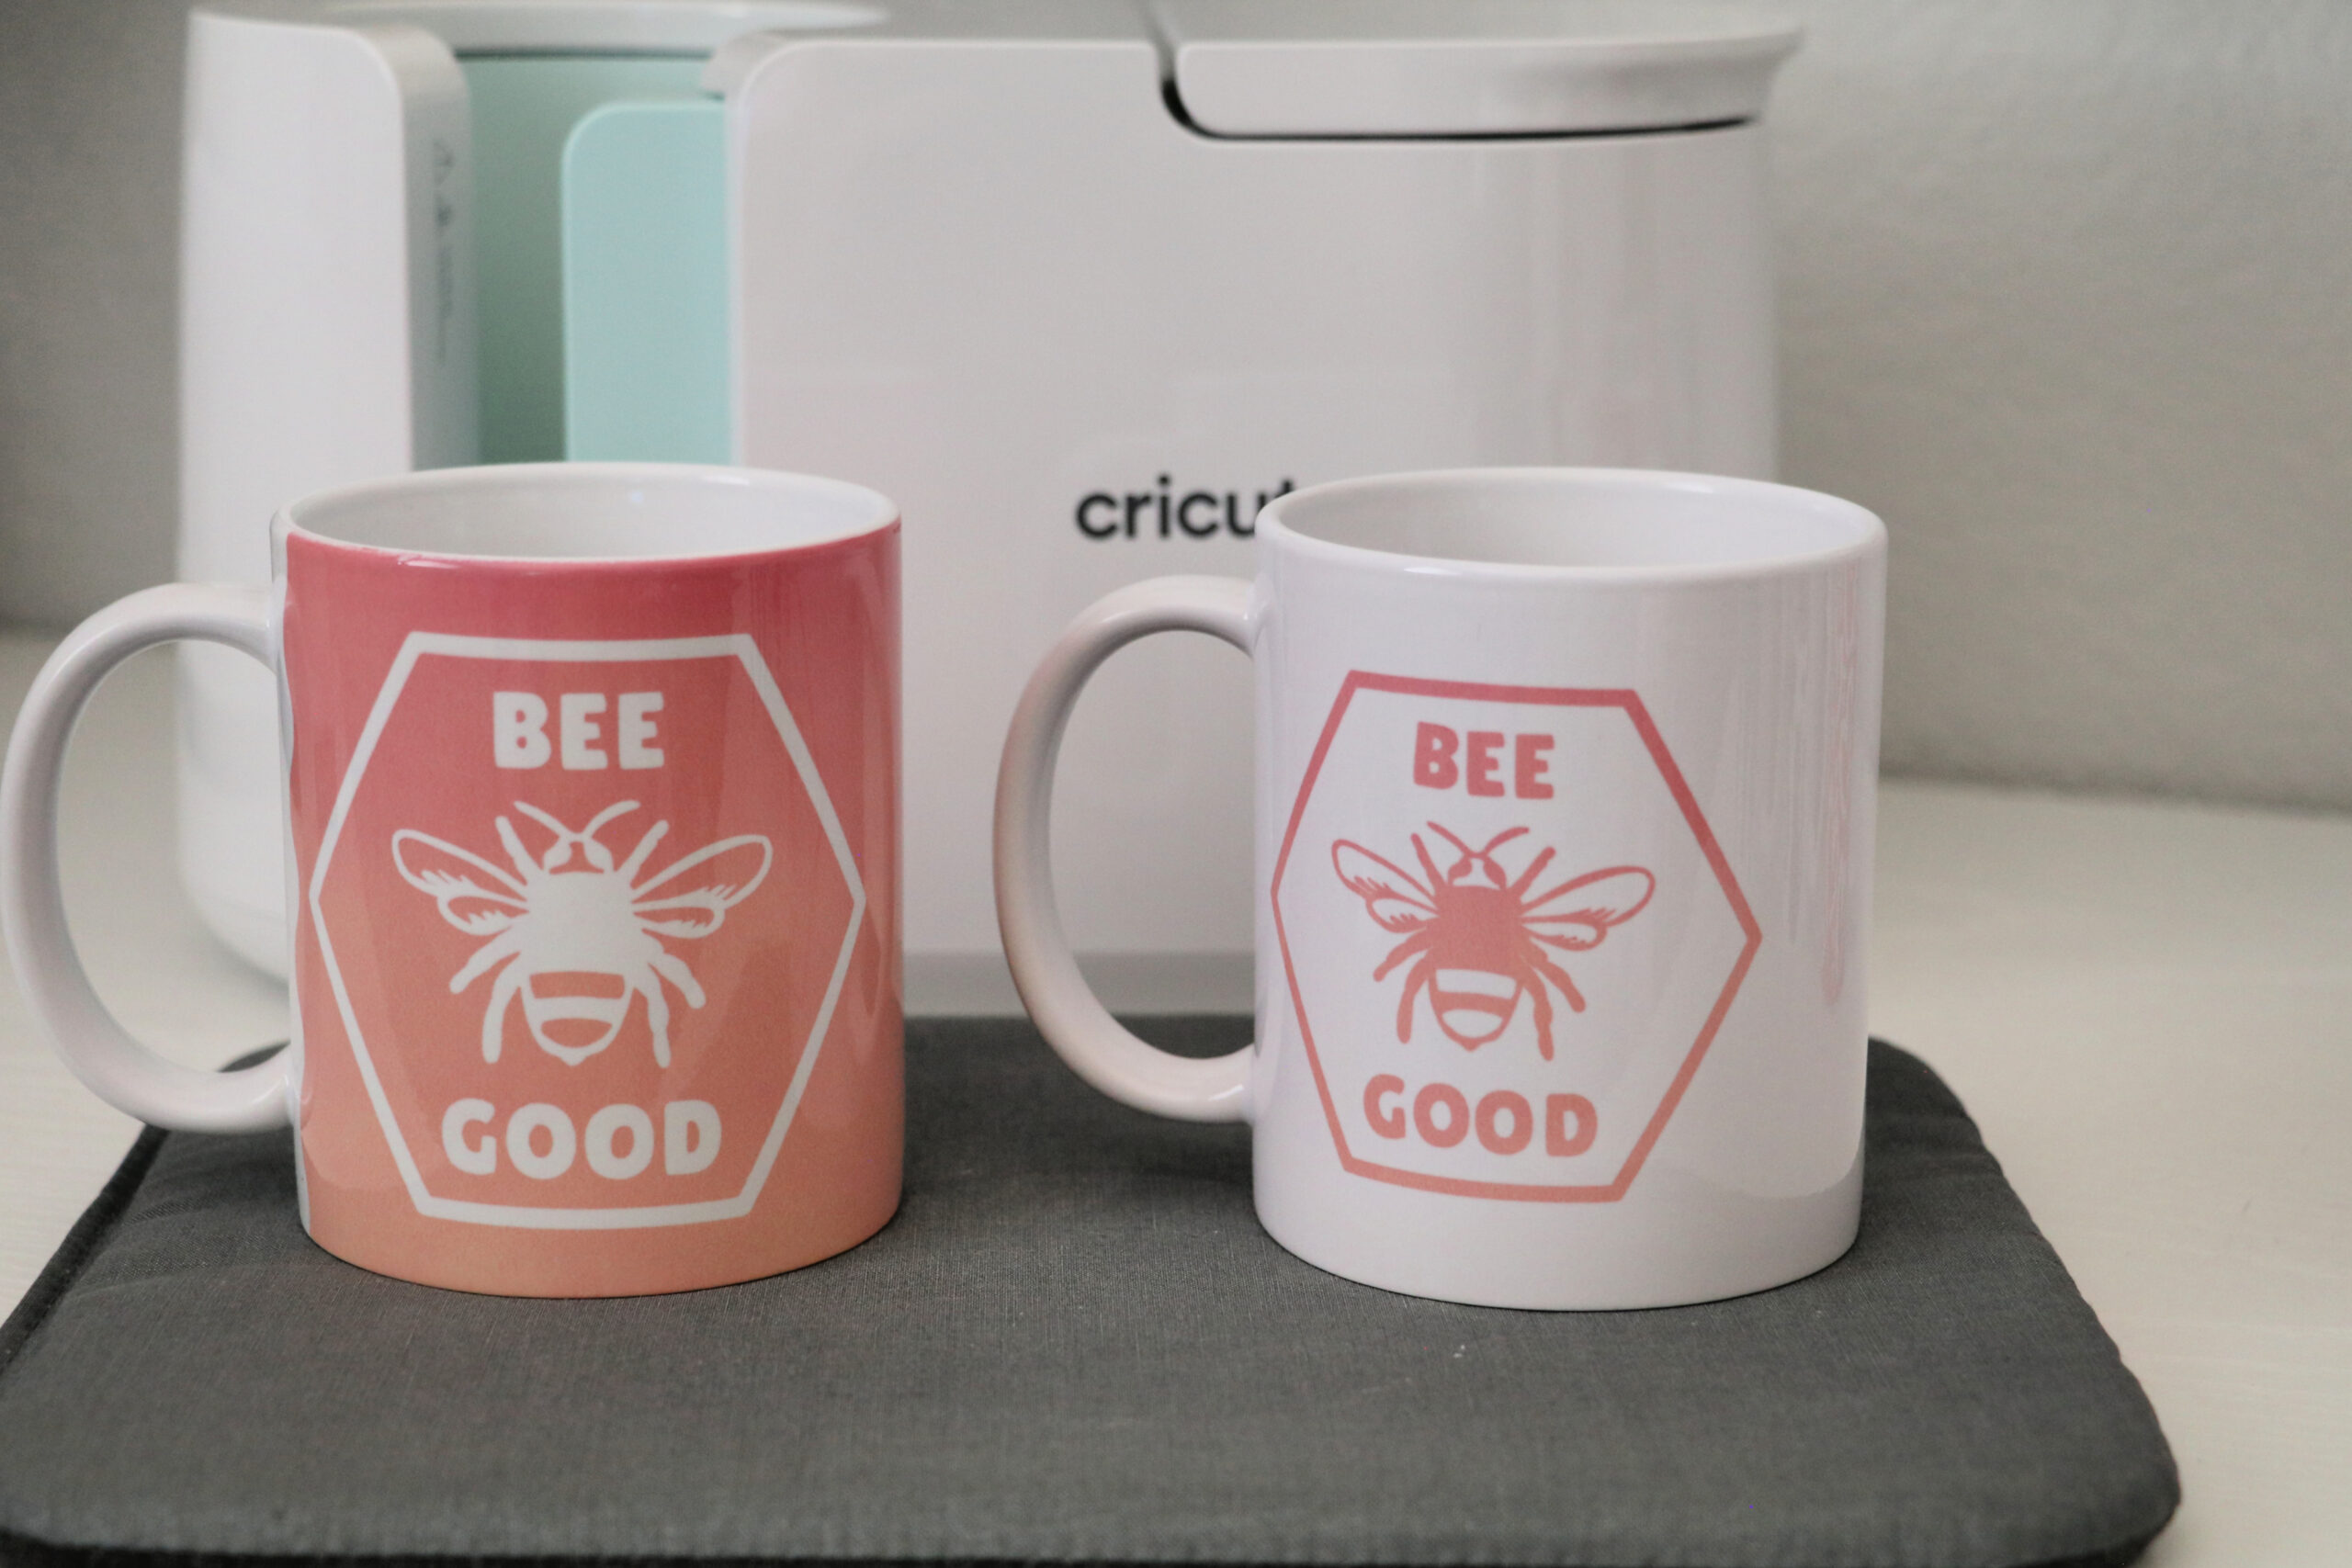
Infusible ink mugs can be washed in a dishwasher or placed in a microwave. They will have no cracking, peeling, or fading. YAY!
Where to buy the Cricut Mug Press
You can buy the Cricut Mug Press at the following places:
- Cricut.com – save 10% off your purchase if you’re a Cricut Access member
- Michaels
- Joann
- Amazon
*This post contains affiliate links which means I earn a small commission on purchases you make through my link.
Pat Erskine
Monday 7th of November 2022
I have a pioneer works mug press. My designs aren't infusing into the mug. What am I doing wrong?
Jamie
Friday 11th of November 2022
Are you using a Sublimation Mug?
Kate
Friday 19th of August 2022
I've never used anything Cricut, but I'd love to get the mug press. Silly question, do you need another piece of Cricut equipment to print off the design. I somehow missed that step above. Thank you.
Jamie
Saturday 20th of August 2022
You would need either a sublimation printer with sublimation paper and ink or you would need a Cricut cutting machine and infusible ink sheets. The Cricut Joy is the most affordable option and it is great for making mugs!
Tami
Tuesday 29th of June 2021
Thank you!! You make it look so easy...I've had my mug press since is was first released... I've never used it. I'm going to watch you a few more times and give it a try. Please add me to your list so I won't miss any of your post. Thank you very much!
Kim Ramirez
Sunday 21st of March 2021
I'm curious about using other sublimation ink and paper with the mug press. I have multicolor art work that I am using for my mugs and am also paying a premium to have my mugs printed by another company. I would love to have control of quantities, shipping and customer service by using this product. BTW I am a small one woman business. I'm an avid Cricut user (Maker & Joy) and was SUPER EXCITED about the mug press. Is this possible? Are there requirements for special inks? Thank you in advance for all your help, Kim
Jamie
Wednesday 24th of March 2021
You could do that with a sublimation printer and ink. Epson and Sawgrass have some good printer options. Cosmos Ink is great.