Learn how to make a Fabric Embroidery Hoop Wreath with your Cricut Explore Air Machine.
This is a sponsored conversation written by me on behalf of Cricut. The opinions and text are all mine.
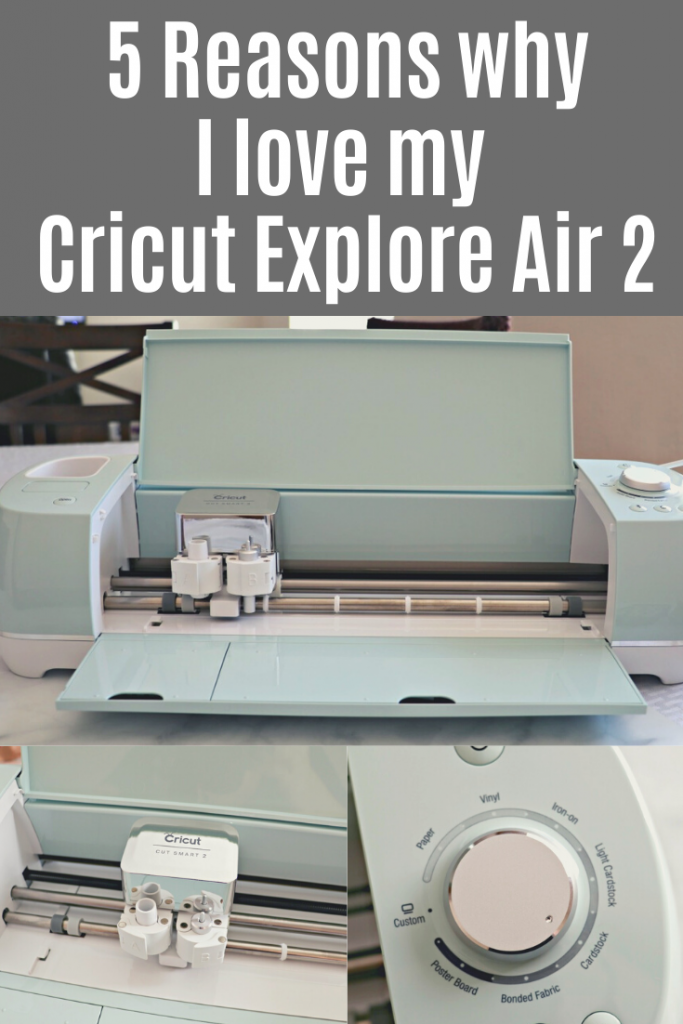
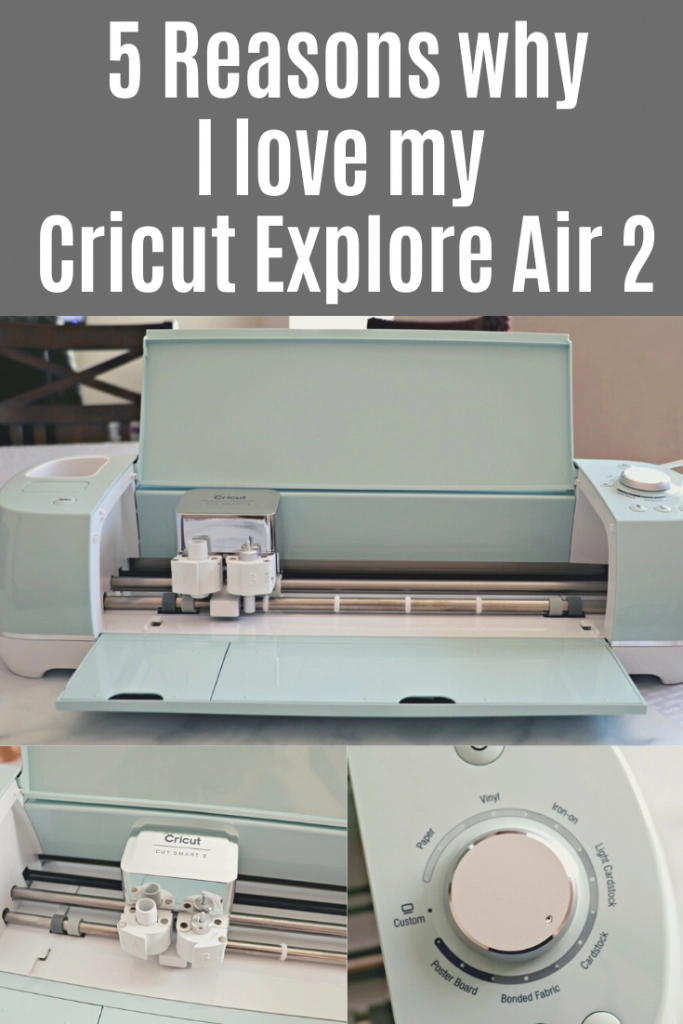
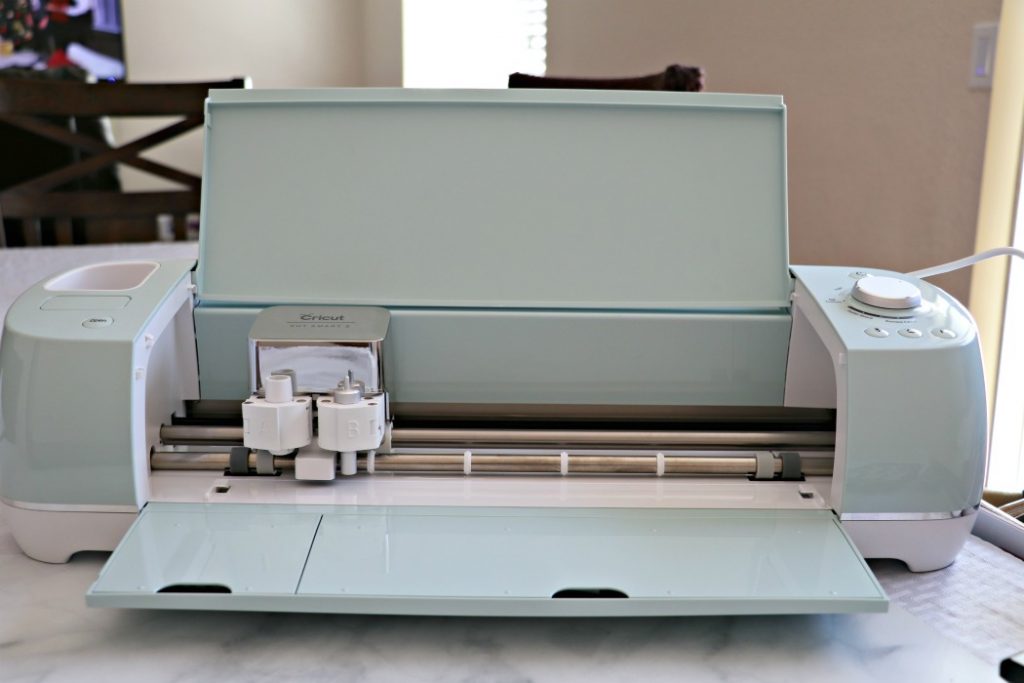
I got my Explore Air 2 just in time for the holidays and I am still loving it. I’ve been able to create gifts for Family, make cute shirts for my kids, and a variety of other things. If you read my first post about my Explore Air 2 I compared it to my Silhouette Cameo 3. Now I’m back to tell you my top 5 reasons why I love my Explore Air 2. Hint: One of them is because of all the things it can cut!
It’s Easy to Use
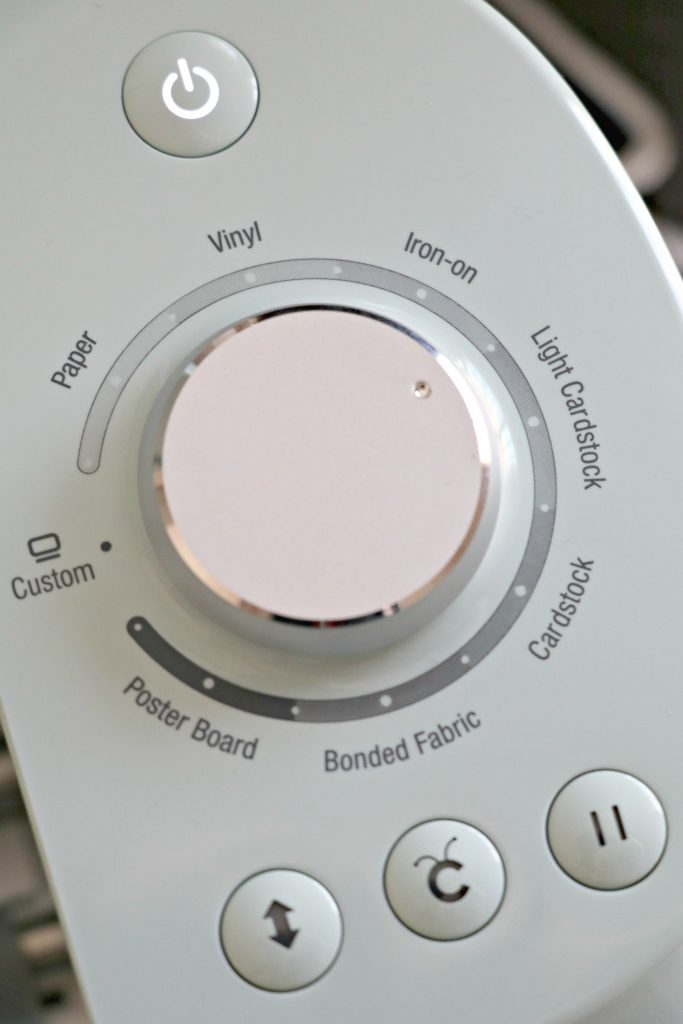
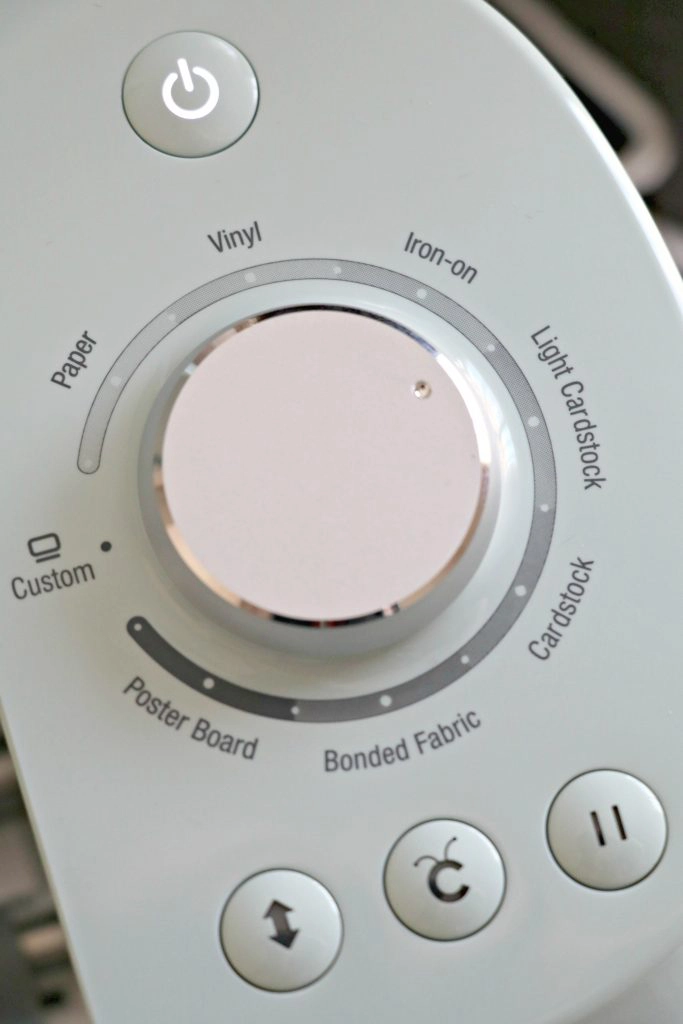
I really love how easy my Explore Air 2 is to use. Since I’ve started using it I’ve been easily able to find directions for materials easily on the Cricut website and the machine itself is very user-friendly. Design Space has cut settings for lots of materials. I just turn the knob to custom, find my material, and the machine does all the work. I don’t have to mess with adjusting a blade, which I love, and so far I haven’t had any issues cutting materials. It’s a smooth, flawless cut every time. Plus, It’s fast. So fast that it’s 2x faster than previous Cricut machines.
Design Space Makes Projects Easy
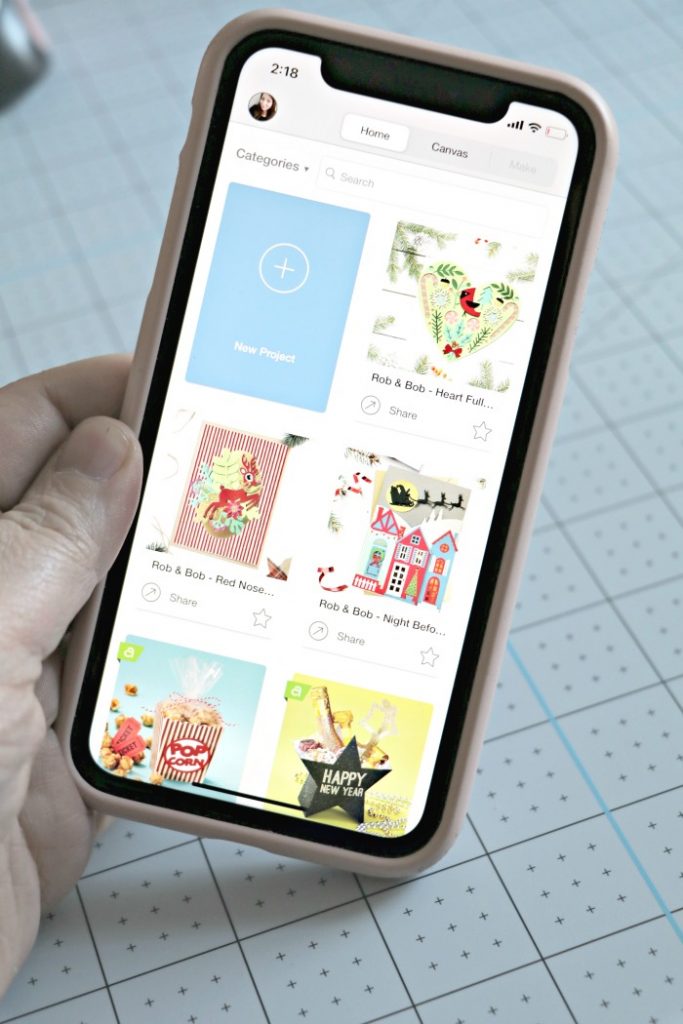
Design Space has a variety of already made images, fonts, and projects. I especially love that they have a partnership with Disney, so I can make Disney shirts (like these Frozen Siblings shirts) for my kids to wear. It’s easy to upload your own files and use your own fonts if needed. One of the best parts is that you don’t have to be tied down to a computer to use Design Space. You can easily access it from your browser, their downloaded software, your phone, or tablet. Bored in the carpool line? No problem! Open up the Circut app and get to work on to go!

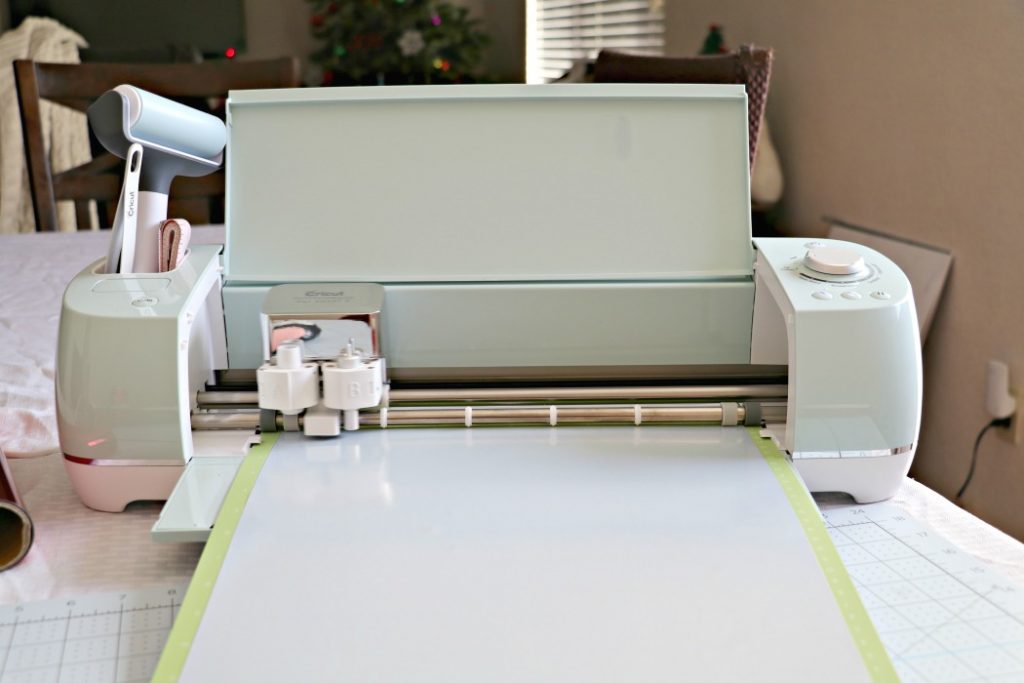
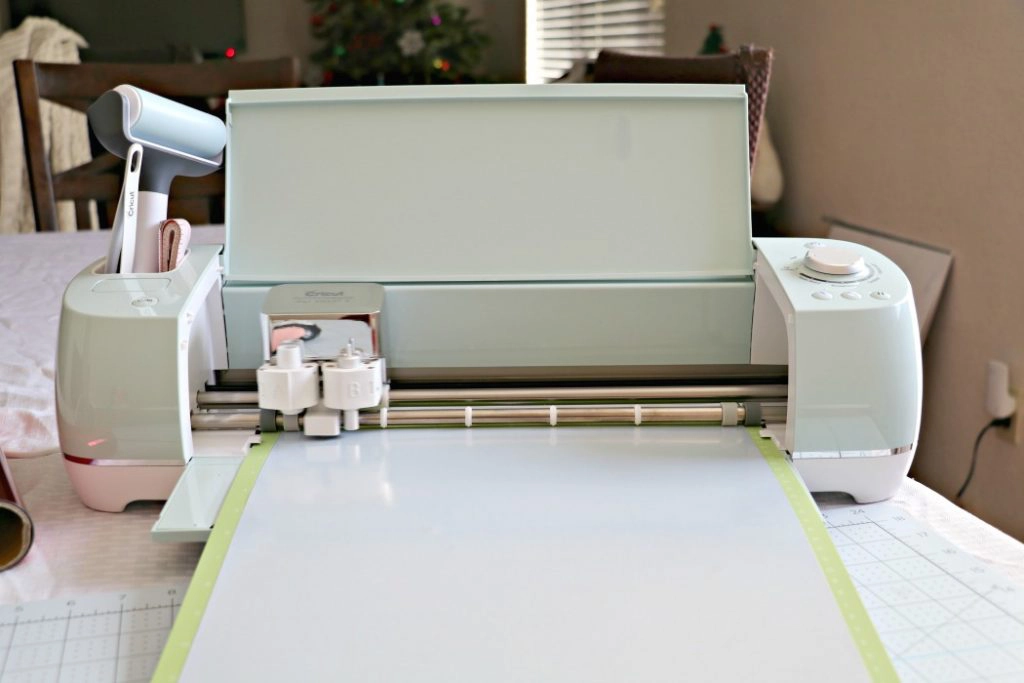
The Storage
I’m really loving all the storage my Explore Air 2 has. There is a storage area for your blades that can hold 2 extra housing units + extra blades, there is a bigger storage unit to hold your tools like scissors, weeding tools, and pens, plus there is a storage area on the top to hold bigger items like your rotary cutter and brayer. I really love that I can have everything I need with my machine so that it’s easy to find and if I want to move it around everything is already there.


It’s Cuts a Variety of Materials
I really love the variety of materials it can cut with my favorite being felt. There have been so many felt projects I’ve wanted to do, but didn’t want to cut the felt by hand, and my previous machine didn’t cut felt. In addition to felt the Explore Air 2 can cut over 100 materials everything from cardstock, vinyl and iron-on to specialty materials like glitter paper, cork, and bonded fabric. Get the full list here. Plus you can use pens with your machine which means addressing cards is simple and it looks handwritten.

Sharing Made Simple
Using Design Space & my Explore Air 2 means I can make a variety of projects. From home decor, shirts for my kids, party decorations, or something as simple as having it write for me. I can also easily share my designs with all of you. With a few clicks you can easily make the same projects I am making. You won’t need to search the design store for the files or fonts I used. Just browse through my profile and look through the projects. When you’ve found the one you like, hit customize (if you want to make some changes) or hit make it. This will load the project into your design space for you to easily make the project.
Bonus: It’s Fun!!
I really love being able to craft and make things for my family and friends. Using my Explore Air 2 is so much fun for me and I love that the possibilities of things I can make are endless. Whether you want to do something simple like a shirt or something more complicated the Explore Air 2 is a great companion to have by your side!
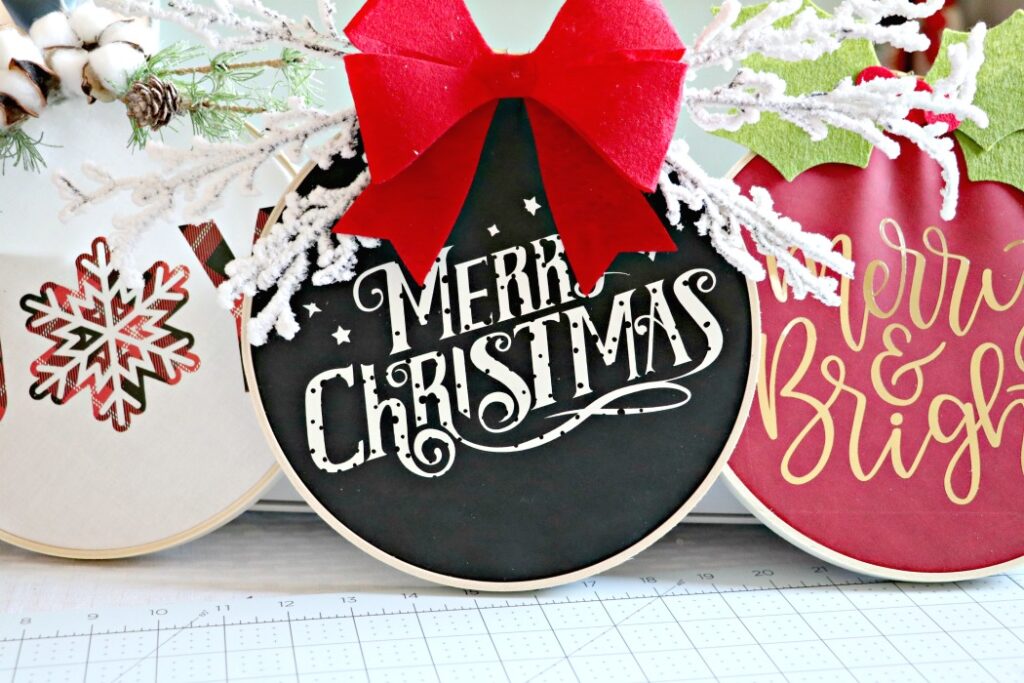
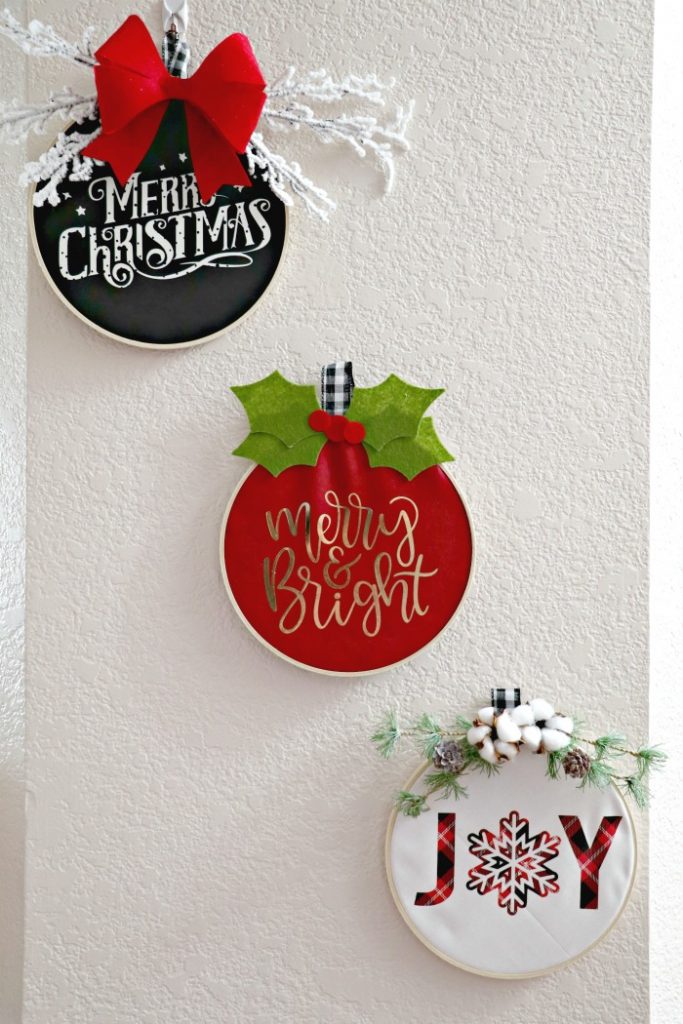
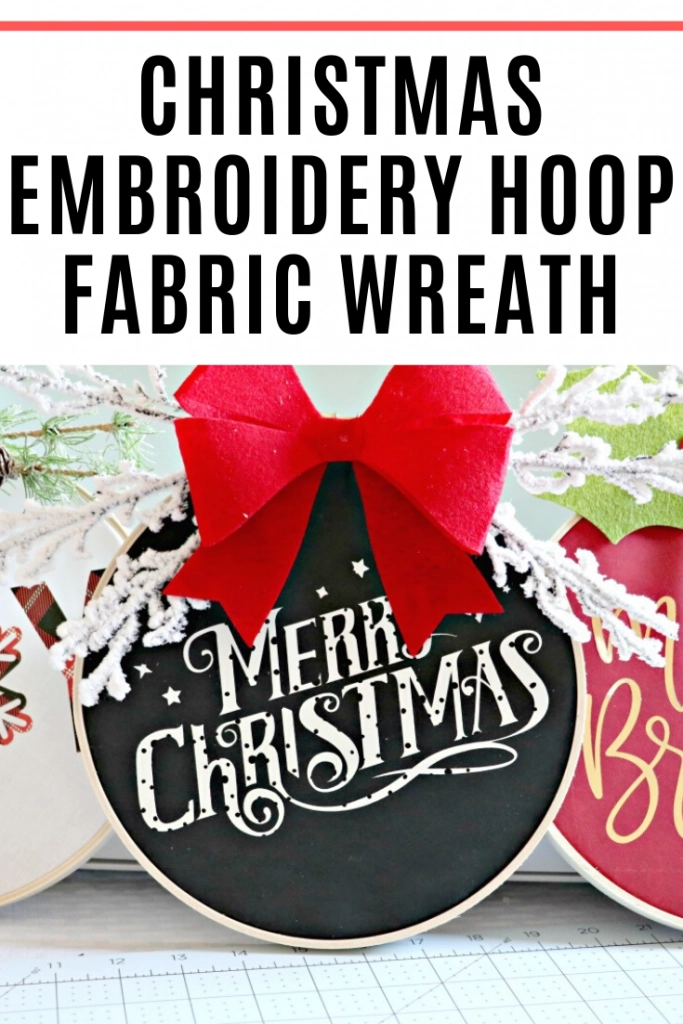
Christmas Fabric Embroidery Hoop Wreath
Combine an embroidery hoop, fabric, and a few embellishments for fun, easy, and cute holiday decor in your home!
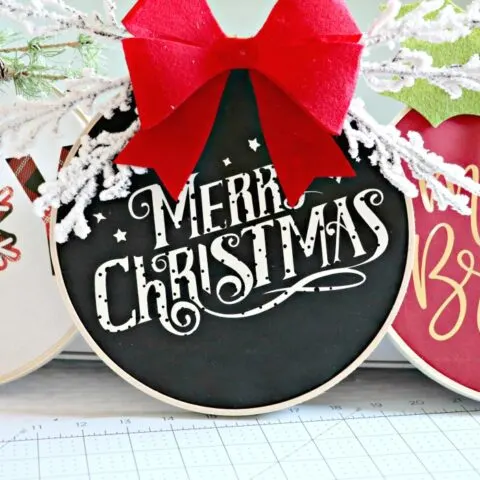
Using my Cricut Explore Air 2 I used a combo of Patterned Iron-On and Foil Iron-On to add some sayings to my wreaths. I used Merry Christmas, Joy, and Merry & Bright.
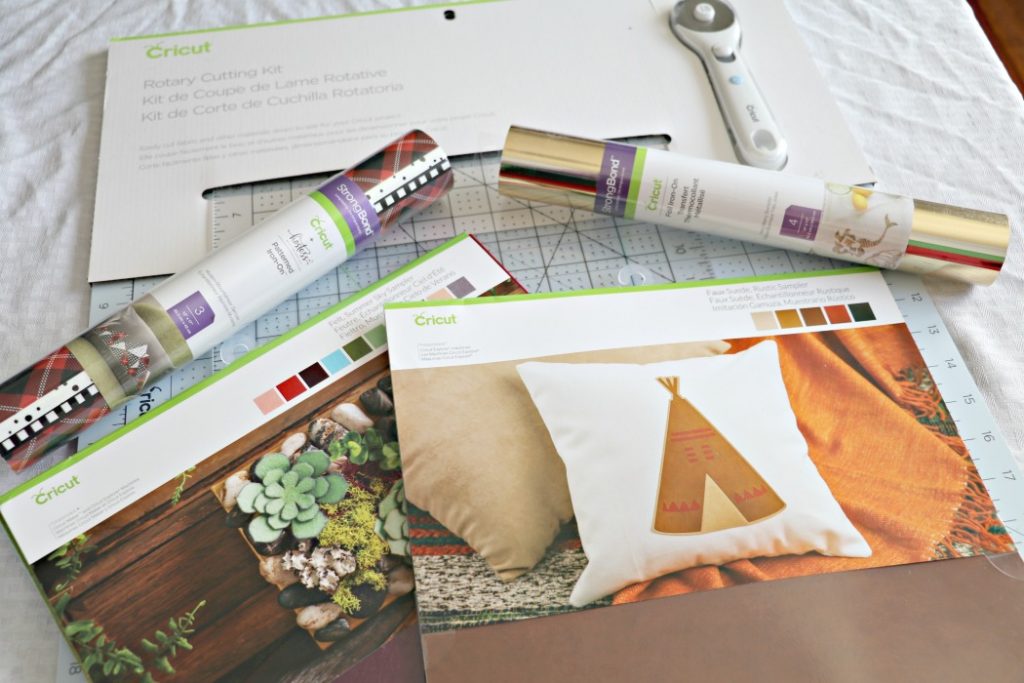
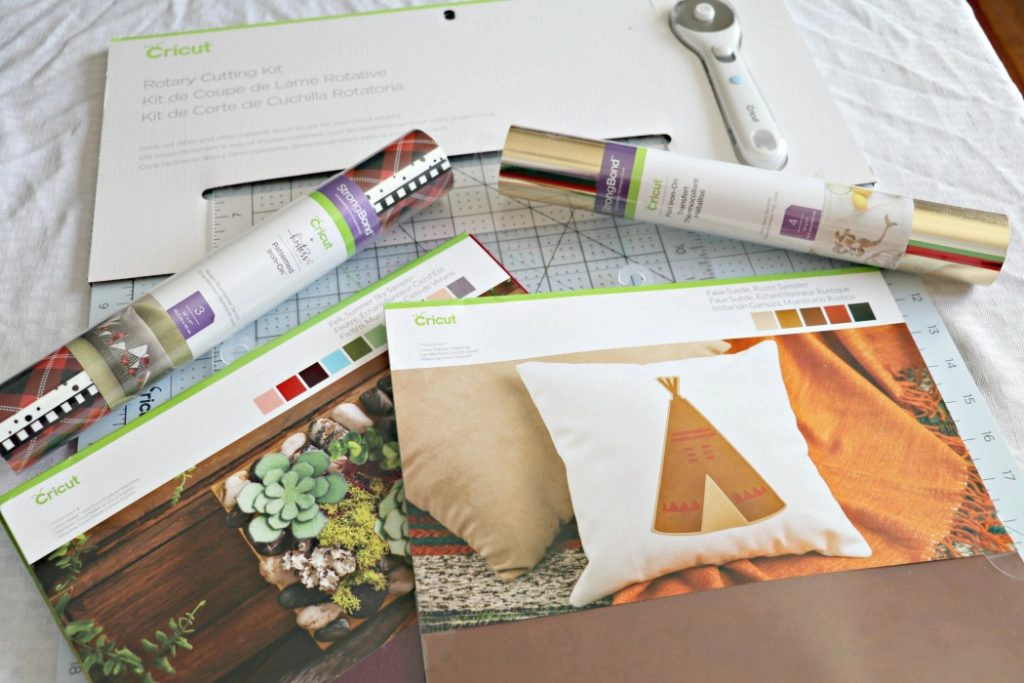
- For the Fabric on my wreath, I used a combo of Faux Suede and Cotton Fabric from Cricut.
- Along with Modern Mountaineer Patterned Iron-On and Very Merry Foil.
- You’ll need 8in embroidery hoops which you can pick up at any local craft store.
- Embellishments like greenery, flowers, or bells
- Cricut Felt
- Heat tape
How to Make your Fabric Embroidery Hoop Wreath
Open Design Space and pick out which sayings or images you’re going to use. I went with Merry Christmas, Joy, and Merry & Bright. For an 8in hoop, I sized my quotes to 6 inches.
Cut out your sayings with your Cricut Machine. For foil and patterned iron-on, you will cut them like regular iron-on. With the pattern/color side down. Once they are cut weed your design.

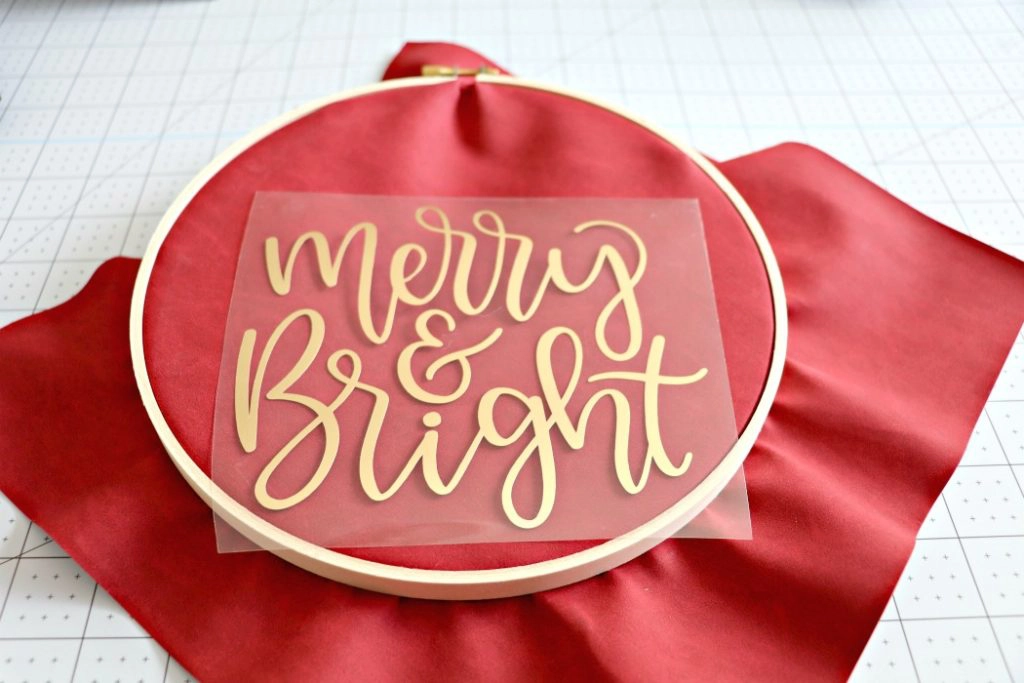
Next, you’ll take your embroidery hoop apart. Place the fabric over the smaller hoop and place the bigger hoop over the fabric. Once you get the positioning right place your quote in your desired spot and use a piece of heat-resistant tape to hold your design in place.
Remove the tape and use your EasyPress to iron on your designs. You can get the heat settings via Cricut.com/heatguide.
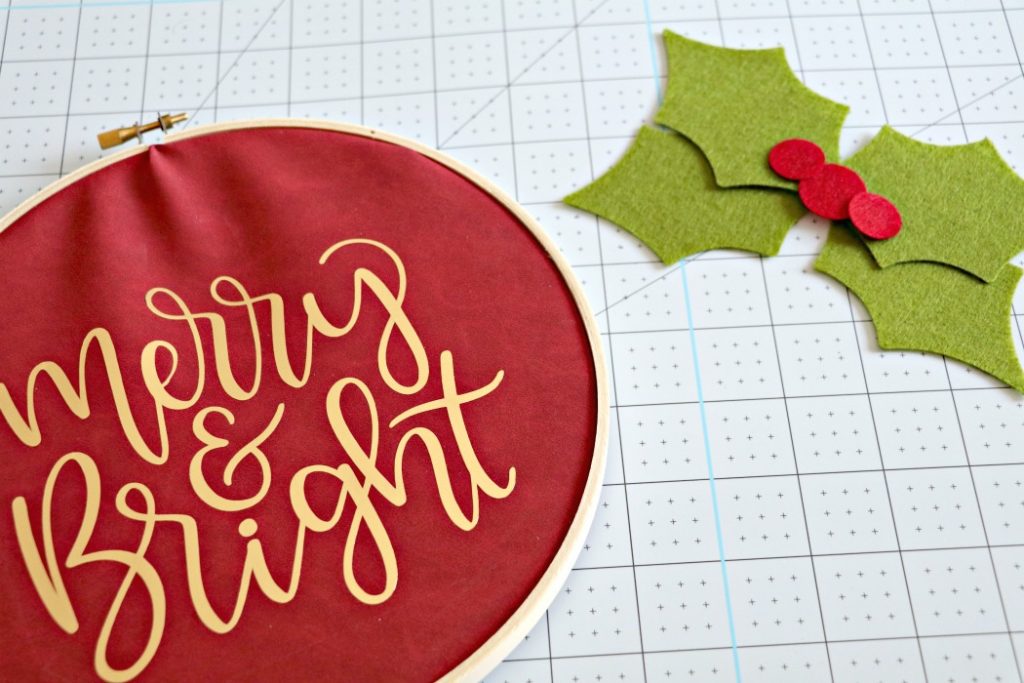
Once your design is ironed on place the hoops back together and screw them together. Your fabric might start to bunch up so you’ll want to flip it over and pull the excess fabric while tightening.
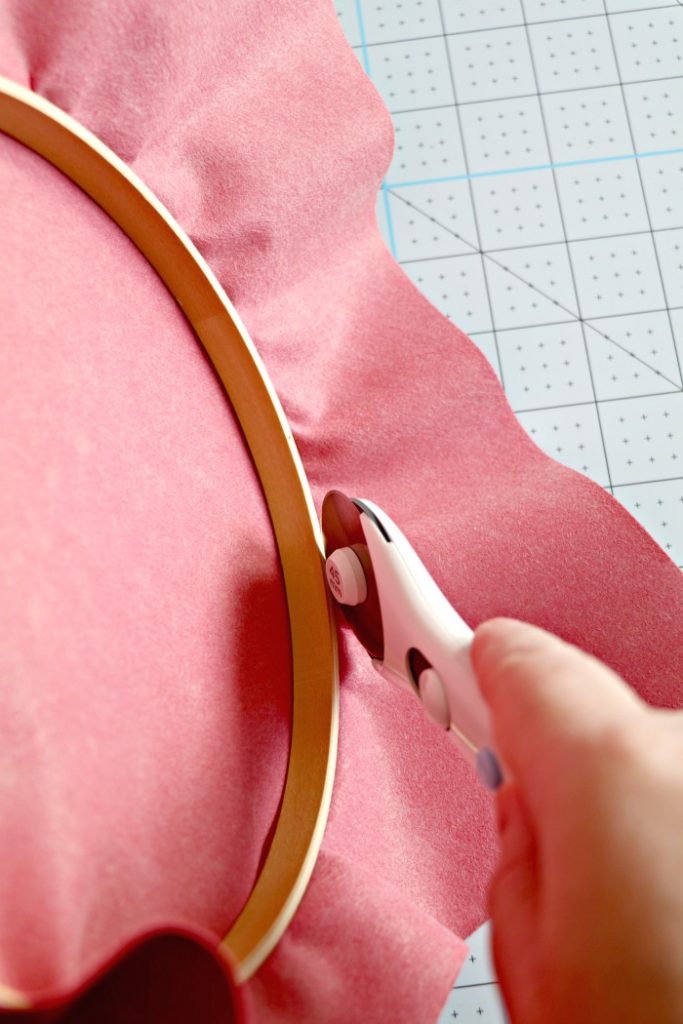

Remove the excess fabric hanging over the hoop either with scissors or a rotary blade. I used my Cricut rotary blade and self-healing mat for this project.
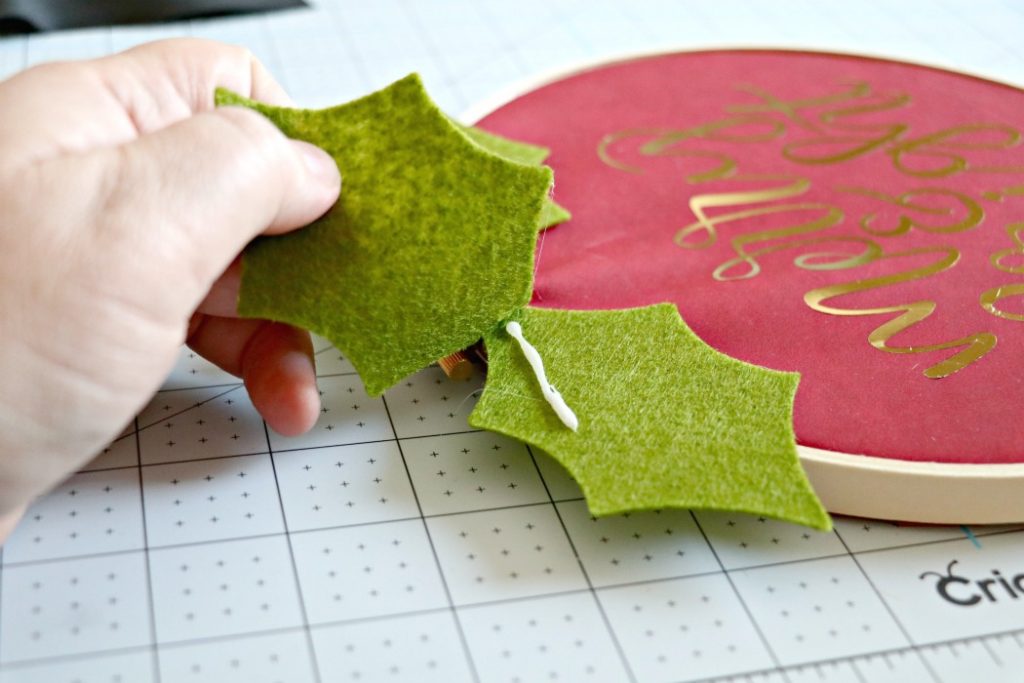

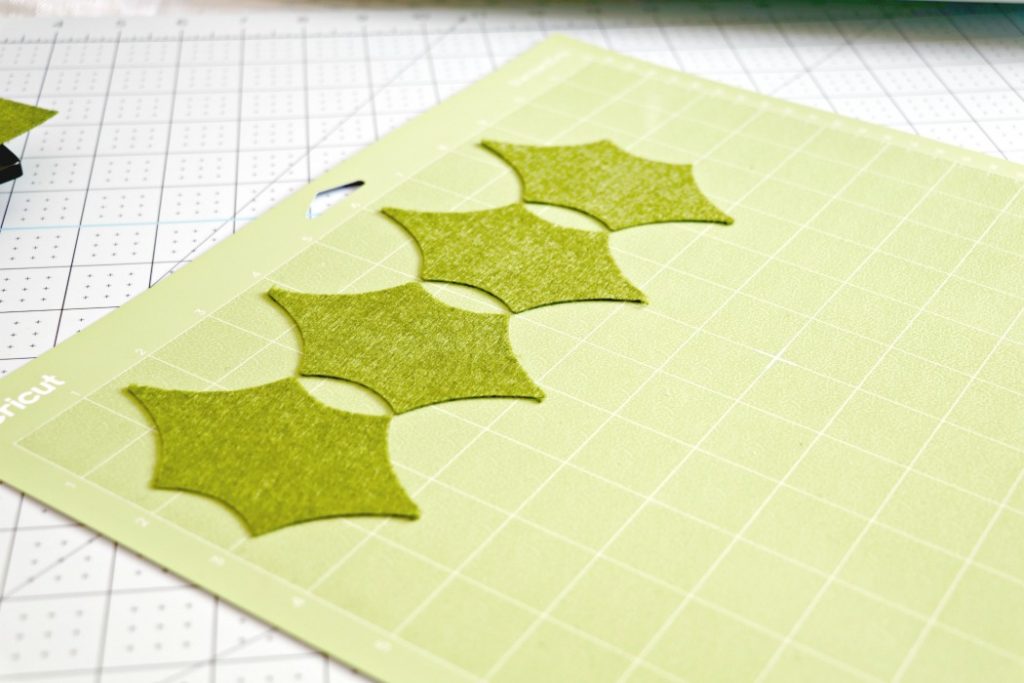
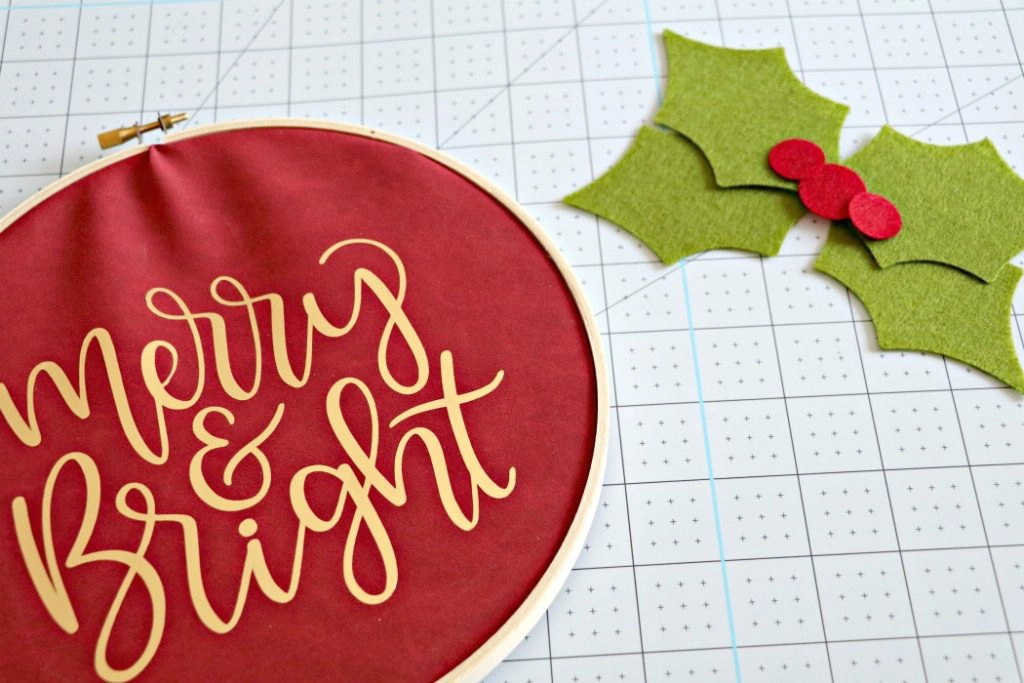
For this project, I used the Cricut felt to make a bow and holly as embellishments for my wreaths. You can find the designs via my Design Space Profile. Cut them out with your Cricut Machine and hot glue them to the top of the wreath. I cover the screw with the embellishments.