This is a sponsored conversation written by me on behalf of Cricut. The opinions and text are all mine.
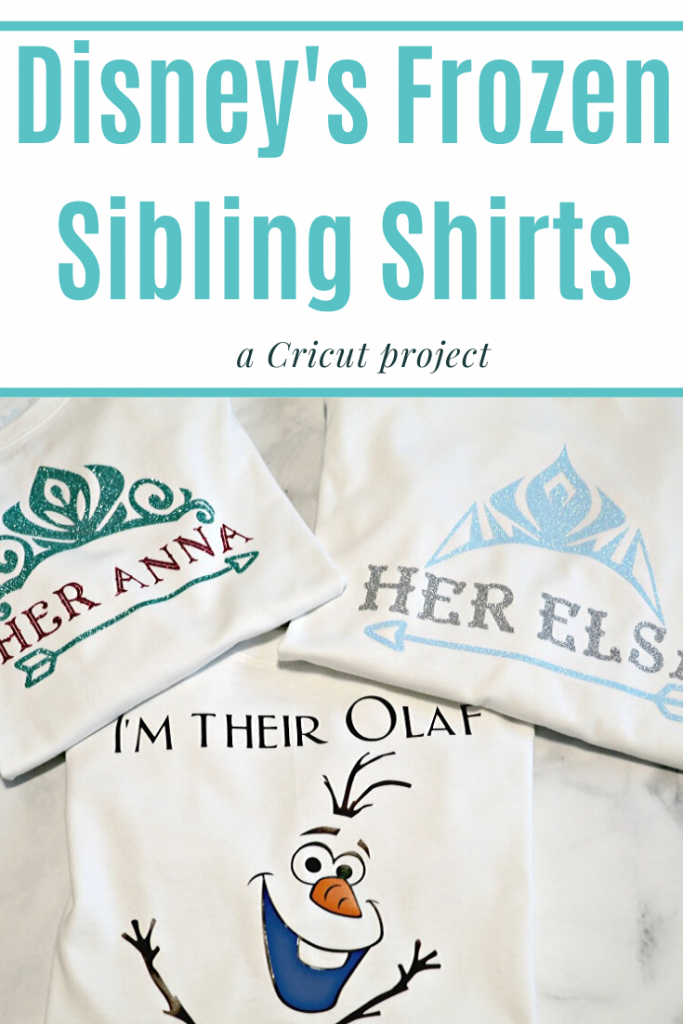
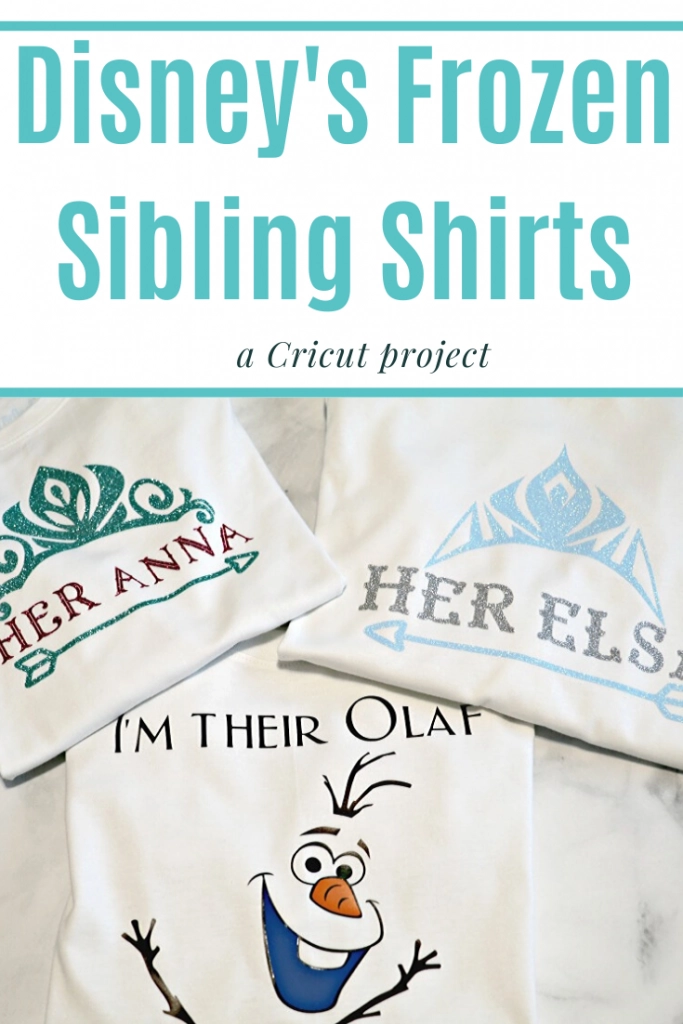
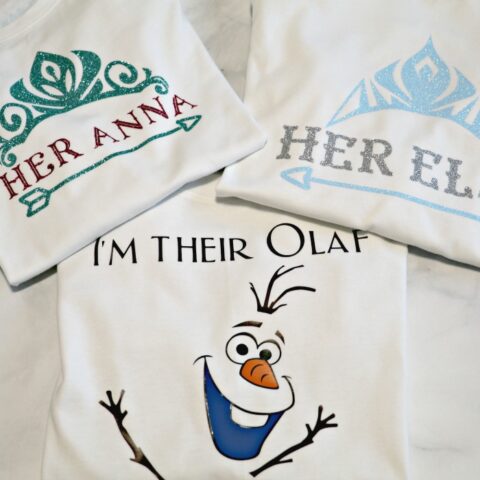
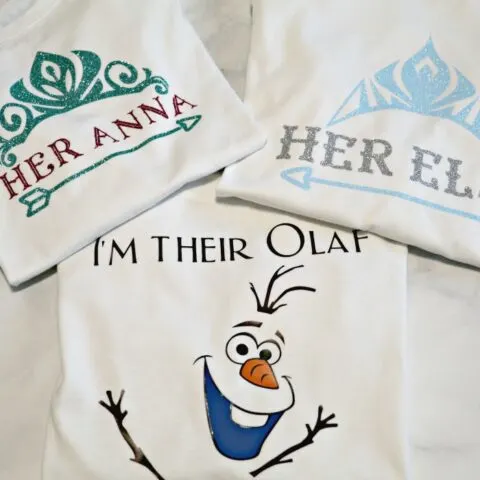
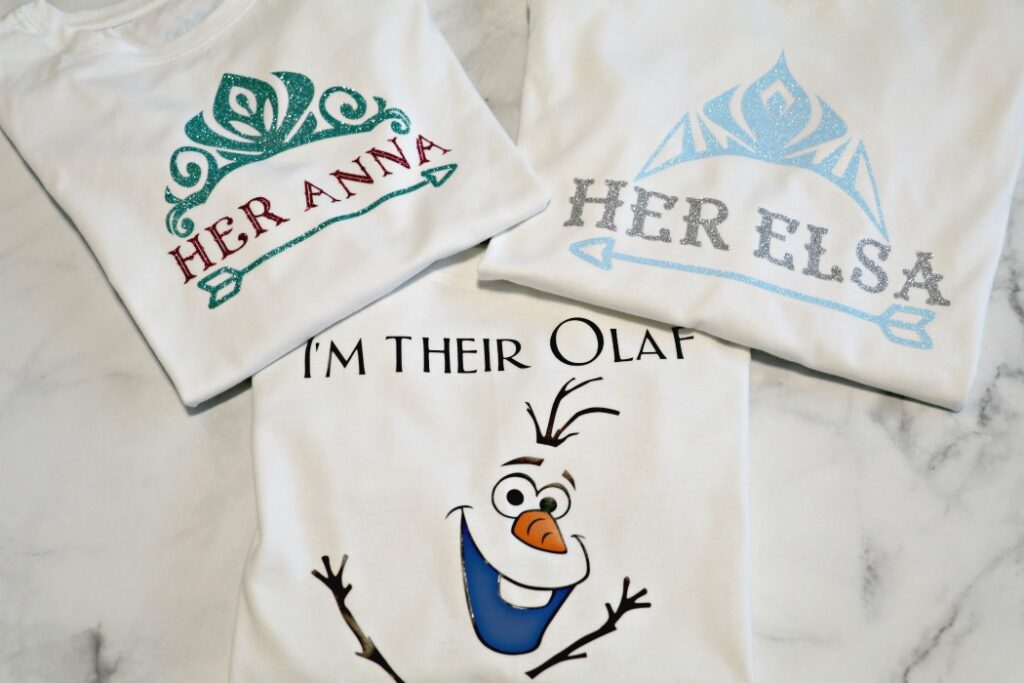
Disney’s Frozen 2 comes out Nov 22nd and we’re so excited. So excited that I had to make the kids matching shirts for when we go to see it. I put my new Cricut Explore Air 2 to work and put together these shirts for the kids.
For this project, you’ll need some solid color shirts. Any color works, but we went with white. I really like the solid Jack and Jack tees from Target, but any new shirt will do.
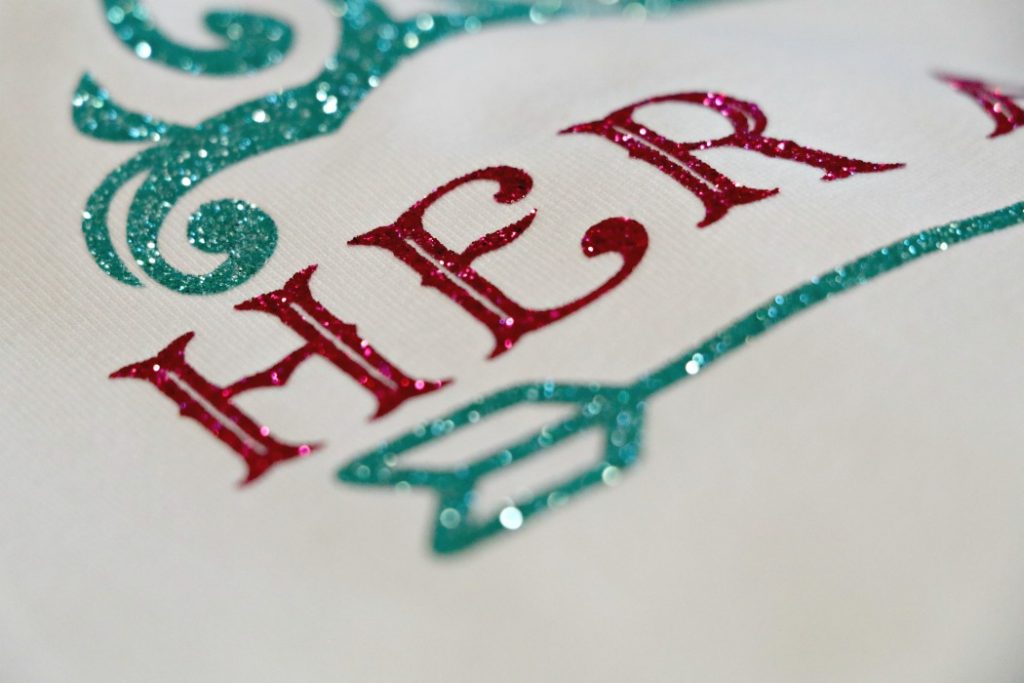

For this project, I have 2 girls and 1 boy so I did a shirt that says “Her Elsa”, “Her Anna”, and “Their Olaf”. If you have 1 girl and 2 boys you could change the text to say Their Elsa and then create another shirt with Sven.
For this project you’ll need:
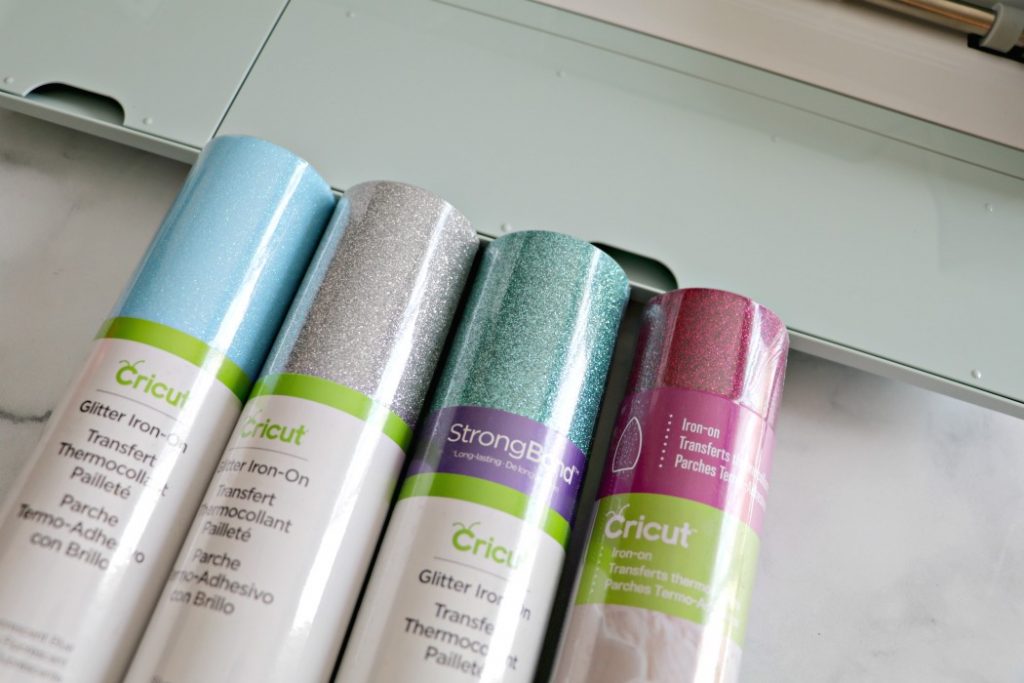
- Cricut Glitter Iron-on in Fluorescent Blue, Silver, Jade, and Lipstick.
- Cricut Everyday Iron-on in Black, Brown, Orange, and Royal.
- EasyPress
- EasyPress Mat
- Solid Color Shirt
- Explore Air
- Lint Brush
- Standard Grip Mat
- Weeding Tools
To get started you’ll want to open your Cricut Design Space. You can find my projects there. Her Elsa, Her Anna, Their Olaf. Click the project link you want and hit customize. This should take you to the project.
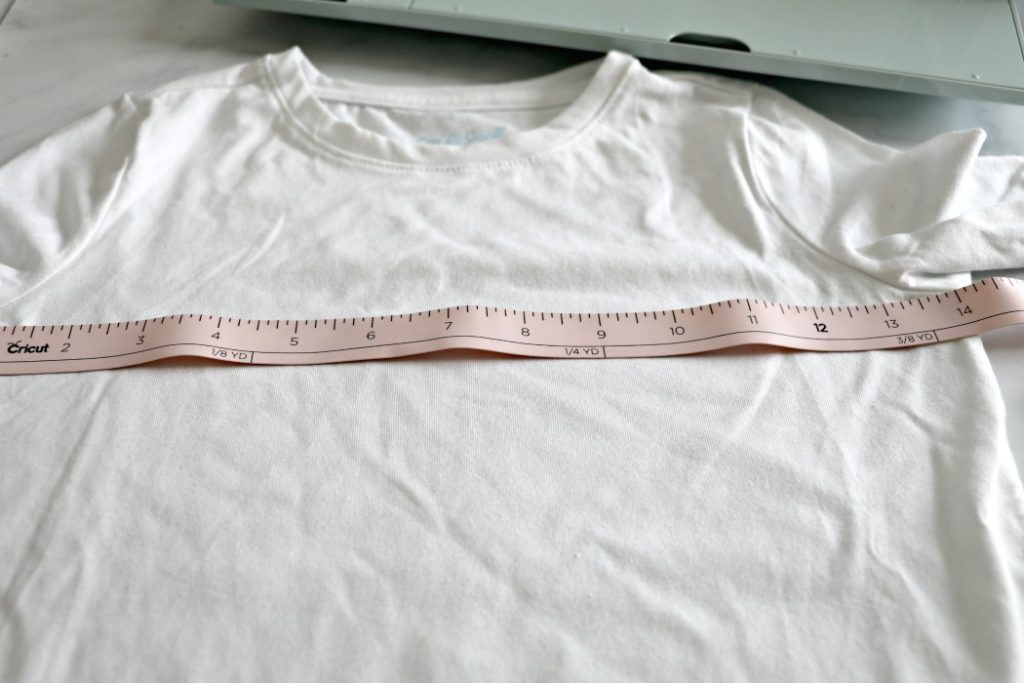
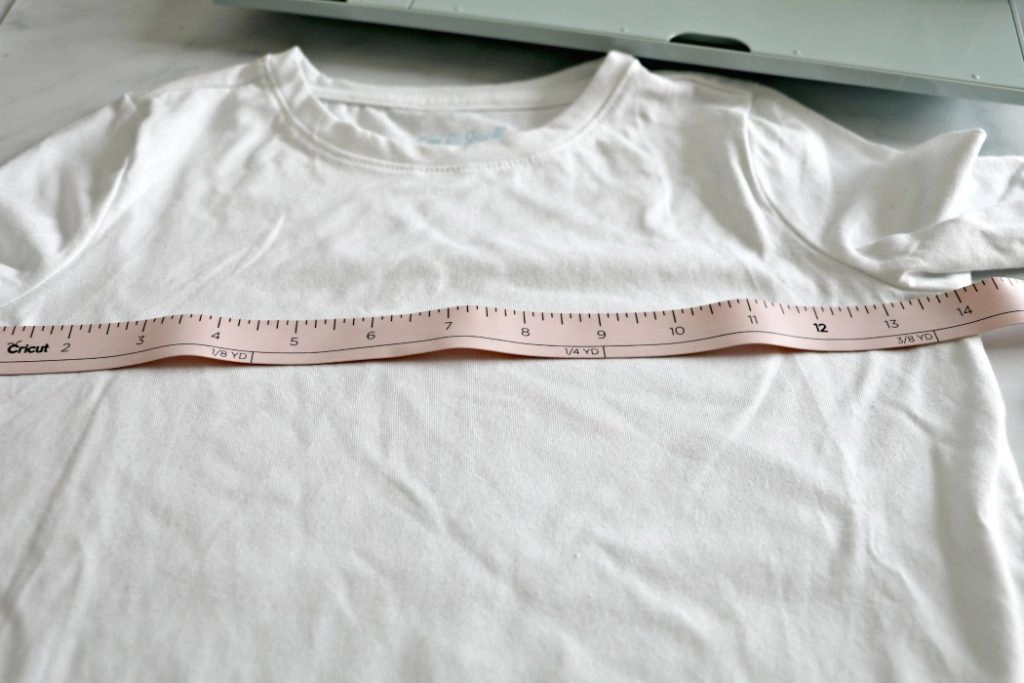
I always measure my kid’s shirts across and do half the width for the project size. If the shirt is 14 inches wide then I’ll make a decal that is 7 inches wide. Highlight the whole project and hit the two arrows in the bottom right corner to make it smaller or bigger.
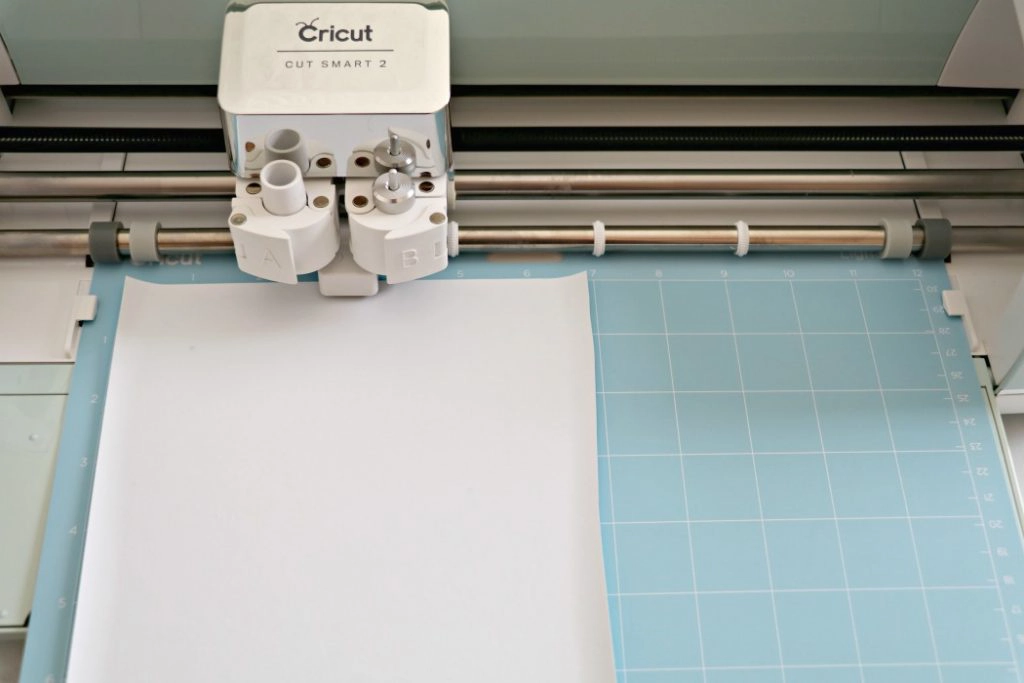
Once you’re ready to cut the project hit MAKE IT at the top right corner. This will bring you to a screen with your mats.
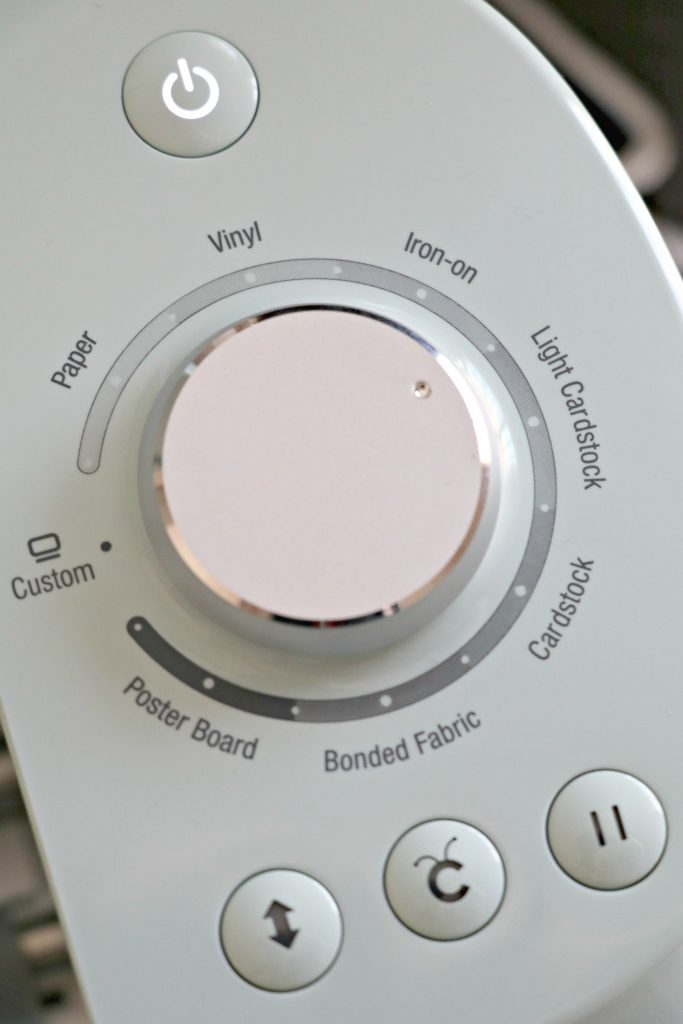
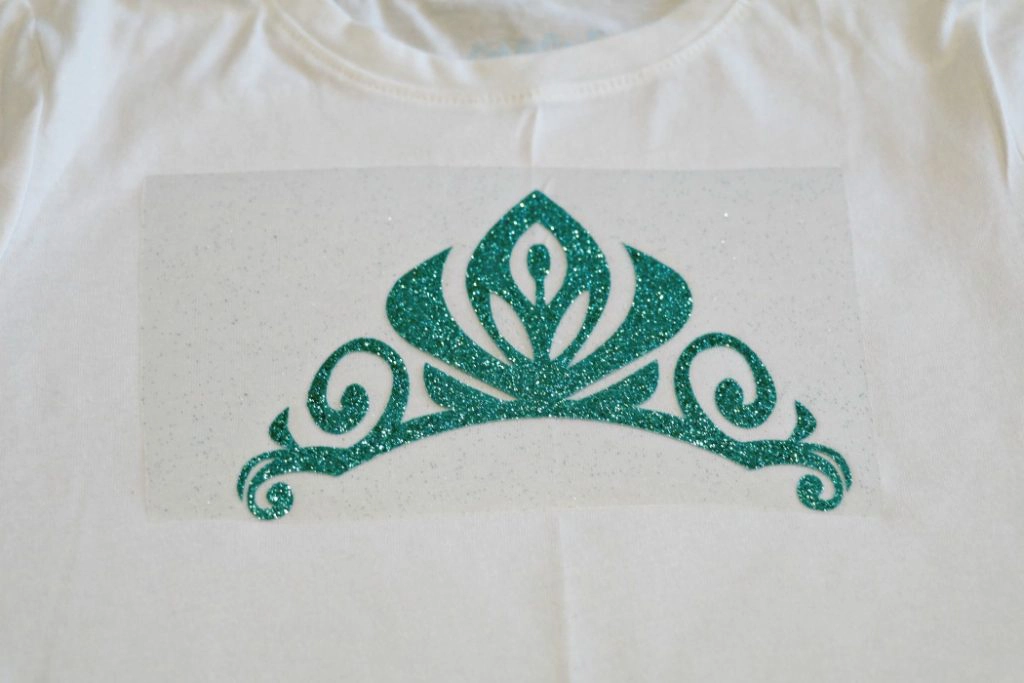
For glitter, you’re going to use the standard grip mat and put the machine on the Iron-on+ setting. That’s one dot to the right of the Iron-on option. For Everyday Iron-on you can use the regular Iron-on setting.

I always cut my Iron-on to about the size of the project with a little room to spare. For a 7 inch decal, I would cut it to about 7.5 inches. This is totally optional.
Make sure you mirror your image for Iron-on.
Place your Iron-on with liner side down.
Load your mat and hit the C button.
Cut out your first color and repeat until all your colors are cut. Make sure to mirror each color.
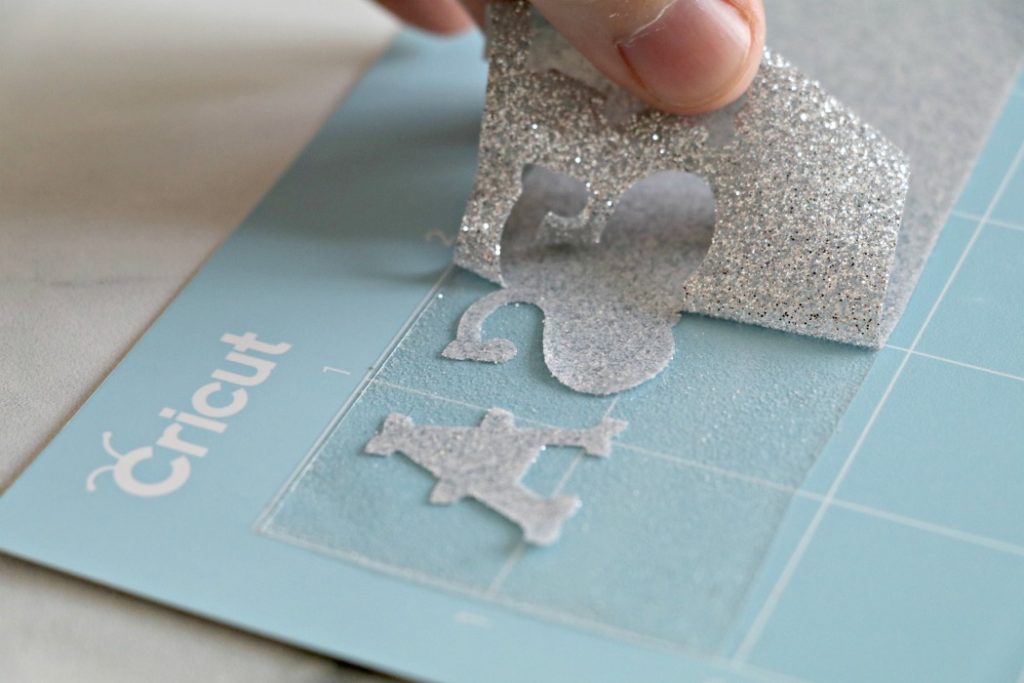
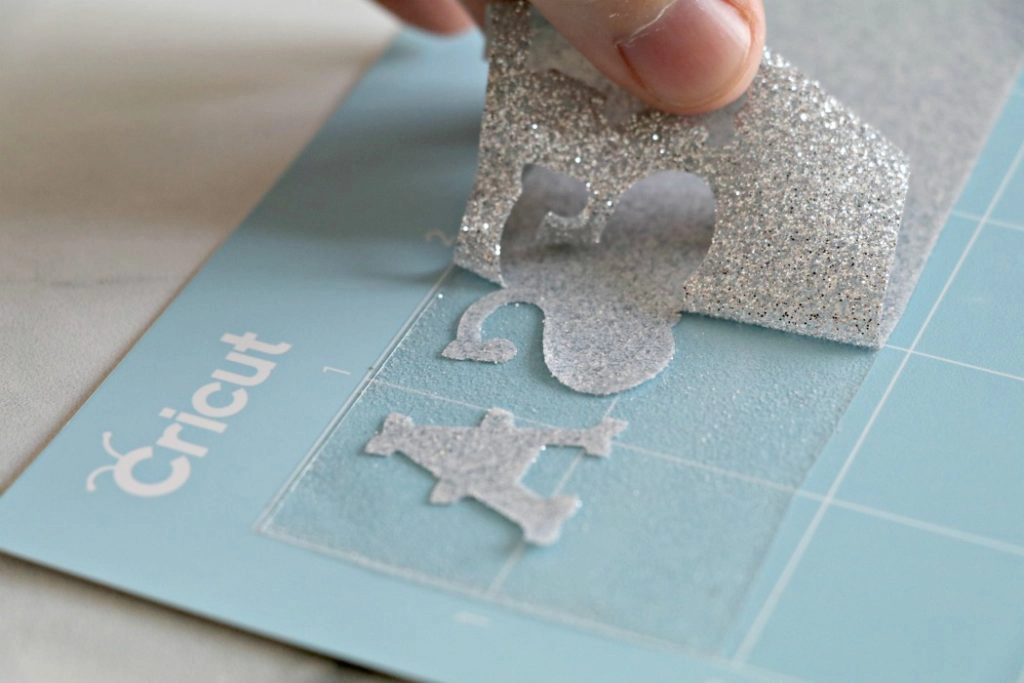
Once you’re done cutting you’ll want to weed the decal with your weeding tools.
Heat up your Easypress 2. You can find the heat settings on the Cricut heat guide.
While your EasyPress is heating up lay your shirt on the EasyPress mat and go over it with a lint brush to get any lint off.
Once heated up you’ll need to preheat the shirt for about 10-15 seconds.

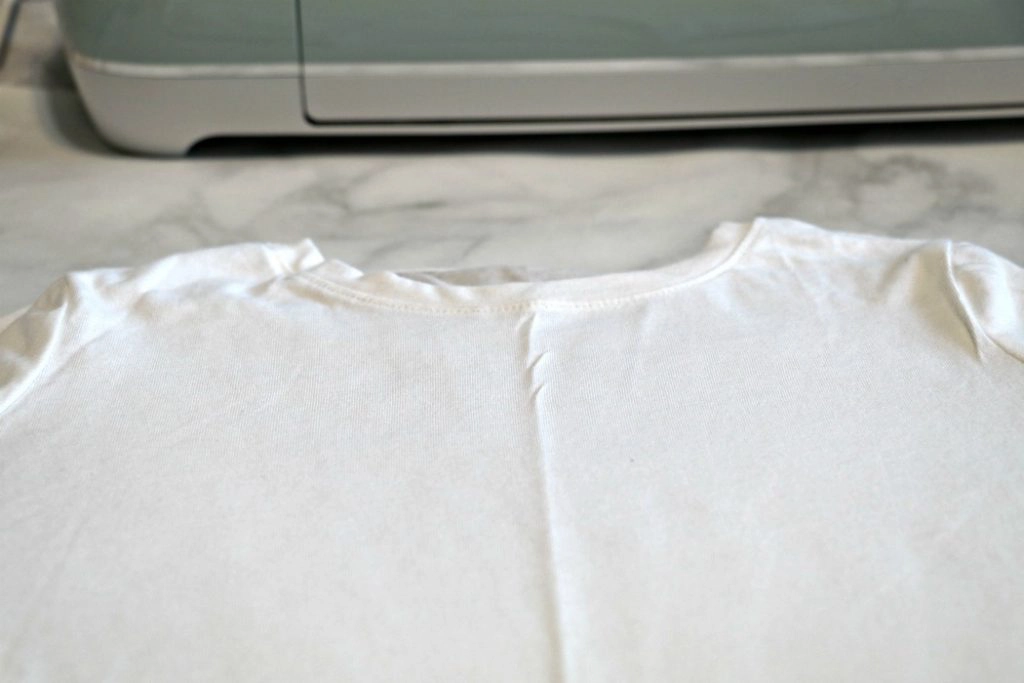
Once my shirt has been preheated I fold it in half and press for another 10 seconds to make a crease down the middle. This helps me to get the image in the middle of the shirt evenly. This is totally optional.
Place the weeded image, liner side up, onto the preheated material. Apply medium pressure with EasyPress iron for 30 seconds.
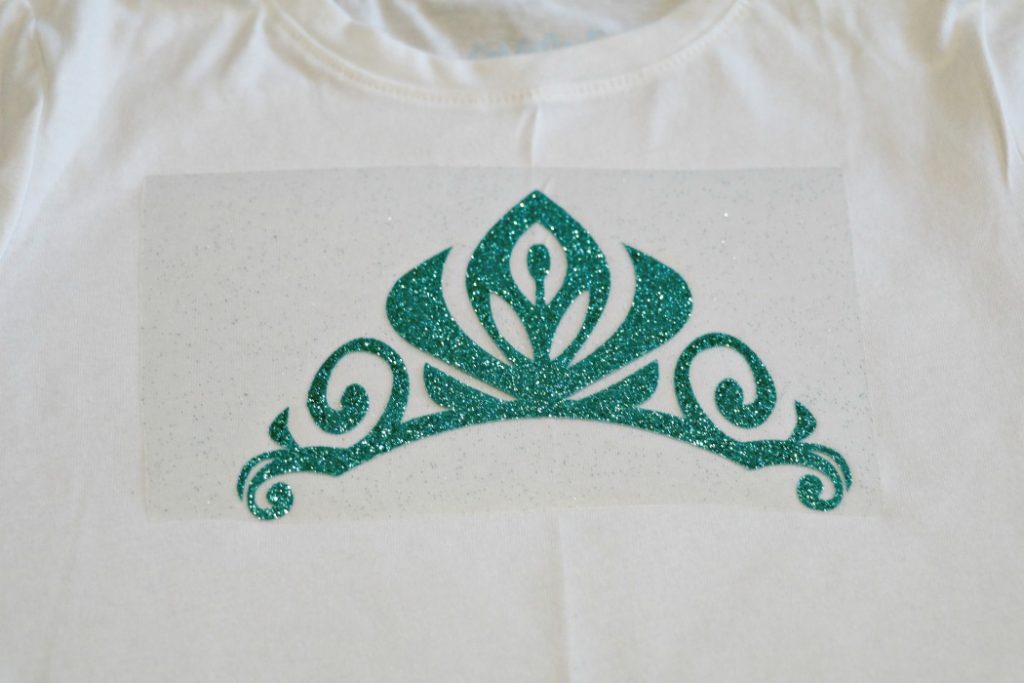
Flip the material over and apply medium pressure with the iron to the back of the material for an additional 25-30 seconds.
I like to let my decal cool for a few seconds and then peel off warm. Be careful because the liner will be hot right after you remove the EasyPress. Remove lining.

You’re done!