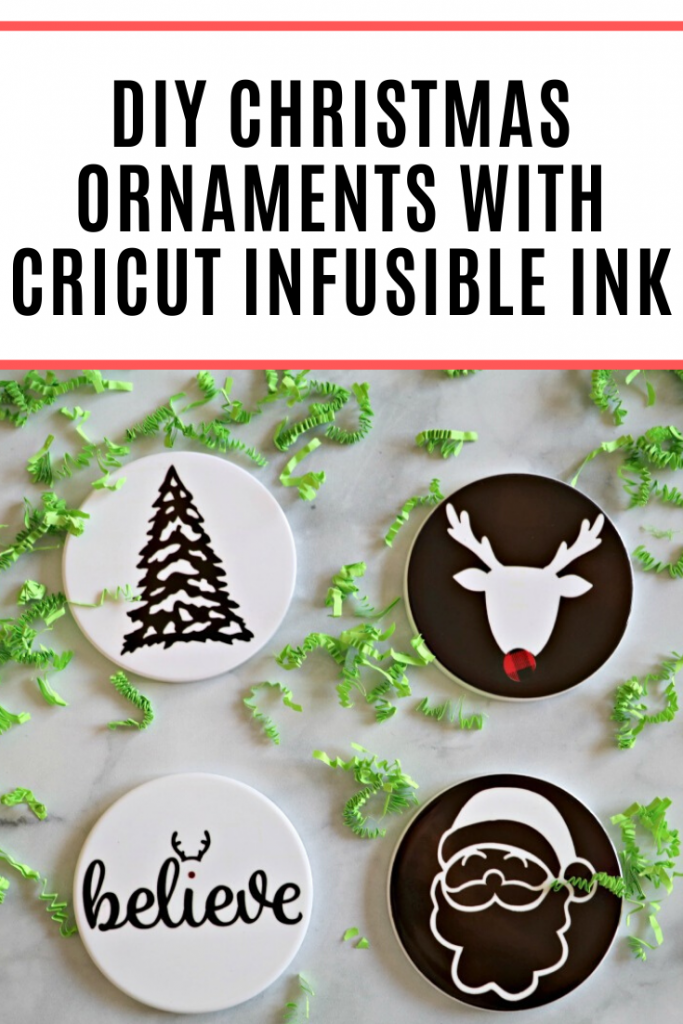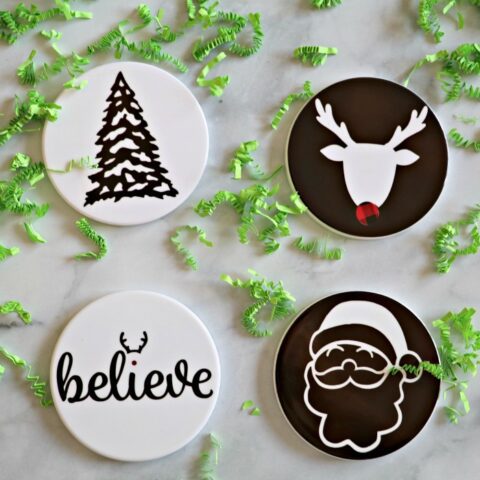

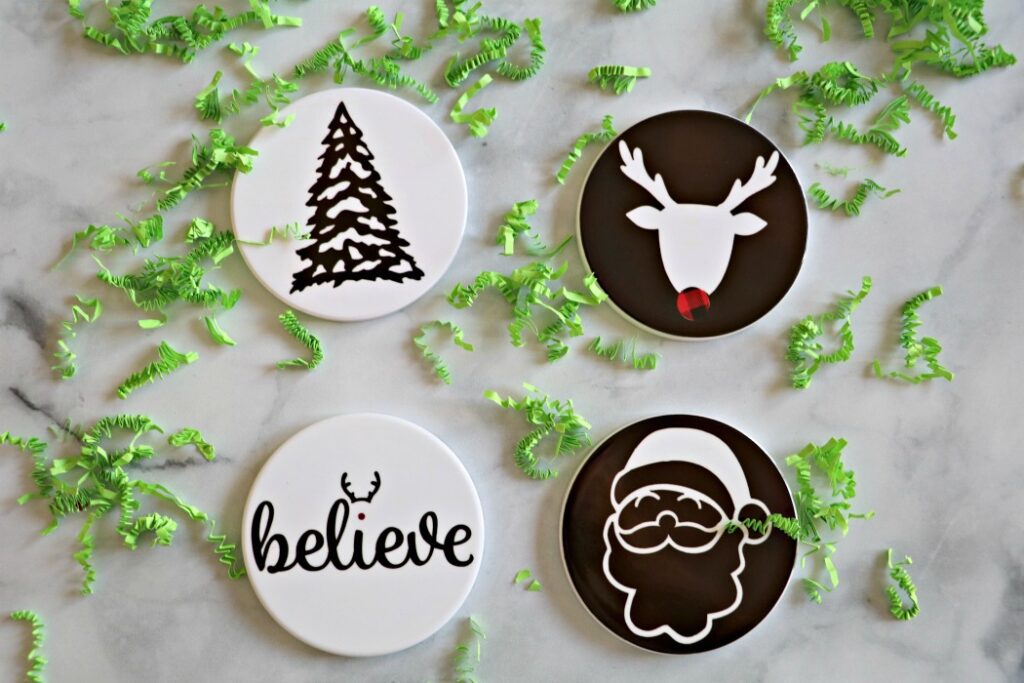
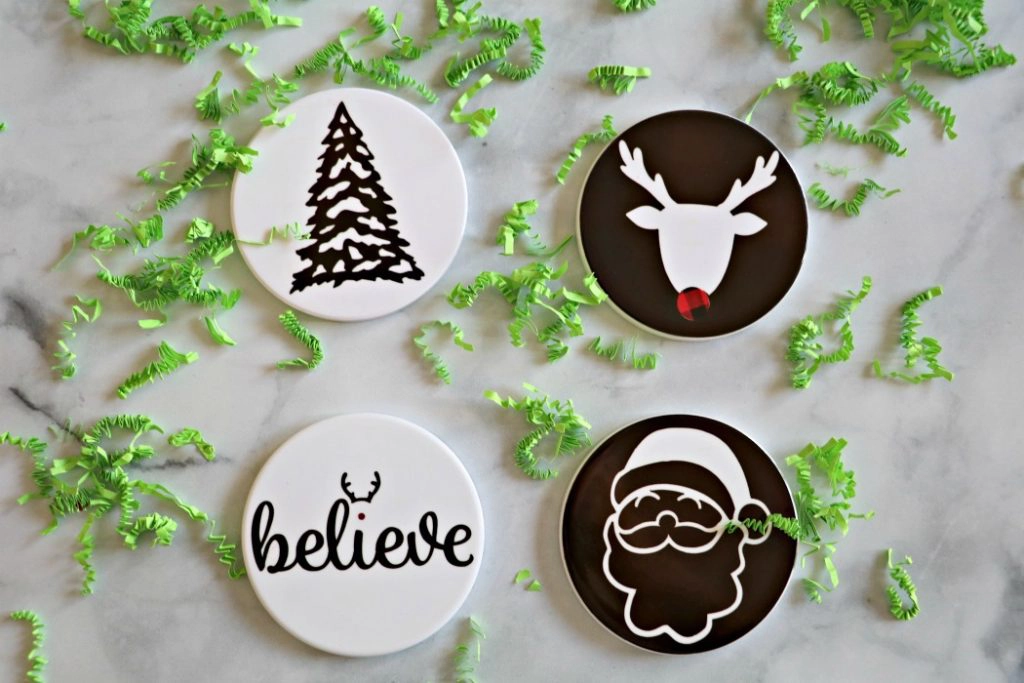
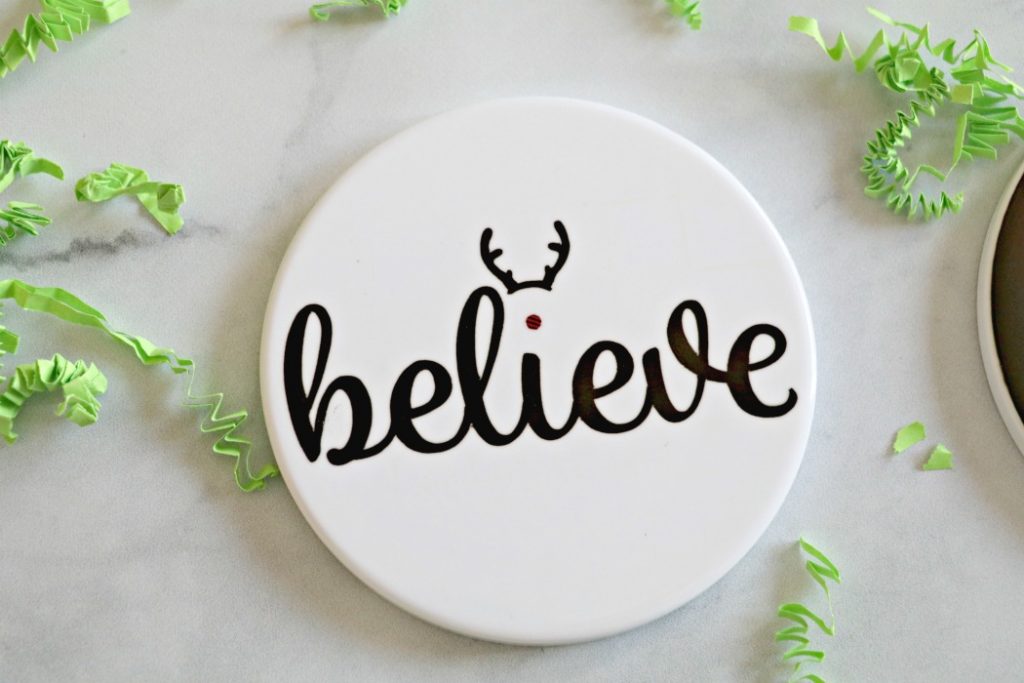
Ceramic Coasters that are good quality, look like they’re store-bought, and are customized to the person you’re making them for making a great holiday gift. With just a few items you can make your own custom Christmas coasters this year!
This is a sponsored conversation written by me on behalf of Cricut. The opinions and text are all mine.
When I first heard about Circut Infusible Ink I couldn’t wait to try them. While I enjoy working with vinyl, I love the seamless look of sublimation (which is what infusible ink is). Thanks to Cricut you don’t have to purchase another printer + inks + papers and everything else that goes into sublimation. I can use my Cricut Explore Air 2, my EasyPress 2, and their infusible ink products to create my own pretty projects.
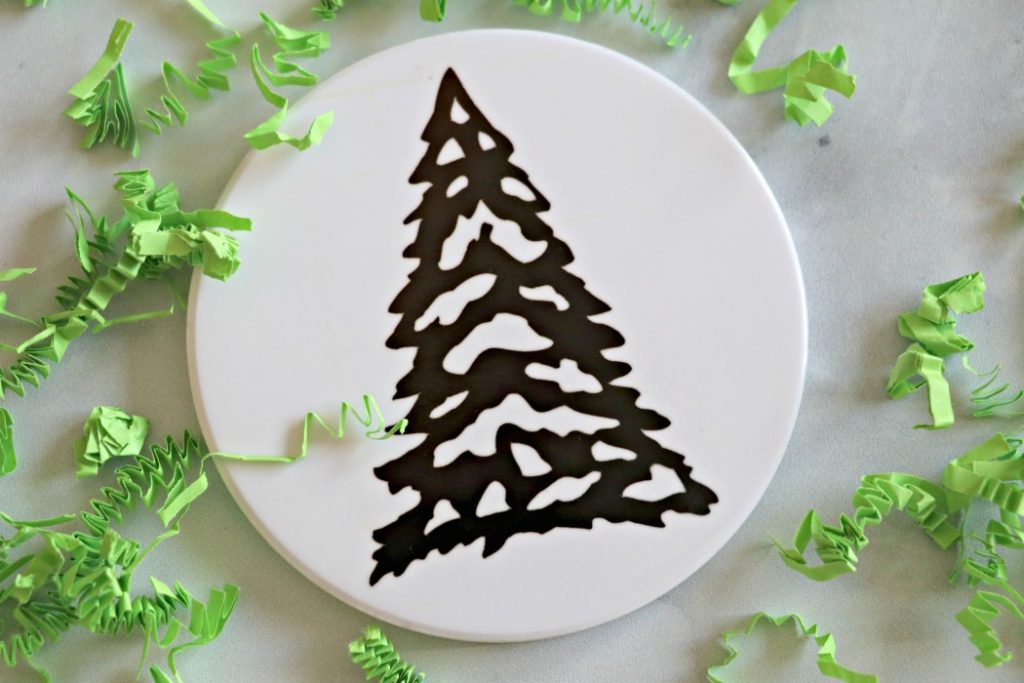
With Christmas just around the corner, I thought it would be fun to make some Holiday decor for the house. First up were some cute coasters with Infusible Ink. I used their circle ceramic coasters and infusible ink sheets for this project.

To get started you’ll want to open design space. I made the project available if you have design space so you can easily see what files I used. If you’re a Cricut Access member these files are included with your subscription.
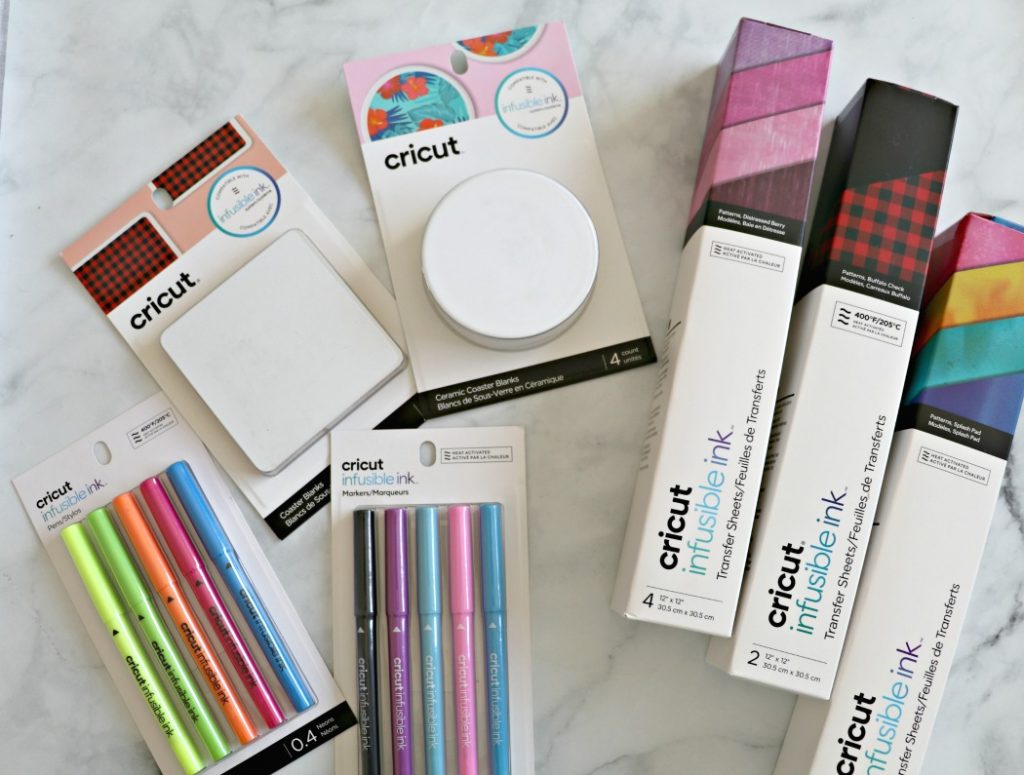
For this project you’ll need:
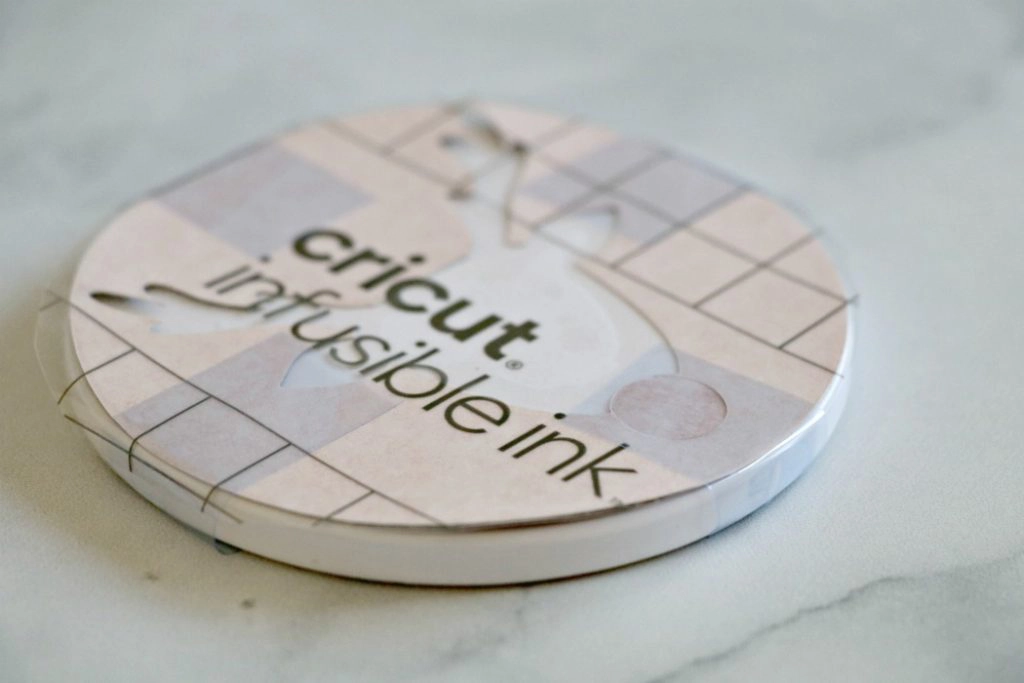
- Infusible Ink™ Transfer Sheet Patterns, Buffalo Check
- Heat Resistant Tape
- Coaster Blanks, Round
- EasyPress 2
- Explore Cutting Machine
- White Cardstock
- EasyPress Mat
How to Use Cricut Infusible Ink
Cricut Infusible Ink is different than any other material I’ve worked with. You’ll want to fully read the directions before working with it. Cricut has some great tutorials about using Infusible Ink, which you should check out before working with it.

Here’s what you’ll do
Open the design and click make it, if you like the project as-is. You’ll want to mirror your image when you get to the prepare screen.
In the Make screen, select Infusible Ink Transfer Sheet as your material (use the Custom Material setting on the Explore dial and then search for “ink”). You’ll be using your fine point blade for this project.
Open your Infusible Ink Transfer Sheet and pull out the black one. It will look brown, but don’t worry, it gets darker on the coaster.
Place your transfer sheet with the liner side down, color side UP onto your Cricut mat.
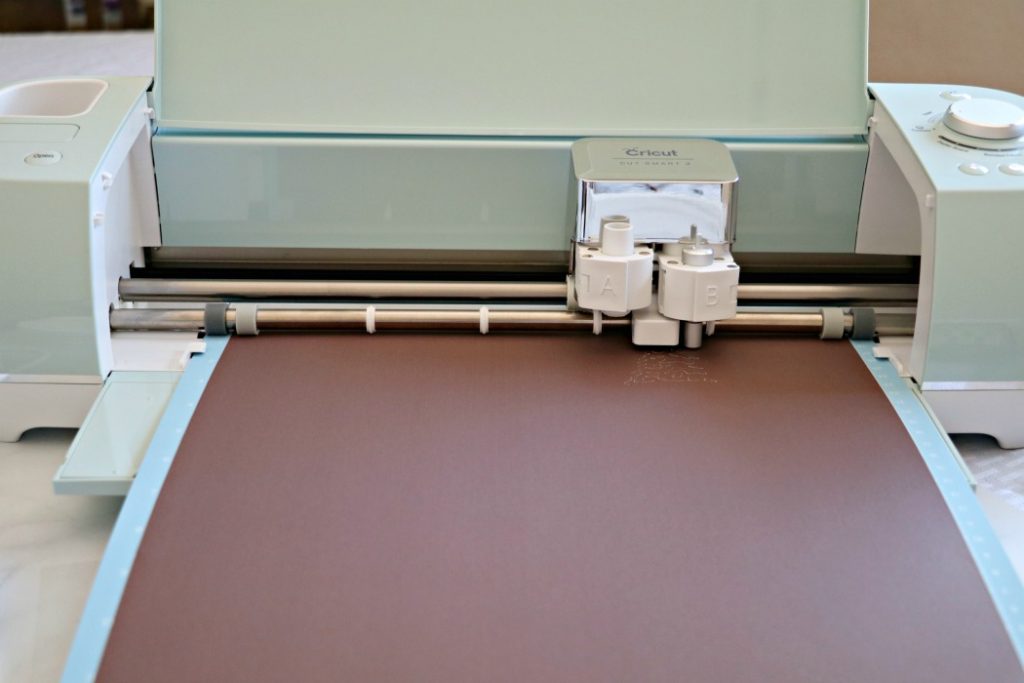
Load it into your Cricut machine and cut. MAKE SURE YOUR IMAGE IS MIRRORED.
Weeding is different with Infusible Ink. You won’t be using any tools to weed your design. Instead, you’ll just use your fingers.
The Infusible Ink sheets are very bendable, so you’ll want to bend/roll the paper to weed. Peel off the items that you don’t need.
Repeat these steps with your second color, the buffalo check for the noses.

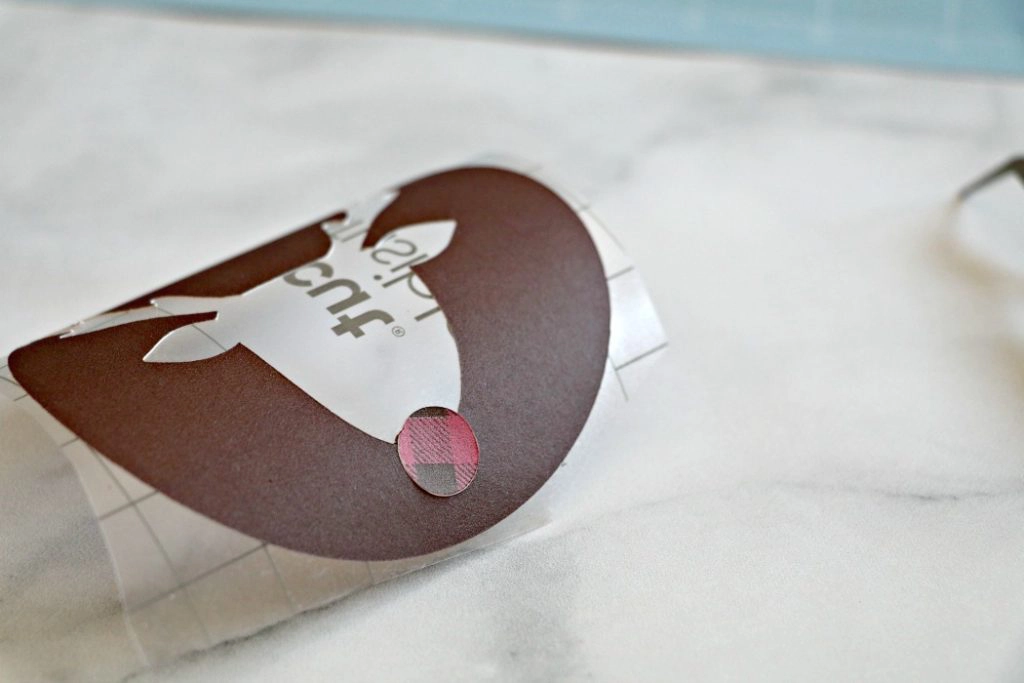
You can peel off the nose and place it onto the black Infusible Ink sheet that has been weeded. Just place it down where it belongs on your design so that everything is on the same transfer sheet.
Follow the settings on the Cricut.com/heatguide for your EasyPress 2. Infusible Ink needs to be set at 400 degrees.
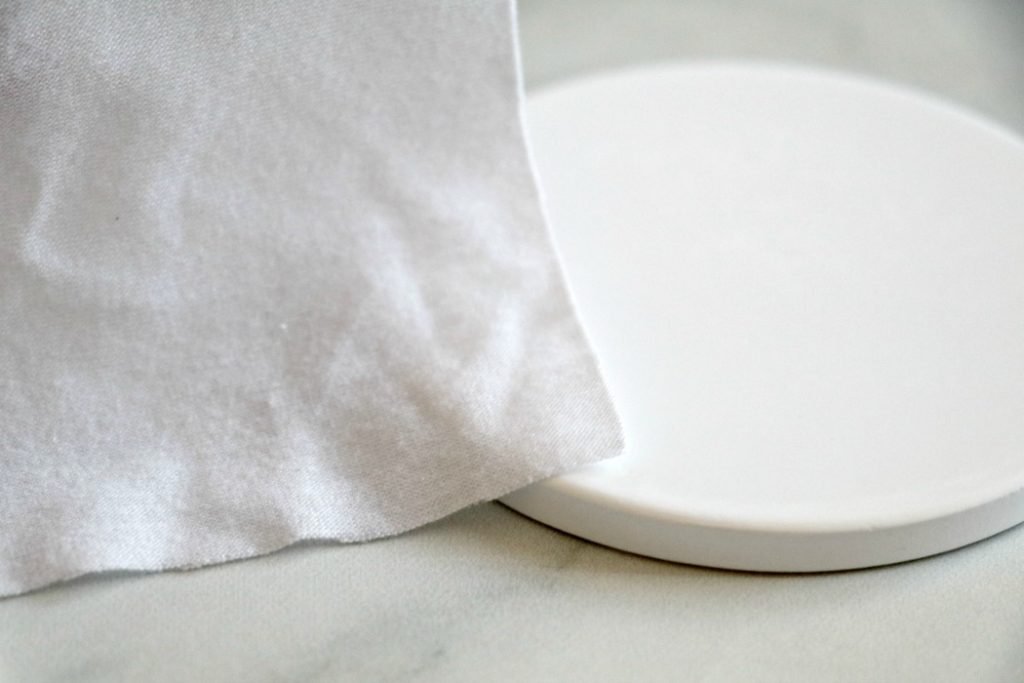
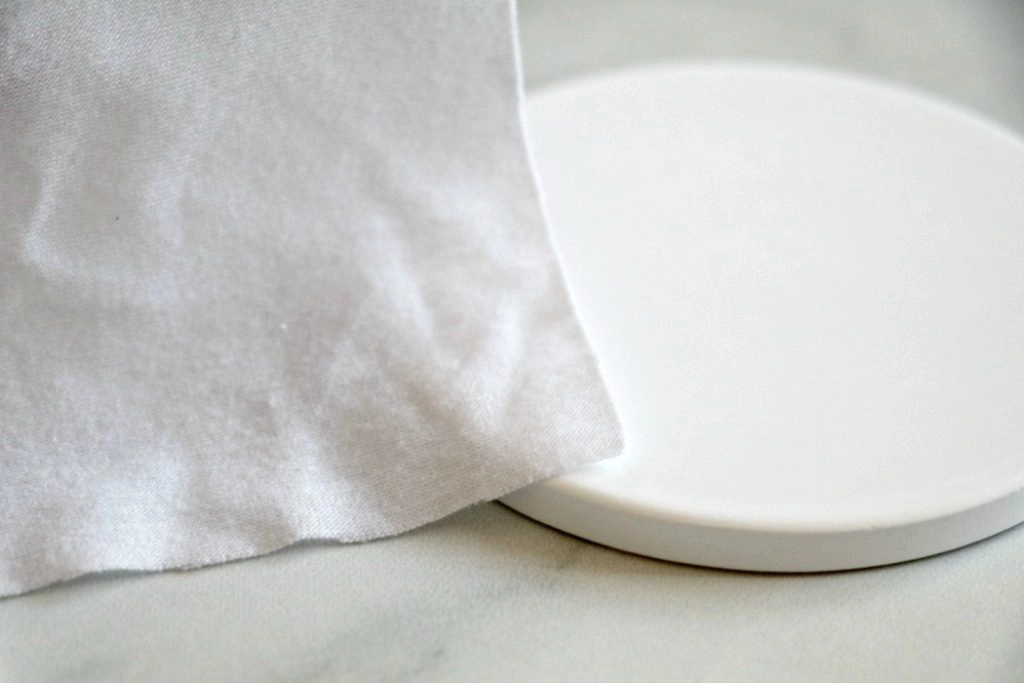
Before placing the Infusible Ink sheet onto your coaster you’ll want to use the little cloth it came with and dust it off, making sure there is no dust or lint on the coaster.
While your EasyPress 2 is heating up you’ll want to get your designs placed onto your coasters.

Place the design onto your coaster, transfer tape up and color side down. Make sure it’s placed in the right spot and tape the side down with the heat resistant tape.
Next, you’ll need to layer everything. Here’s how it goes: Put your EasyPress mat down, cardstock on top of your EasyPress mat, coaster on top of the cardstock, butcher paper (it comes with your Infusible Ink Sheets) on top of the coaster, and EasyPress on top.
It’s important that you use the cardstock UNDER your coaster because the heat can cause the ink to go through the coaster and you don’t want to dye your EasyPress mat.
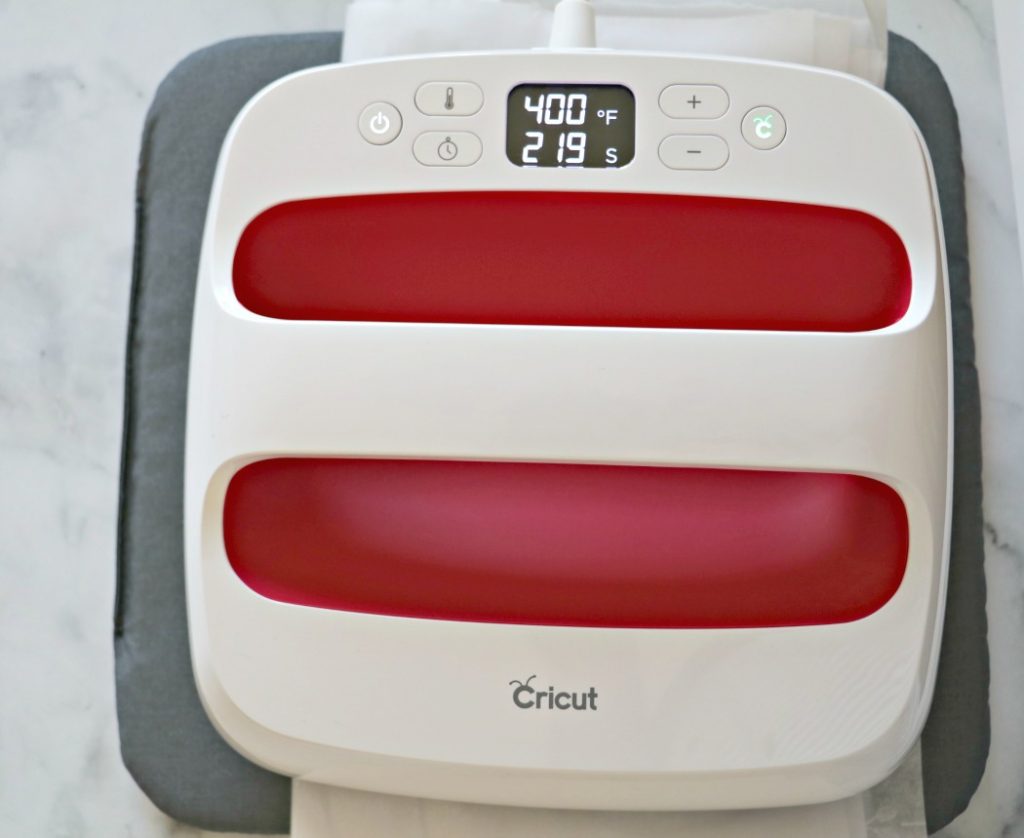

The EasyPress 2 goes on top of the coaster. Set it over the Coaster and don’t move it again for 240 seconds (4 minutes).
Once your 240 seconds are up remove the EasyPress 2. BE VERY CAREFUL. The coaster will be VERY hot and they stay hot for a while after. If you need to move your coaster before it’s cooled use an oven mitt.
Once your coaster has cooled remove the tape and transfer sheet.
Repeat Steps with other coasters.
About the Cricut EasyPress 2
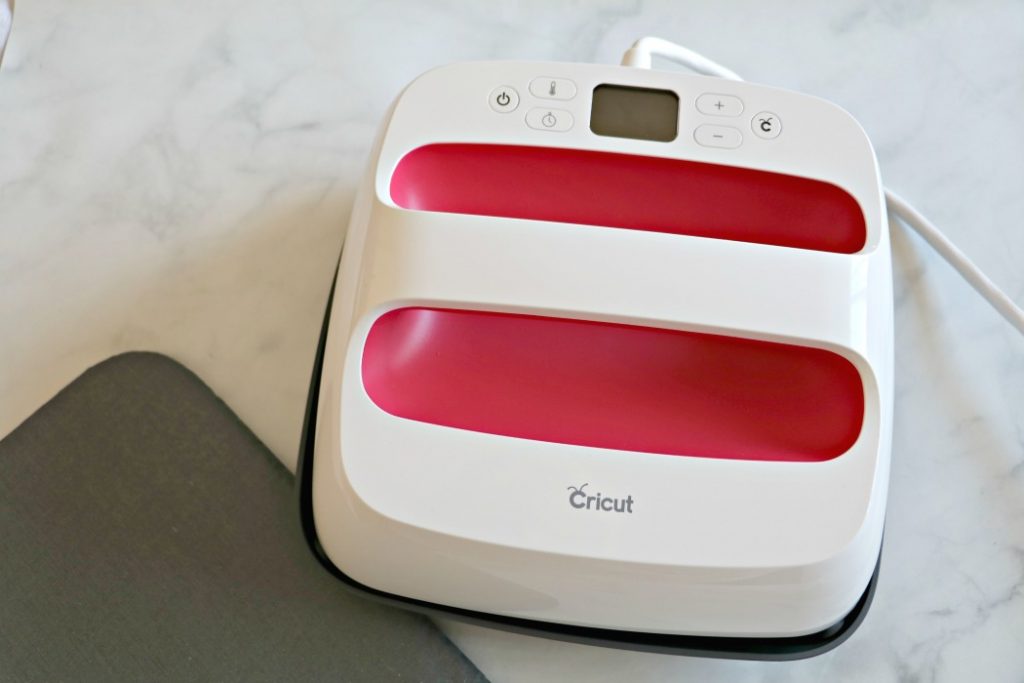
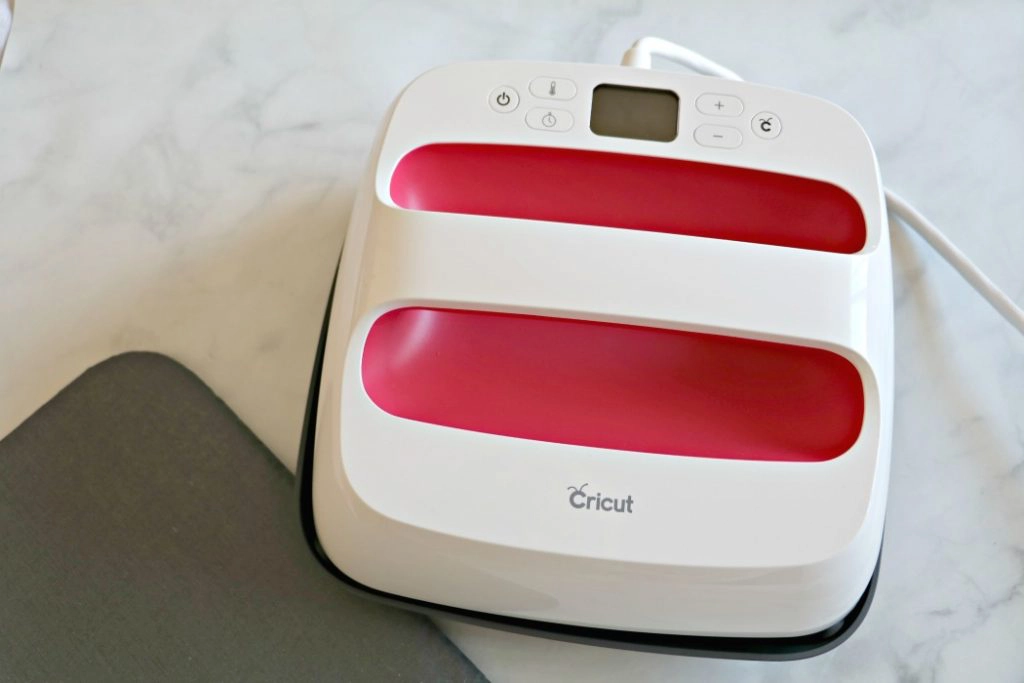
The Cricut EasyPress 2 is perfect for Infusible Ink because unlike the original EasyPress the EasyPress 2 can go to 400 degrees, which is needed for Infusible Ink.
It heats up quickly and I am loving the auto-shutoff feature. If your EasyPress 2 hasn’t been used in 10 minutes it will make a beeping noise letting you know it’s about to shut off. If you’re still using it you can press any button and it will stay on.
It’s simple and easy to use. The EasyPress 2 is pretty straight forward. Hit the power button to turn it on/off. You can adjust the temp by hitting the thermometer button and the +/- buttons and to adjust the clock you hit the clock and the +/- buttons.
It has an insulated Safety Base that gives you a place to safely rest your EasyPress 2. This adds an extra layer of safety, like the auto shut off feature.
The green C on the top of the EasyPress 2 is red while warming up and once it’s ready to use it turns green. It’s lightweight, portable, easy to store, and compatible with a variety of materials including non-cricut materials. It’s also cheaper than a traditional heat press and 100x better than a traditional iron.