
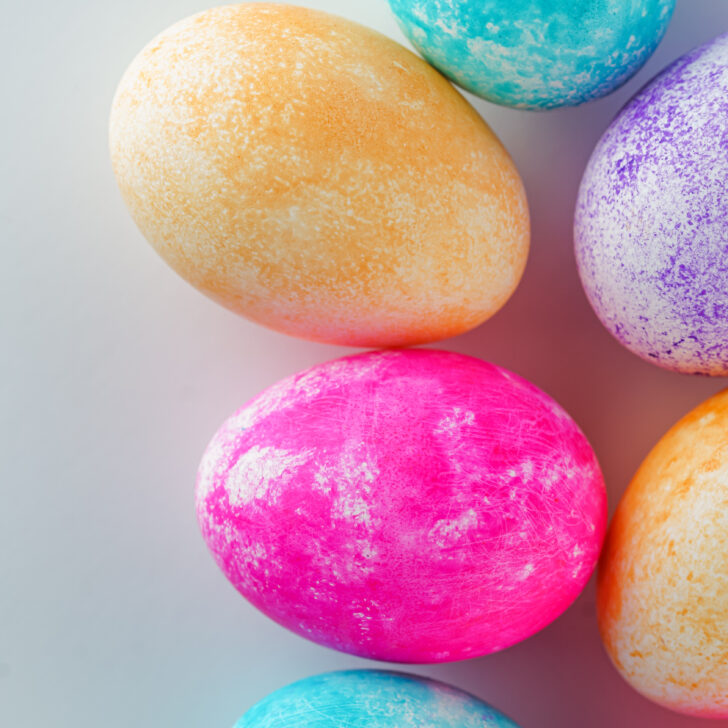

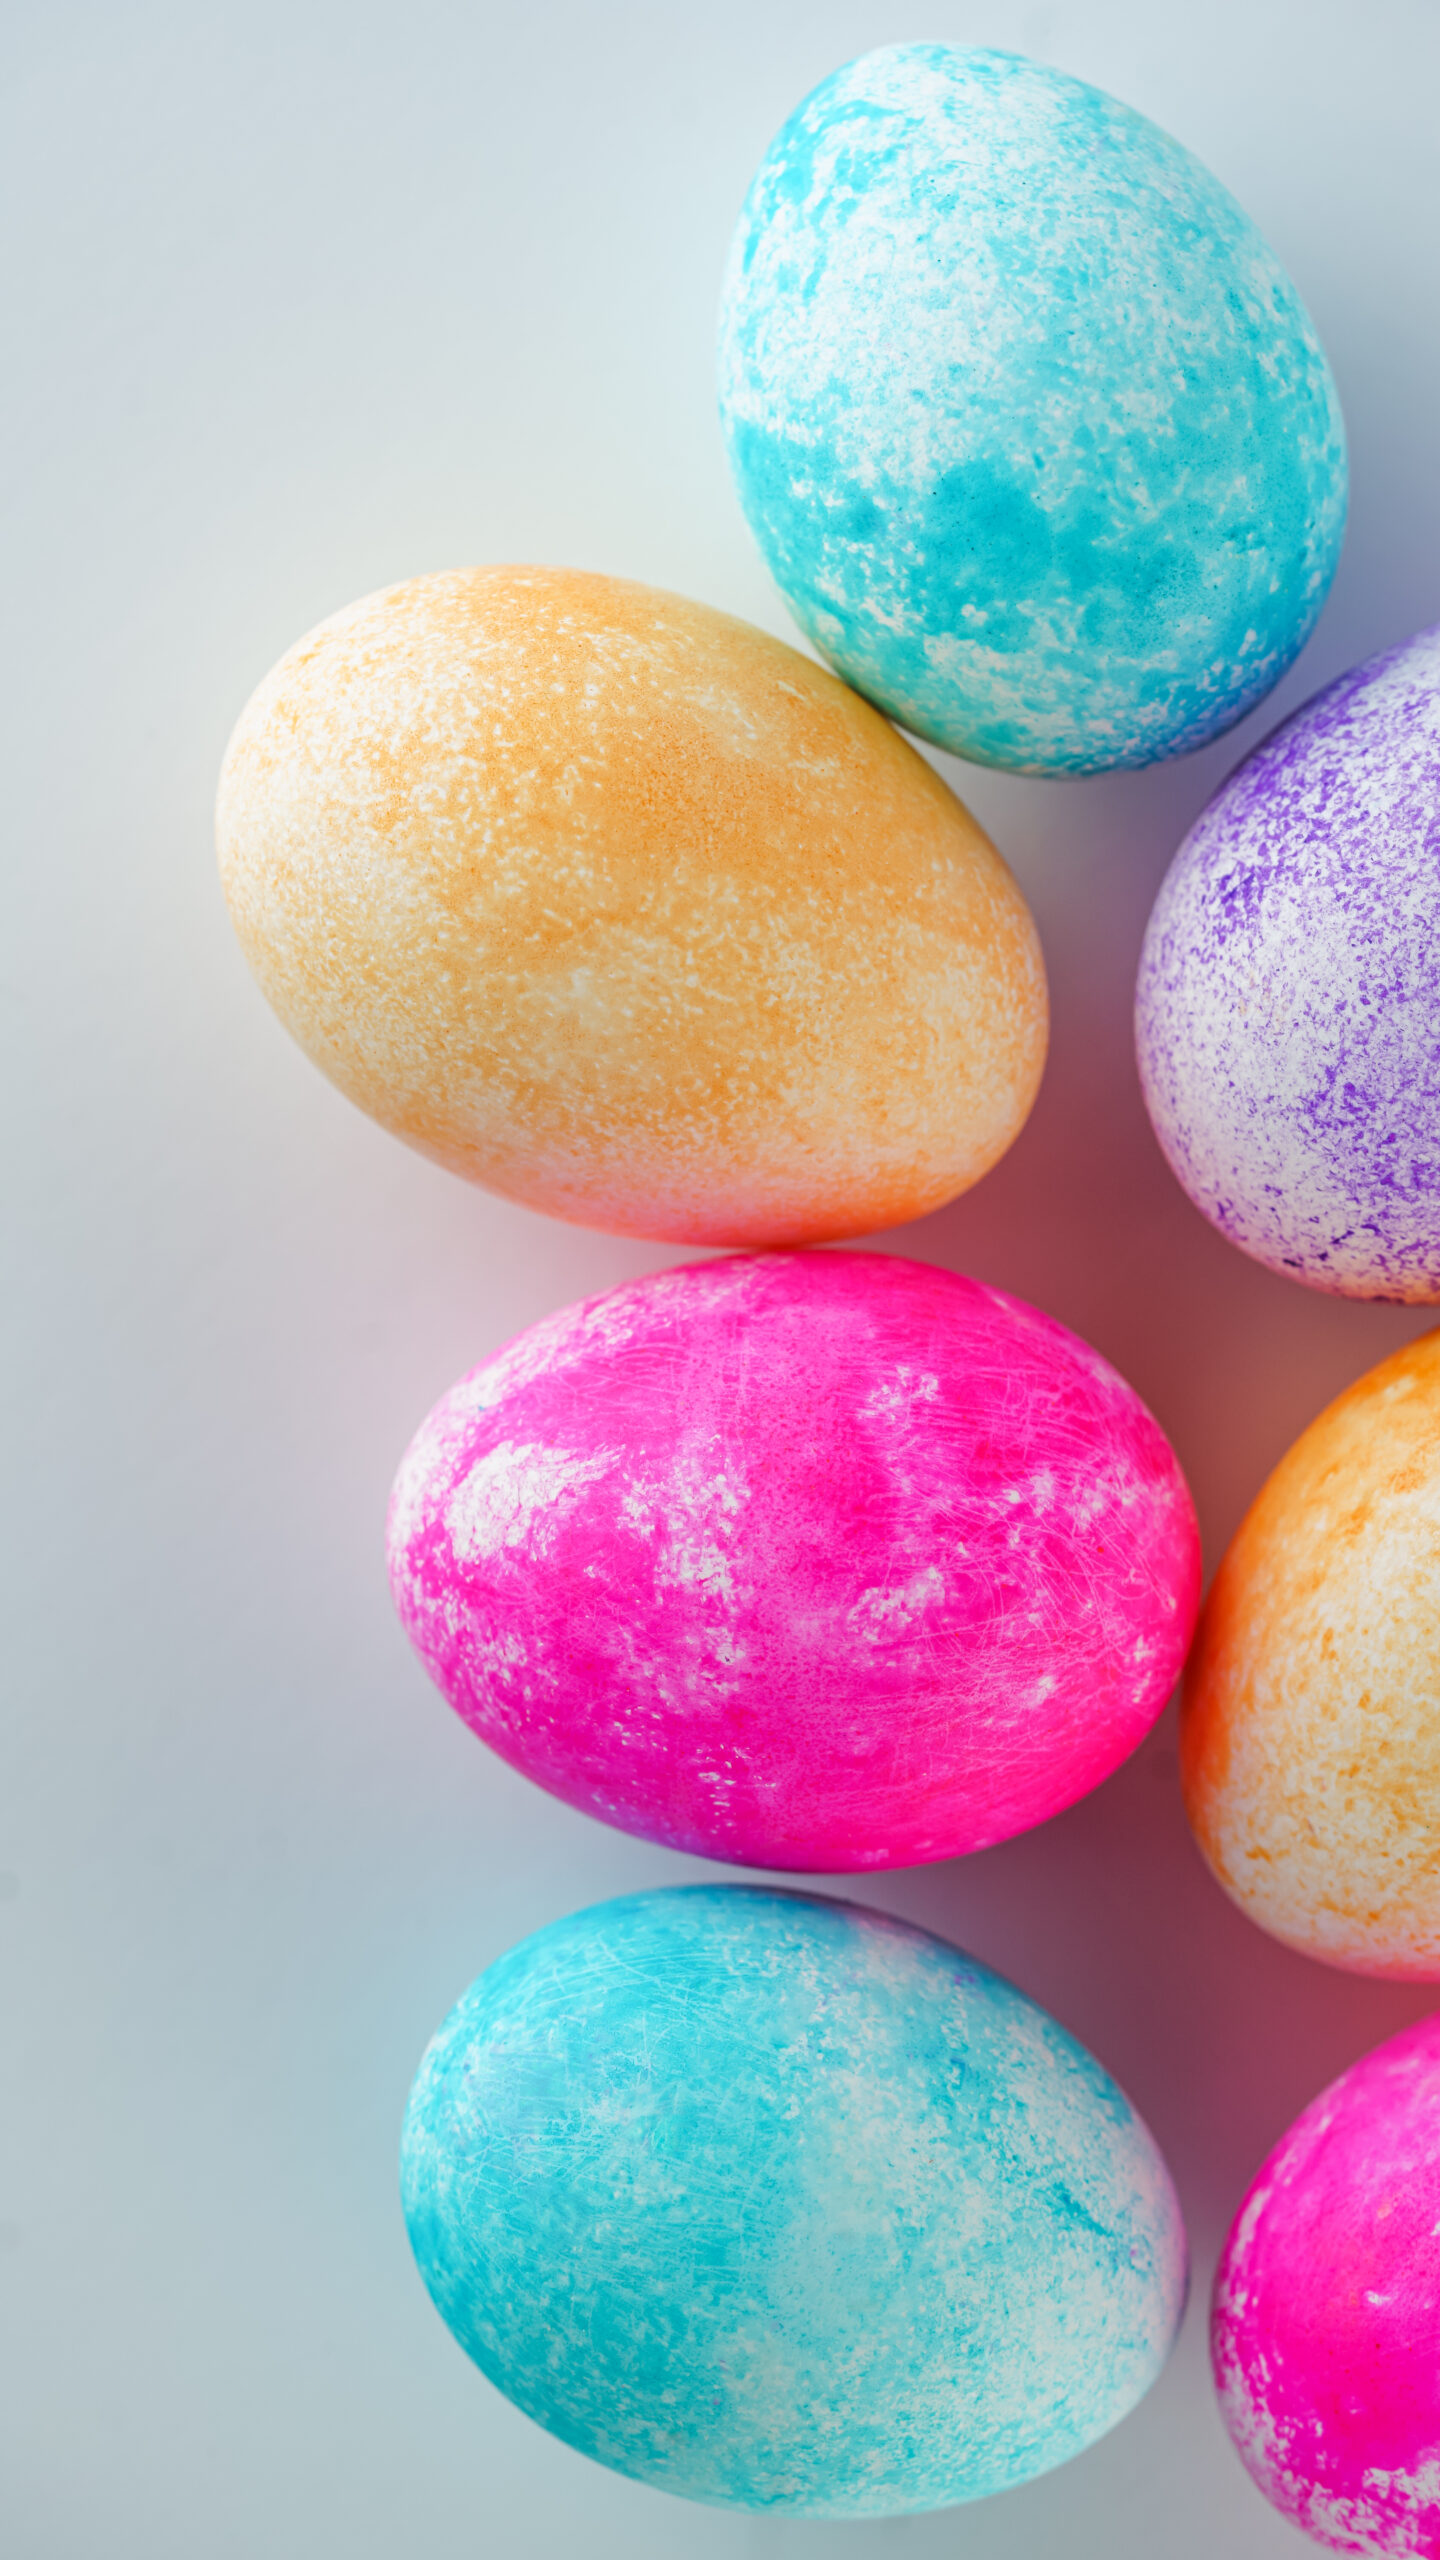
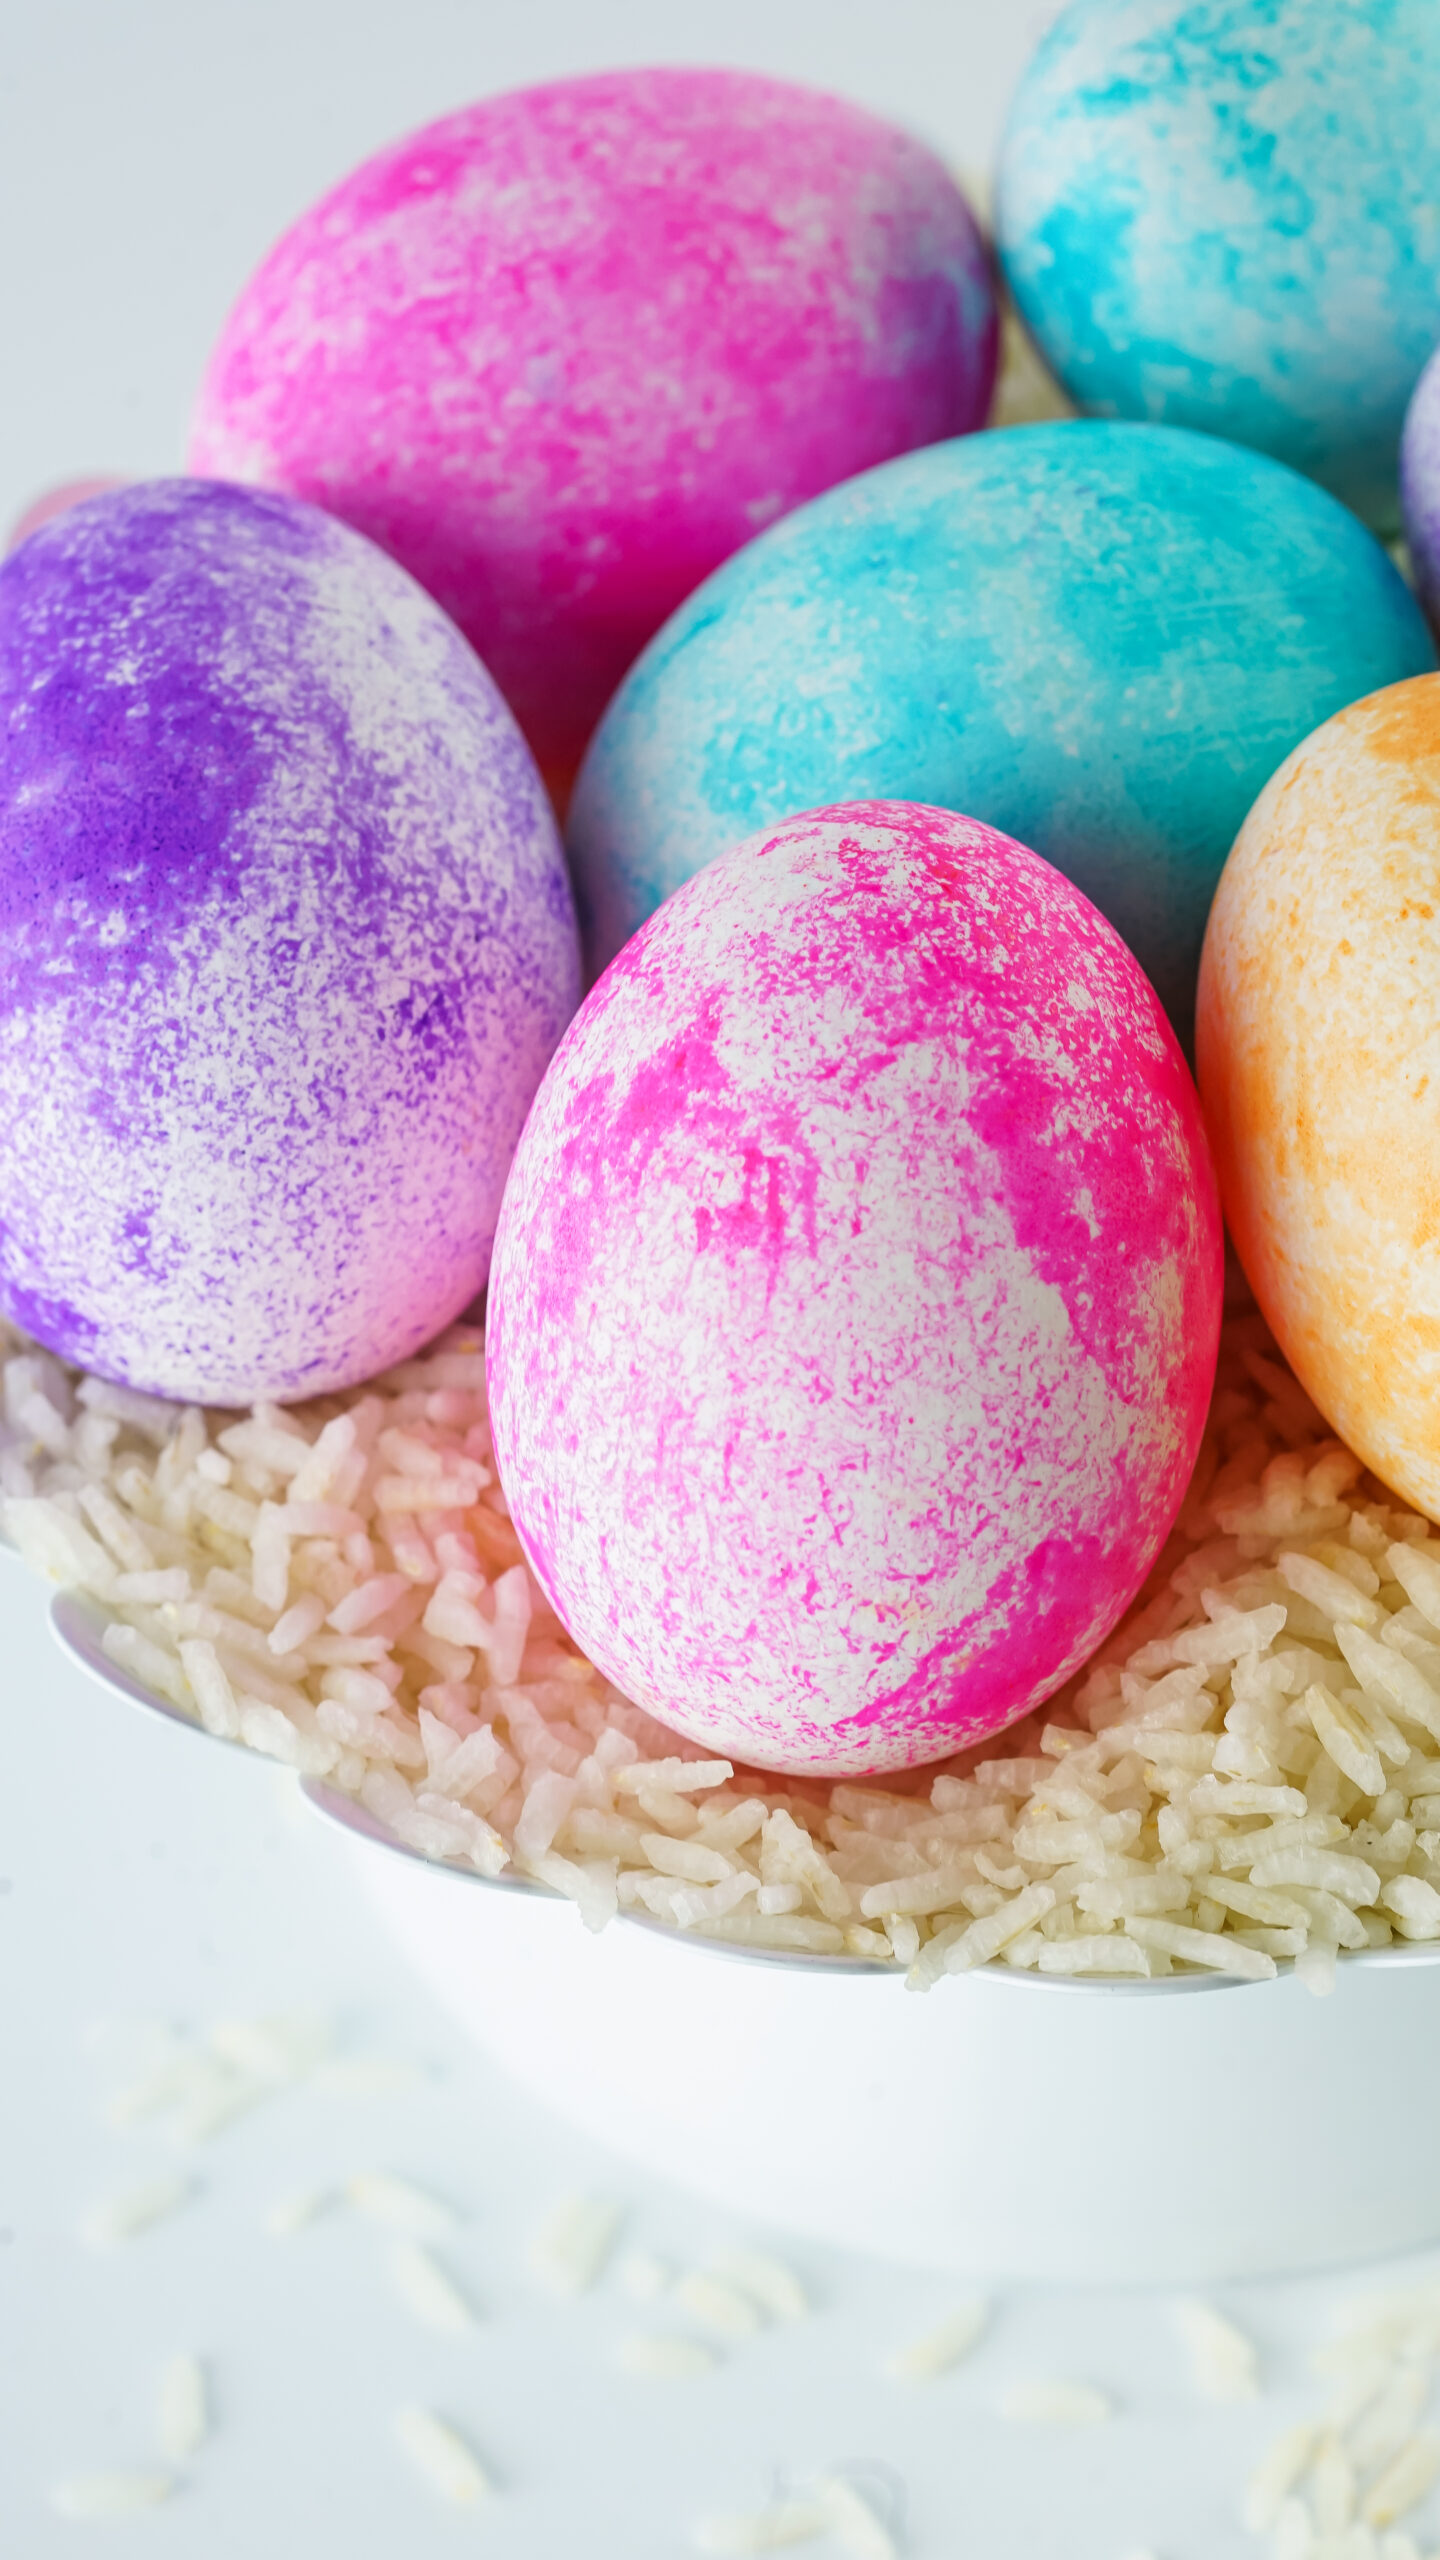
How to Tie-Dye Easter Eggs with rice using food coloring. You’ll only need 4 items to make these easy tie-dye Easter eggs with just white rice, Ziploc bags, food coloring, and hard-boiled eggs.
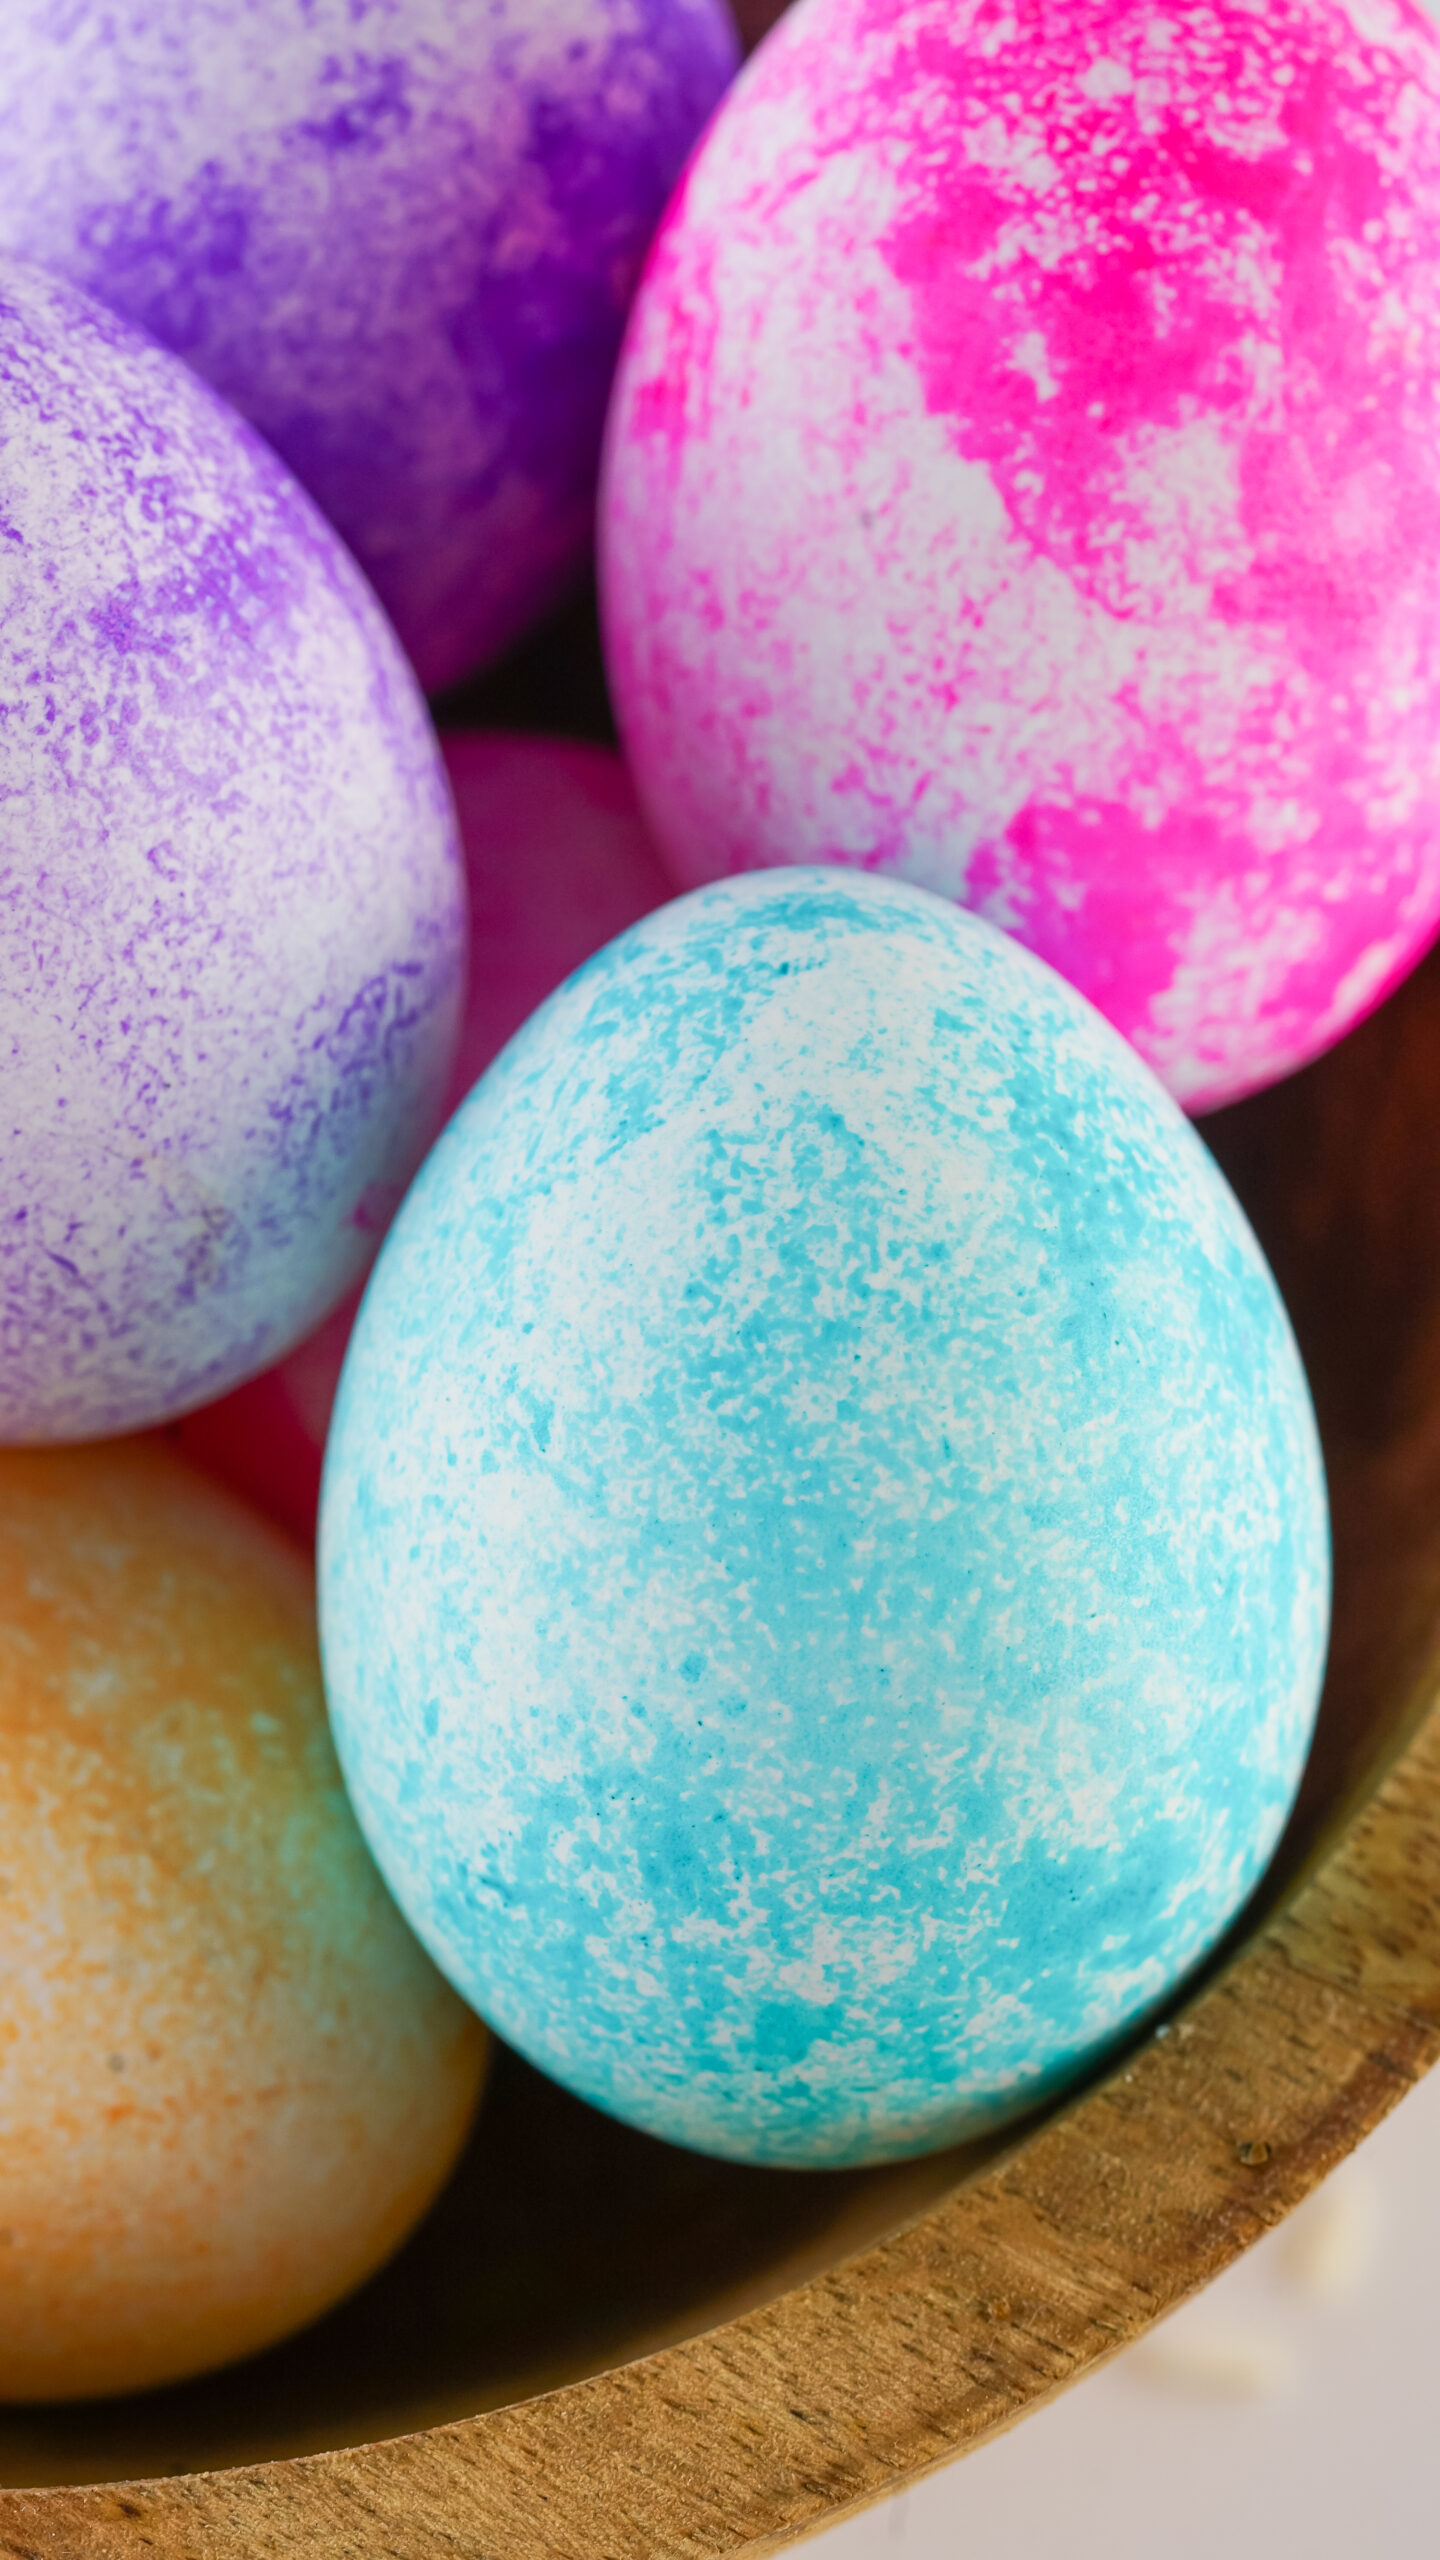
If you want to dye your hard-boiled eggs you can try this easy tie dye Easter egg tutorial. You’ll need to hardboil some eggs first which you can easily do in an Air Fryer! I’m loving this easy way to tie dye Easter eggs that is a low mess and so pretty!
Tie Dye Easter Eggs
Decorating Easter eggs is a fun way to celebrate Easter. You can do them in all types of fun ways like with Food Coloring, but this Tie Dye Easter egg tutorial is another fun way.
Tips and Tricks for Tie Dying Easter Eggs
The more rice you add to your bag, the more dye you’ll want to add.
If you get a few eggs in and the color isn’t attaching to the eggs as much, add a couple more drops of dye.
I used gel dye, but I’ve had luck with water-based dyes as well. Avoid oil-based dyes as they tend to not grab onto the shell as well.
This works for farm fresh/brown eggs as well, the dye will just appear less saturated or in some cases, darker.
I’ve used minute rice and regular rice and both worked, although I liked the minute rice more. Brown rice should work as well if that’s what you have on hand.
You can do multiple colors, one after another. Just give it a couple of minutes to dry in between colors for the best results.
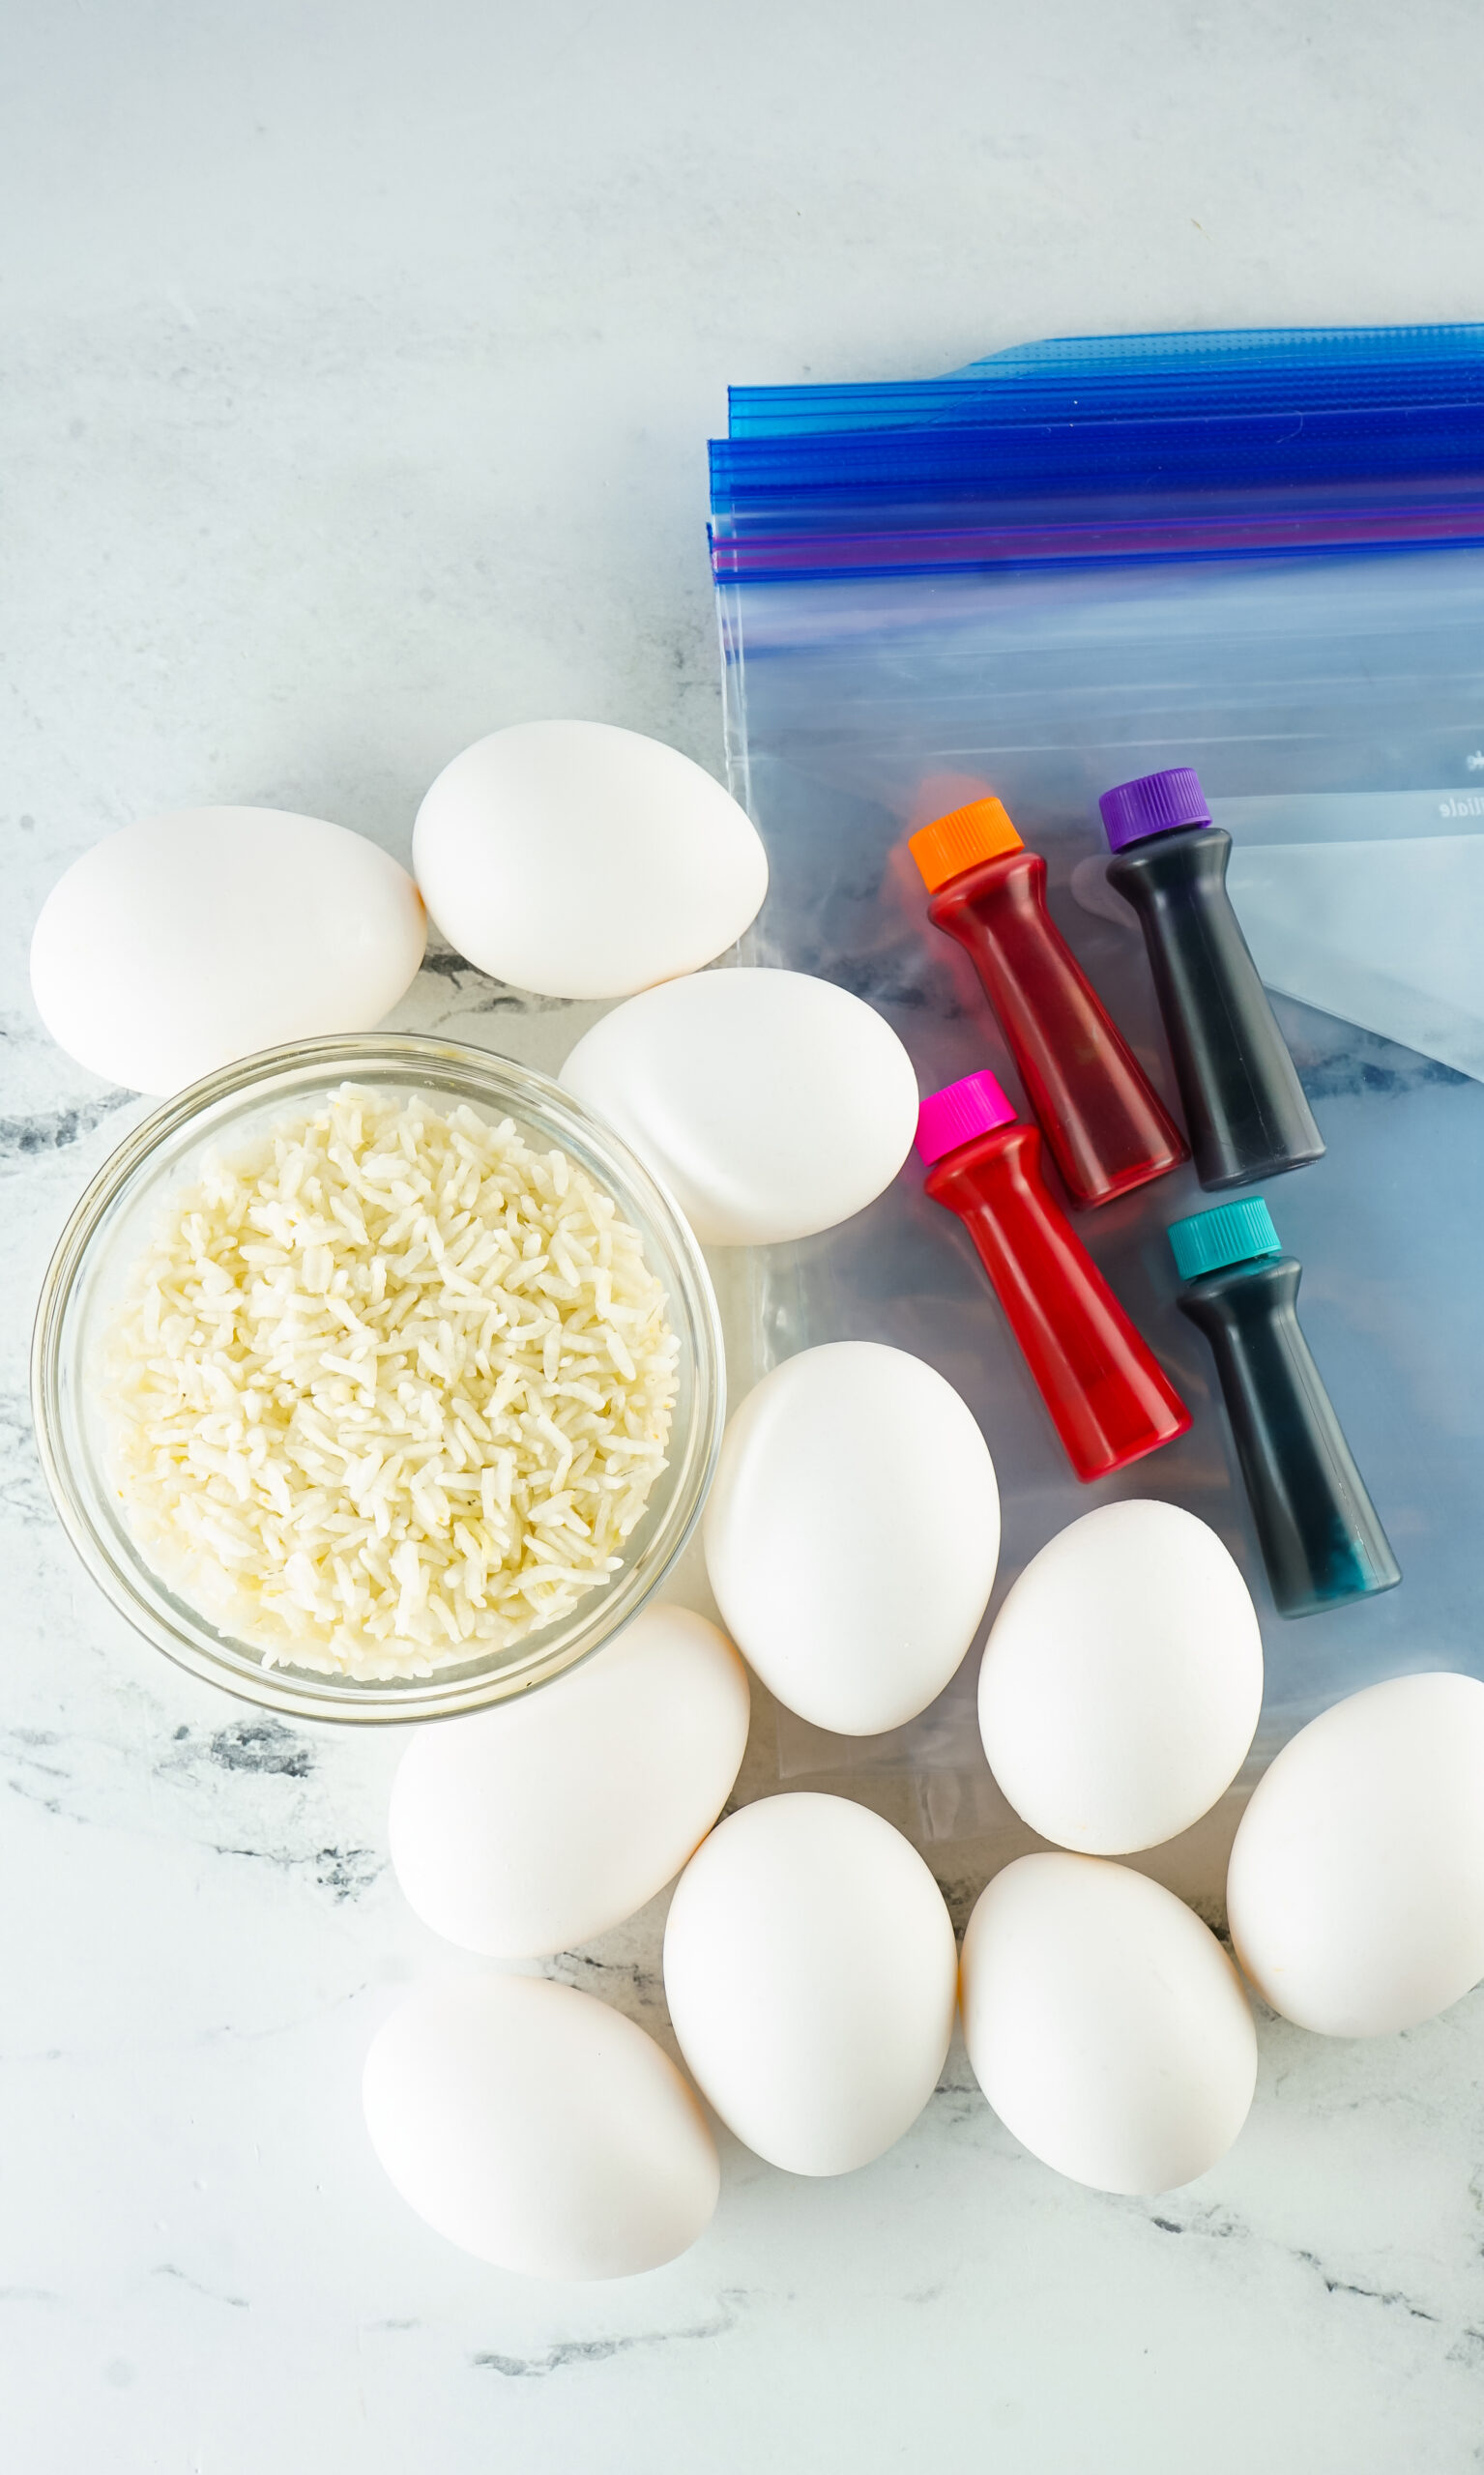
Supplies You will need:
Here are the supplies you’ll need to tie-dye eggs with food coloring.
White Rice
Food Dye
Boiled Eggs
Quart Baggies
Rubber Gloves (optional)
How to Make Tie Dye Easter Eggs with Rice
Decide how many colors you’re going to do and have one baggie per color. If you’re using gloves, put them on now.
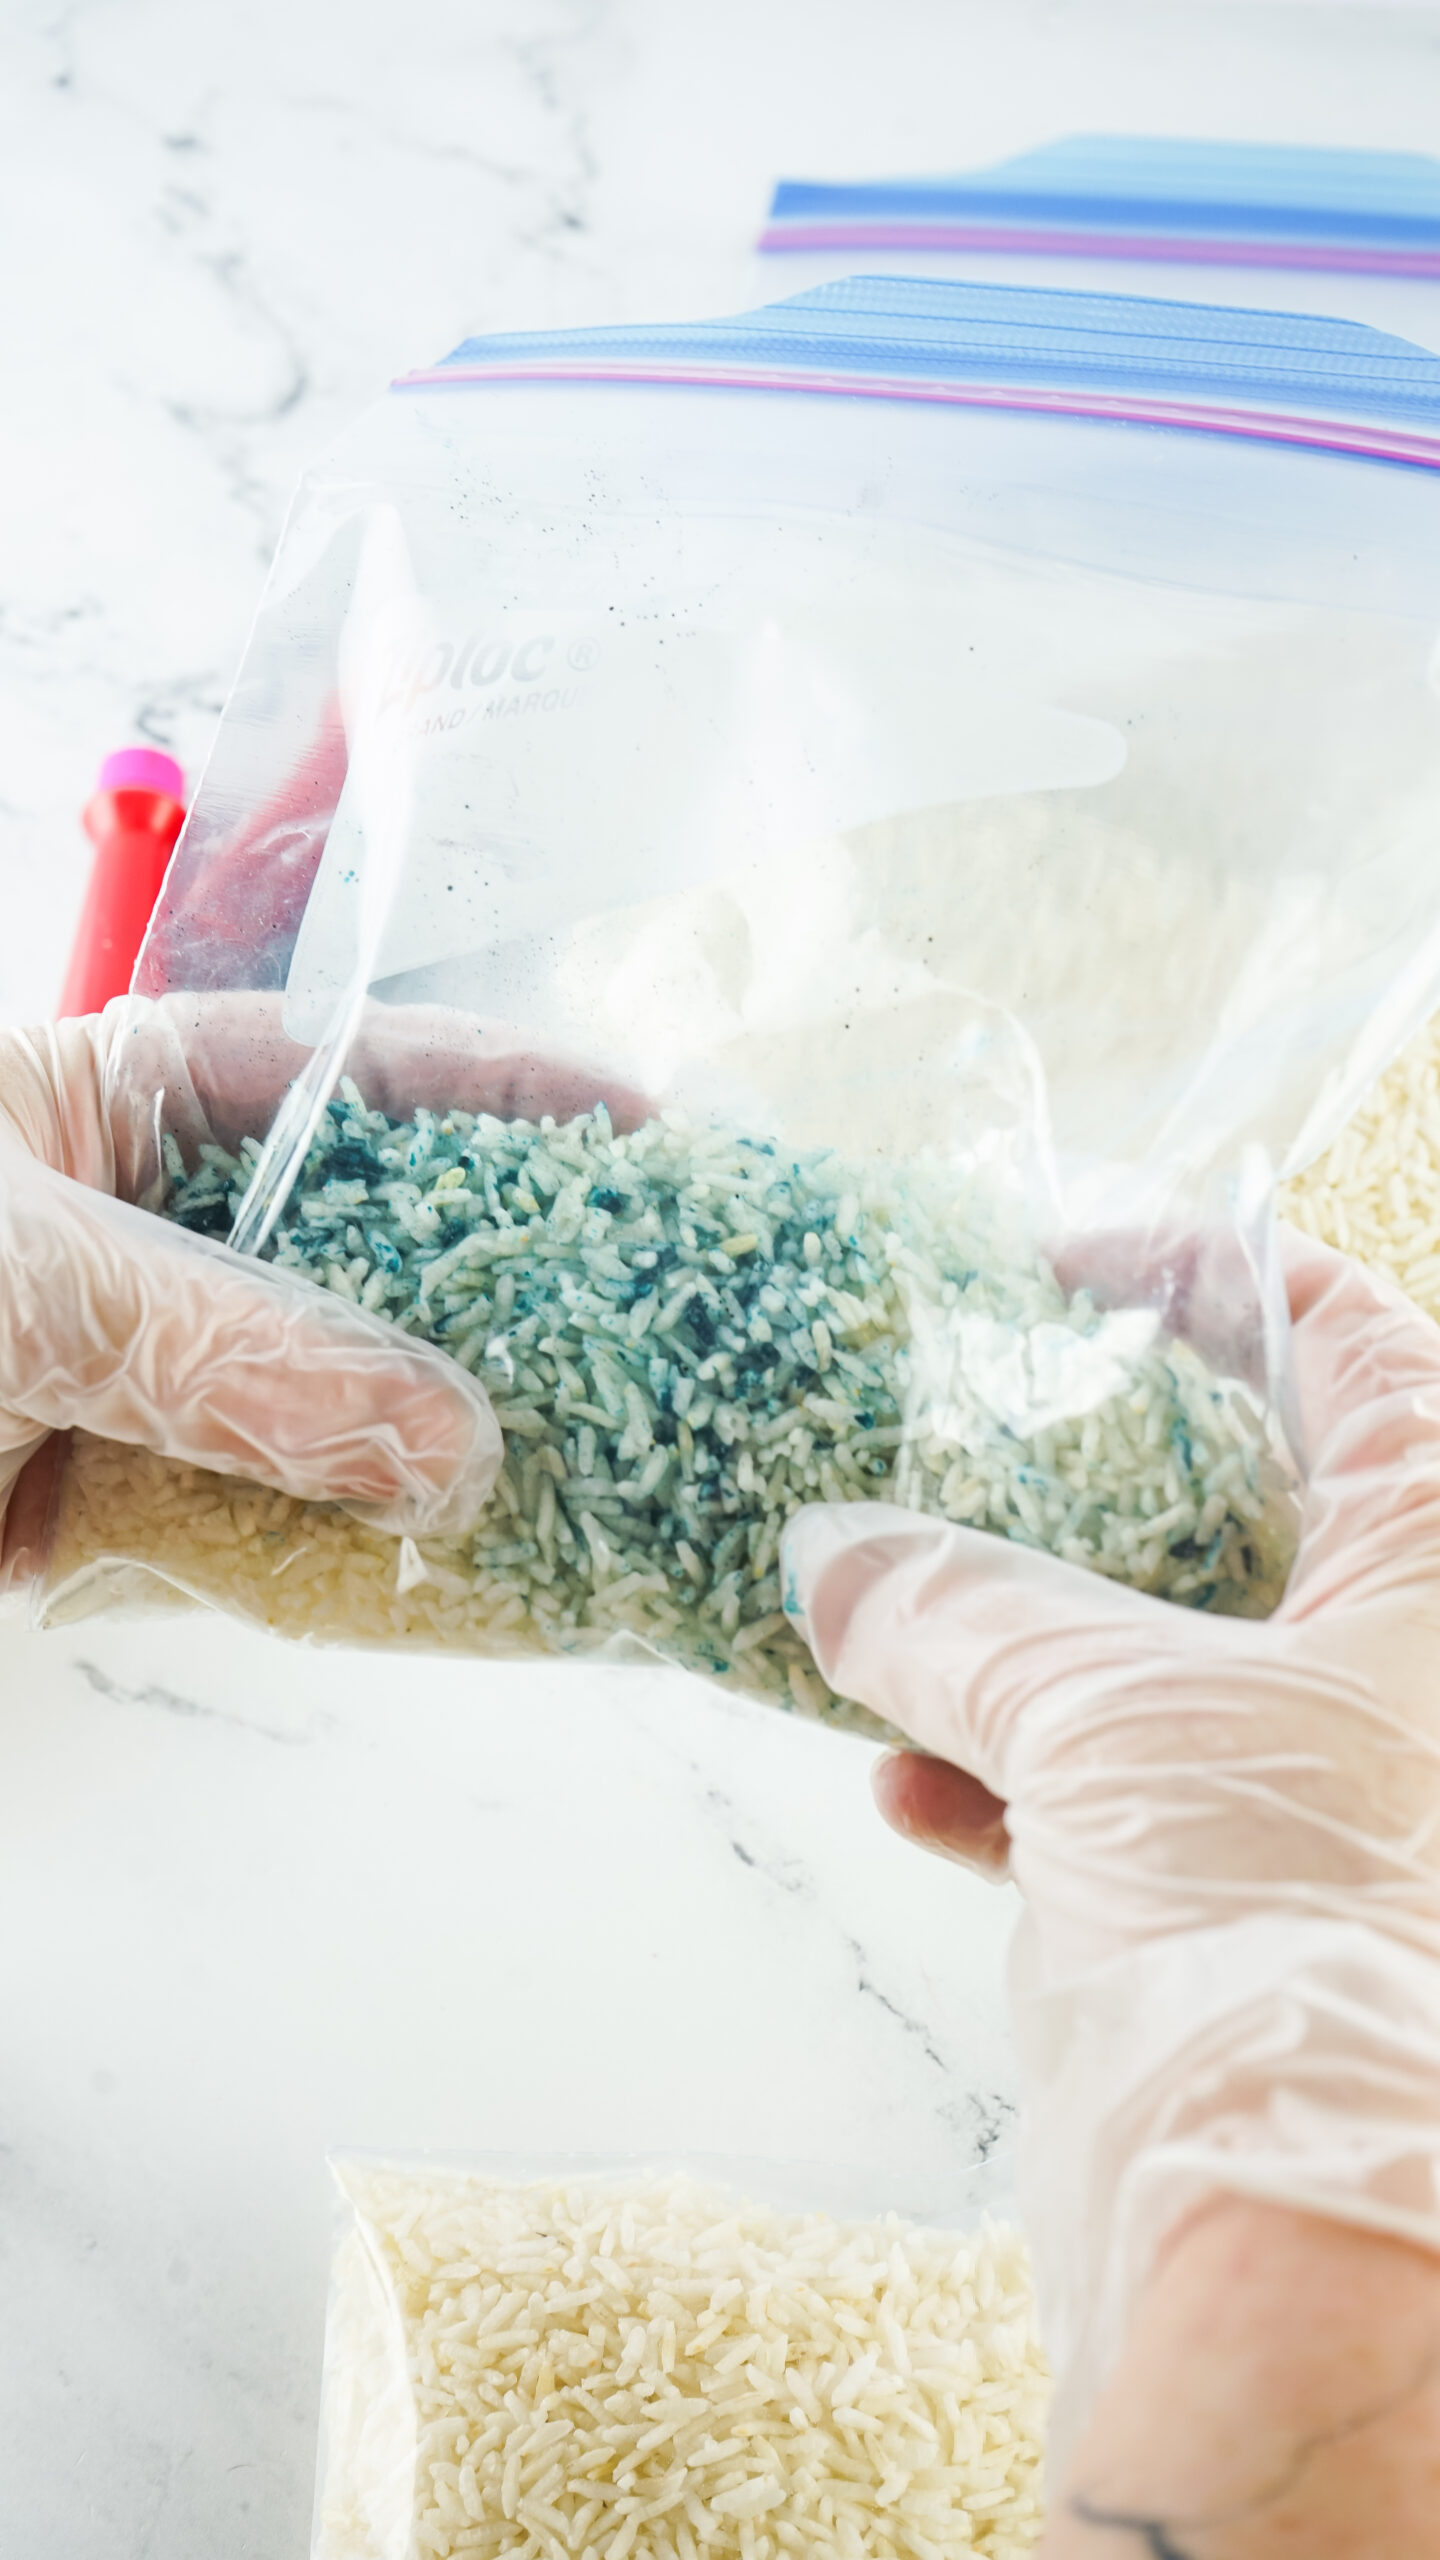
Place about a cup of rice in each baggie. It doesn’t have to be perfect, you can just eyeball it if you don’t feel like measuring. Just don’t put a ton in the bag. About a ¼ full.
Place four drops of food coloring in each baggie. Only one color per bag.
Remove air from the bag and seal it before squishing the rice all around until the dye is distributed.
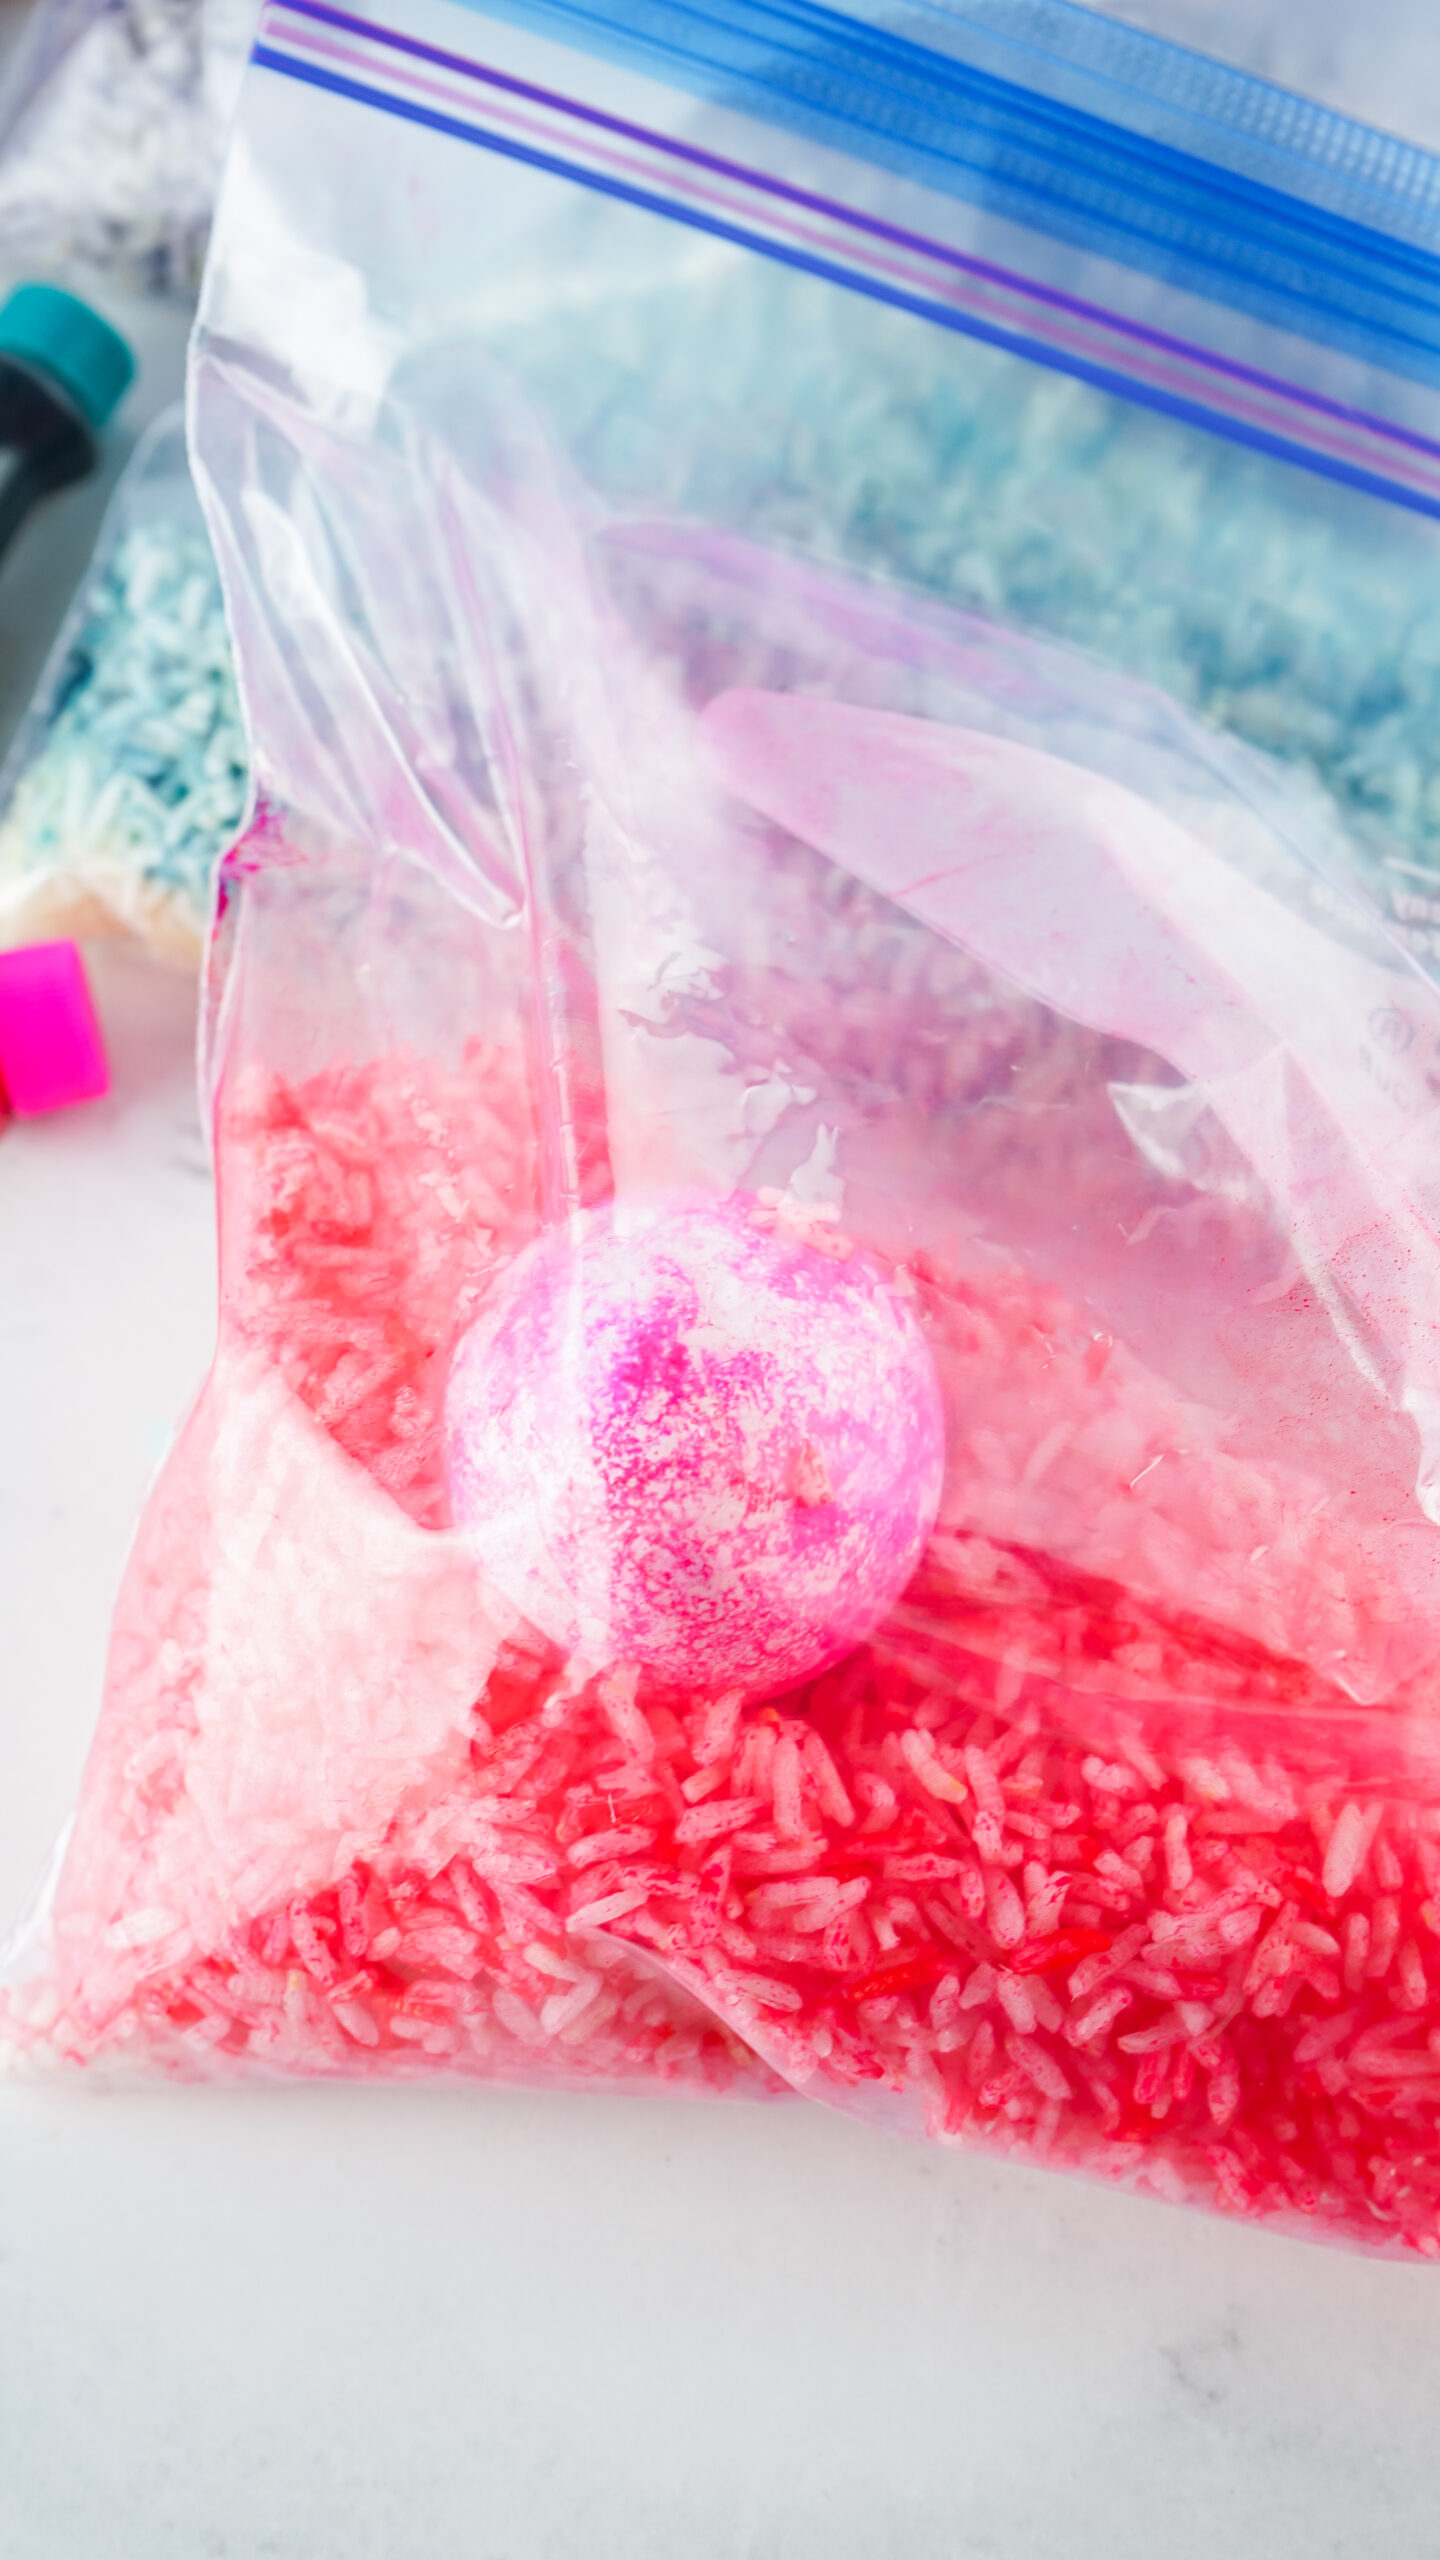
Be sure your eggs are dry and not wet before choosing your color and placing the egg in the bag.
Remove the air and seal the bag before gently moving the egg around in the colored rice until you’re satisfied with the color distribution.
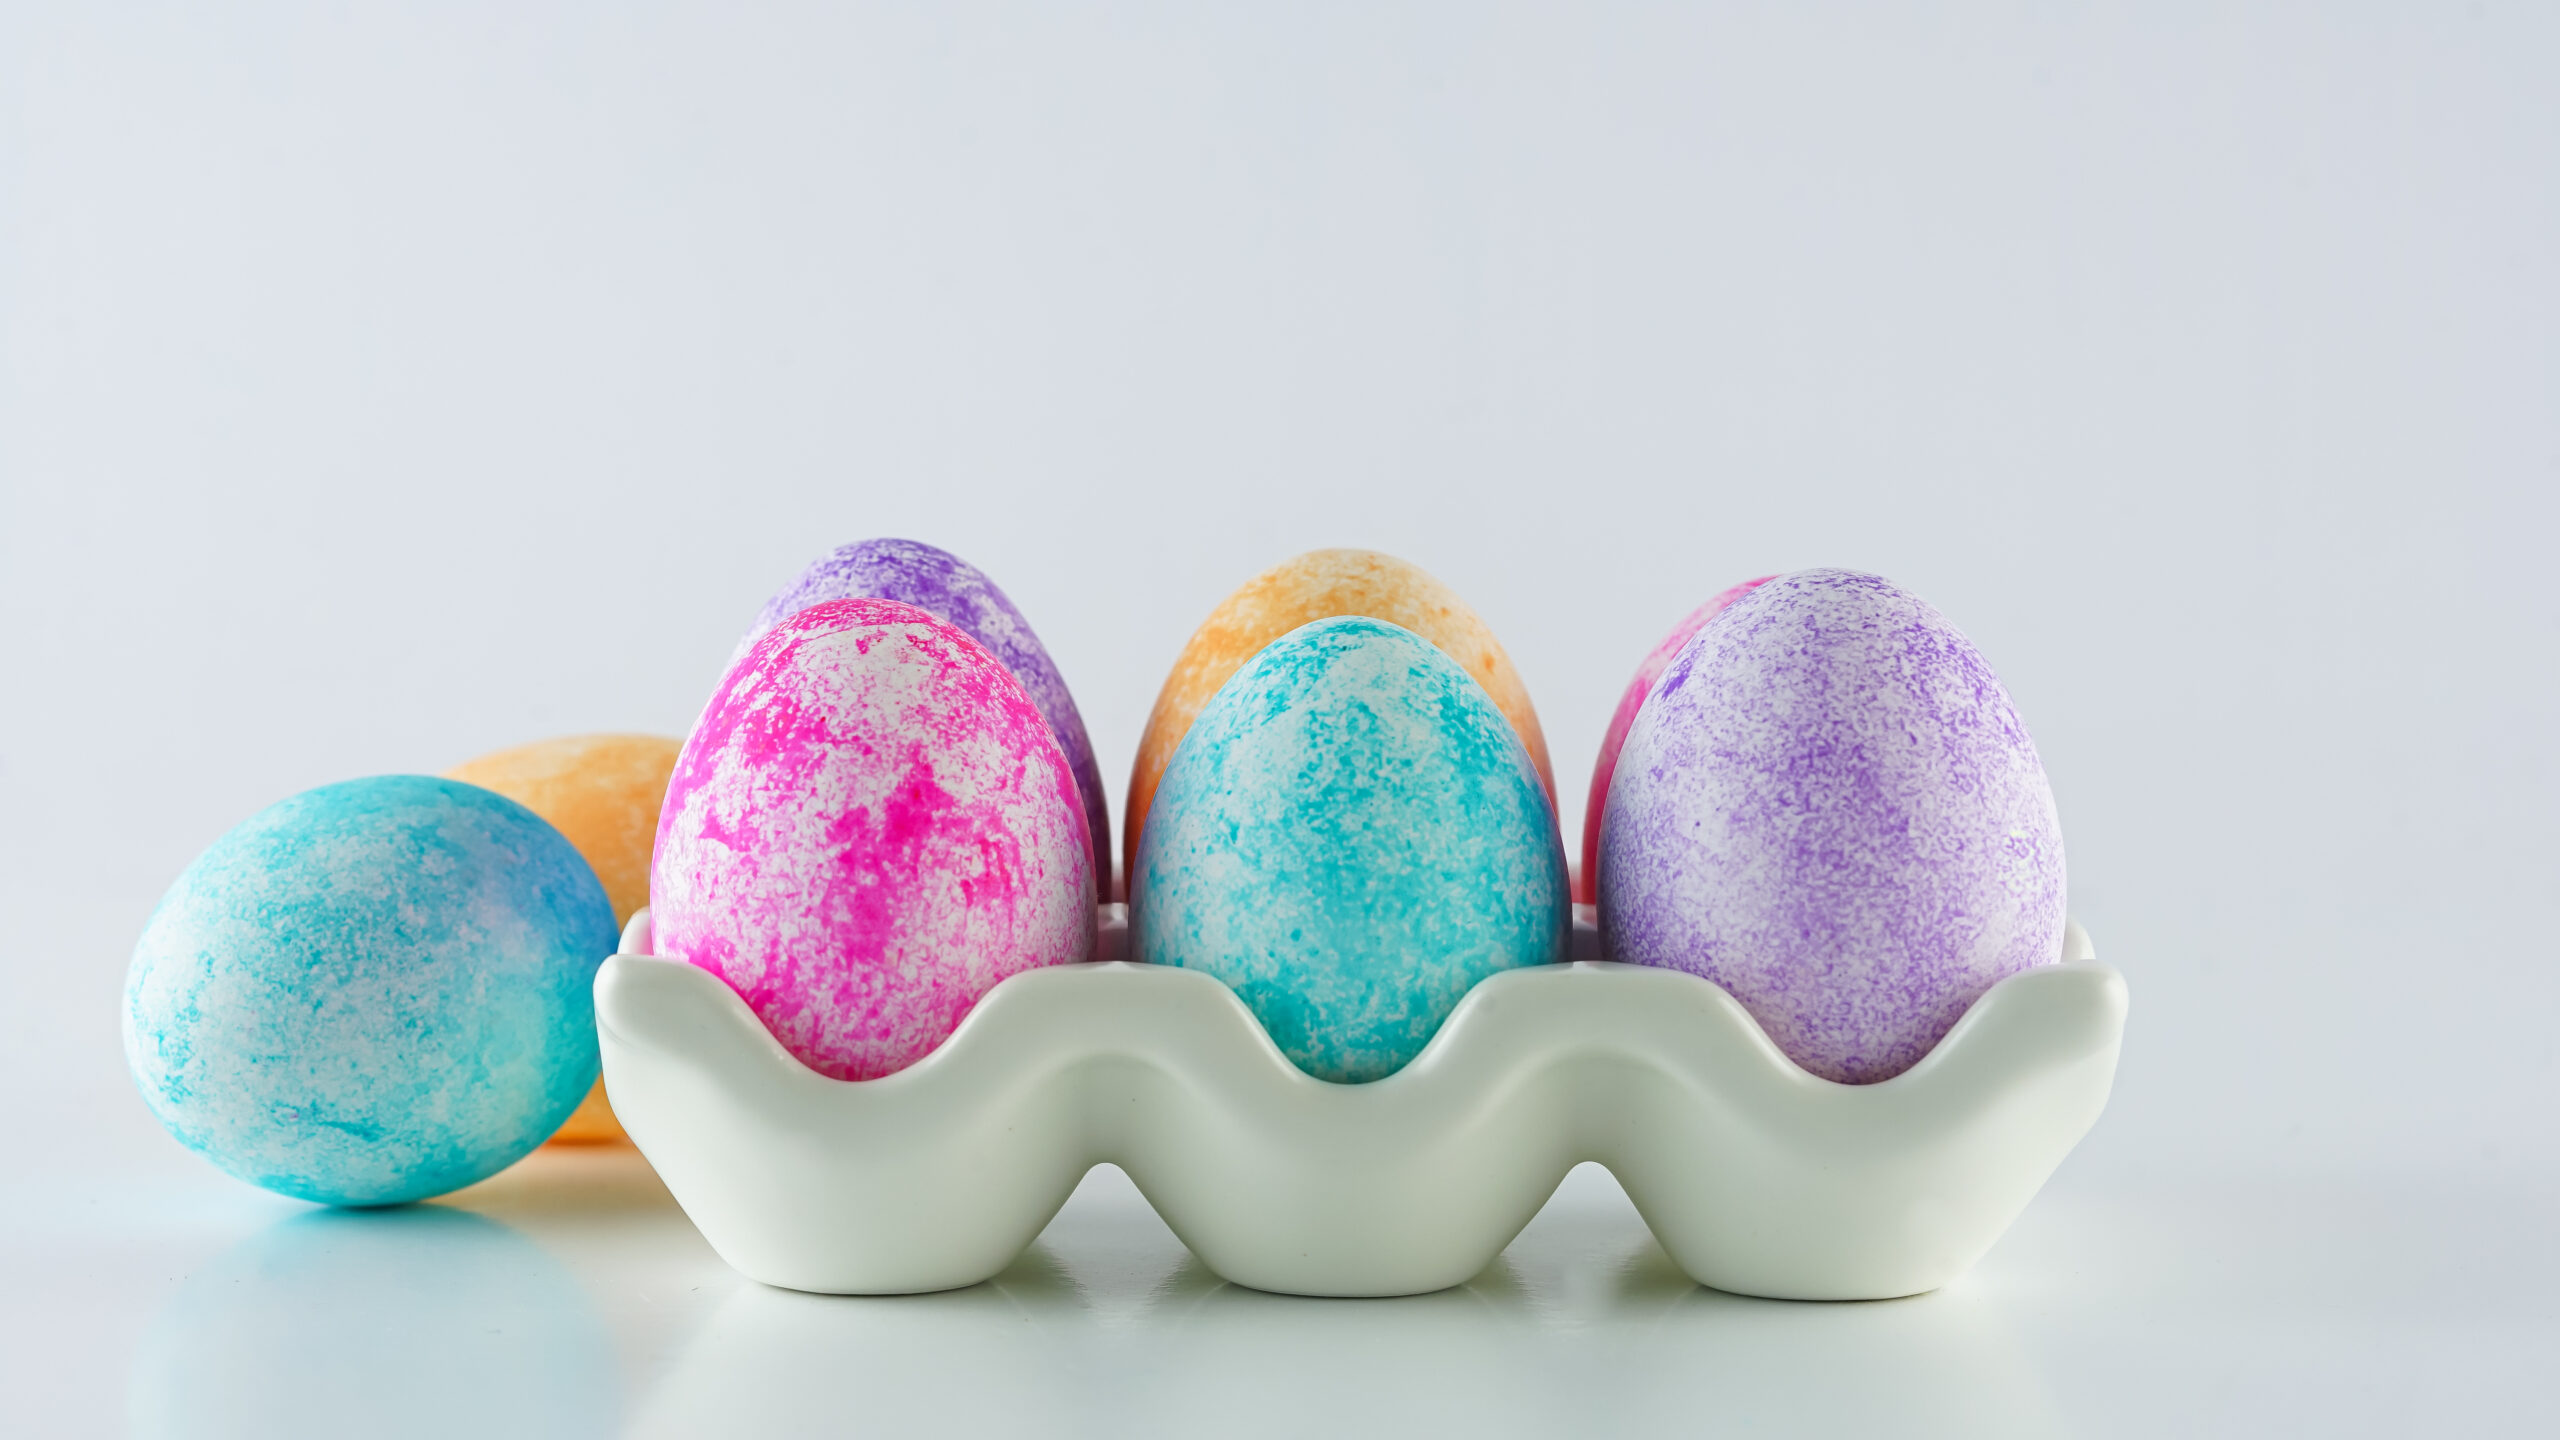
Set it aside to dry or place it in a second color if you want to get funky with it.


Tie Dye Easter Eggs with Rice
Ingredients
- White Rice
- Food Dye
- Boiled Eggs
- Quart Baggies
- Rubber Gloves (optional)
Instructions
- Decide how many colors you’re going to do and have one baggie per color. If you’re using gloves, put them on now.
- Place about a cup of rice in each baggie. It doesn’t have to be perfect, you can just eyeball it if you don’t feel like measuring. Just don’t put a ton in the bag. About a ¼ full.
- Place four drops of food coloring in each baggie. Only one color per bag.
- Remove air from the bag and seal it before squishing the rice all around until the dye is distributed.
- Be sure your eggs are dry and not wet before choosing your color and placing the egg in the bag. Remove the air and seal the bag before gently moving the egg around in the colored rice until you’re satisfied with the color distribution.
- Set it aside to dry or place it in a second color if you want to get funky with it.
Notes
- The more rice you add to your bag, the more dye you’ll want to add.
- If you get a few eggs in and the color isn’t attaching to the eggs as much, add a couple more drops of dye.
- I used gel dye, but I’ve had luck with water-based dyes as well. Avoid oil-based dyes as they tend to not grab onto the shell as well.
- This works for farm fresh/brown eggs as well, the dye will just appear less saturated or in some cases, darker.
- I’ve used minute rice and regular rice and both worked, although I liked the minute rice more. Brown rice should work as well if that’s what you have on hand.
- You can do multiple colors, one after another. Just give it a couple of minutes to dry in between colors for the best results.