
Looking to brighten up your Cricut Craft Room? Need help with weeding? Wondering how to use the Cricut BrightPad Go? Stick around because I’ll be answering all these questions in more in this post about the Cricut BrightPad Go + Sharing an easy Cricut mug project!
This is a sponsored conversation in partnership with Cricut. This post contains affiliate links.
Wedding vinyl can be a pain, especially if you don’t have great light in the room you’re in. Luckily there is an easy solution to make weeding easier whether the lighting is terrible or you just have trouble seeing the small lines. I struggle with both when working at night and the Cricut BrightPad Go has been so helpful in giving me more light but also making weeding easier.
What is the Cricut BrightPad Go?
Last year Cricut came out with 2 BrightPads, the BrightPad and BrightPad go. I am sure you’re wondering:
What is a LightPad? A LightPad is an illuminated workspace. It’s a lightbox-style tool that illuminates your project from behind or under. It’s a little bit bigger than a piece of paper and similar to a tablet in sturdiness and design. It gives you extra light for tasks like weeding, tracing, and paper crafting.
When looking at the models I knew the BrightPad Go would be perfect for me. It’s portable so I can move around with it while working and not have to be tethered to a cord or outlet, but it also has 5 brightness levels compared to the Cricut BrightPad which only has 3 brightness levels. Something that is portable and extra bright is just what I needed.
The Cricut BrightPad also has a non-slip base, so it won’t be sliding around while you’re trying to work. This is especially helpful when working with small items like beads or paper.
The Cricut BrightPad also has a durable 6H hardness surface that protects your lightbox from weeding tools, scratches, and scrapes. This means you won’t have to worry about scratching or damaging your BrightPad while working. My advice is to always be gentle when working with electronics, but your standard weeding and crafting should not damage this device.

Do you need the Cricut BrightPad?
My advice is YES you do, but here is something to consider before dropping more money on another craft tool. Do you struggle with:
- Weeding
- Low Light
- Small or Intricuite crafts
- Tracing
If you answered yes to any of these the BrightPad could be a great tool for you to use. If you don’t need a backlight and just need overhead light then the Cricut Lamp might be a better solution for you!
It’s not a necessary tool to add to your collection and you can definitely craft without it, but it can be very helpful if you struggle with anything above.
Is the Cricut BrightPad worth it?
Yes, the Cricut BrightPad is worth it. It has worked really well for me and has been so helpful with weeding. I also love that it matches my other Cricut machines and accessories.
What is Cricut BrightPad used for?
The Cricut BrightPad can be used for any projects where extra light is needed but is especially helpful with weeding and tracing. The BrightPad works by illuminating the cut lines in your vinyl so you can weed it easier. This is really helpful with more difficult materials like glitter or holographic.
The Cricut can be used for:
- Weeding
- Tracing
- Practicing Lettering
- Piecing together quilt squares or shapes
- Working with beads
- Jewelry Making
- Drawing or Painting without tracing or lines
- Coloring intricate designs
- Paper Crafting
- Layering Vinyl
- Lining up vinyl layers
How to Use a BrightPad for Weeding
Now let’s make an easy project using vinyl, a mug, and our BrightPad. Here’s what you’ll need to make a Cricut Vinyl Mug:
- Permanent Vinyl
- Transfer Tape
- Cricut Mug
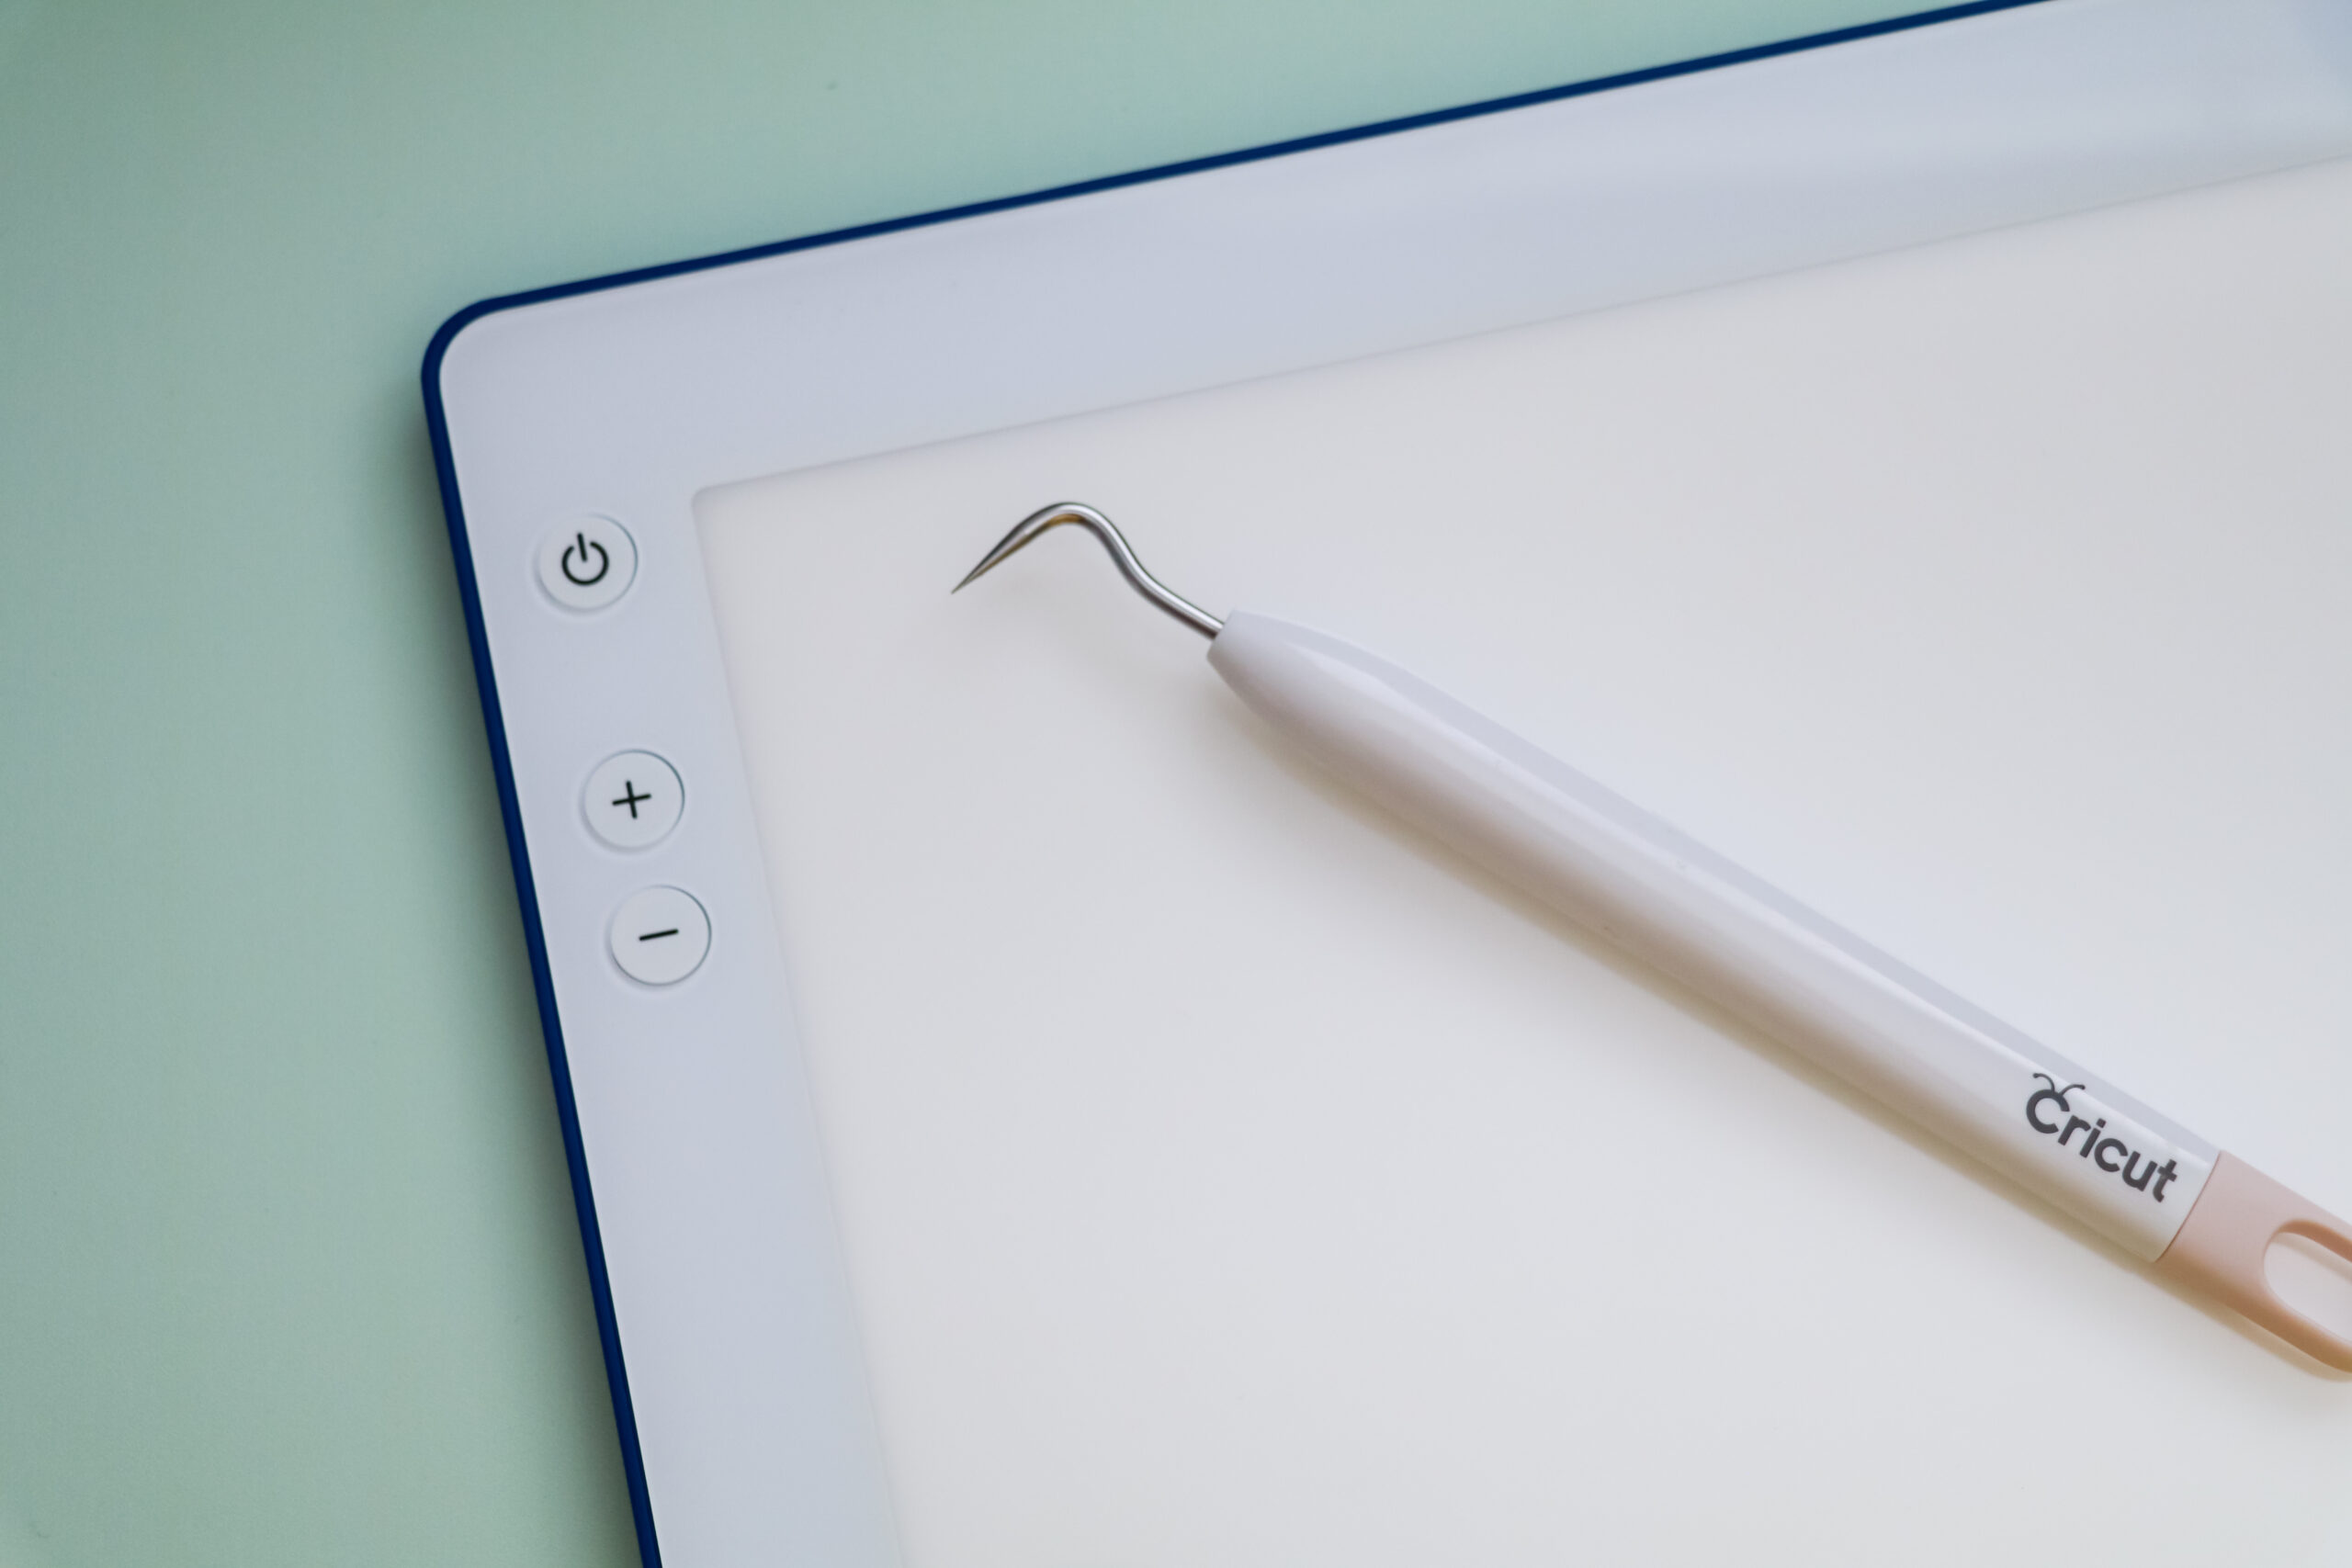
- Weeding Tool
- BrightPad
- Cricut Machine with Mat
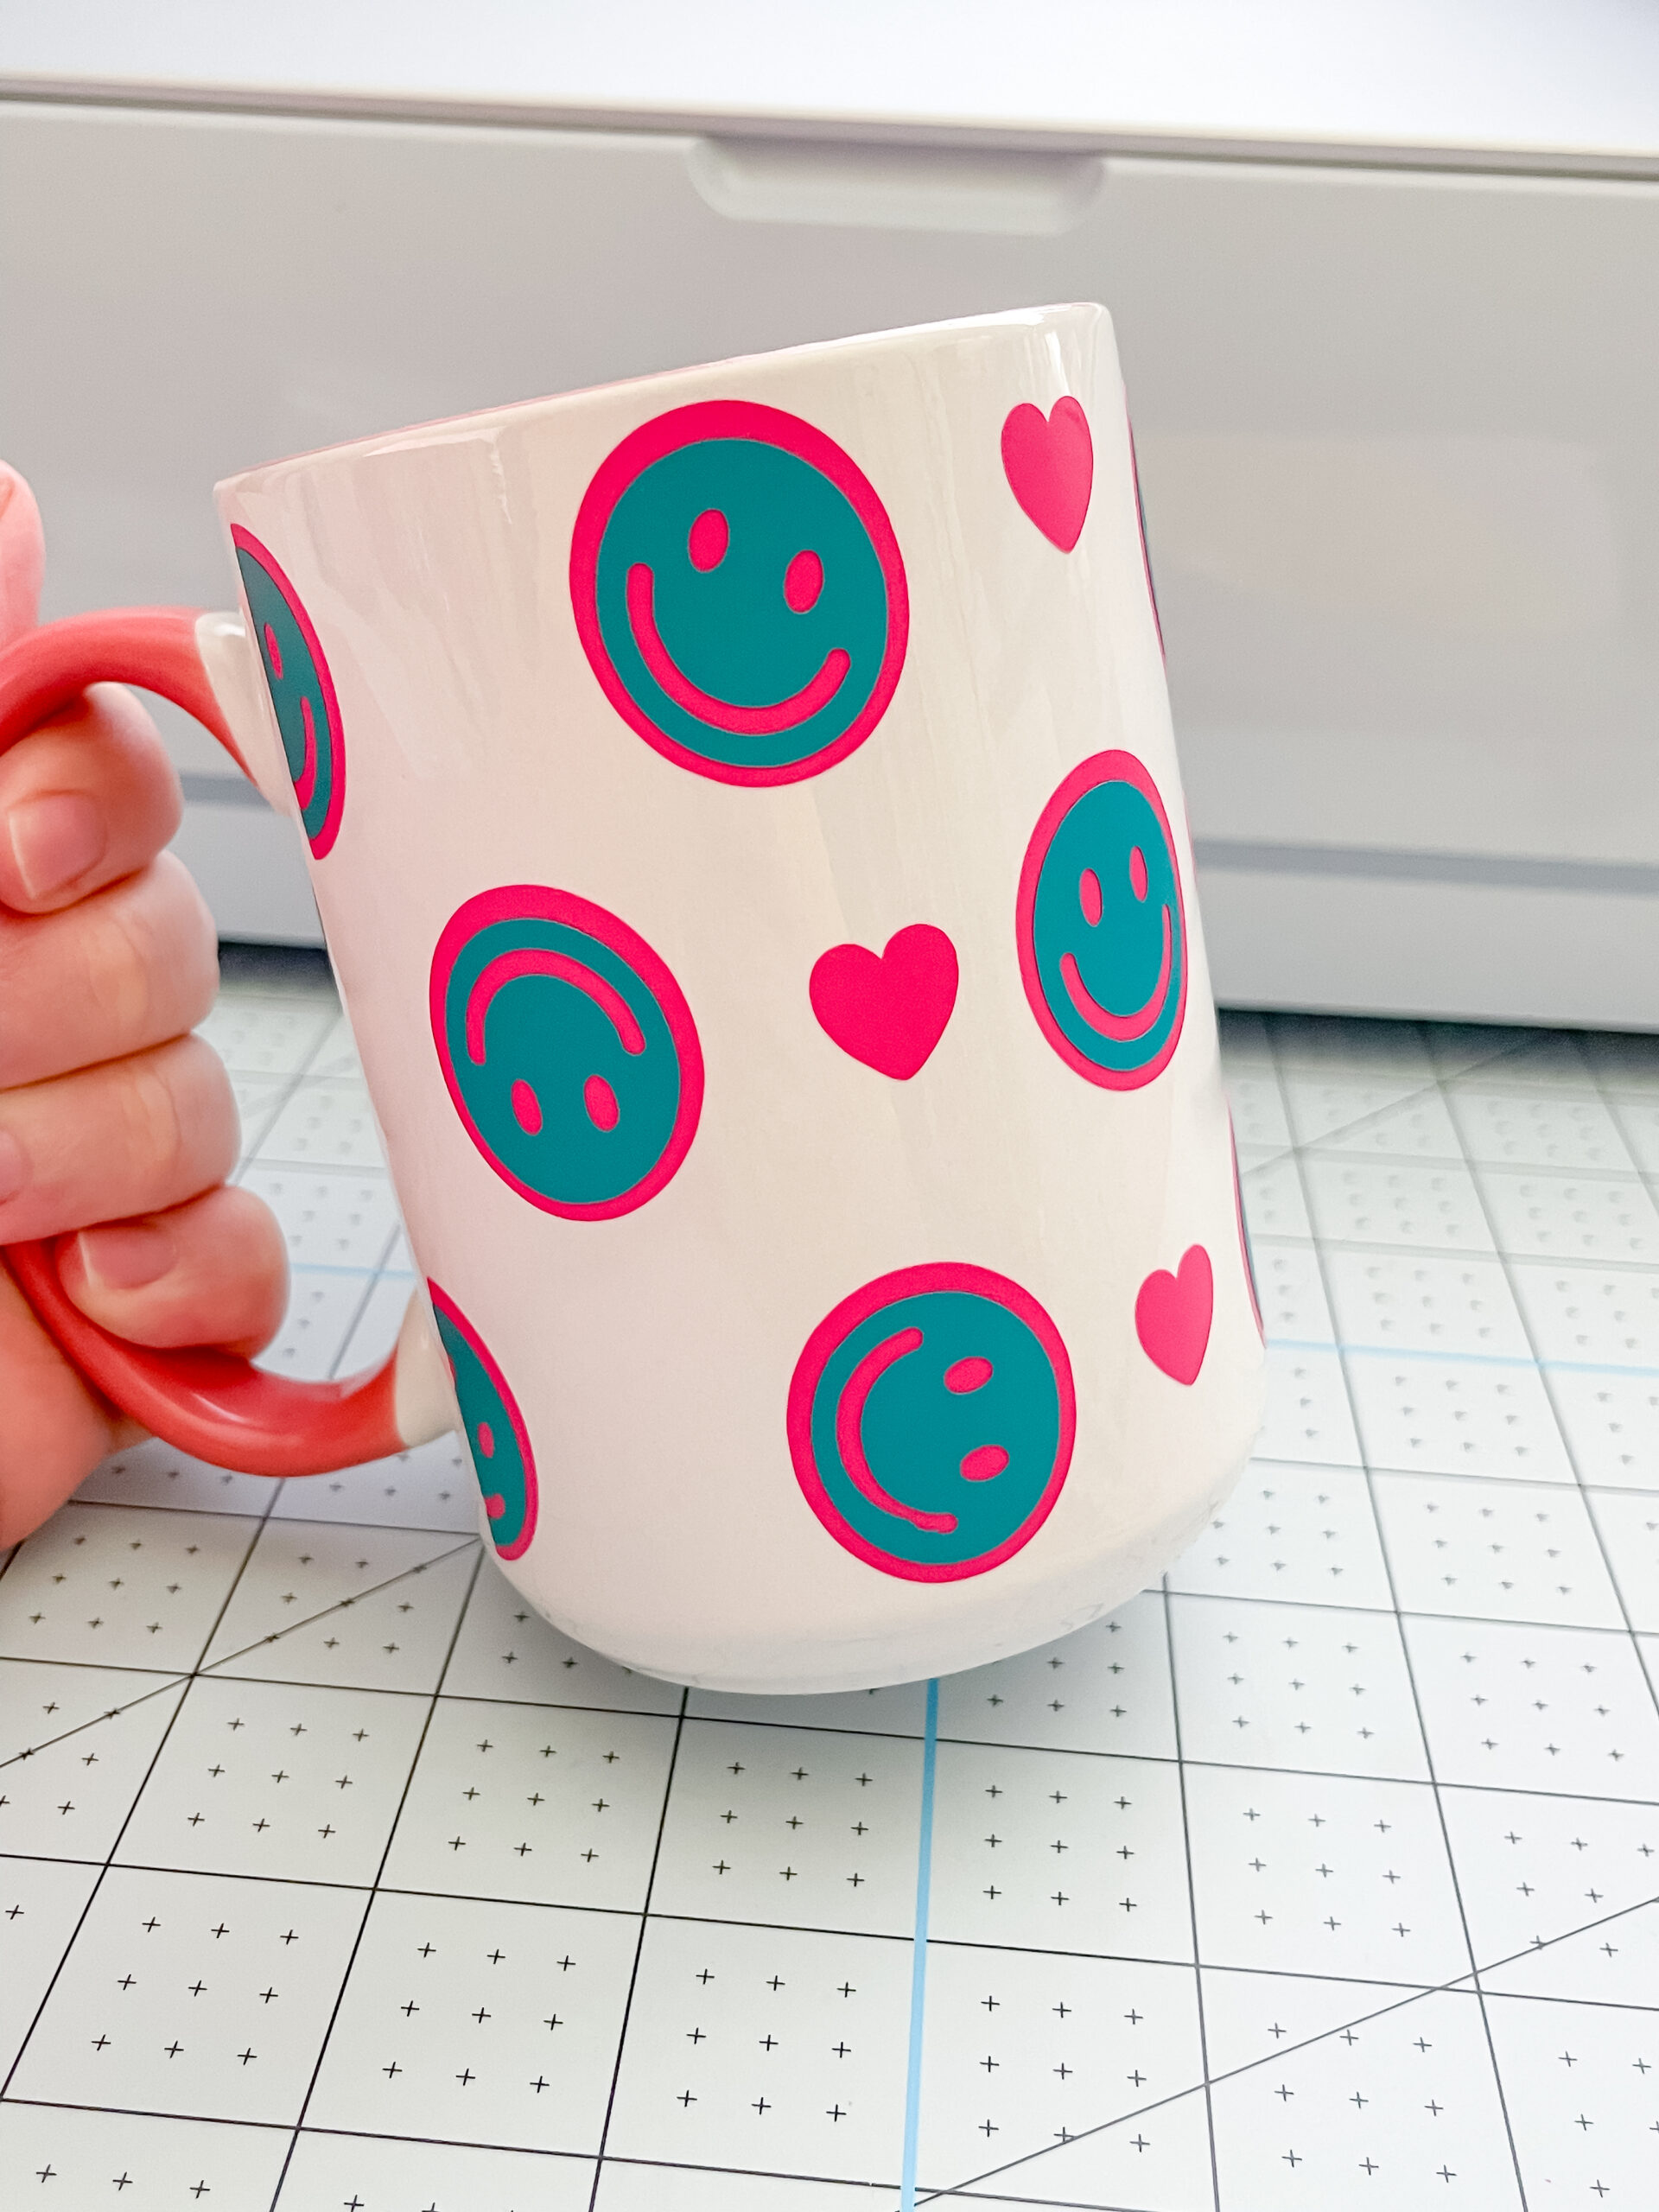
Open Design Space and find a design you like. I am going with Smile Face Can Glass Wrap #M3D217D47 from Designer Hannah Lou. You’ll also need the Large Mug Wrap #M21DCA930. Place both items on your canvas.
Place the smile face design over the mug wrap and hit the lock at the top of the screen under “size”. You can unlock the sizing.
Now drag the design to fit into the grey area of the mug design.
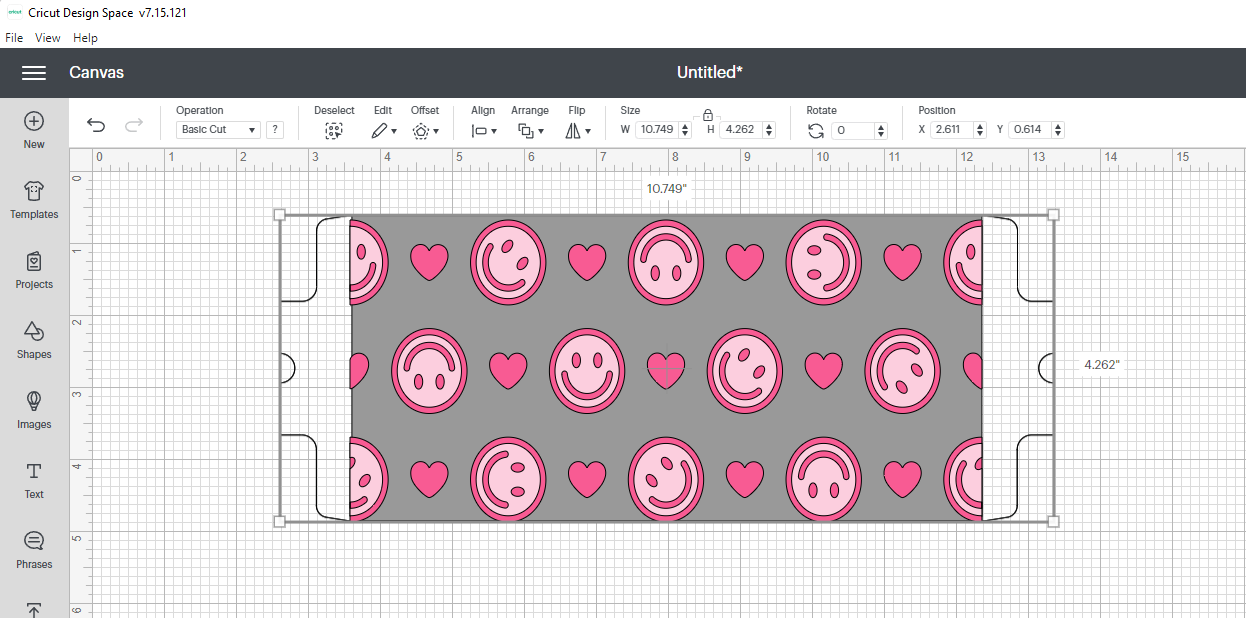
Remove the mug wrap design. We only needed it to size the design.
Click Make It. Pick your Machine, Mat Size, and if you’re cutting on a mat. Click your material and cut out the design.
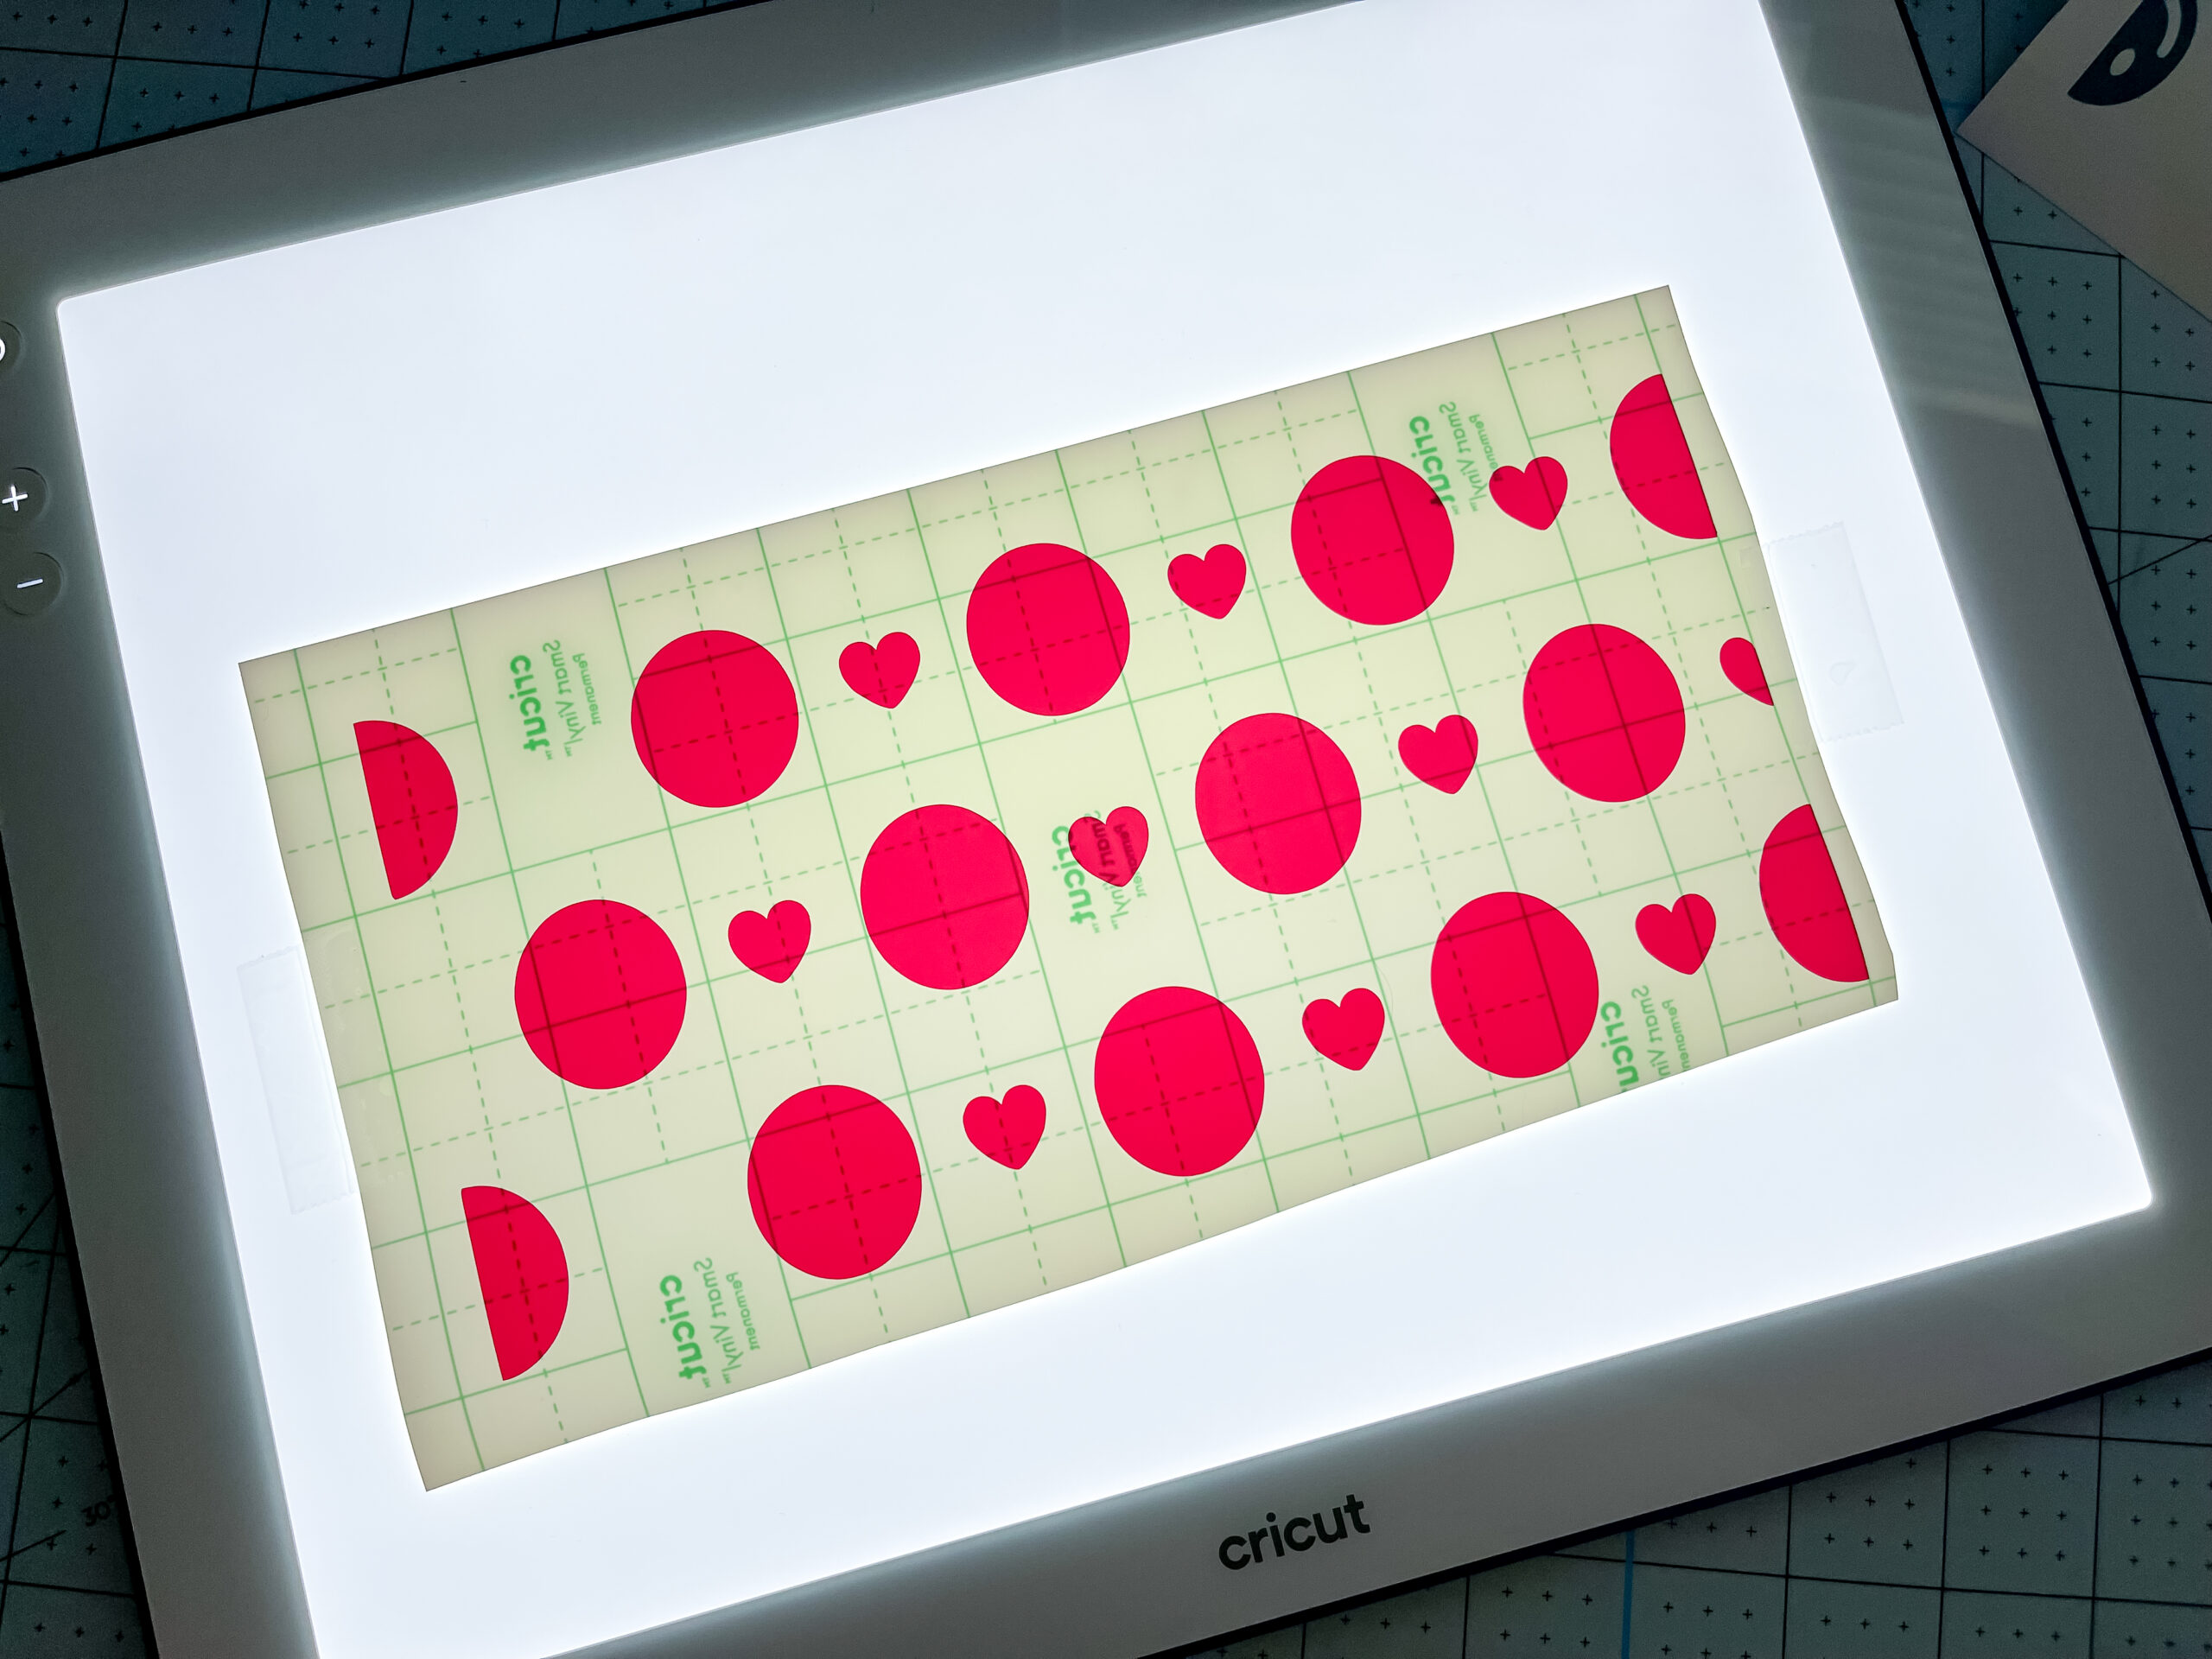
Remove vinyl from the mat and place it on the BrightPad. You might need to tape down the edges of the vinyl so it doesn’t curl while weeding.
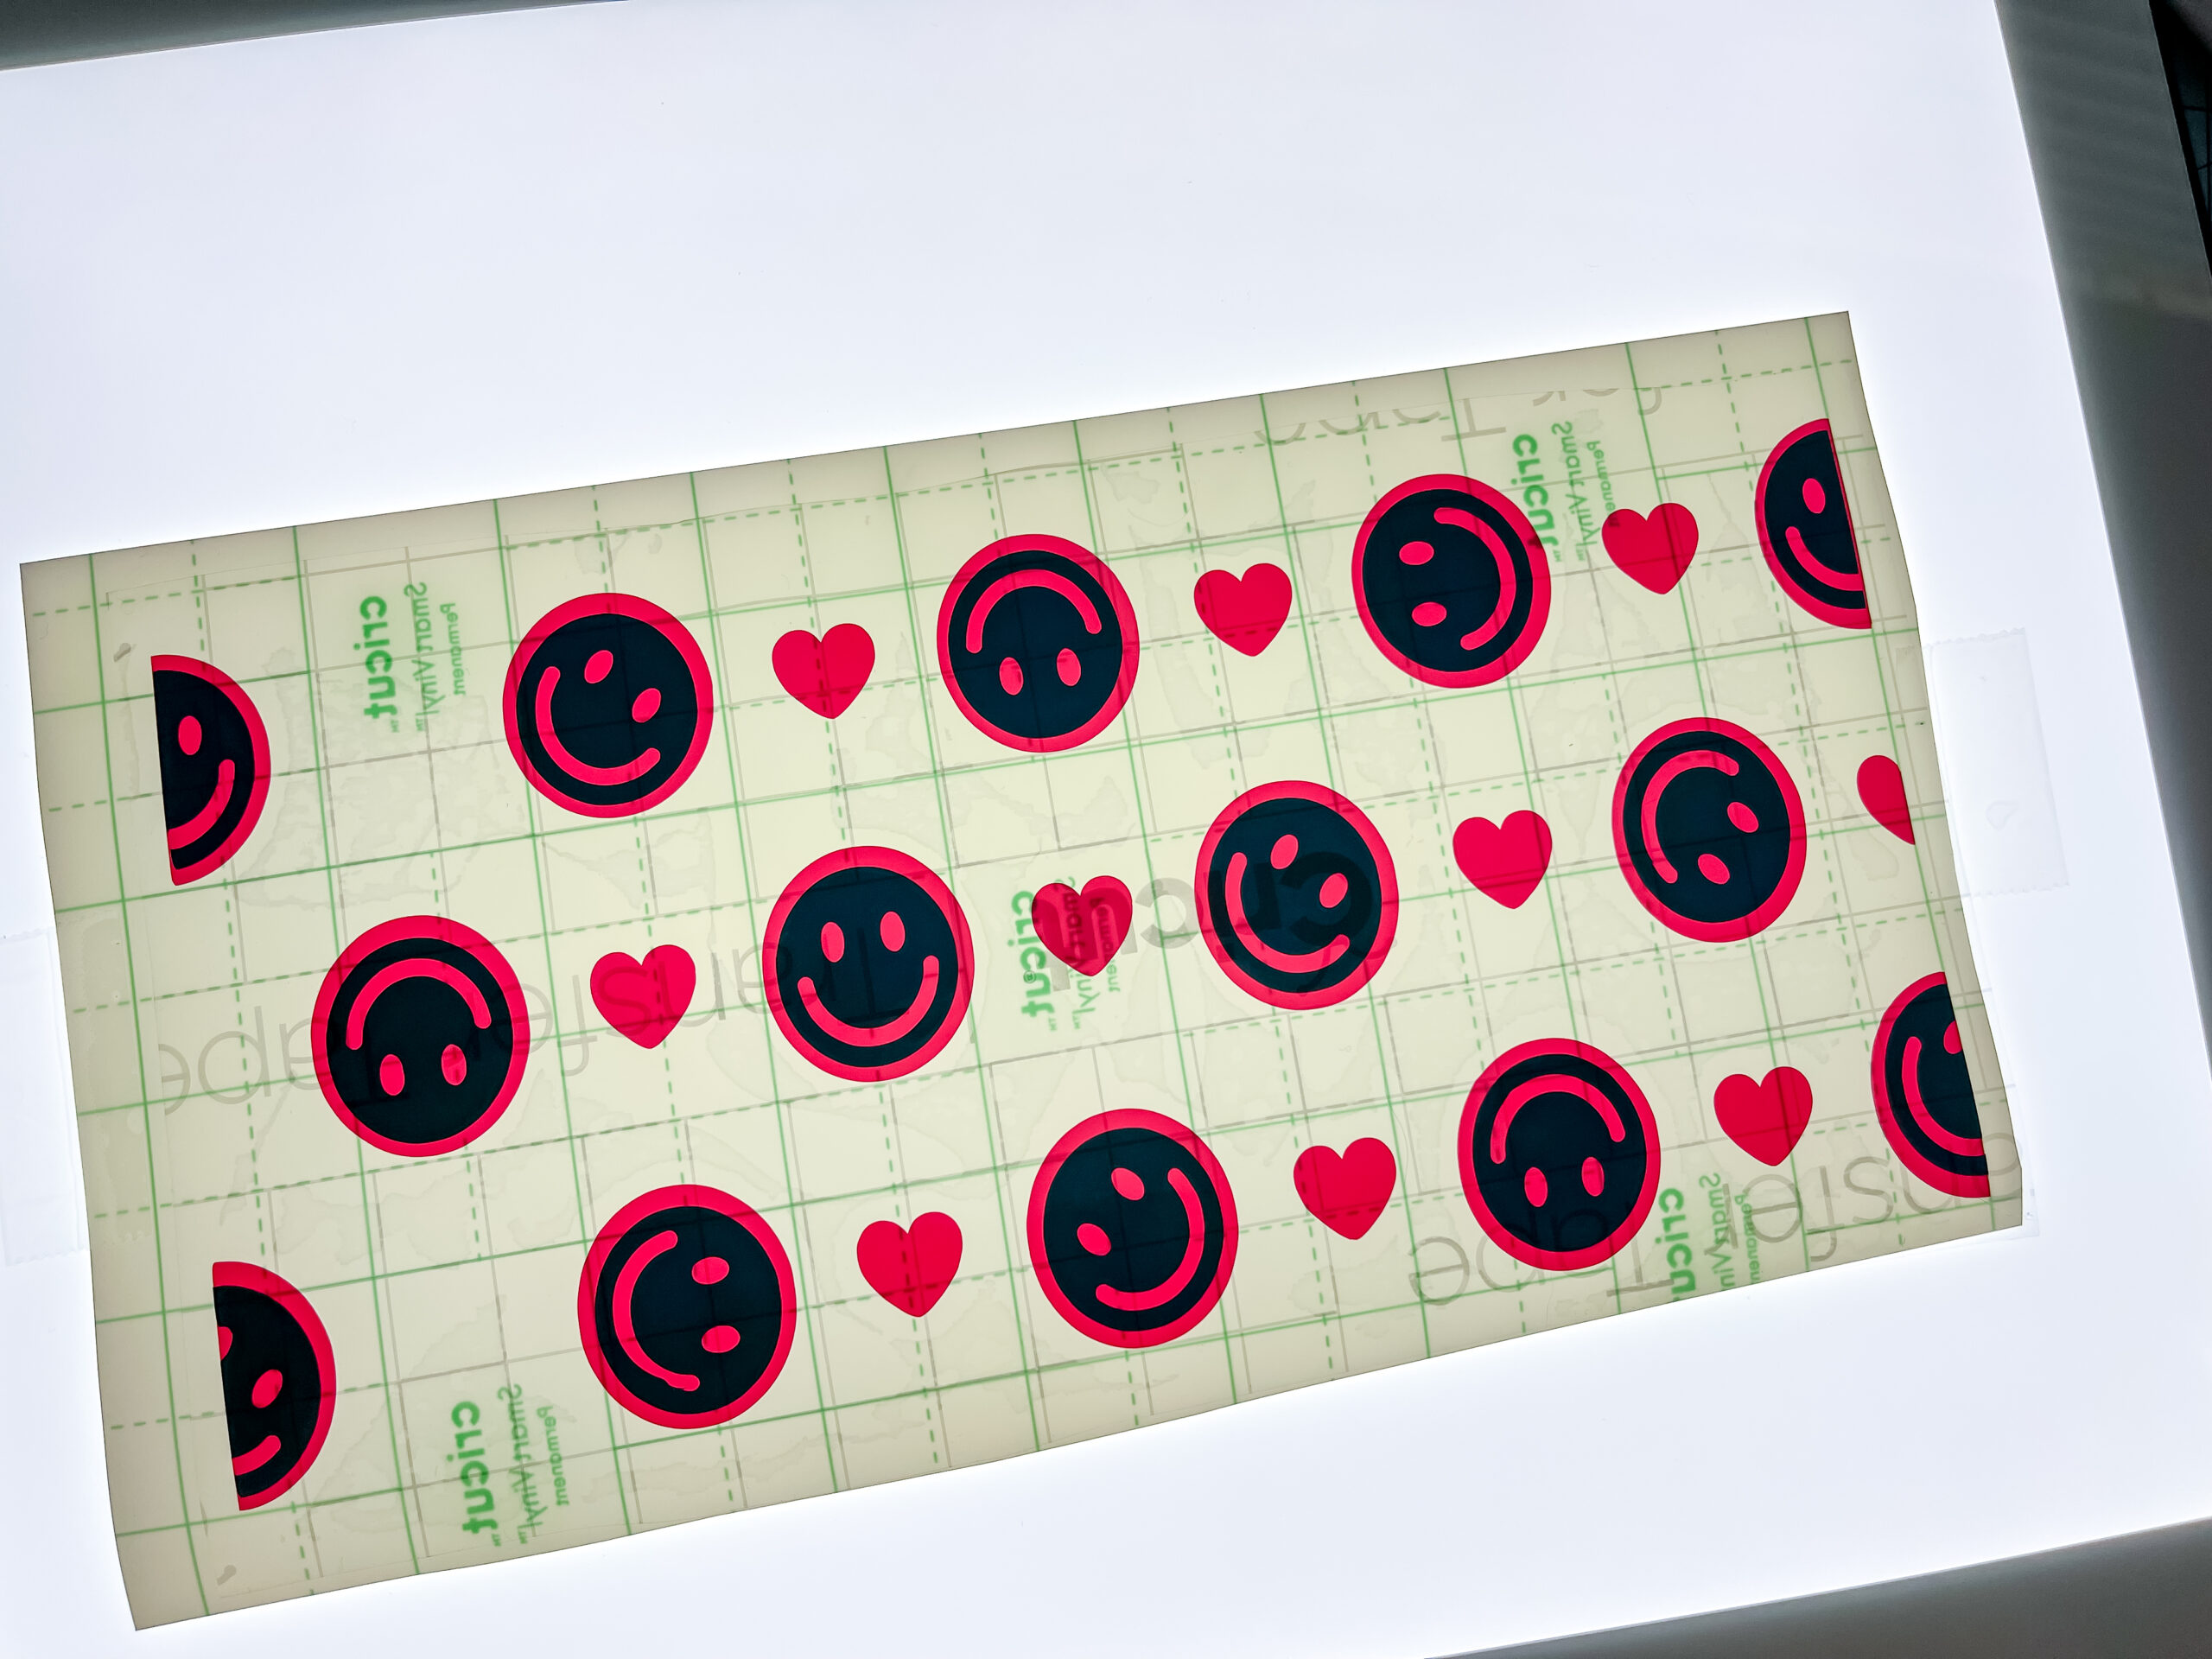
Weed your design.
Place your bottom color on the BrightPad and tape the edges down.
Place transfer tape over the second color, remove the backing, and then lay it over the bottom color. Give it a good rub with your scraper tool.
Give the design a really good rub again with your scraper tool, peel away the backing, and place the design on the mug.