
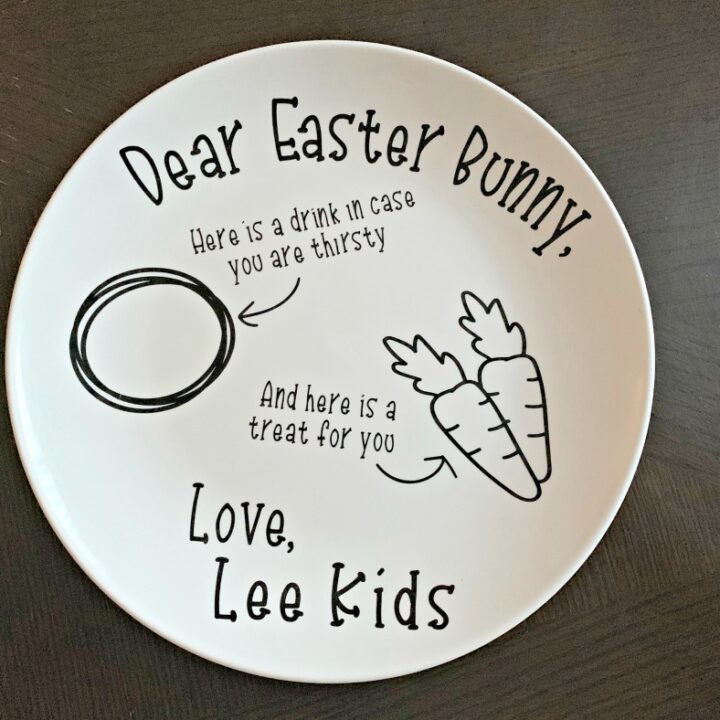
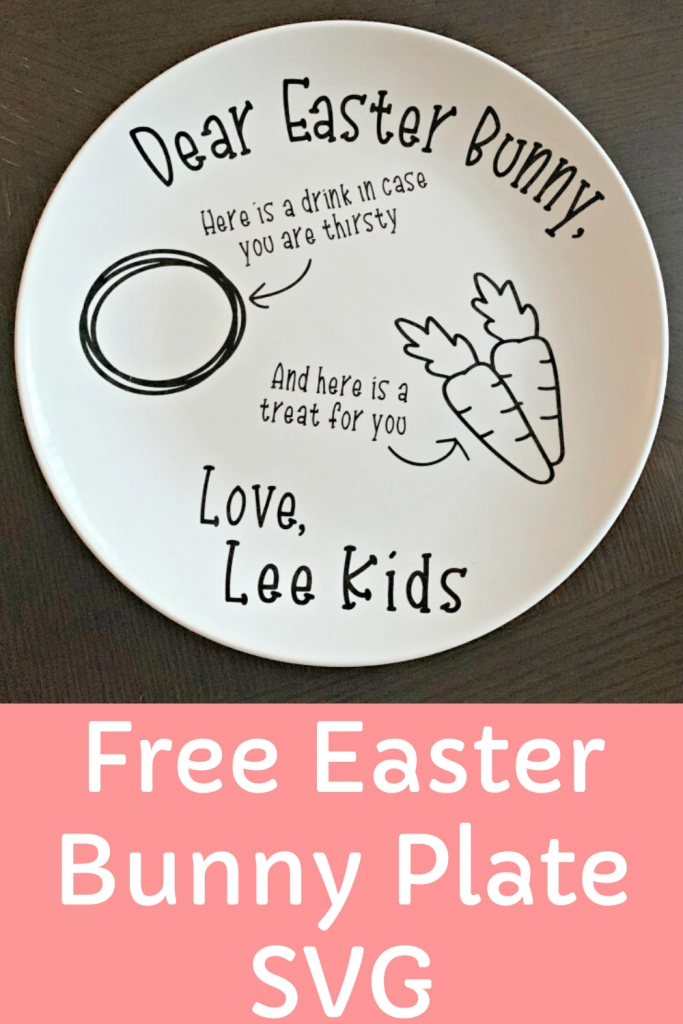
Looking for a FREE Easter Bunny Carrots Plate SVG? Look no further because here is a free Easter Bunny plate or mat SVG with Free Font that is perfect for setting out the Easter Bunnies carrots!
I’ve been leaving carrots out for the Easter Bunny since I was a kid and now it’s my kid’s turn to leave them out. I just wish I had had such a cute plate to use when I was a kid, but thanks to my cameo explore air 2 and this Free Easter Bunny SVG I can easily create one for my kids and you can too!
How to Make an Easter Bunny Plate
To make this plate you’ll need a few simple supplies:
- Plate – I used a 10.5 inch plate that I grabbed at Target.
- Permanente Adhesive Vinyl – Any color
- Cutting machine, like a Cricut Explore Air 2
- Transfer Tape
- Scrapper
- Free Easter Bunny Plate SVG
- Free Font, Jolly Unicorn
Here’s what you’ll do:
First you’ll want to download the Free Easter Bunny Plate SVG and Free Font, Jolly Unicorn. Unzip them and install the font and save the Easter Bunny Plate SVG to your desktop.
Open up your design software. For this I am using Cricut Design Space.
To use an SVG in Design Space you’ll click on New Project > Upload > Upload Image > Browse > Easter Bunny Plate SVG > Save.
Once the design is uploaded into Design Space you’ll select the Easter Bunny Plate File from the uploaded designs > Insert Image.
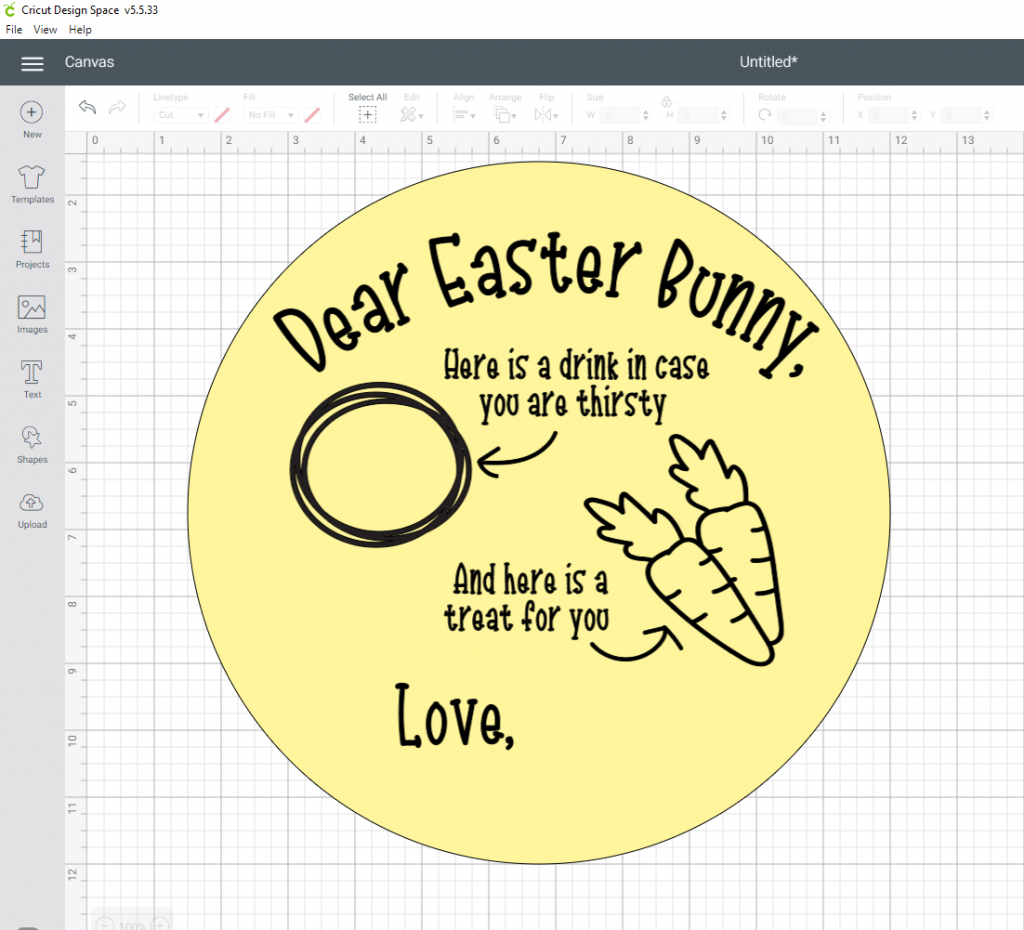

When figuring out sizing for a file I make a shape the same size as my surface. Since I am using a 10.5 inch plate I used the shapes > circle and then sized it to 10.5 inches. I then place the design over the circle and sized it to my liking.
Once you have your file sized right you’ll need to add in whatever name you’re using. You should have installed the font already. Hit Text > Type out Name(s) > Change Font to Jolly Unicorn. Size to your liking.
Now that your file is ready to cut turn on your cutting machine > Make It > Continue > Make sure your machine is set to vinyl. Then cut out your design.

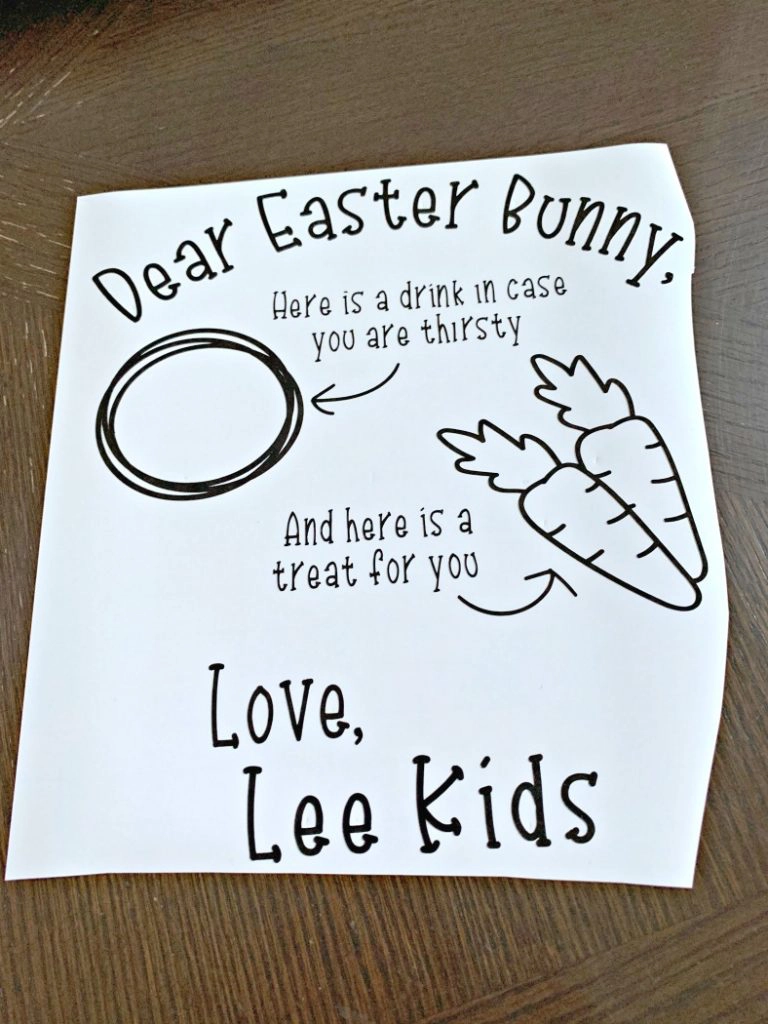
Once your design is cut out you’ll weed it.
Make sure your plate is clean. I always wash mine when I first bring it home and then put some rubbing alcohol on a napkin right before I am going to apply the design and clean the plate off with it. This ensures that all dust, dirt, oils are removed from the plate.
To apply the design to the plate I cut the design up and applied it in sections to make sure everything went on smoothly. You’ll use your transfer tape to apply the design.

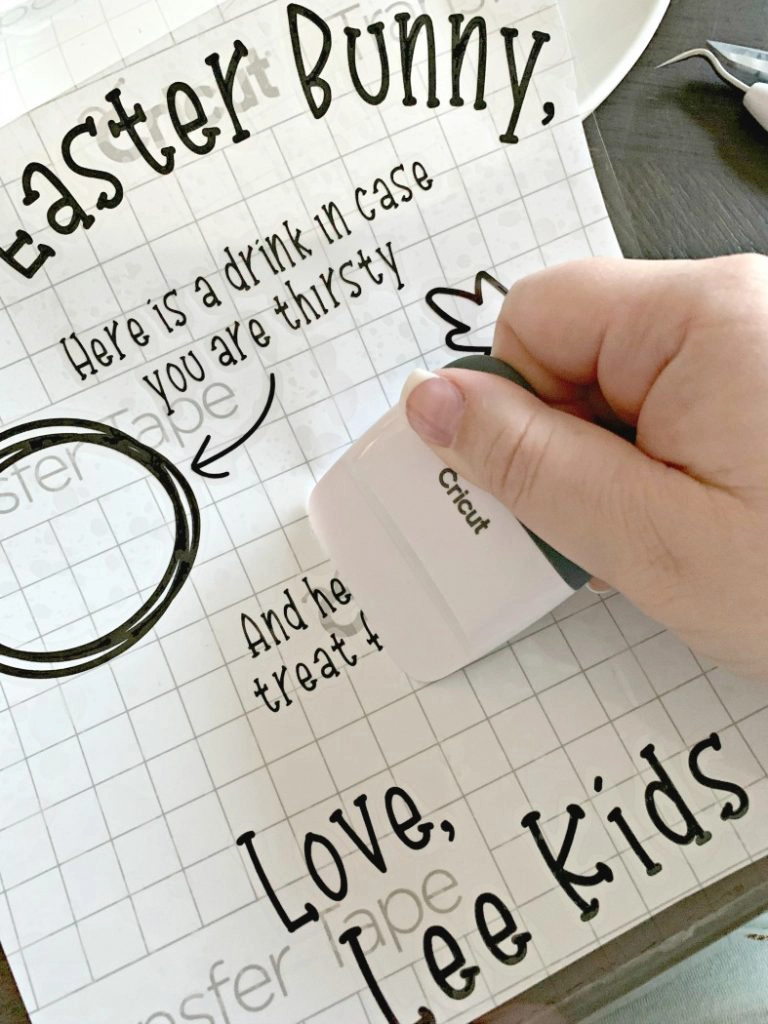
Apply the transfer tape over the design, cut it into sections, and then apply each section. Once the transfer tape + design is on the plate use your scraper to make sure it’s on the plate smoothly and applied well.

Katie Goetsch
Friday 14th of January 2022
This is adorable. Will be making one for my family. Although, when I click the link for the free design, I cannot find it.
Ashley Dawn Monroe
Wednesday 4th of March 2020
I really appreciate you posting this! I plan to make this tomorrow for my little one.