
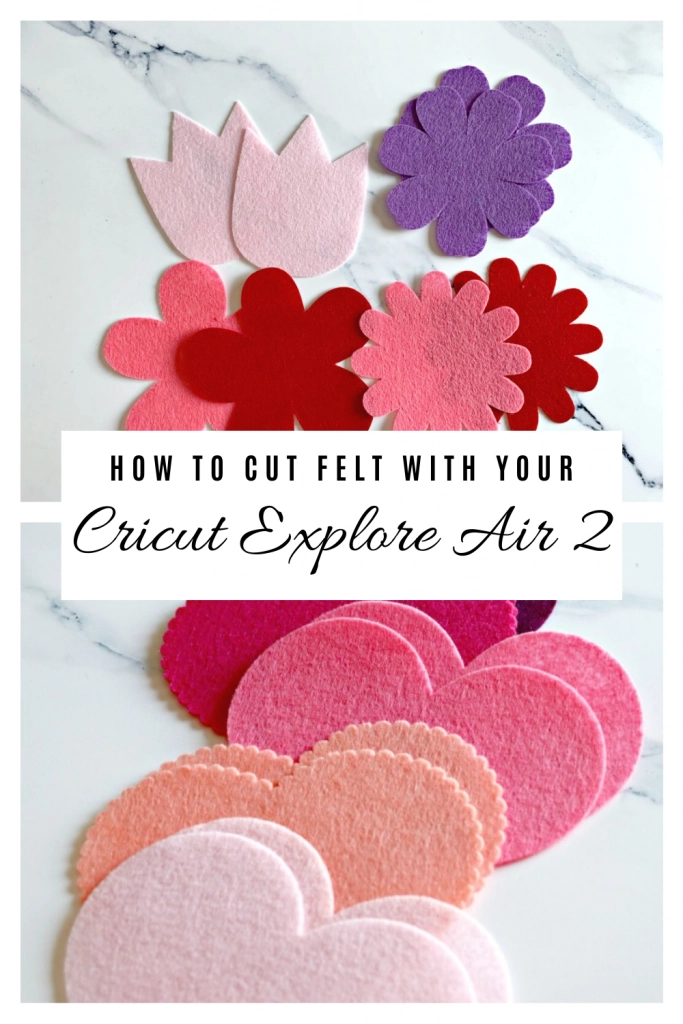
Are you wondering if the Cricut can cut felt or can you cut felt with Cricut Explore Air 2? Want to learn how to cut felt with your Cricut Explore Air 2? Look no further because I am going to show you how to cut felt with a Cricut in this easy guide on how to cut felt with your Cricut machine.
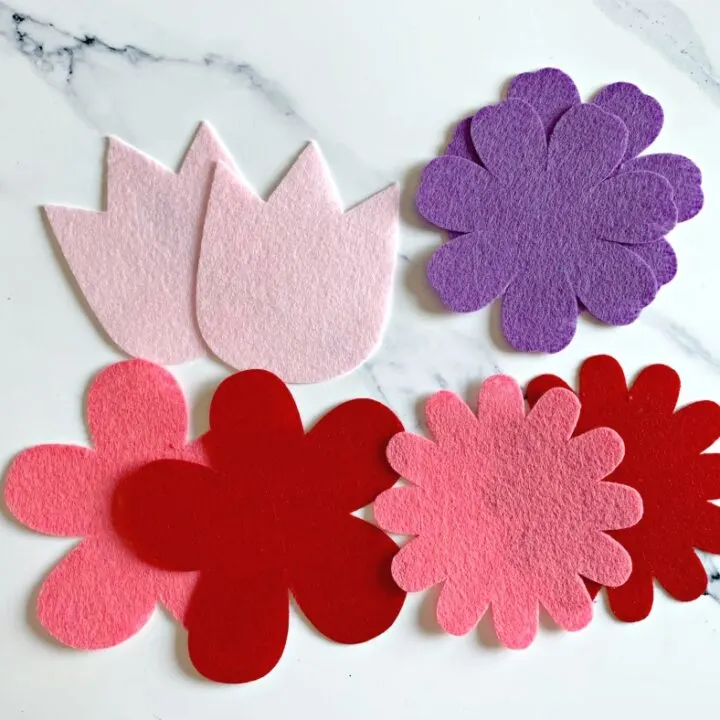
One of the things I hated about my previous cutting machine is that it didn’t cut felt. I wanted to make felt flowers so bad and couldn’t do it because my machine wasn’t capable. When I got my Cricut Explore 2 and tried cutting felt with it I was a nervous wreck. Would it work? It sure did and it was so easy to do!
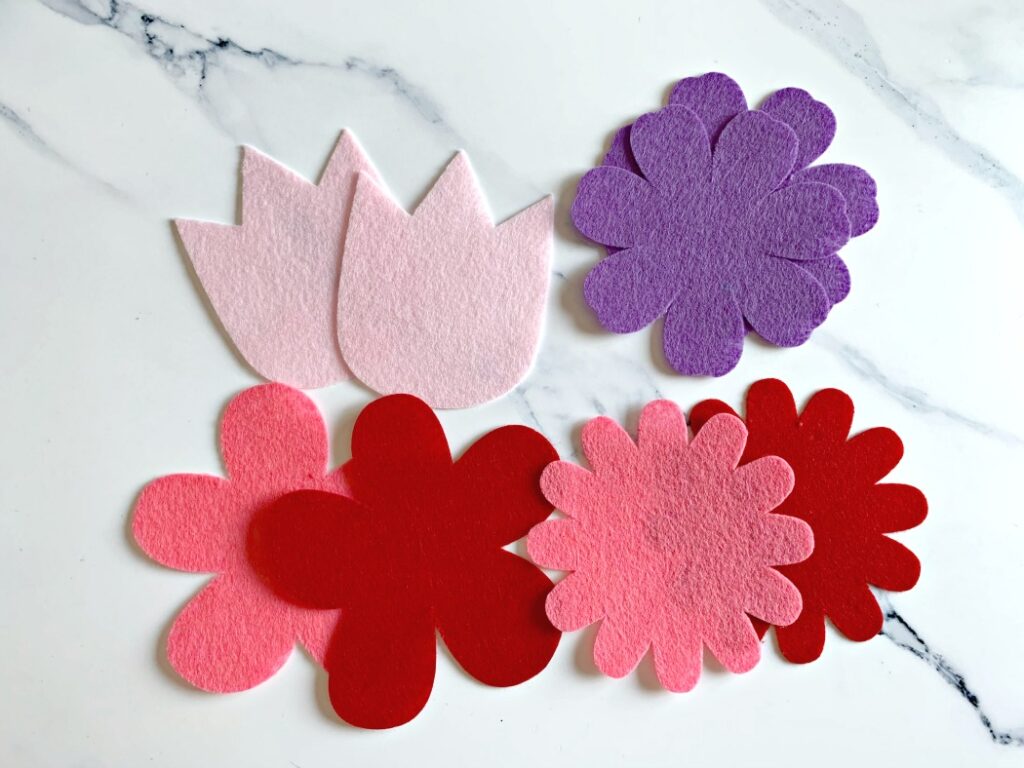

I’ve made a few projects now with my Cricut Explore Air 2 like Felt Candy Flowers and a giant bow, with more planned on the way. Each project is so much fun and I love how easy it is to cut felt with the Cricut Explore Air 2.
To get started you’ll need:
- Felt – I really like the Cricut brand.
- Fabric Blade, but you can also use the fine point blade
- Strong Grip Mat
How to Cut Felt Cricut Explore Air 2
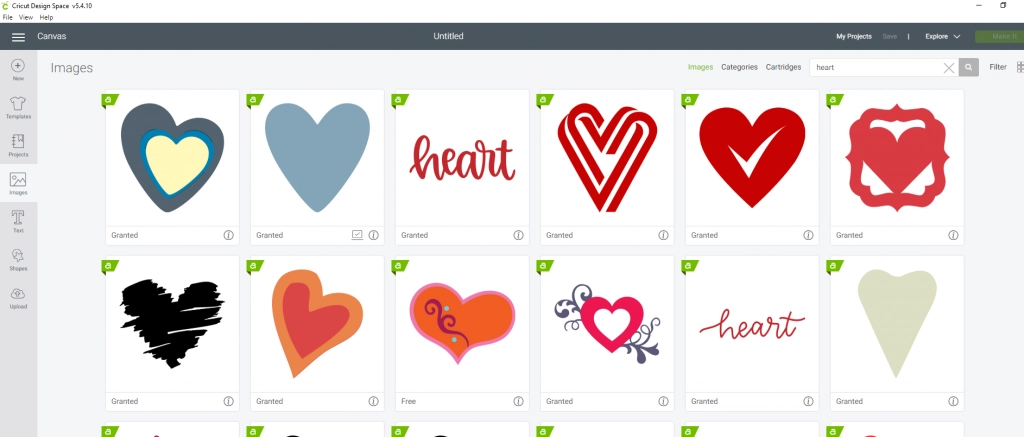
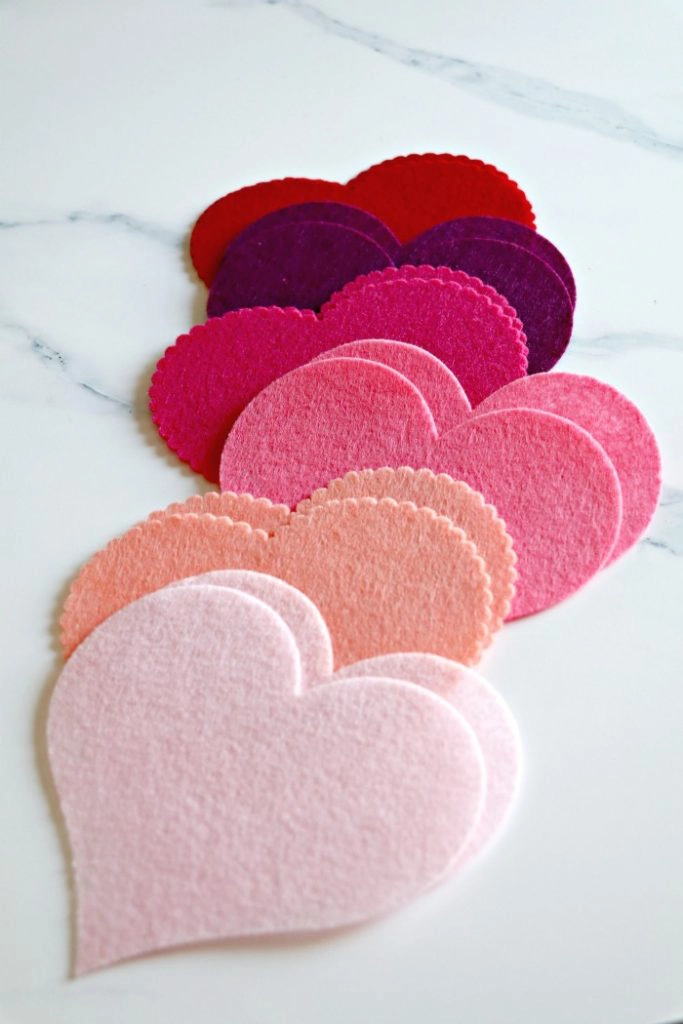
You’ll want to pull up a project in Design Space. I always recommend starting small and once you get the hang of your machine and the software then start diving into bigger projects. Cut out something simple, like a heart.


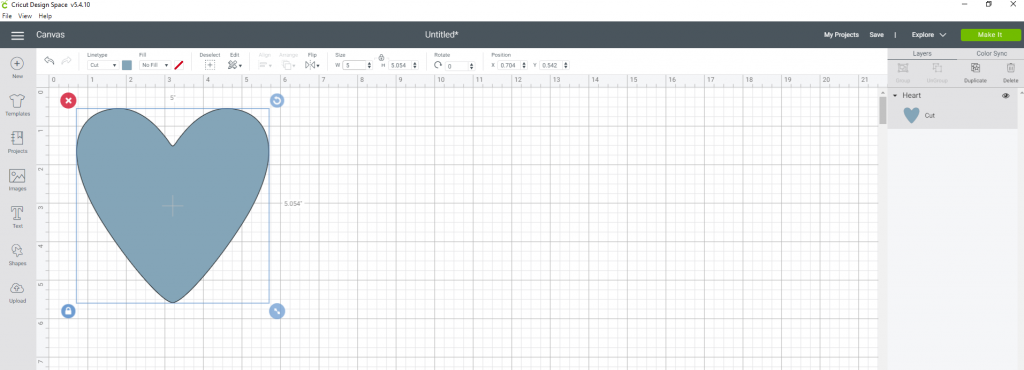
Once you have your design picked out and sized correctly it will be time to start cutting it.

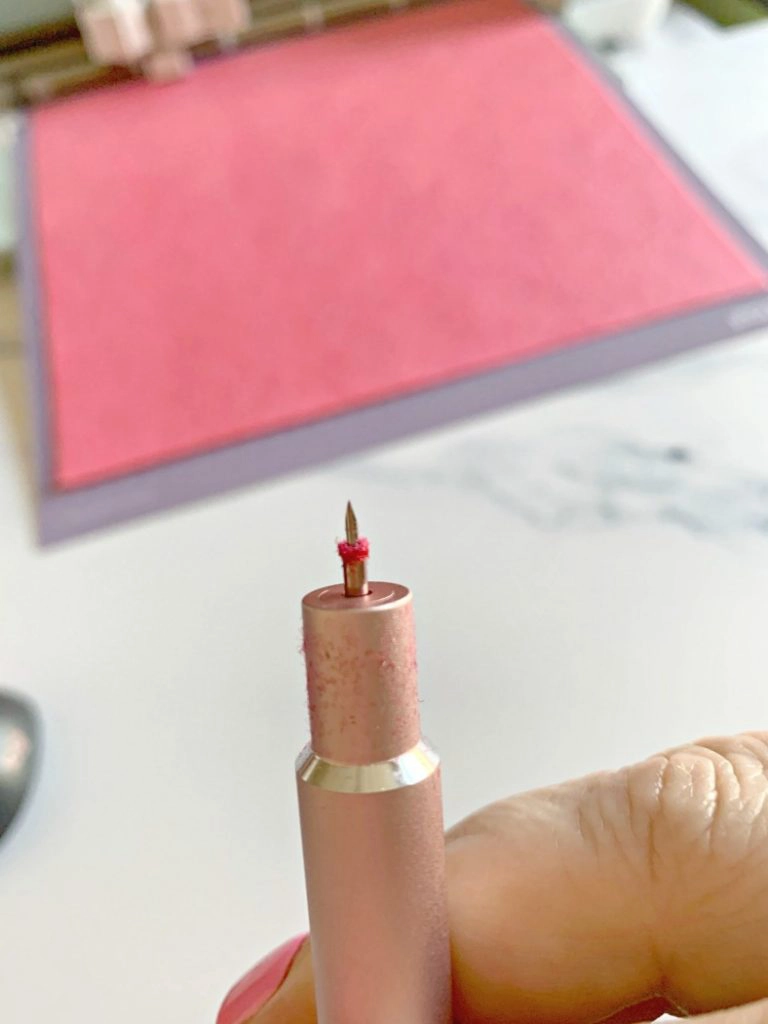
I like to keep a separate blade for felt since felt has a lot of debris from cutting. This makes sure the fibers don’t transfer onto other projects and I’ve always been told to keep fabric blades separate from blades used for other materials like vinyl. Similar to how you have fabric scissors and regular scissors. I use the fabric blade for felt and the pink color makes it easy for me to keep track of which blade my felt blade is. This is totally optional and you can use your regular fine point blade if you want.
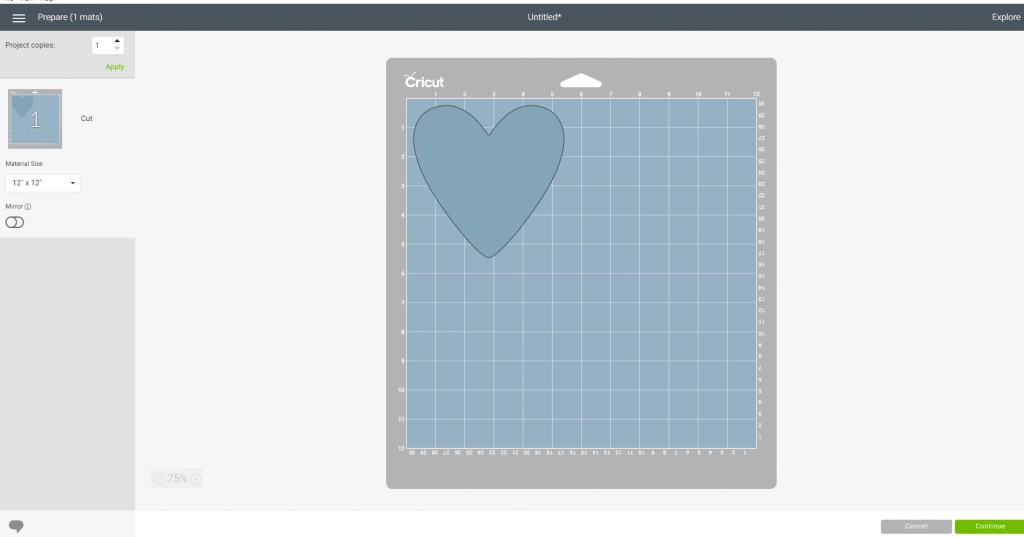
Hit the green “Make It” button on the top right side of the screen.
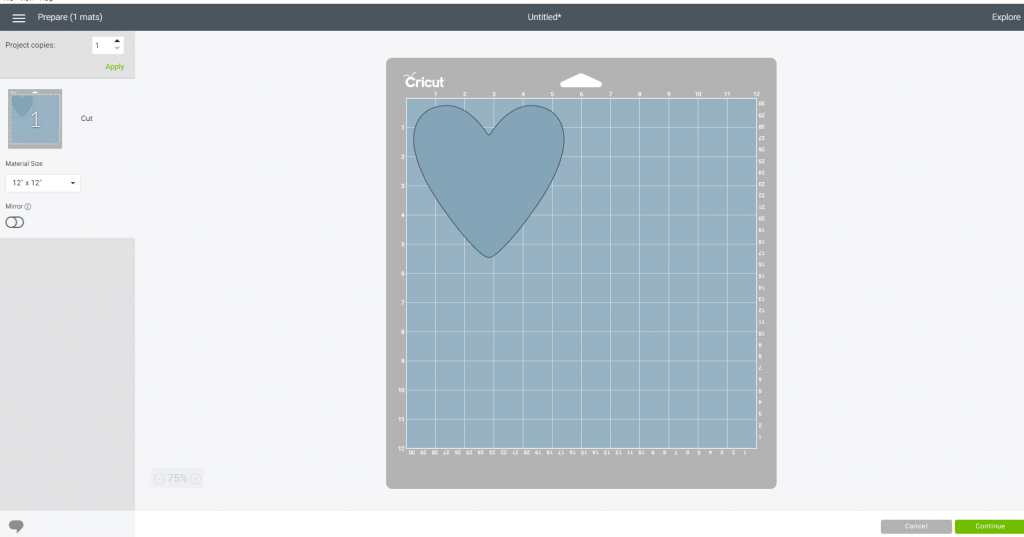
Your project will show up on the mat. With felt you won’t need to do anything extra here so click the “Continue” button on the bottom right side.
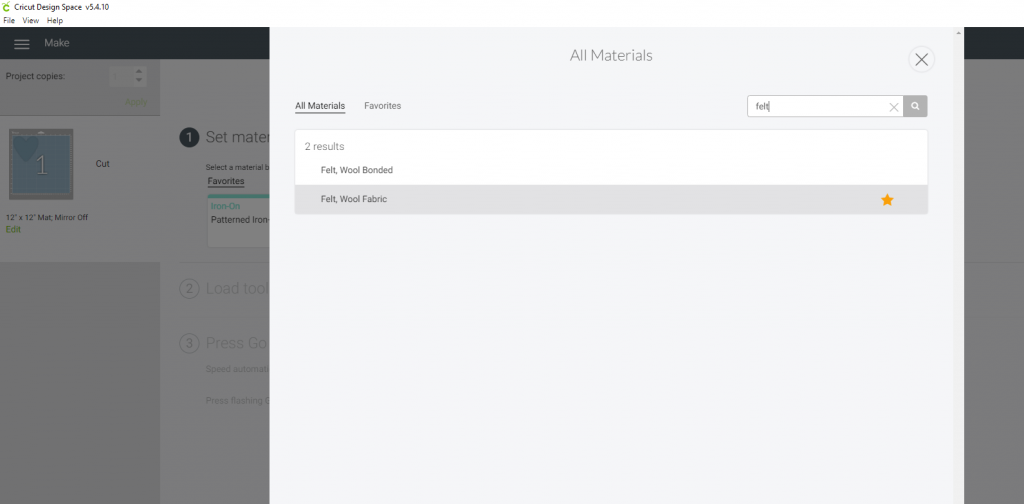
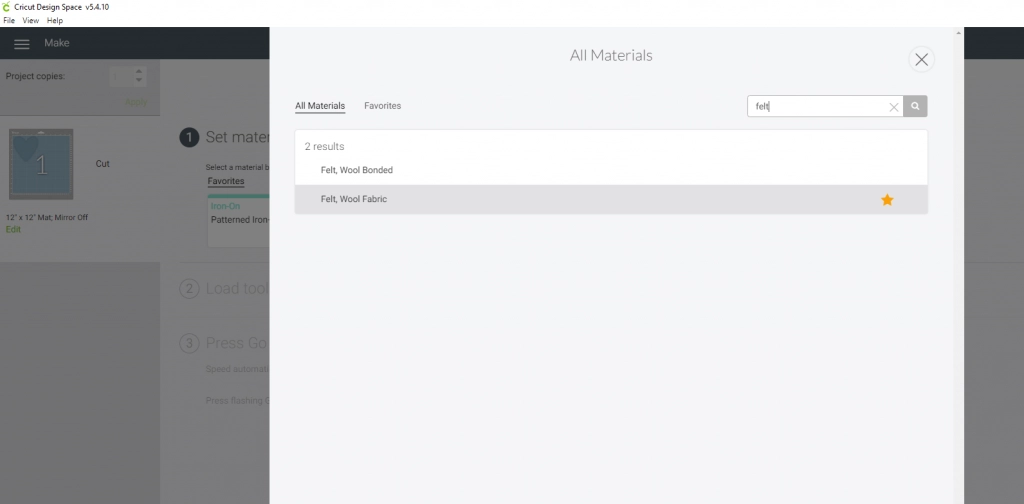
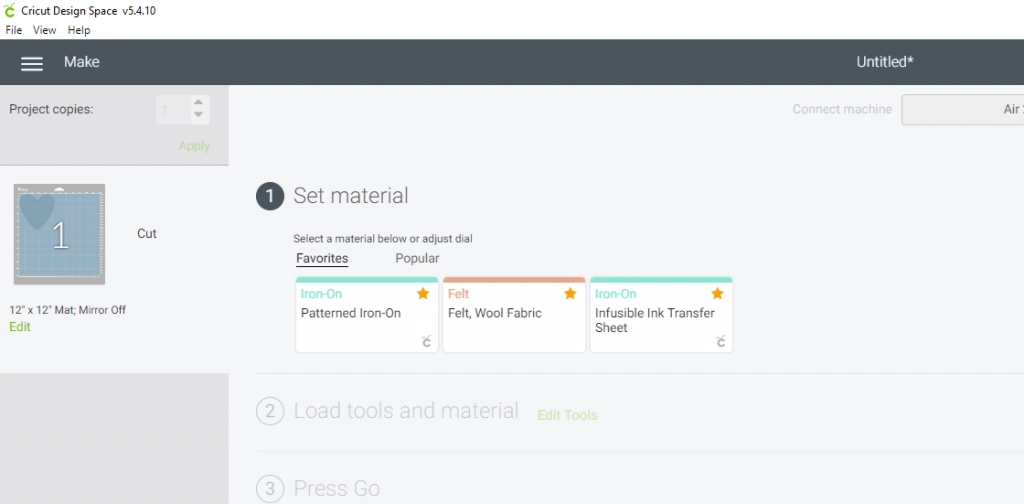
Now you’ll need to pick your material. Since you’re using Felt it won’t be on the Cricut Dial on the machine, so turn the dial to Custom. Once it’s turned to custom you’ll pick your material.
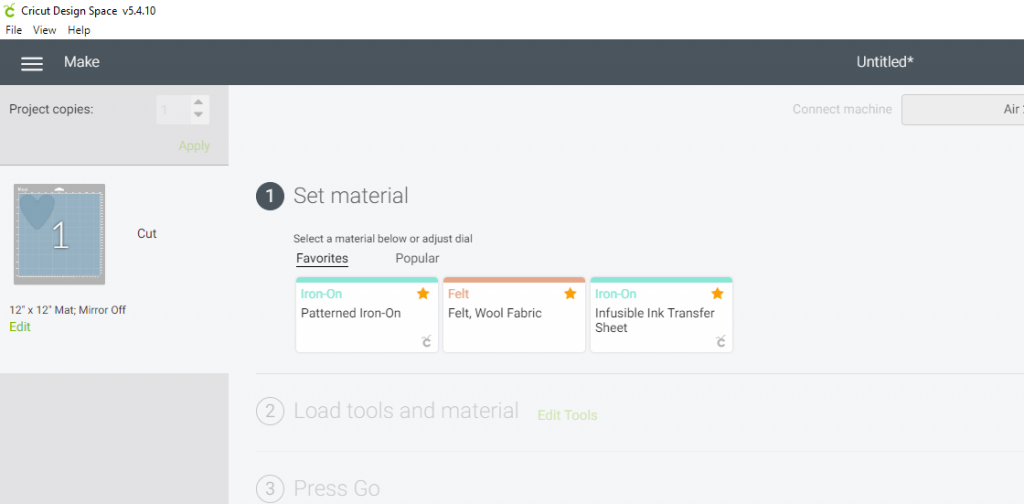
You can hit the start next to the material to save it as a favorite so it’s easier to find next time.
Once your material is picked you’ll load your mat into the machine by hitting the arrow button on the machine. Once loaded hit the C button, on the machine, to start cutting.


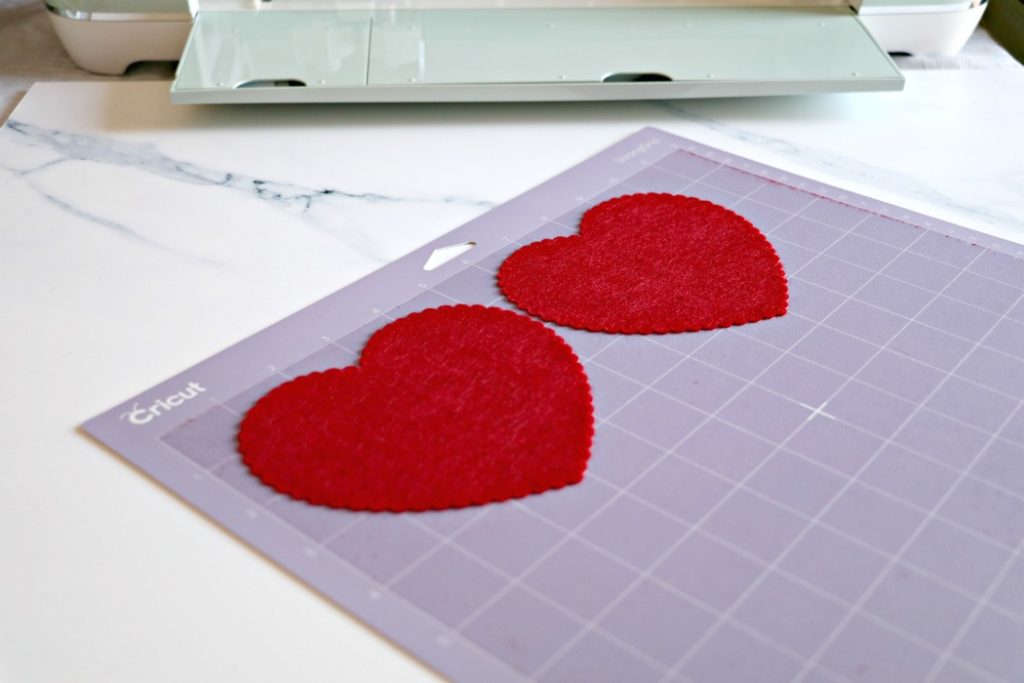
Once your design is done cutting you’ll hit the arrow button, on the machine, and unload your mat. Pull the felt off the mat and you’ll be left with your design. Pull your design off too.

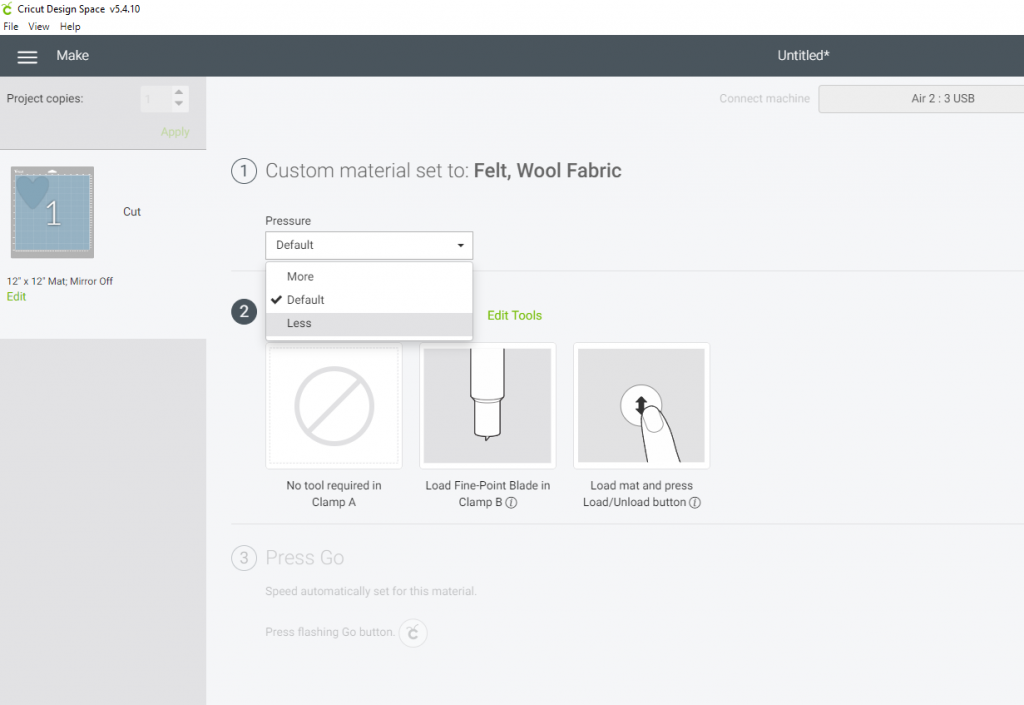
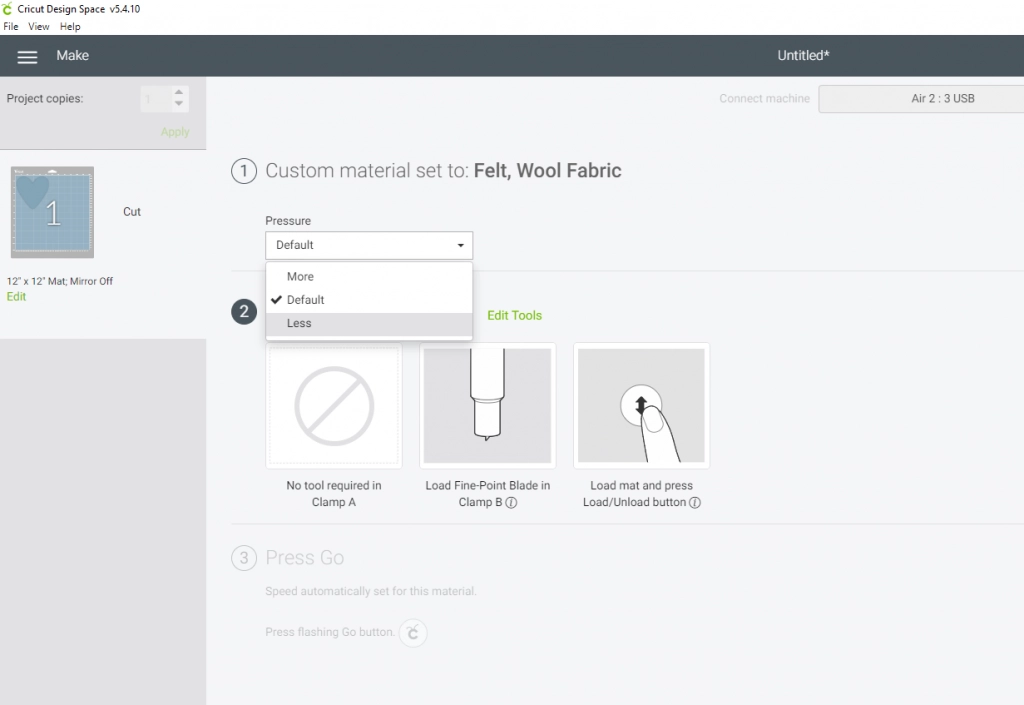
If you find that your blade is leaving marks on your mat you can turn the pressure down when you get to the MAKE screen. Pick your fabric – Felt, Wool Fabric and then use the pressure drop-down and click LESS.
YAY! You’ve officially cut felt with your Cricut Explore Air 2!

How to Clean Your Cricut Blade
One of the things I love about the Cricut blades is they’re super easy to clean. All you need to do is push down the top part and wipe the blade off. I use a microfiber cloth. Just be careful that you don’t cut yourself. The blade is sharp.
I push the button at the top, the pin looking portion, and it pushes the blade down. I pull it out, carefully. I usually wrap my cloth around the blade as a way to keep it from cutting me. Then I wipe it down and wipe the housing unit down too. You can even blow inside the hole to make sure there is nothing hiding in there. Then pop the blade back in the same way you took it out, by pushing the button at the top.

When cutting Felt it builds up a lot of debris around the blade, so make sure you clean it after each use. I also make sure to wipe down the blade holder on the machine when I am done cutting felt. Microfiber cloths are great at picking up the fibers and holding onto them.

This post contains affiliate links.

How to Cut Felt with the Cricut Explore Air 2
Learn how to easily cut felt with your Cricut Explore Air 2 machine.
Materials
- Felt – I really like the Cricut brand.
Tools
- Cricut Explore Air 2
- Fabric Blade, but you can also use the fine point blade
- Strong Grip Mat
Instructions
- Open Design Space and start a new project.
- You'll want to start with a test design. Do something easy like a heart or circle. You can make a circle with the shapes tool or find a simple shape in images.
- Size your image to the size you'll need it to be. If you're doing a test cut you can make it on the smaller size, like 2 inches.
- Once you have your image picked out and it's to the size you want it you'll hit the MAKE IT button on the top right.
- Your project will show up on the mat. With felt you won’t need to do anything extra here so click the “Continue” button on the bottom right side.
- Place your felt onto your strong grip mat and make sure your blade is locked in.
- Move the dial on your Explore Air 2 to CUSTOM.
- In Design Space you'll need to pick your material.
- Do a search for Felt and click "Felt, Wool Fabric".
- You can hit the start next to the material to save it as a favorite so it’s easier to find next time.
- Once your material is picked you’ll load your mat into the machine by hitting the arrow button on the machine.
- Once loaded hit the C button, on the machine, to start cutting.
- Once your design is done cutting you’ll hit the arrow button, on the machine, and unload your mat.
- Pull the felt off the mat and you’ll be left with your design. Pull your design off too.
- Once you are done cutting your project make sure to clean your blade.
Notes
When it comes to working with felt I like to have a separate mat and blade that are just for felt. When cutting felt it produces a lot of debris/fibers that I don't want getting on other materials, like vinyl. I have a fabric blade and strong grip mat that I label "FELT" and I only use them when I cut felt. You don't have to do this, but I find it's better since the mat gets covered in the little fibers.
If you find that your blade is leaving marks on your mat you can turn the pressure down when you get to the MAKE screen. Pick your fabric – Felt, Wool Fabric, and then use the pressure drop-down and click LESS.
When you are done cutting out your project clean your blade. I like to use microfiber cloths since it picks up and fibers nicely. Be careful when doing this so you don't cut yourself. Your blade is sharp. To clean the blade you'll push the pin on the top which will push the blade out. Wipe the blade and housing unit down and then place the blade back inside.
If your mat starts to get a lot of fiber build-up you can clean it. To do this I use warm water and mild dish soap, like dawn. Then I take a gentle kitchen scrub brush (I like the Ikea ones) and gently clean my mat. I get it a little wet, gently brush it with the dawn to get all the fibers off, rinse, shake it off, and then let it air dry. As long as you don't remove all the sticky stuff it will stick perfectly again after cleaning the mat.
Catherine
Monday 3rd of January 2022
I wonder if you have ever tried artic fleece. I have so many scraps from making blankets. And if you used freezer paper (in other comment) would it be between the mat and the fabric? What secures the two together then?
Gloriana
Wednesday 18th of May 2022
@Catherine, the mat is adhesive. you put the frizer paper with the no-adhesive side on the mat and the felt on the freezer paper adhesive side.
Doreen
Monday 26th of April 2021
Have you ever put freezer paper on the back of your felt to keep your mat clean and removing the feet easier? Former Denver Mom😁
Jamie
Sunday 2nd of May 2021
I haven't. I'll have to try it the next time I use felt.
Christina
Saturday 24th of April 2021
Thanks for this tutorial! I had read that the felt needed a bonding on it in order to cut well. It sounds like this is not the case though!
Jamie
Sunday 2nd of May 2021
Not with the Cricut felt. Their felt is stiffer than the felt from the craft store. Craft store felt might need a backing.