
Want to learn how to make custom suncatcher stickers with Cricut? These beautiful diy suncatcher stickers are made using any Cricut machine, permanent vinyl of your choice, and window cling. You can use any images you want to make custom and trendy suncatcher stickers!
Suncatcher stickers are so on trend right now and how could they not be? They’re beautiful, perfect for sunny days, and add rainbows to any room. The best part is that you can use any images you want to make your suncatchers, but we’re going with a Disney theme for ours.
Custom Suncatcher Stickers with Cricut
Supplies Needed:
Cricut Machine w/ green mat
Permanent Vinyl (black, gold, holographic, or any color of your choice)
Weeding Tool
Transfer Tape
How to Make Custom Suncatcher Stickers
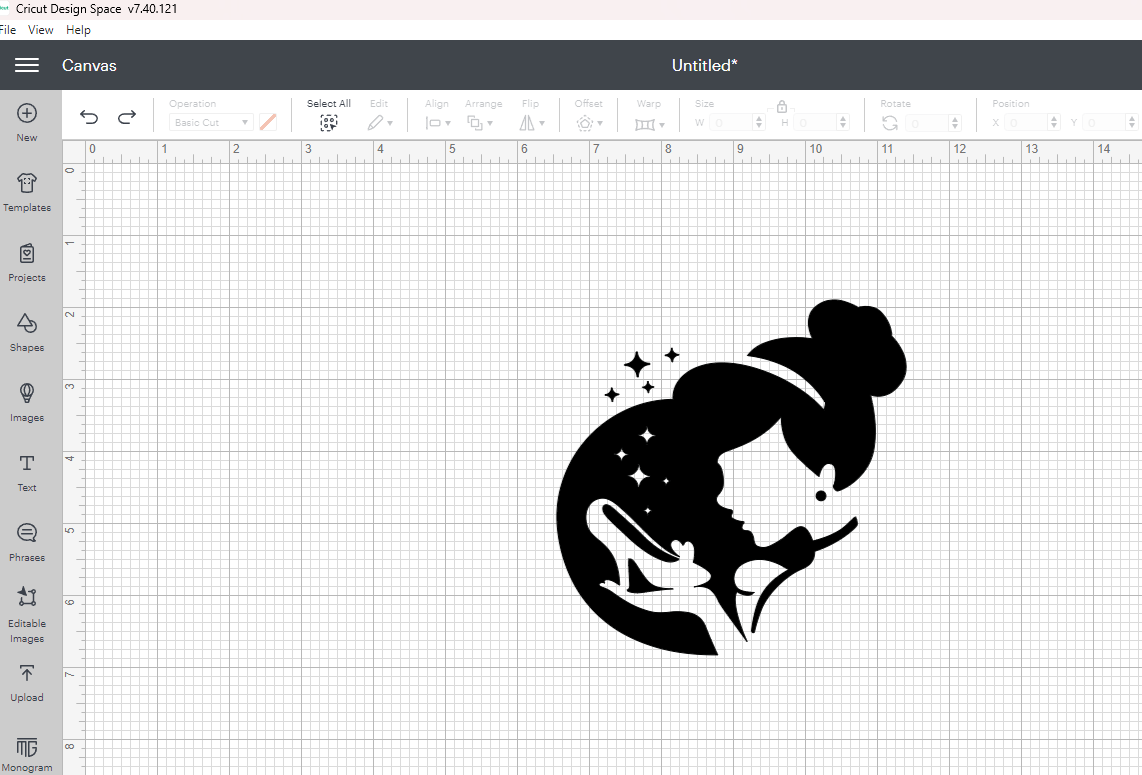
Step 1: Find your image. I suggest using an image that is mostly outlines so you can get the most out of your sun catcher sticker, but any image works. You can use images you have in Design Space, make your own, Creative Fabrica (they have lots of free SVG files), or any other site you get SVG files from. I am going with a Disney Theme for my kids, so I am using files from Design Space.
Step 2: Open your image in Design Space.
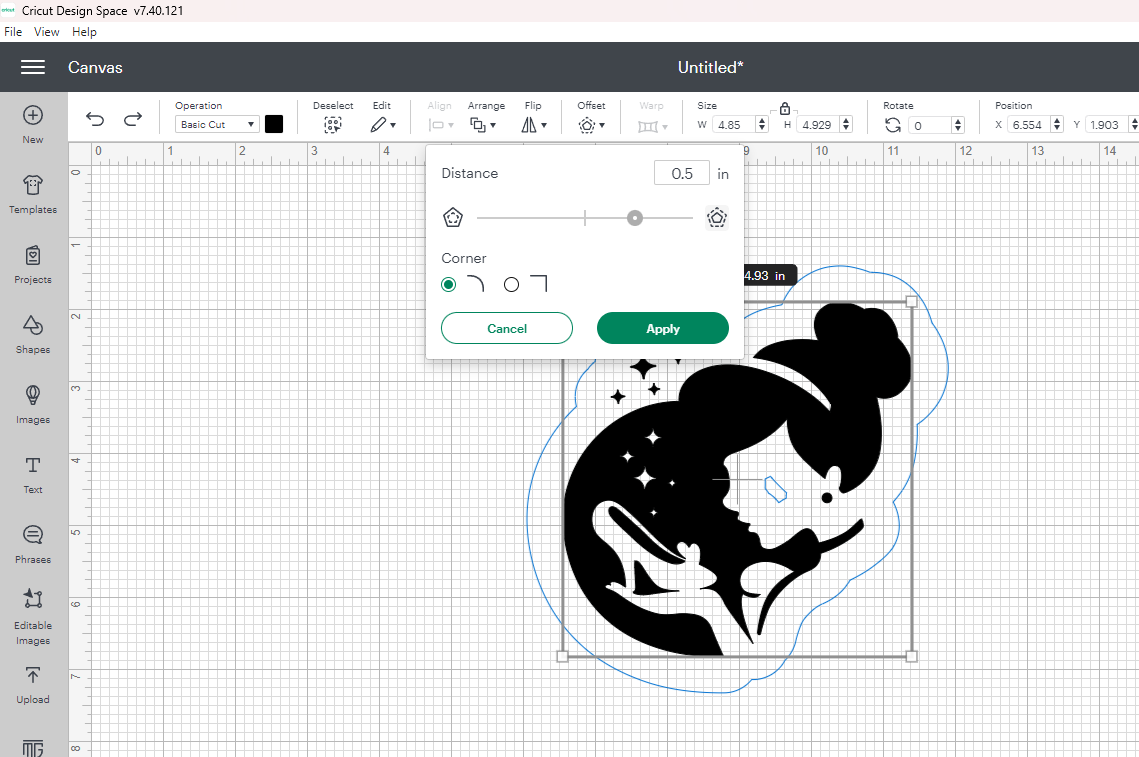
Step 3: Create an Offset. When it comes to cutting out your image you will cut out the design you want in your colored vinyl and you’ll want an offset around the image that will be your sun catcher material. Use the Design Space offset tool and make it 0.5. You can go smaller or bigger, but this is the size I like.
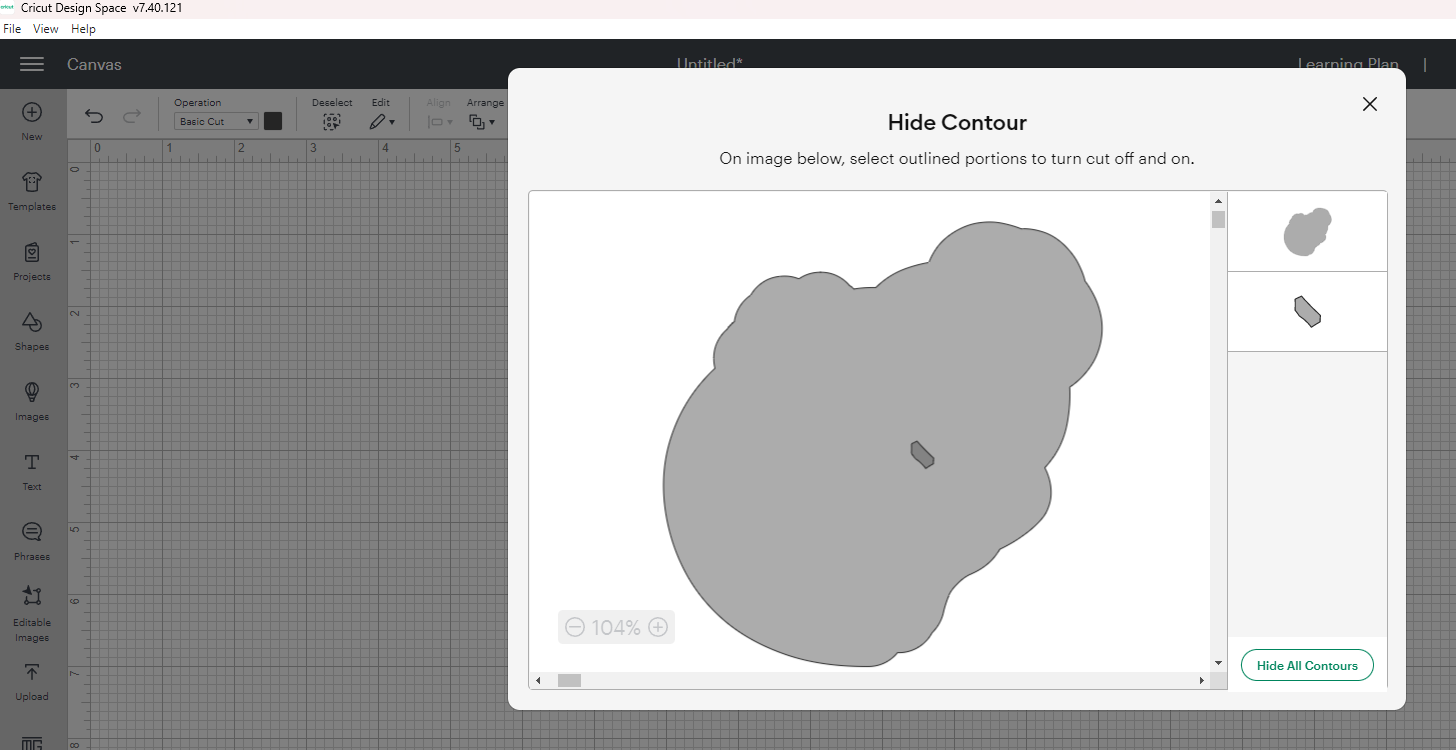
Step 4: Contour your Offset. Depending on your image there could be white spaces in your offset. We are going to need to remove those. To do this click the offset and then click the contour tool. Click “hide all contours” to remove the unwanted spaces. Once done click the x. Now you should have a solid shape around your design.
Step 5: Cut your Design. You do not need to mirror for this project. First, cut out your vinyl design in the vinyl of your choice. Use whatever vinyl setting is needed for that type of vinyl. Next, you’ll cut out your window cling. Since window cling comes in a giant roll you’ll need to cut a piece off and place it on your Cricut Mat. To cut window cling with your Cricut you’ll want to use the medium cardstock setting. When in doubt always do a test cut first to make sure that the setting works for you and your machine.
Step 6: Weed Designs. Now it’s time to weed out your designs. For the window cling: Leave the window cling on your Cricut mat. If you remove it the window cling will curl up and will be hard to work with. You’ll remove the excess window cling from your design. Next, weed your vinyl.
Step 7: Layer Designs. The easiest way to layer your vinyl over your window cling is by placing your window cling on the Cricut mat so it is flat and smooth. Place your transfer tape over the vinyl, remove the vinyl backing, and place it over the window cling. If you want a fool-proof way of layering you can try the parchment paper method.
Step 8: Apply to Window. Now you can place your window cling on a window. Make sure your window is clean before applying your design. You’ll need to remove the window cling backing which can be a little tricky. An easy way to do this is by placing a piece of tape on the backing and it should pull the backing away from the window cling!