

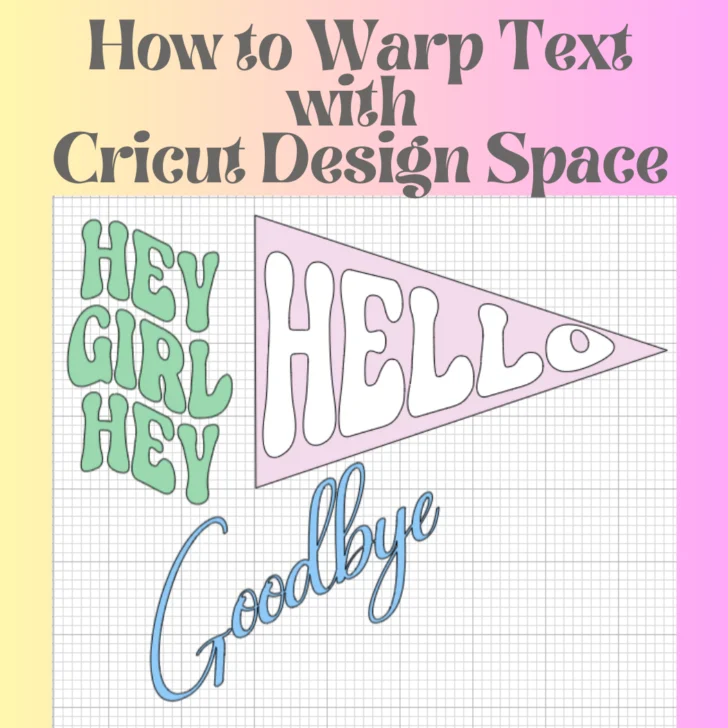
Want to learn how to warp text in Cricut Design Space? You can now make wavy text and more with Design Space!
Cricut Design Space has made a lot of improvements in the last year and they’re finally adding all the features that everyone has been begging for. Their newest feature allows you to warp text into 24 different shapes.
How to Warp Text With Cricut Design Space
The warp feature on Cricut Design Space is only available to Cricut Access members and via the desktop software. You can sign up for Cricut Access here!
Step 1: Start a new project
Step 2: Type out your text
Step 3: Pick your font. I am using Daylight which is one of my favorite retro bubbly fonts.
Step 4: Adjust your text. Mine has big spaces between the lines so I am going to use the line space tool to bring my text closer together. I also spaced my letters a little since they were touching.
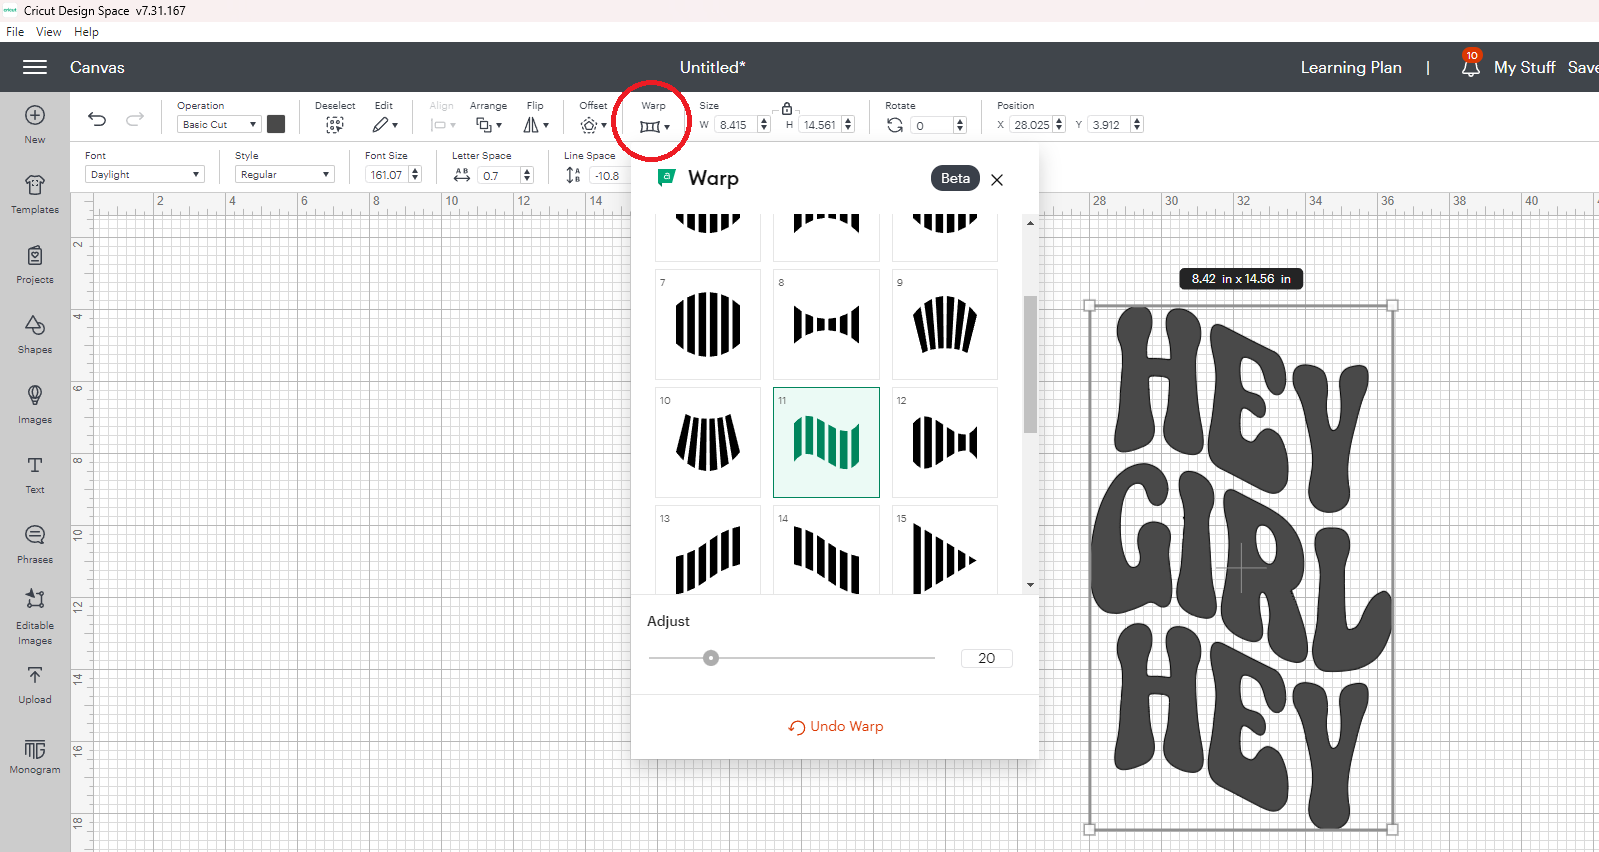
Step 5: Warp your text. The warp feature is on the top toolbar towards the middle. Click the drop-down and click which warp feature you want to use.
Step 6: Adjust the warp. Now you’ll want to use the slider to adjust the amount of warp your text has. I like how it looks around 20.
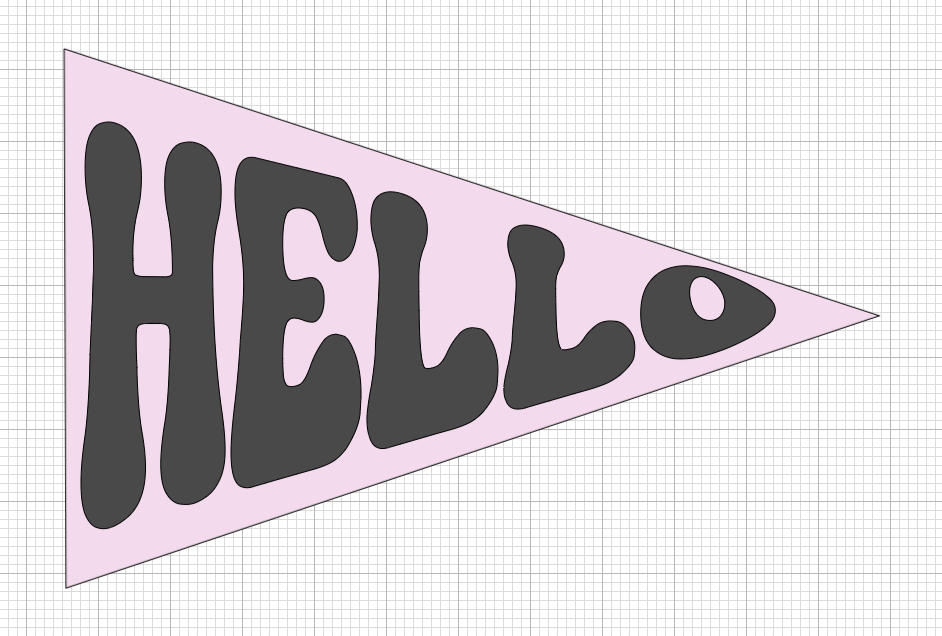
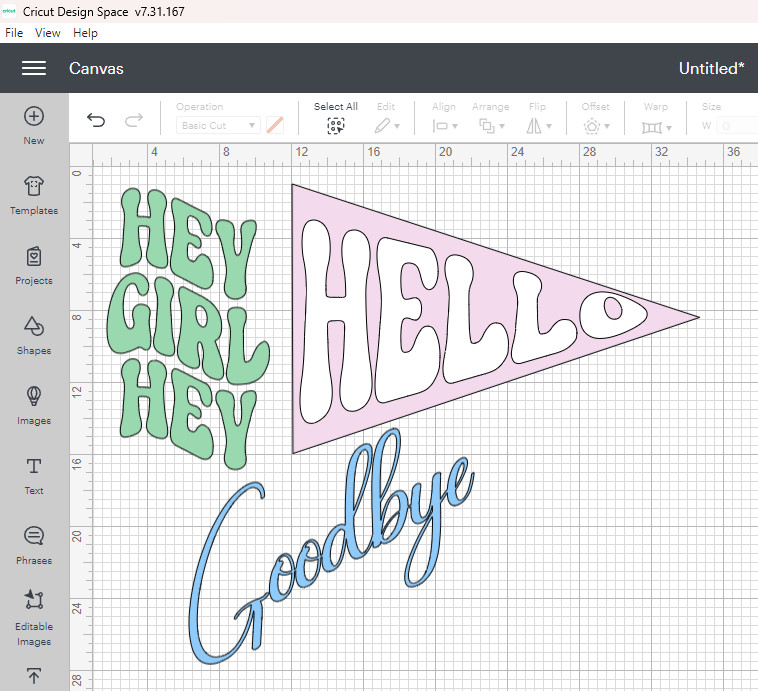
You can warp text to fit in a shape, or design, or just make it wavy!
Tips for Warping Text
Capital letters look better.
Longer text warps better.
Adjust your font and line space to make the text look better.
Personally, I think thicker fonts look better warped, but thin ones can look good too.
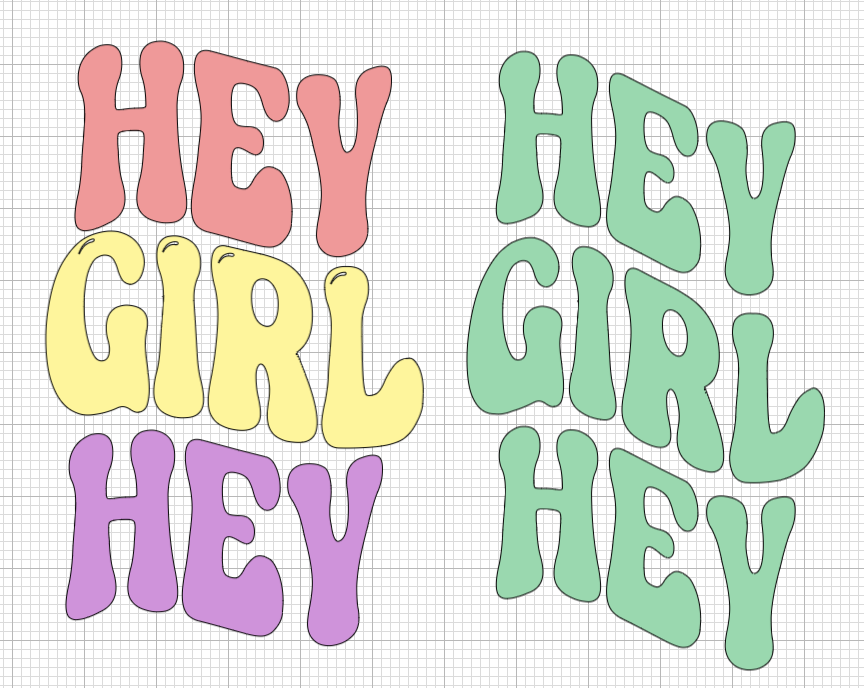
There isn’t a way to make your text multiple colors when warped, so that is one drawback to this new feature. BUT If you type out each word individually, center them, and warp them individually you can do it that way (as shown above).

This post contains affiliate links.