
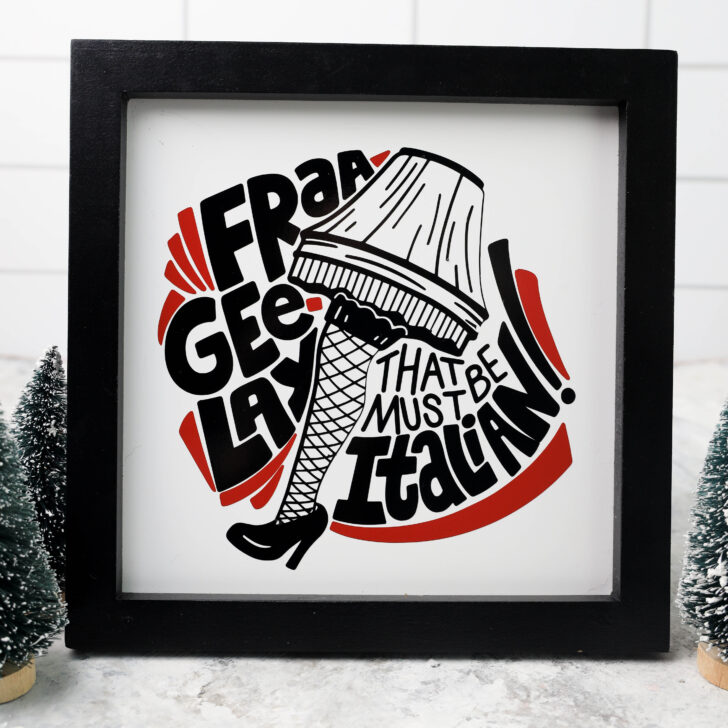

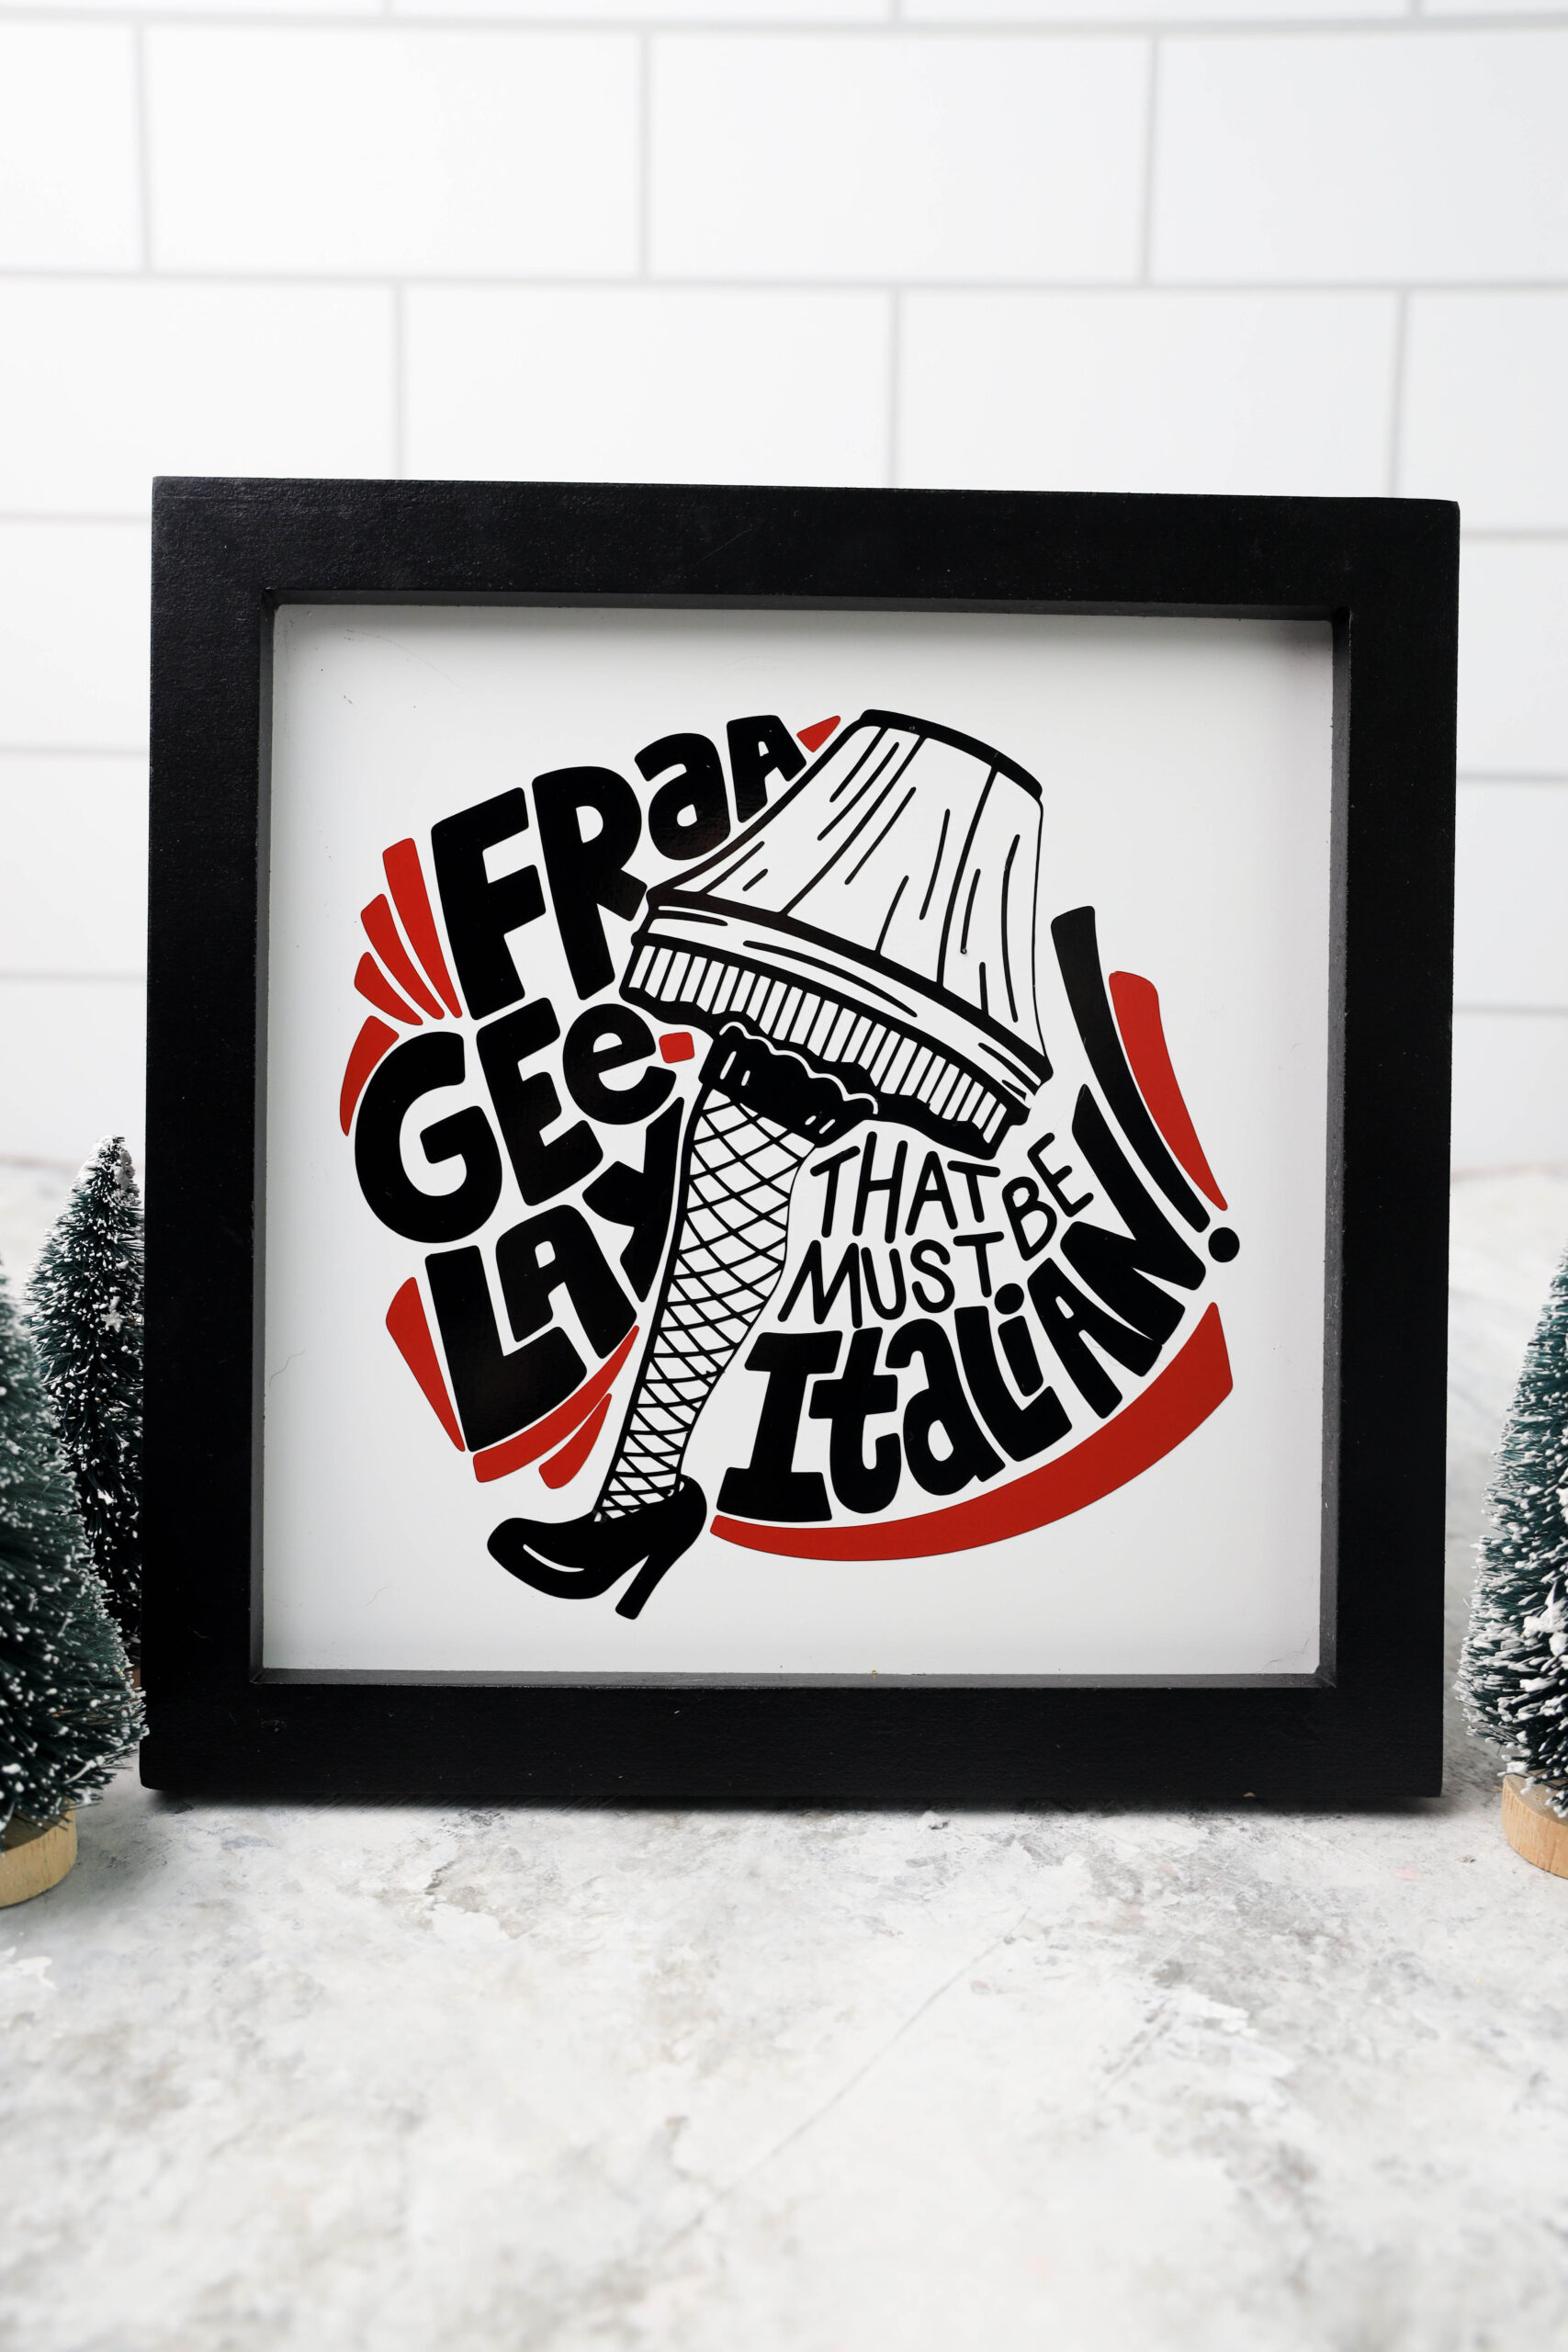
A Christmas Story is a classic Christmas Movie and a Christmas Story 2 is out this year. Celebrate Christmas with this A Christmas Story Fra Gee Lay Sign aka A Christmas Story Leg Lamp SVG.
While this project uses a Cricut machine and vinyl, I did include a printable version of the sign if you don’t have a Cricut machine!
How to Make a Christmas Story Sign
Materials Needed to Make a Christmas Story Sign
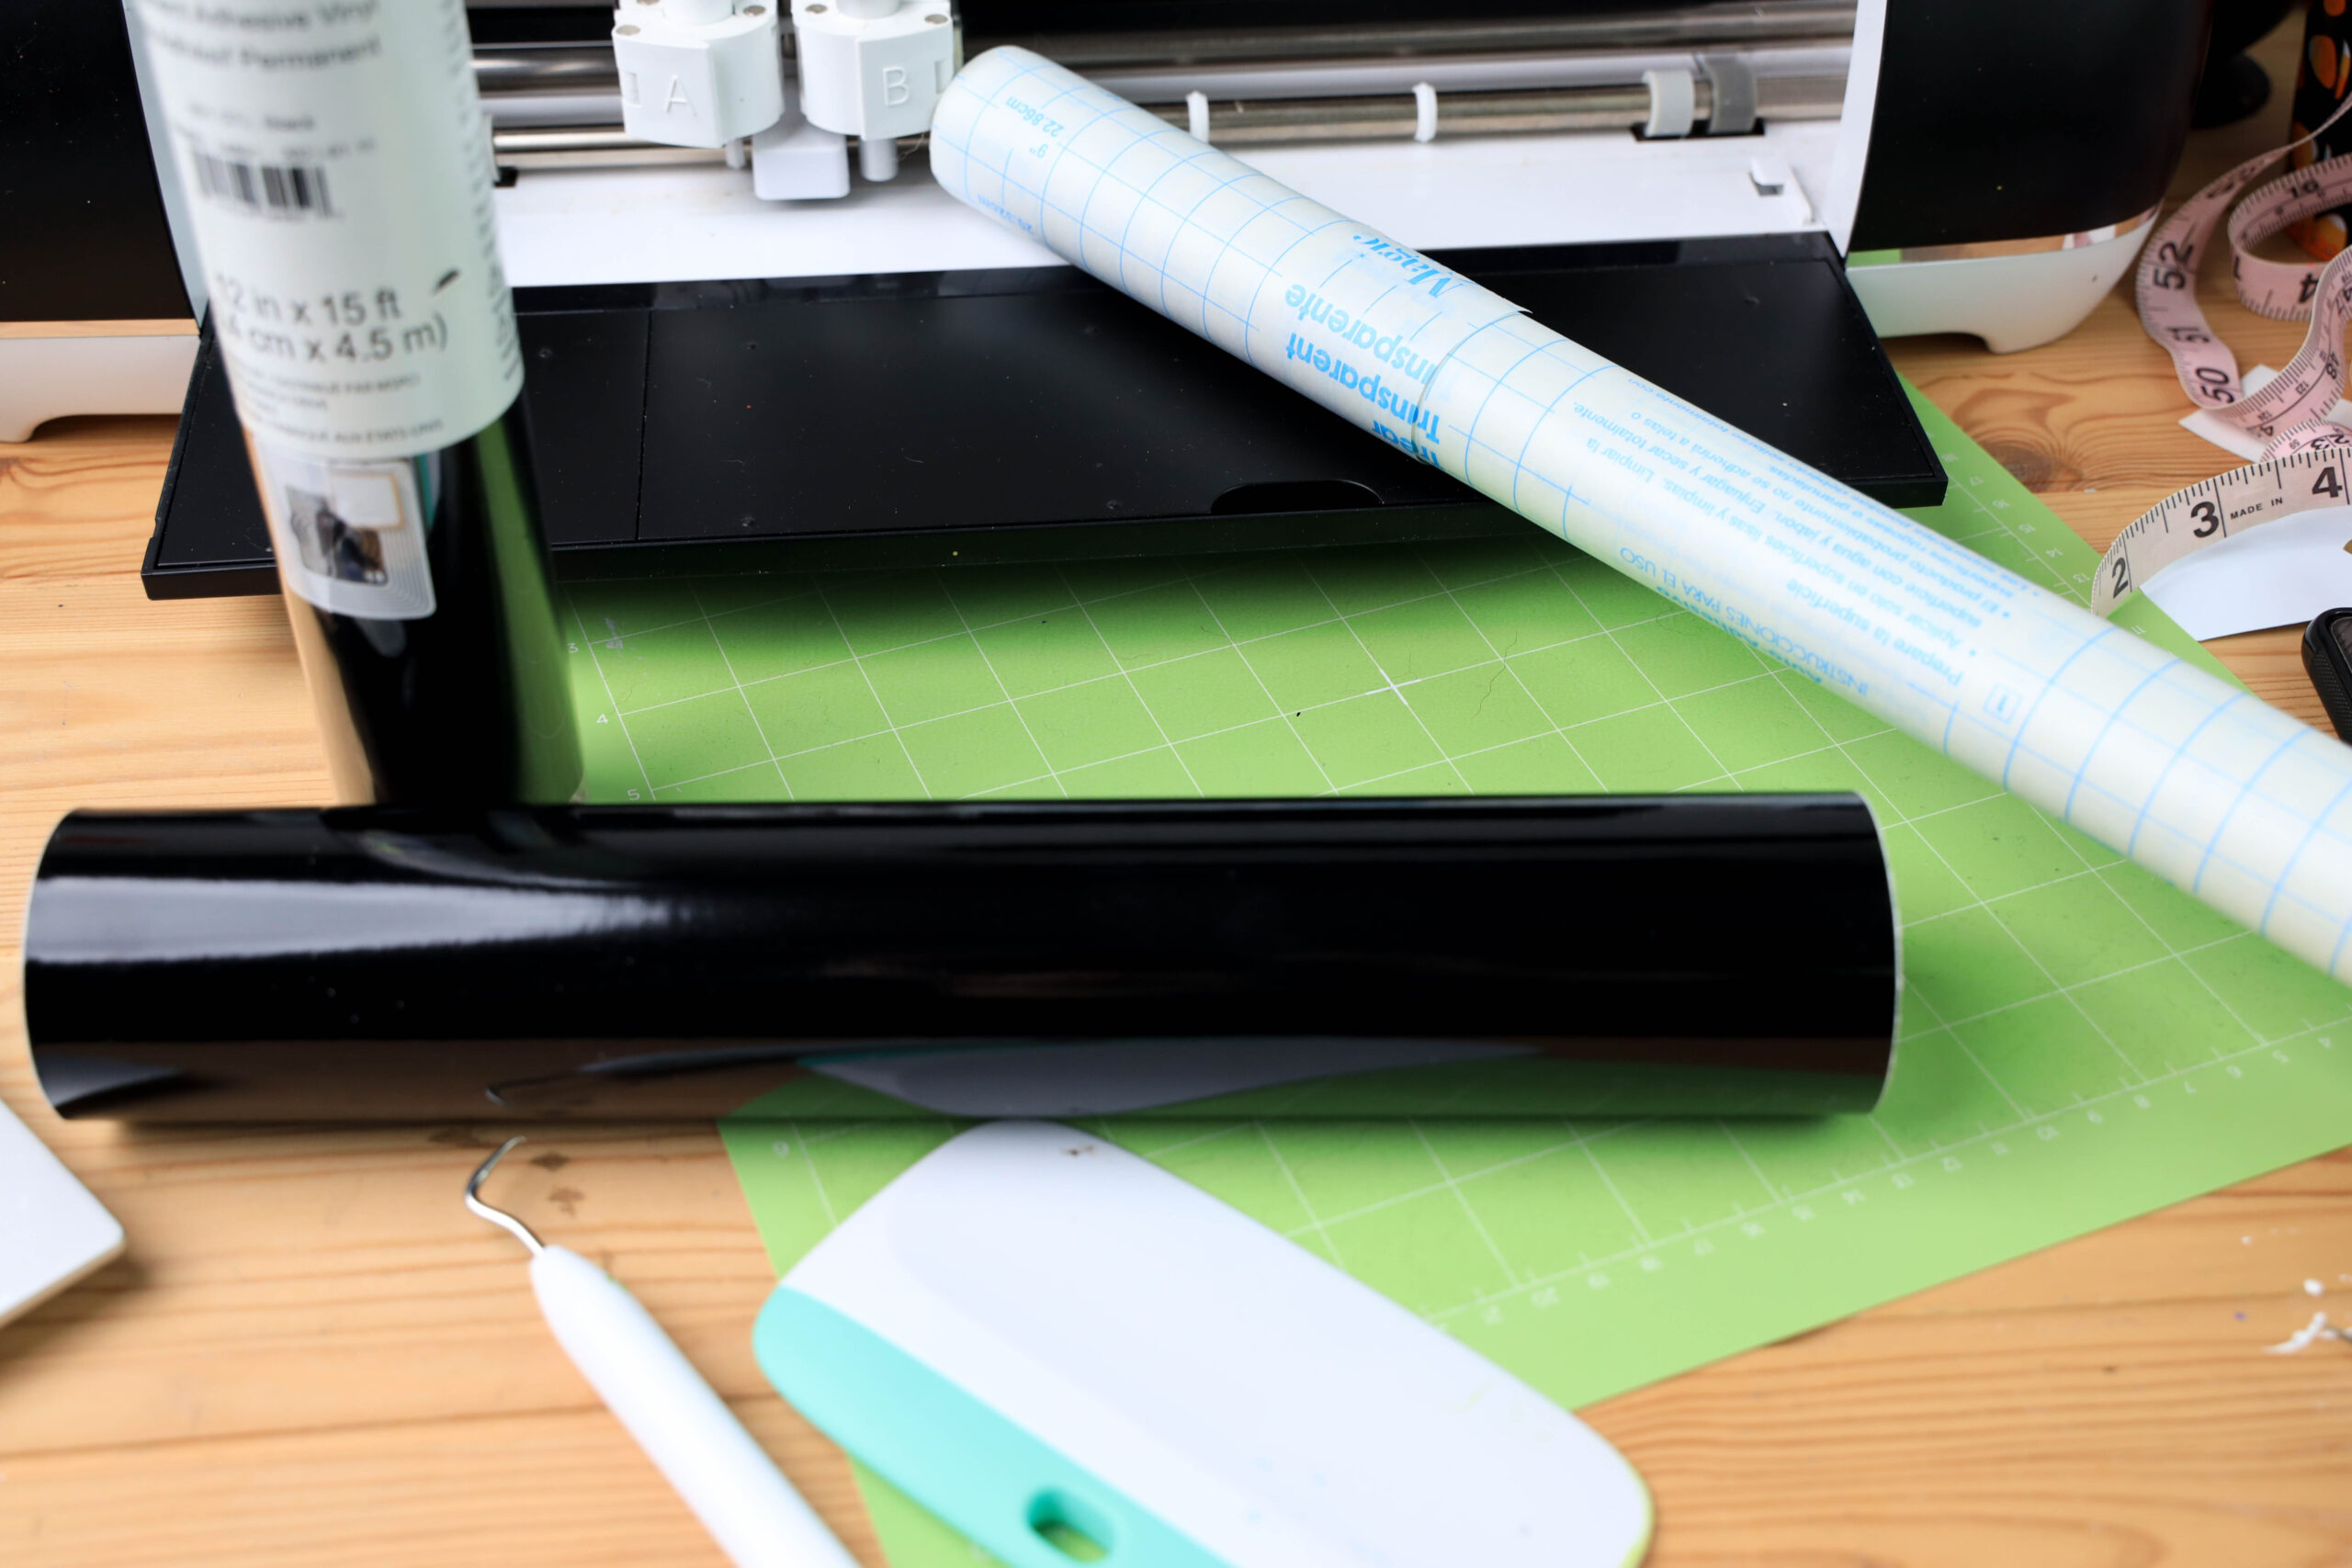
- Cricut Machine
- Green cutting mat
- Weeding tool
- Scraper tool
- 1 sheet black permanent vinyl
- 1 sheet red permanent vinyl
- 1 sheet transfer tape
- 1 white base with black border frame (Target Dollar Spot)
How to Make a Sign with Cricut and Vinyl
Open Design Space and upload the SVG.
Measure your frame and resize the image to fit the size of the frame.
Place the black vinyl onto the green cutting mat and cut on the vinyl setting.
Repeat the steps with red vinyl.

Weed design.
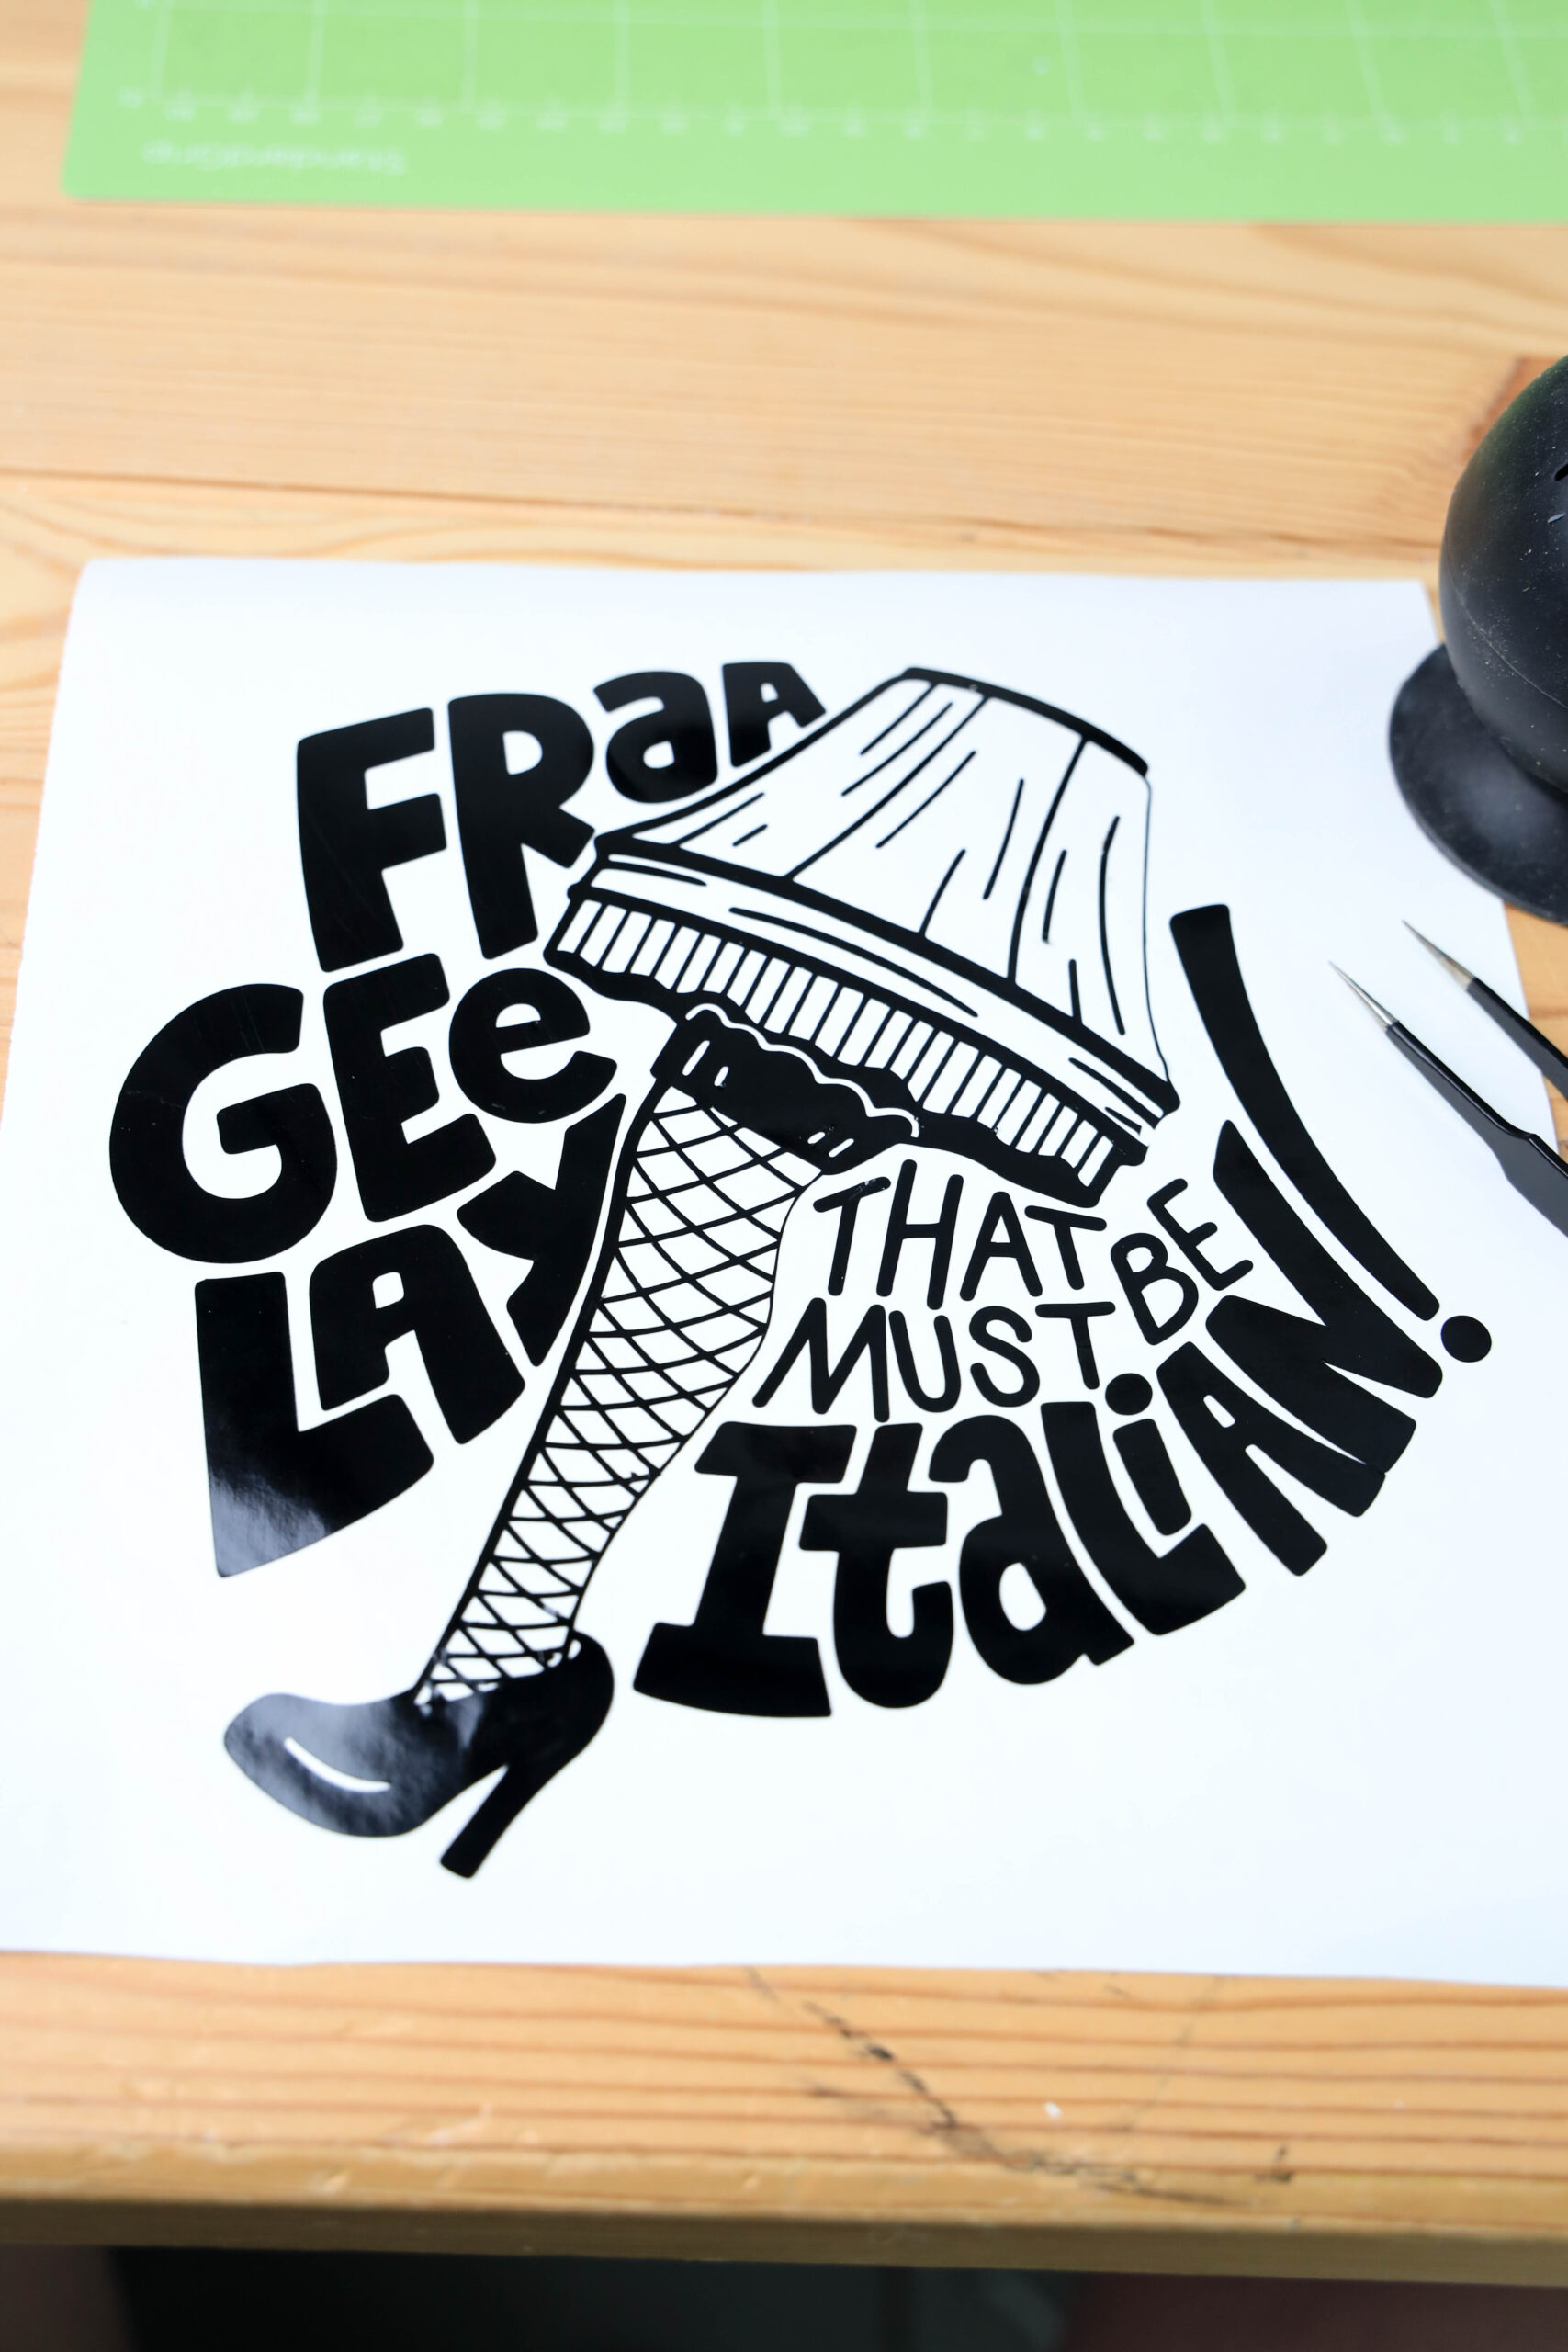
Place the edging pieces onto the blank space on the black design. Place transfer tape over the design and scrape well. Peel back slowly making sure the design sticks to the transfer tape.
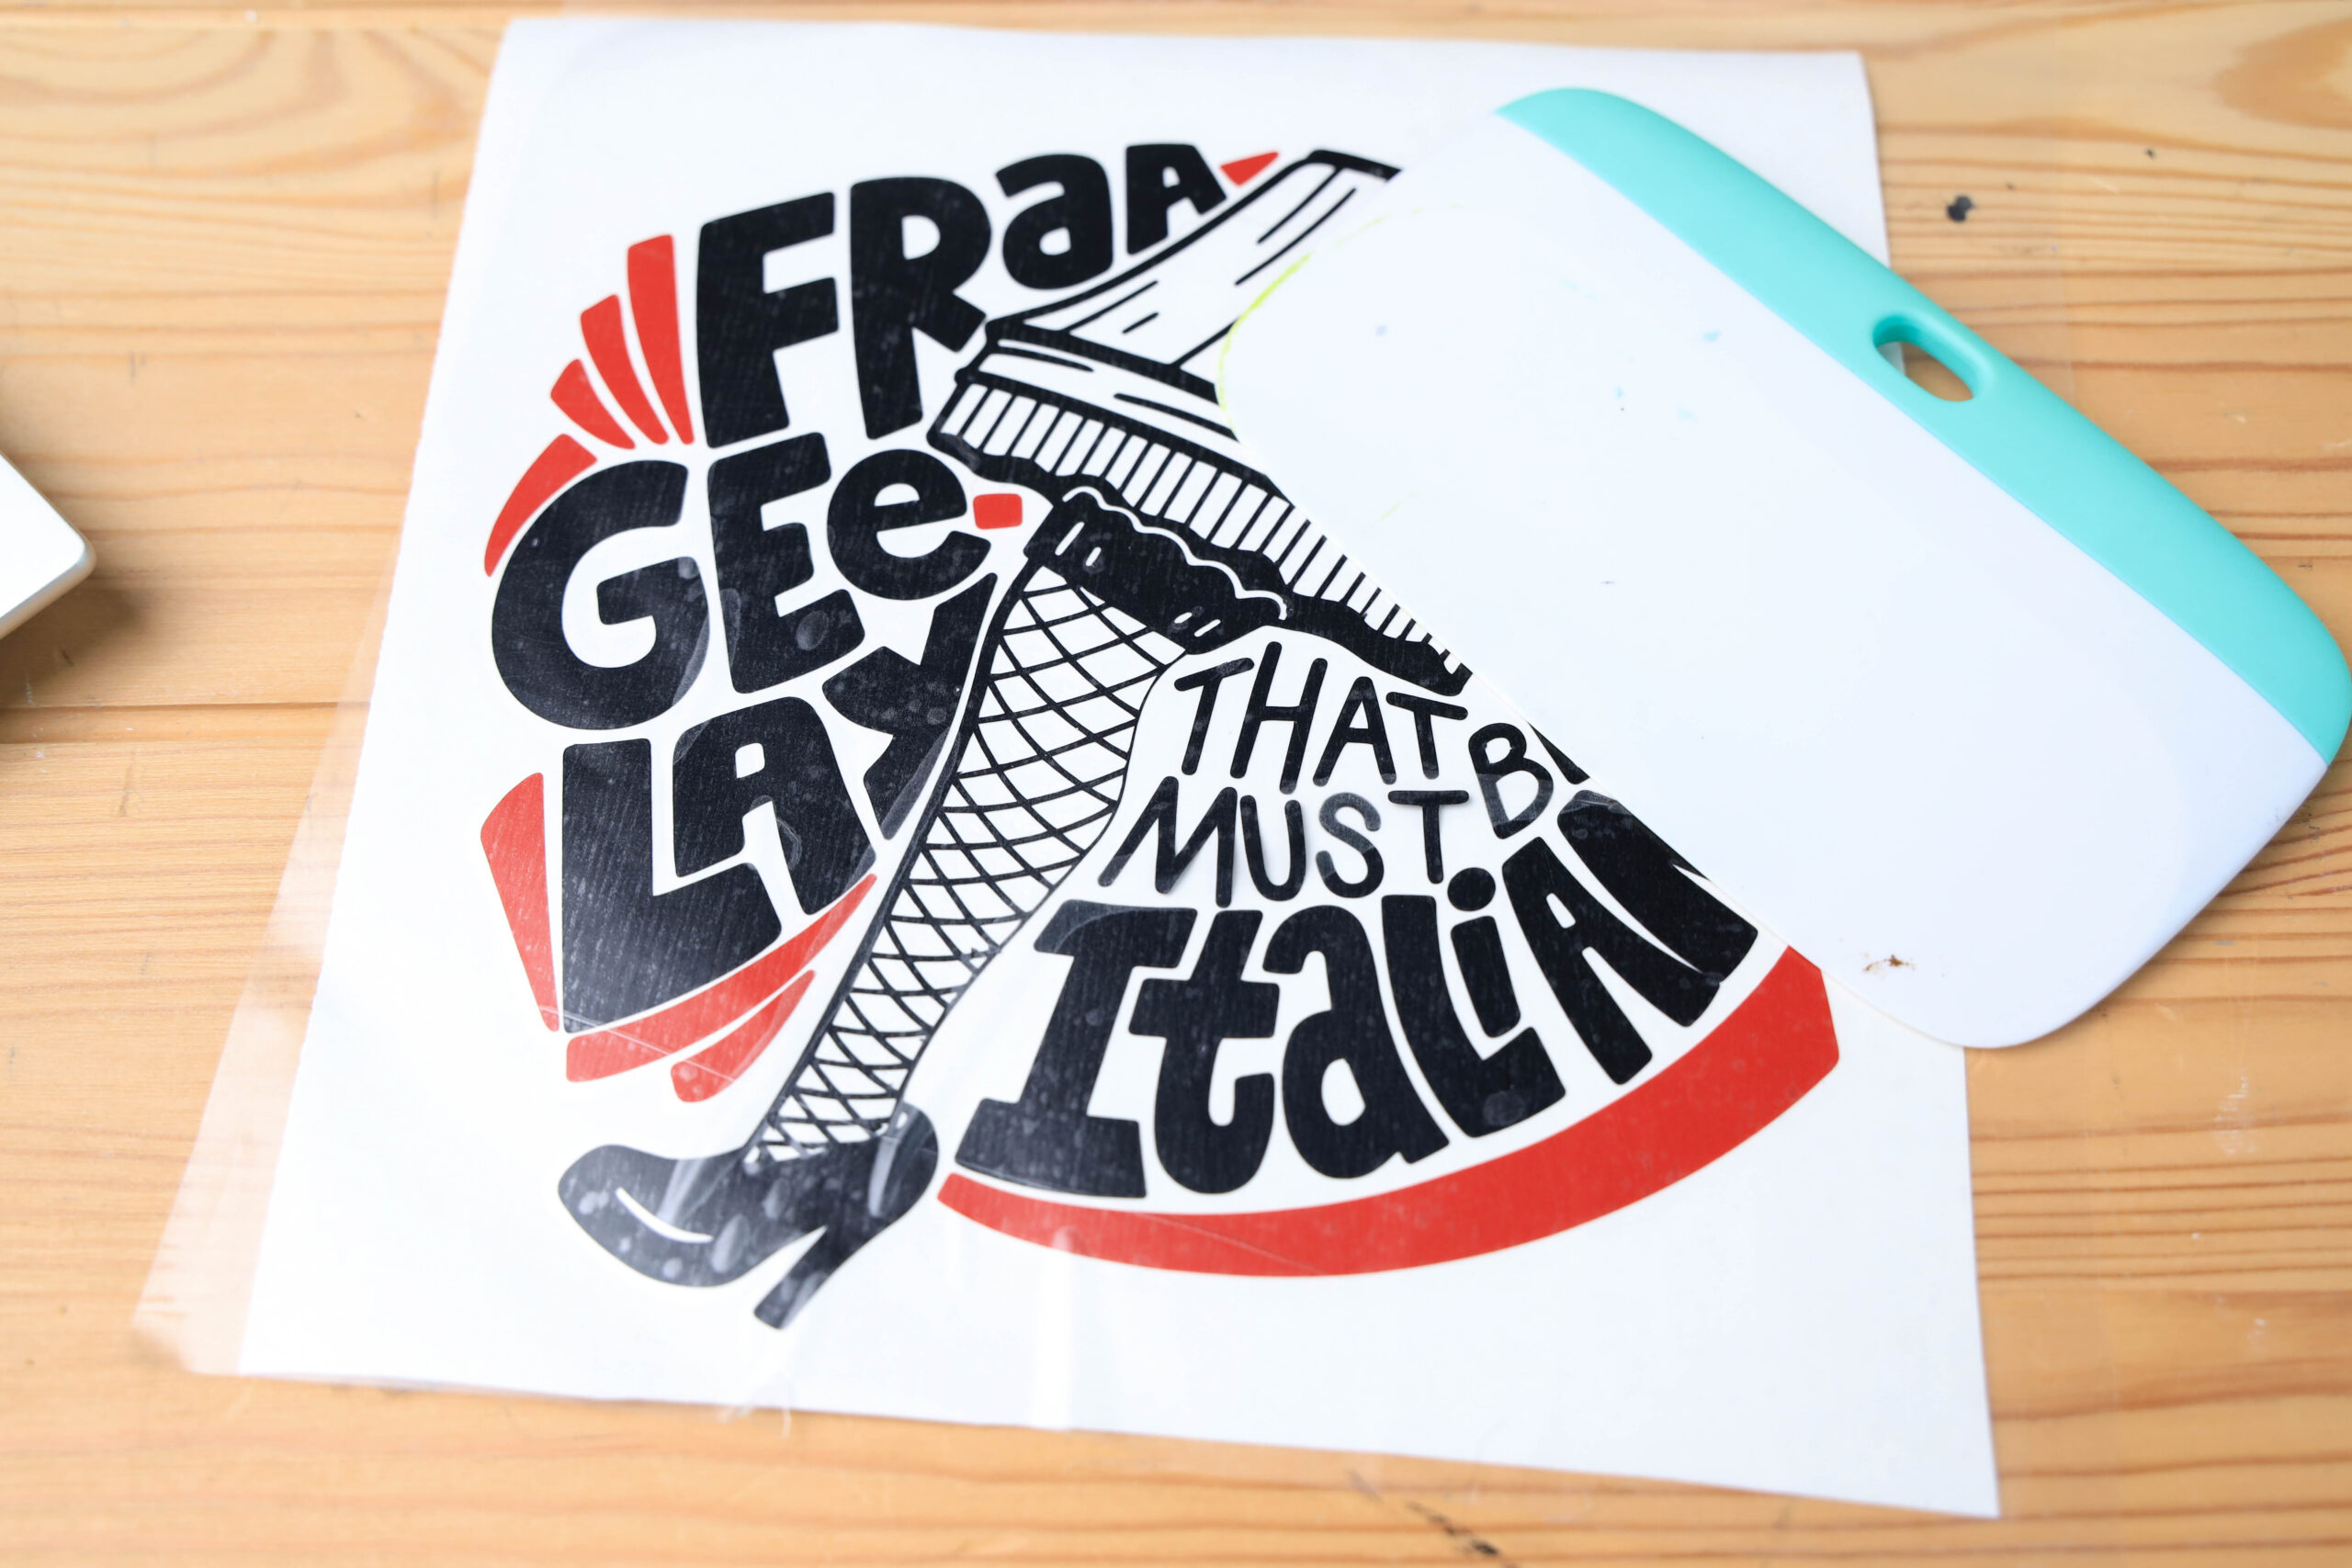
Place the design onto the frame and then scrape well. Peel back slowly making sure the design sticks to the frame.
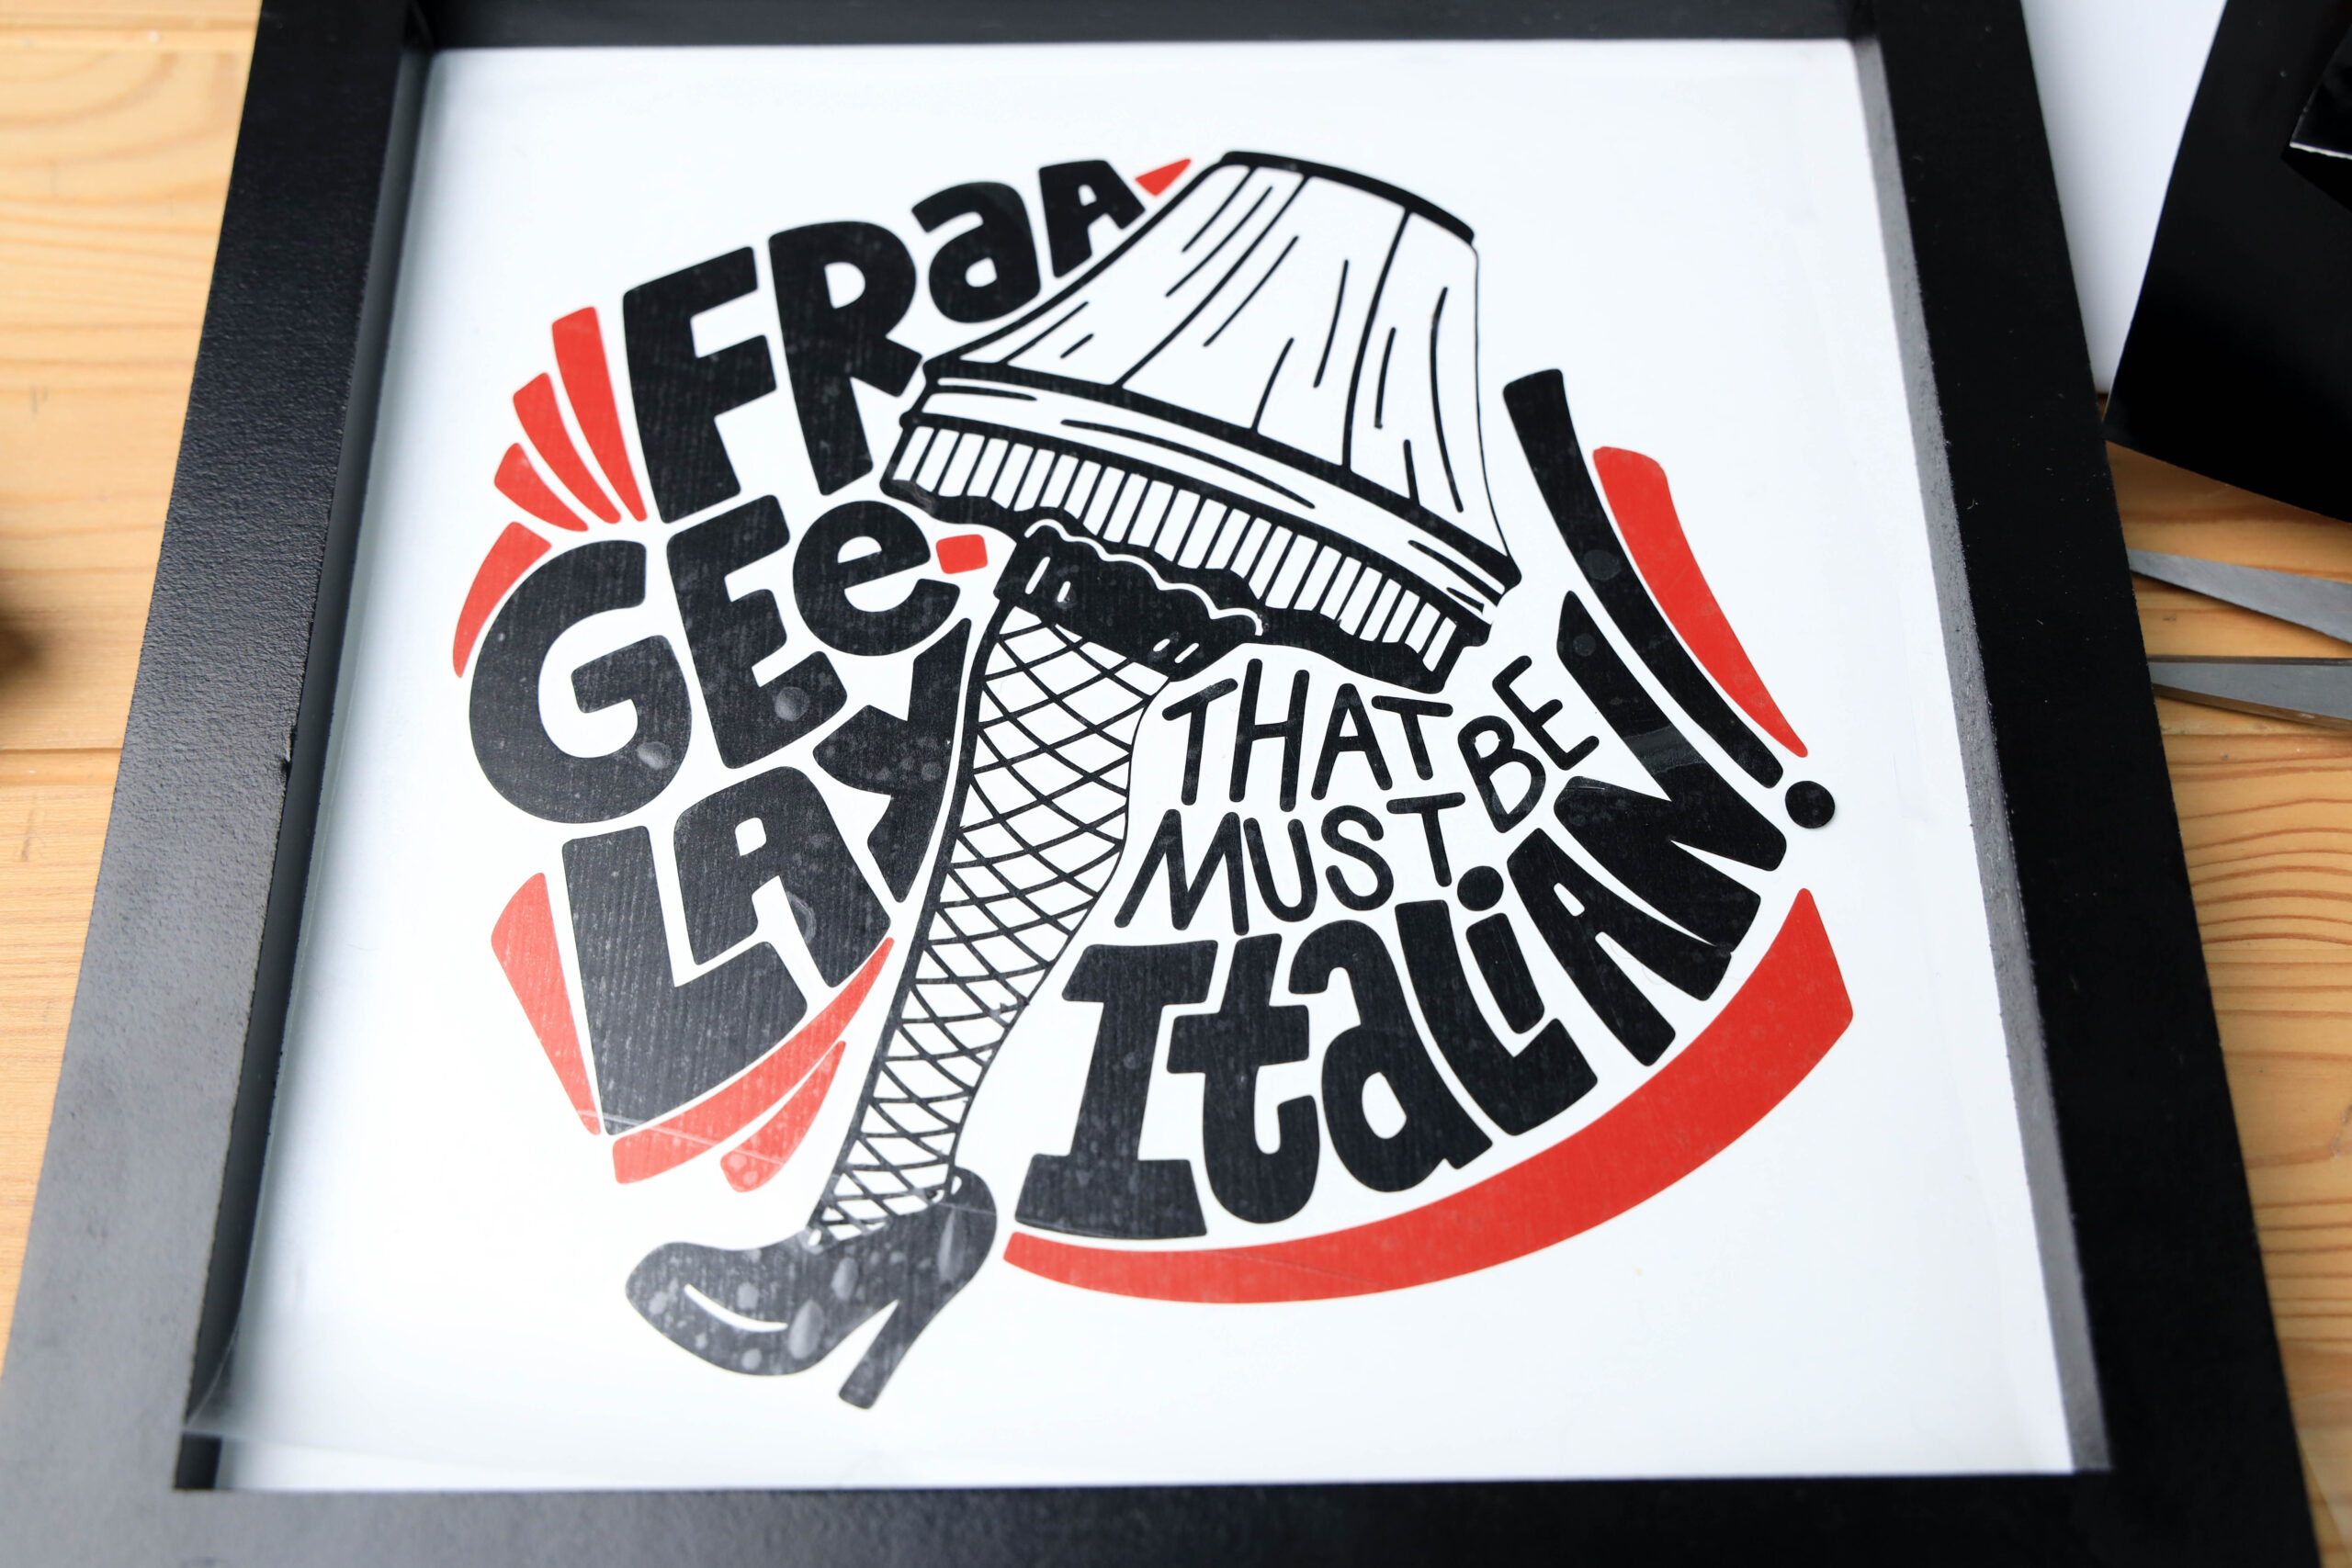
Enjoy your easy-to-make Cricut Christmas sign!
Free Christmas Story SVG File
Want to grab your free Christmas Story SVG file? Just fill out the box below and you’ll be redirected to a site to download your files! You’ll get 1 SVG File, 1 DXF File, and 1 PNG File.
Free files on The Denver Housewife are for personal use only and cannot be sold or redistributed without permission.


Christmas Story Sign
Make a Christmas Story Movie sign with a cricut machine, vinyl, and picture frame.
Materials
- 1 sheet black permanent vinyl
- 1 sheet red permanent vinyl
- 1 sheet transfer tape
- 1 white base with black border frame (Target Dollar Spot)
Tools
- Cricut Machine
- Green cutting mat
- Weeding tool
- Scraper tool
Instructions
Open Design Space and upload the SVG.
Measure your frame and resize the image to fit the size of the frame.
Place the black vinyl onto the green cutting mat and cut on the vinyl setting.
Repeat the steps with red vinyl.
Weed design.
Place the edging pieces onto the blank space on the black design. Place transfer tape over the design and scrape well. Peel back slowly making sure the design sticks to the transfer tape.
Place the design onto the frame and then scrape well. Peel back slowly making sure the design sticks to the frame.