
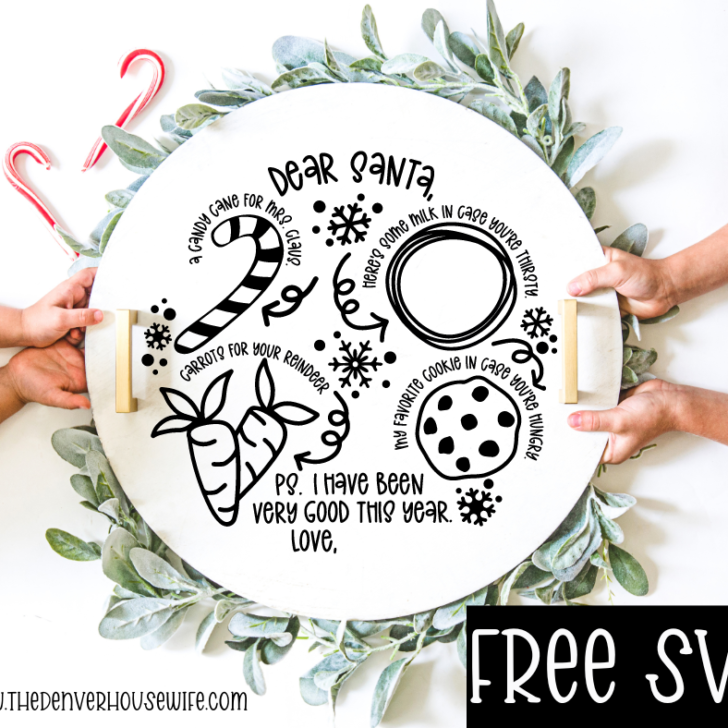
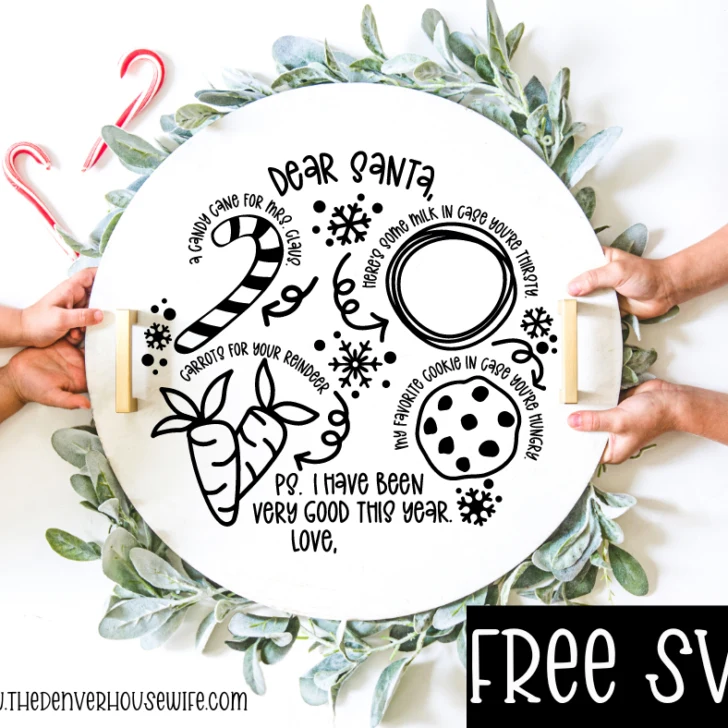
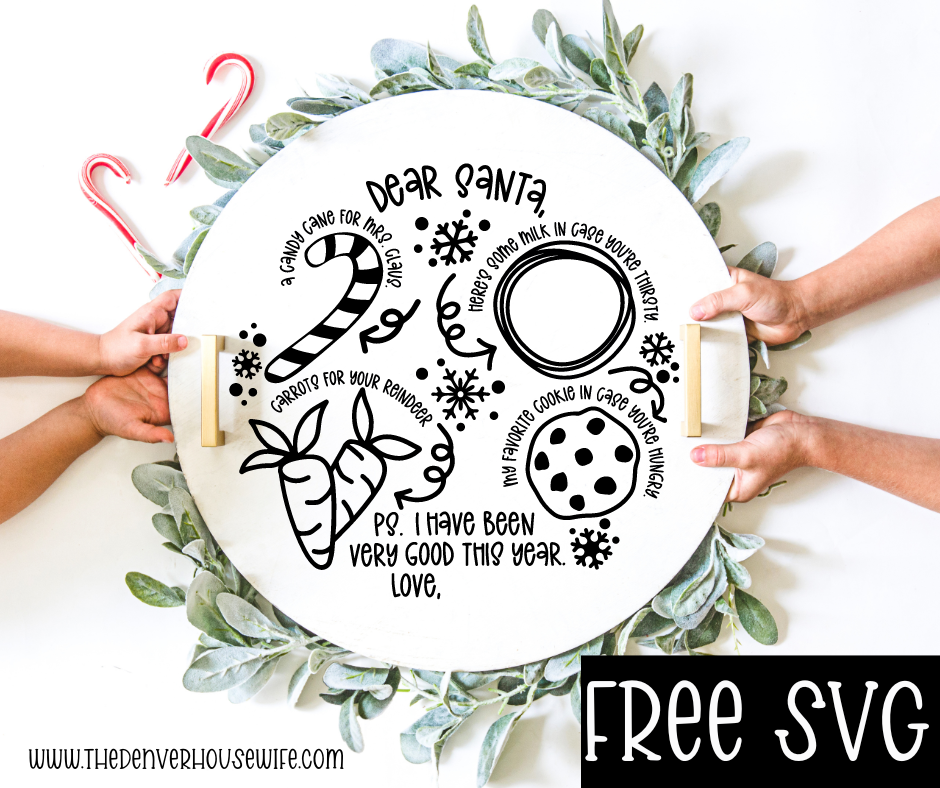
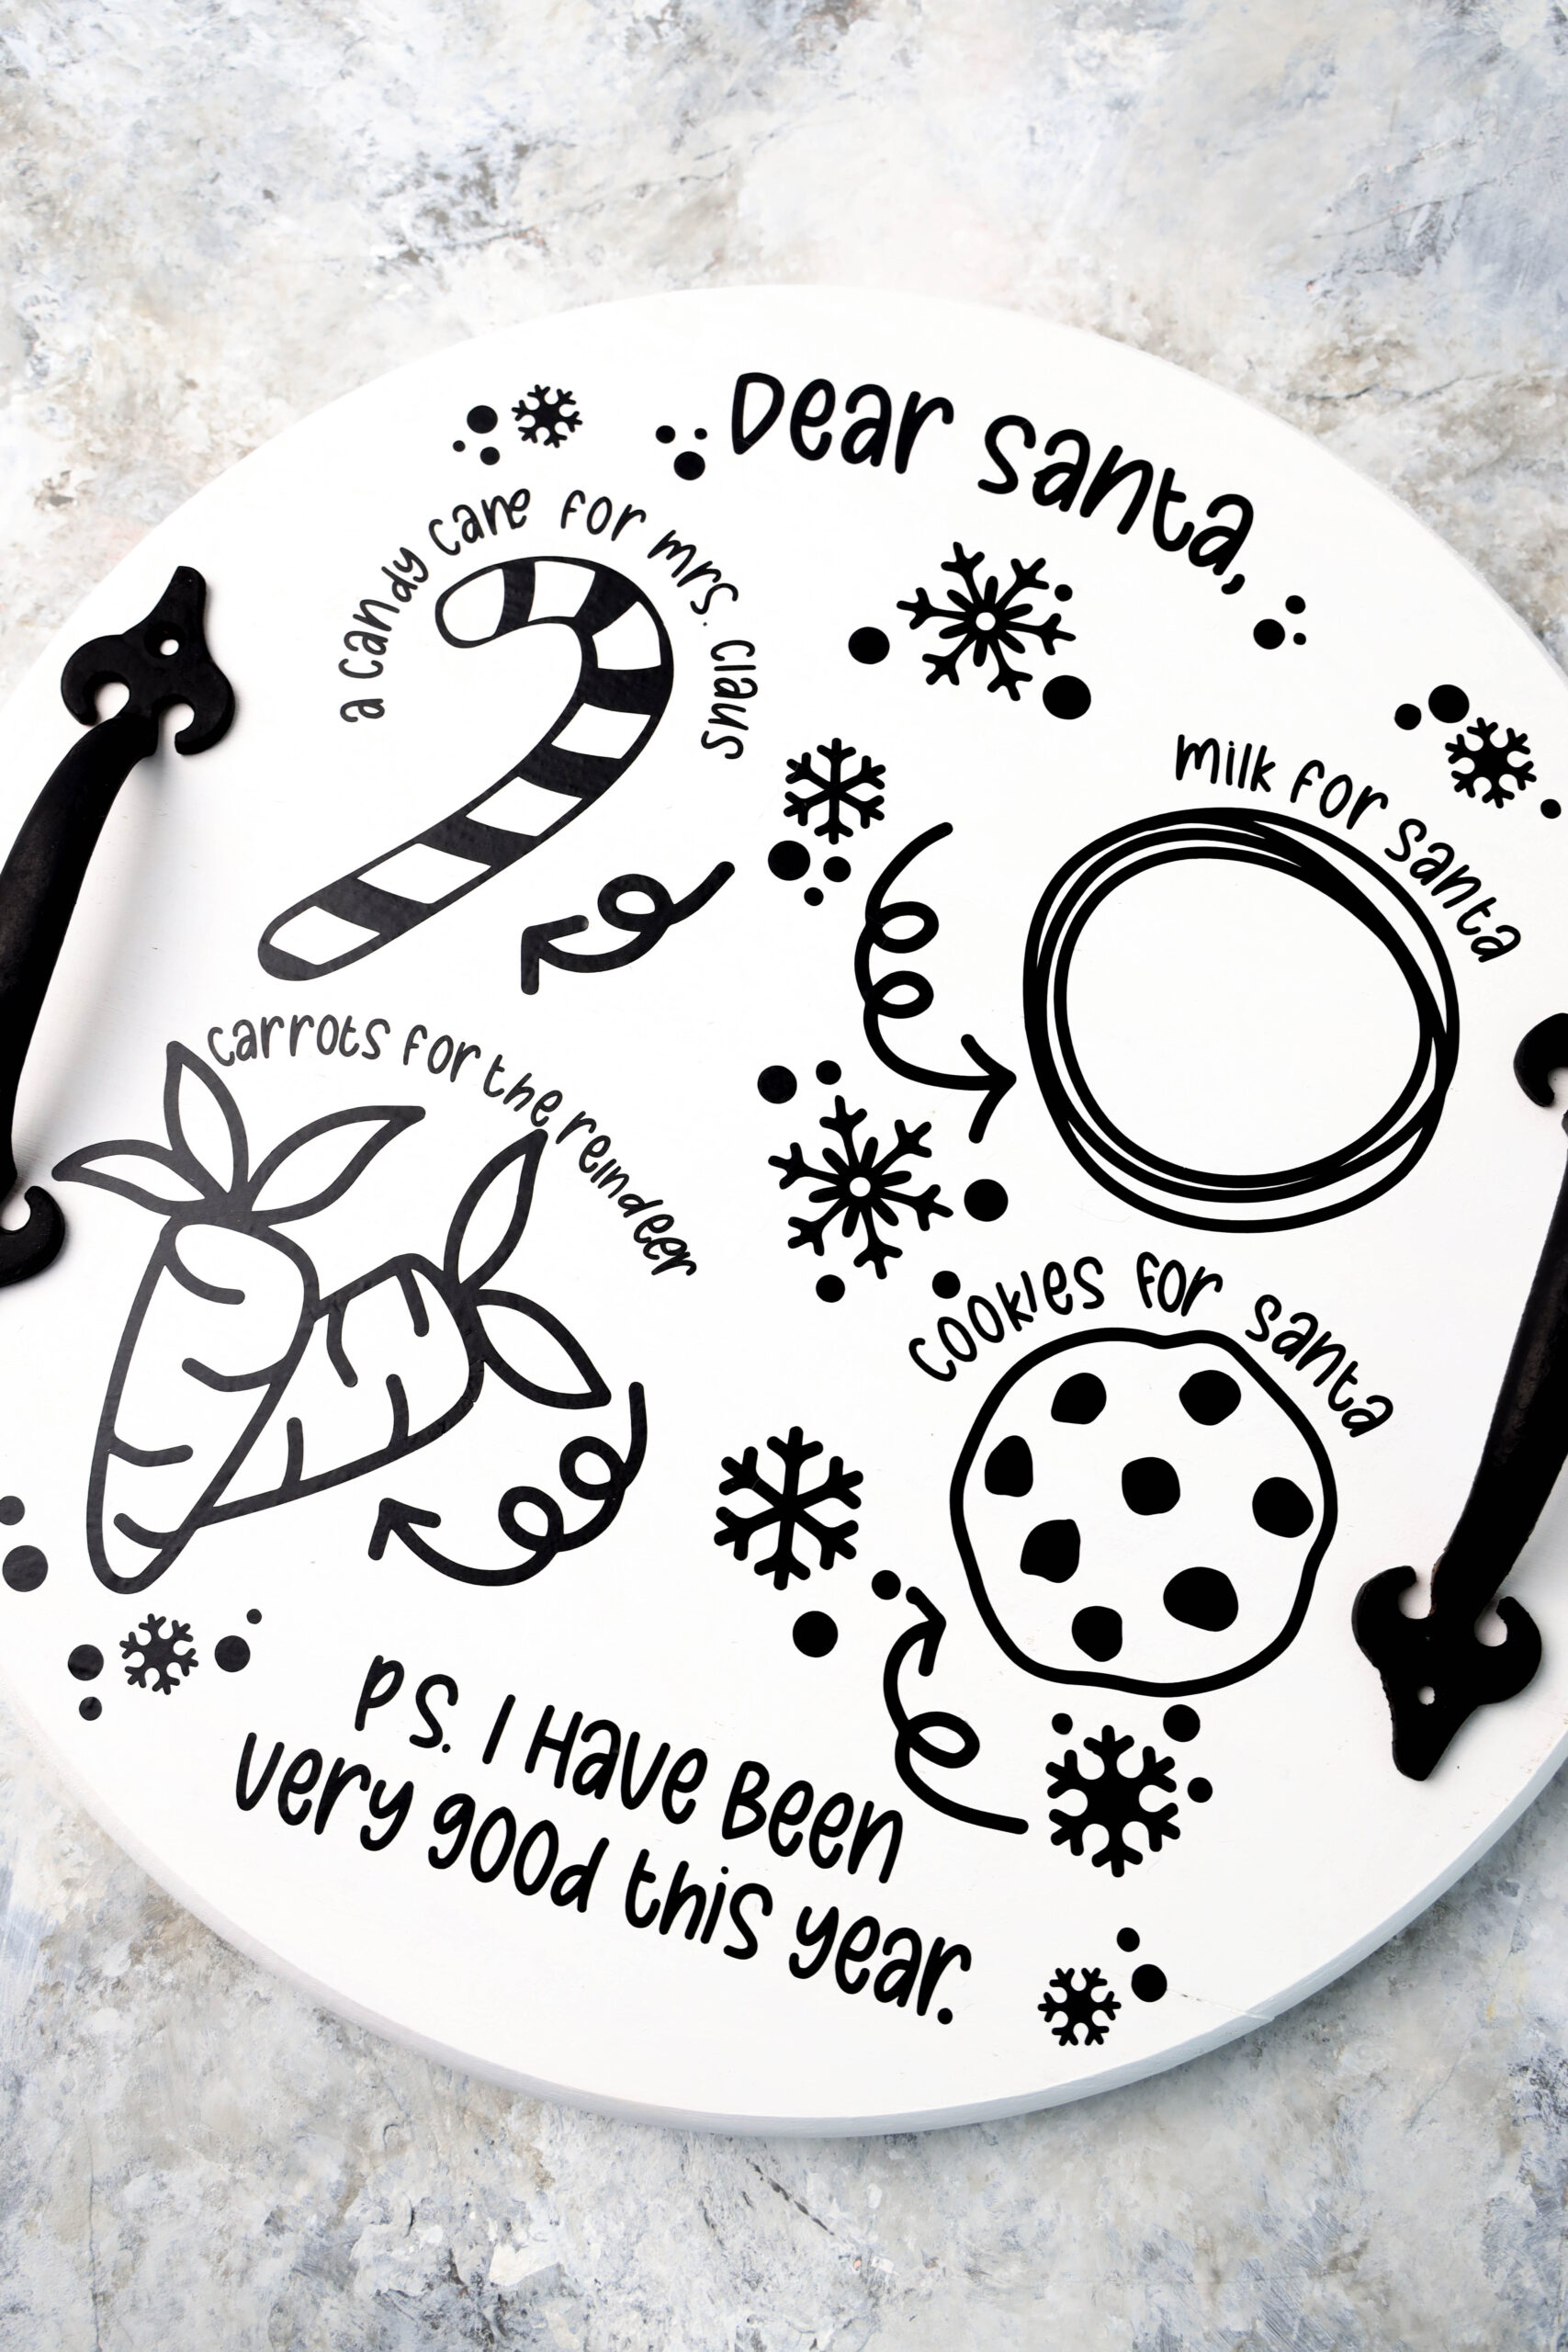
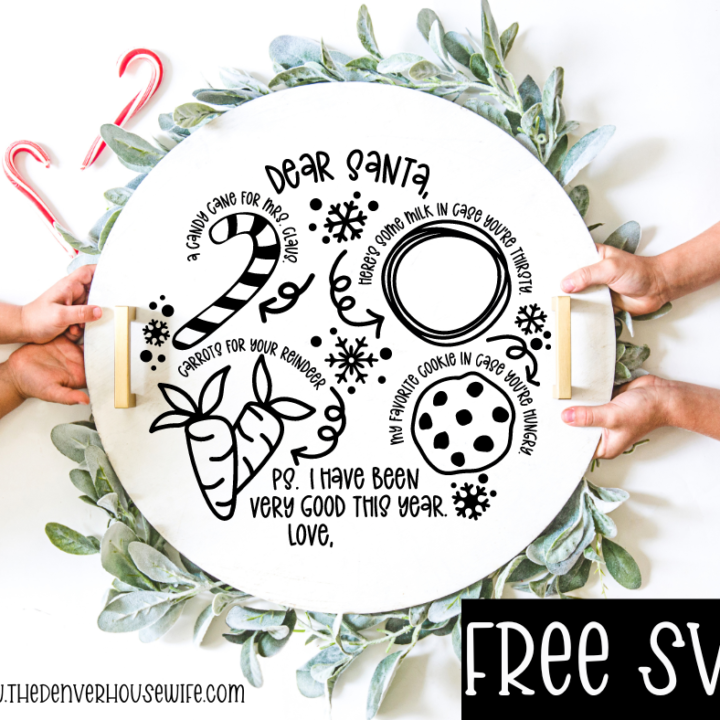
Santa Claus is coming to town and we’re celebrating with a DIY Santa Cookie Board made with our Cricut cutting machine. Make your own Santa Cookie Board with this free SVG File. To get your free Santa Cookie Board SVG scroll to the bottom of this post.
This Santa cookie board takes about 30 minutes to make and is fairly easy. While we’ll be painting our own board for this project, you could purchase a ready-to-use board and add vinyl to that instead.
How to Make a Santa Cookie Board
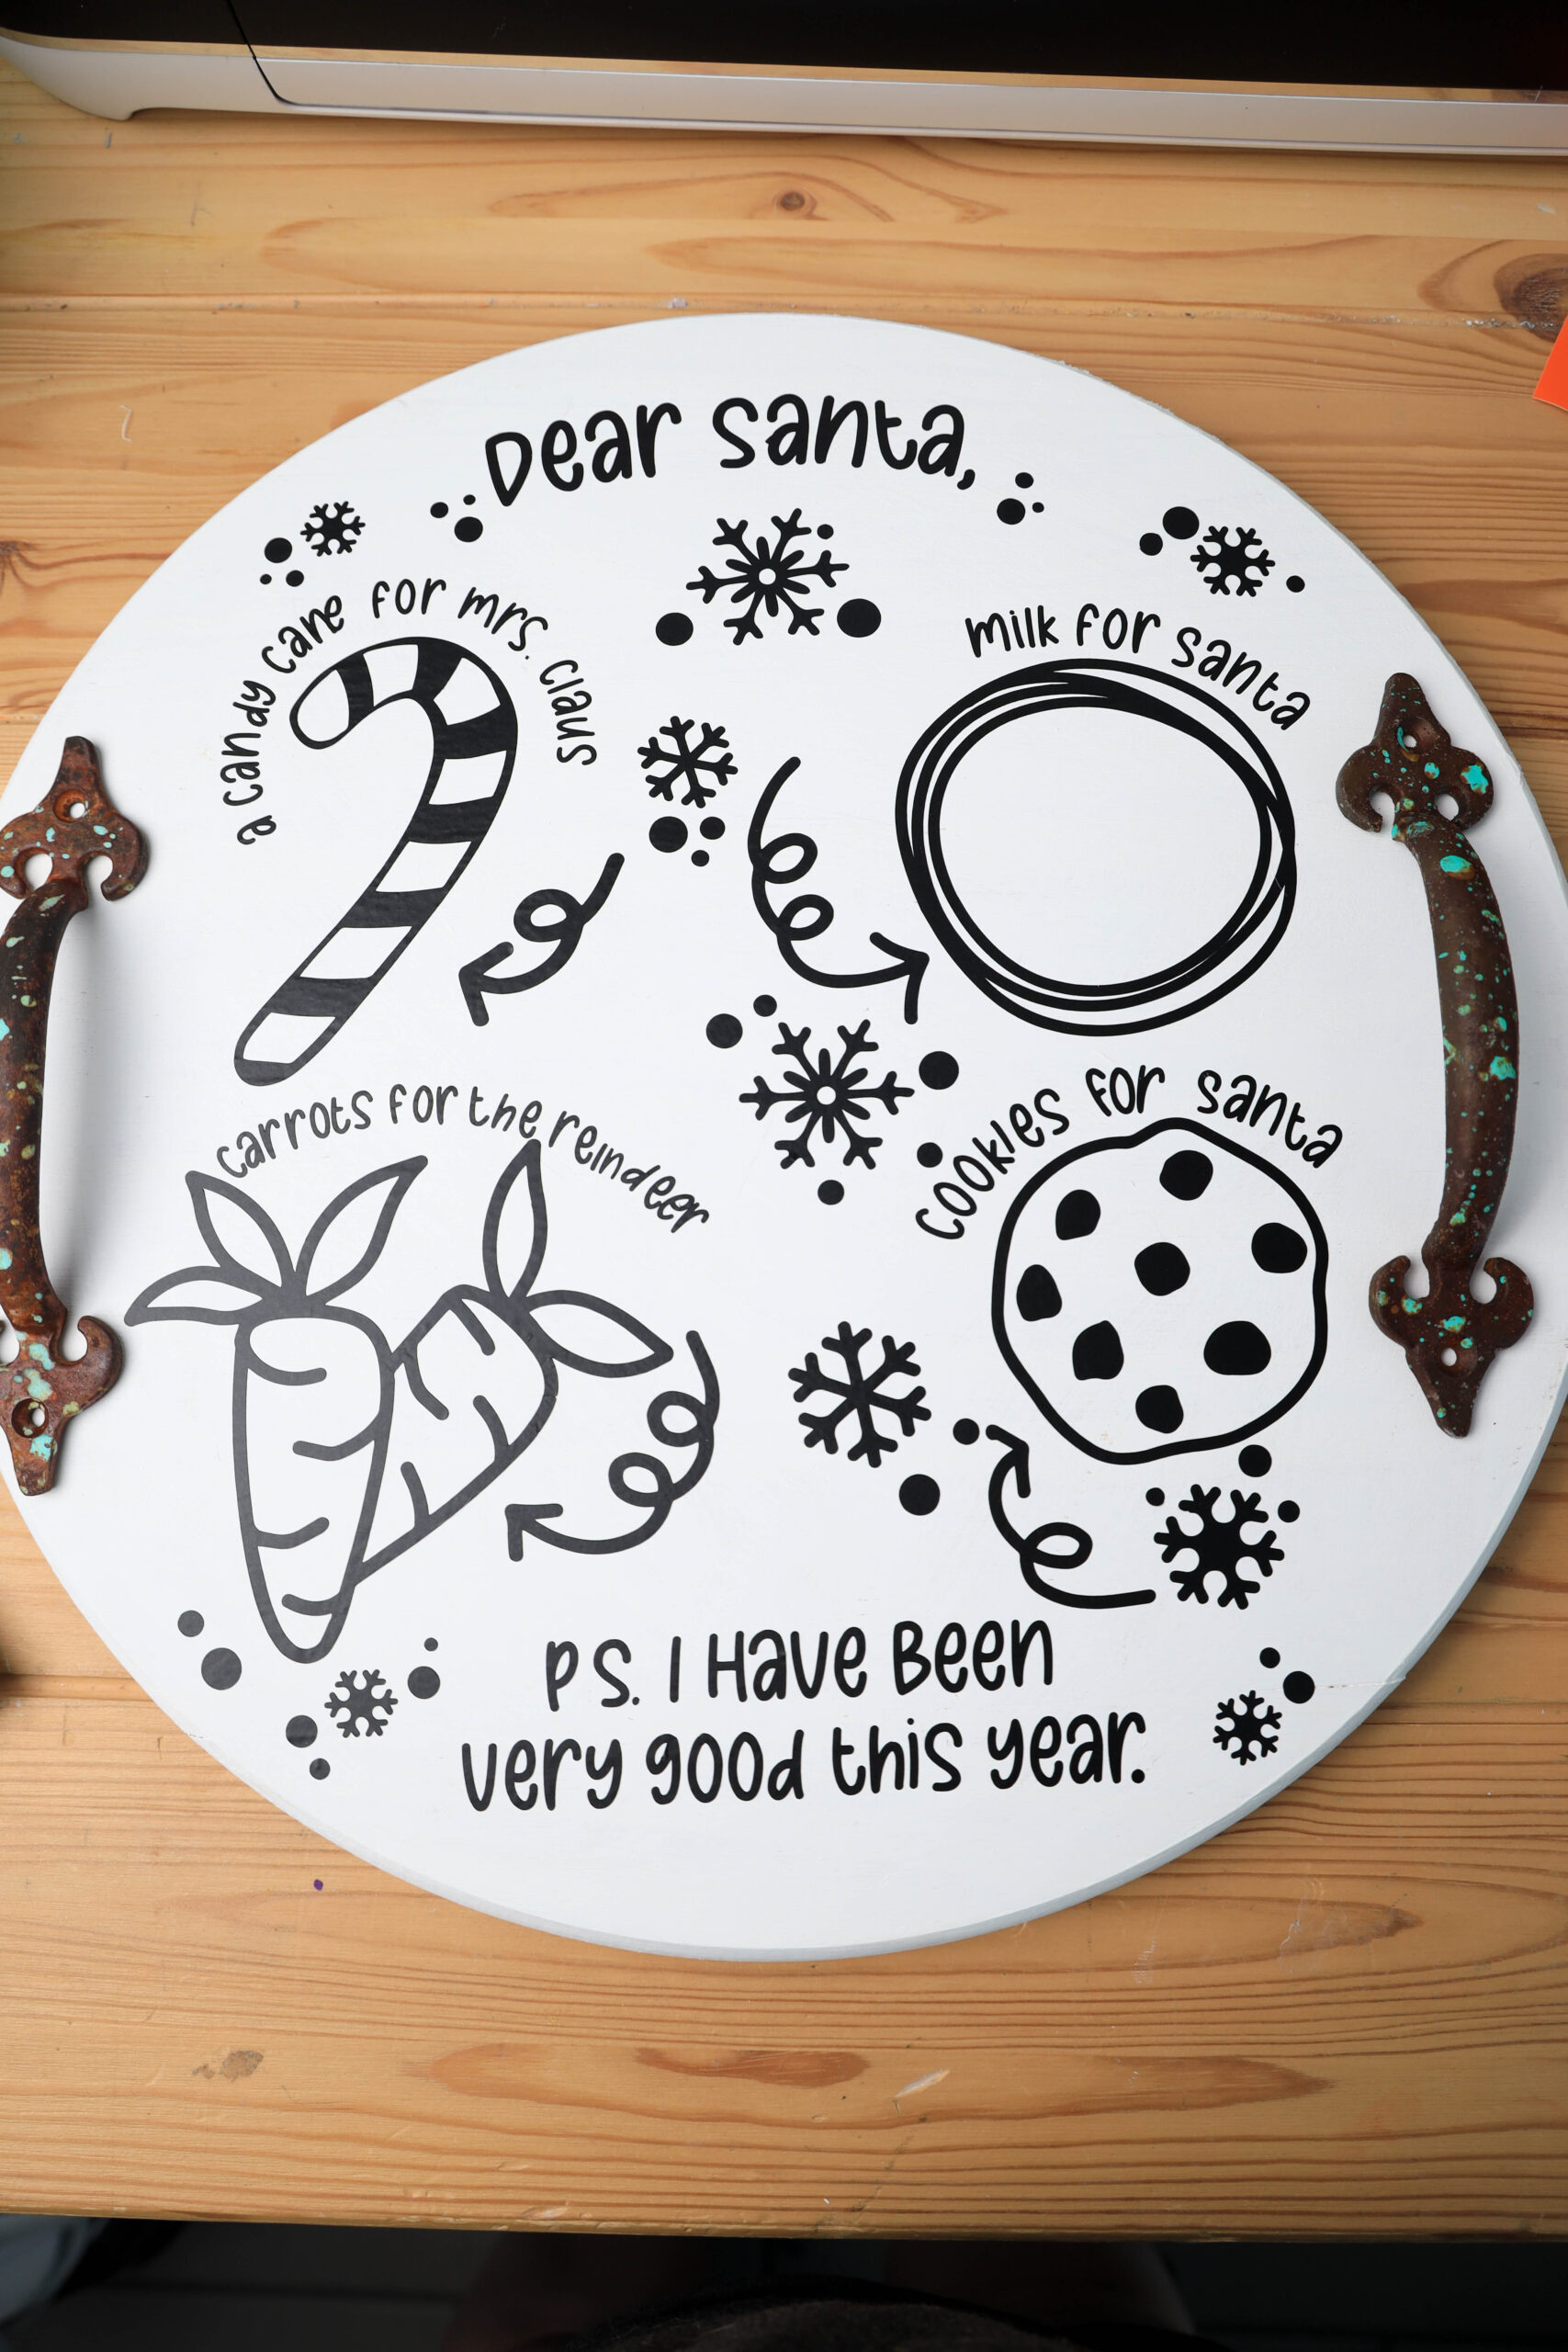
Let’s get started on making our Santa Cookie Board. This board can be used on Christmas Eve to leave out milk and cookies for Santa. Add your kid(s) name(s) to the board and use it over and over each year.
Ready To Use Round Trays for Santa Cookie Board
If you don’t want to paint and add hardware to a DIY cookie board here are some boards you could use to make your Santa Cookie Board.
- Wood Round Board
- White Wood Round Tray with Gold Handles
- Round Plastic Tray with Gold Trim
- Black Round Wood Tray
- White Round Tray with Gold Tray
You could also use a large plate for this project!
If you want to use a placemat I have a Santa Cookie Tray tutorial with HTV available.
Supplies for Wood Santa Cookie Board
Here’s what you’ll need to make your Santa Cookie Board:
Wood round
Wicker White Folkart Acrylic Paint
Paint Brush
Paint Drop Sheet
Handles/screws
Drill
Cricut machine
Green cutting mat
Scraper tool
Weeding tool
12x 12 sheet black oracal 651
Transfer tape
Free Santa Cookie Board SVG
Here’s How to Make your Santa Cookie Board
Paint the wood board white and let it dry. Acrylic paint dries fairly quickly, but if you want it to dry faster run a heat gun or blow dryer over the paint.
Add your handles to the board with a drill.
Open Cricut design space and upload the SVG.
Add any names you want to the bottom of the design and size them to fit the design & board. I used the font Autumn Leaves for this design.
Since I have the Creative Fabrica Subscription the font is “free”. I highly encourage getting the subscription because you get unlimited access to their whole library of fonts, designs, images, and more. However, you can find this font free for personal use on DaFont.com.

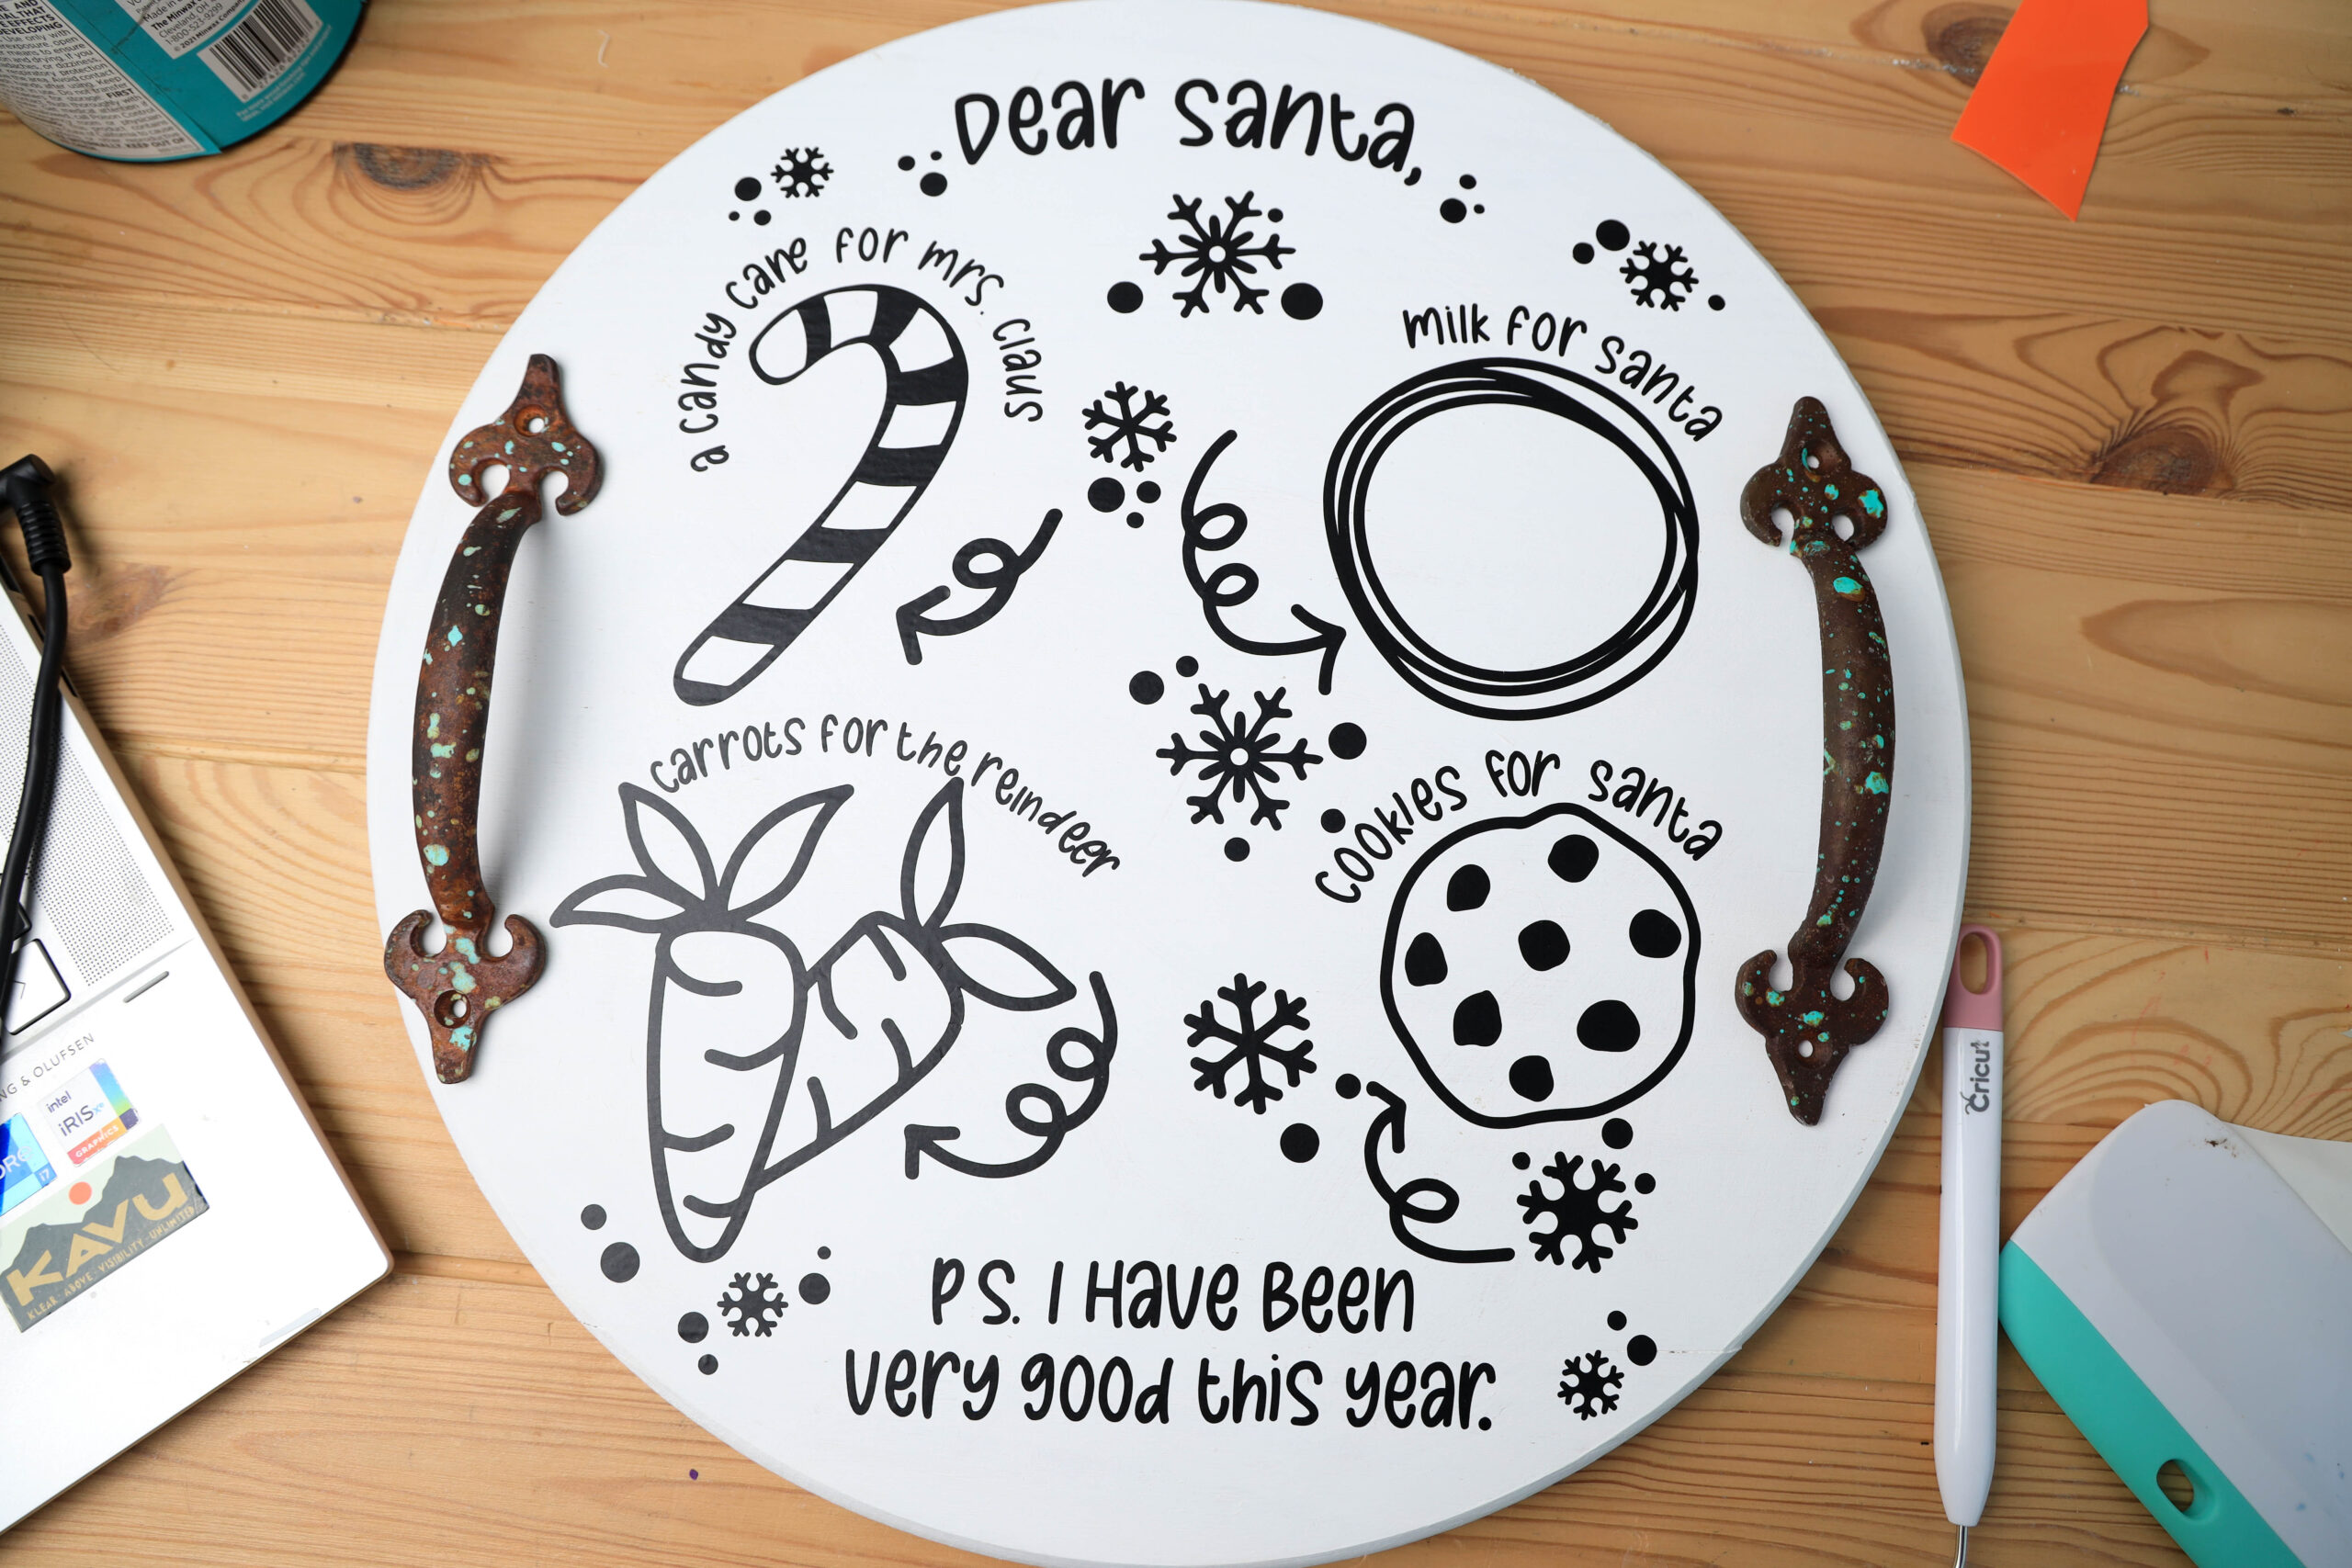
Measure your board and size the design to fit that board size. Since I am using the Lowe’s board I cut it at 11″.
Cut the design on the vinyl setting. Weed. Then cut it into smaller sections before applying. This makes life easier. Laying an entire sheet down of vinyl is not easy.
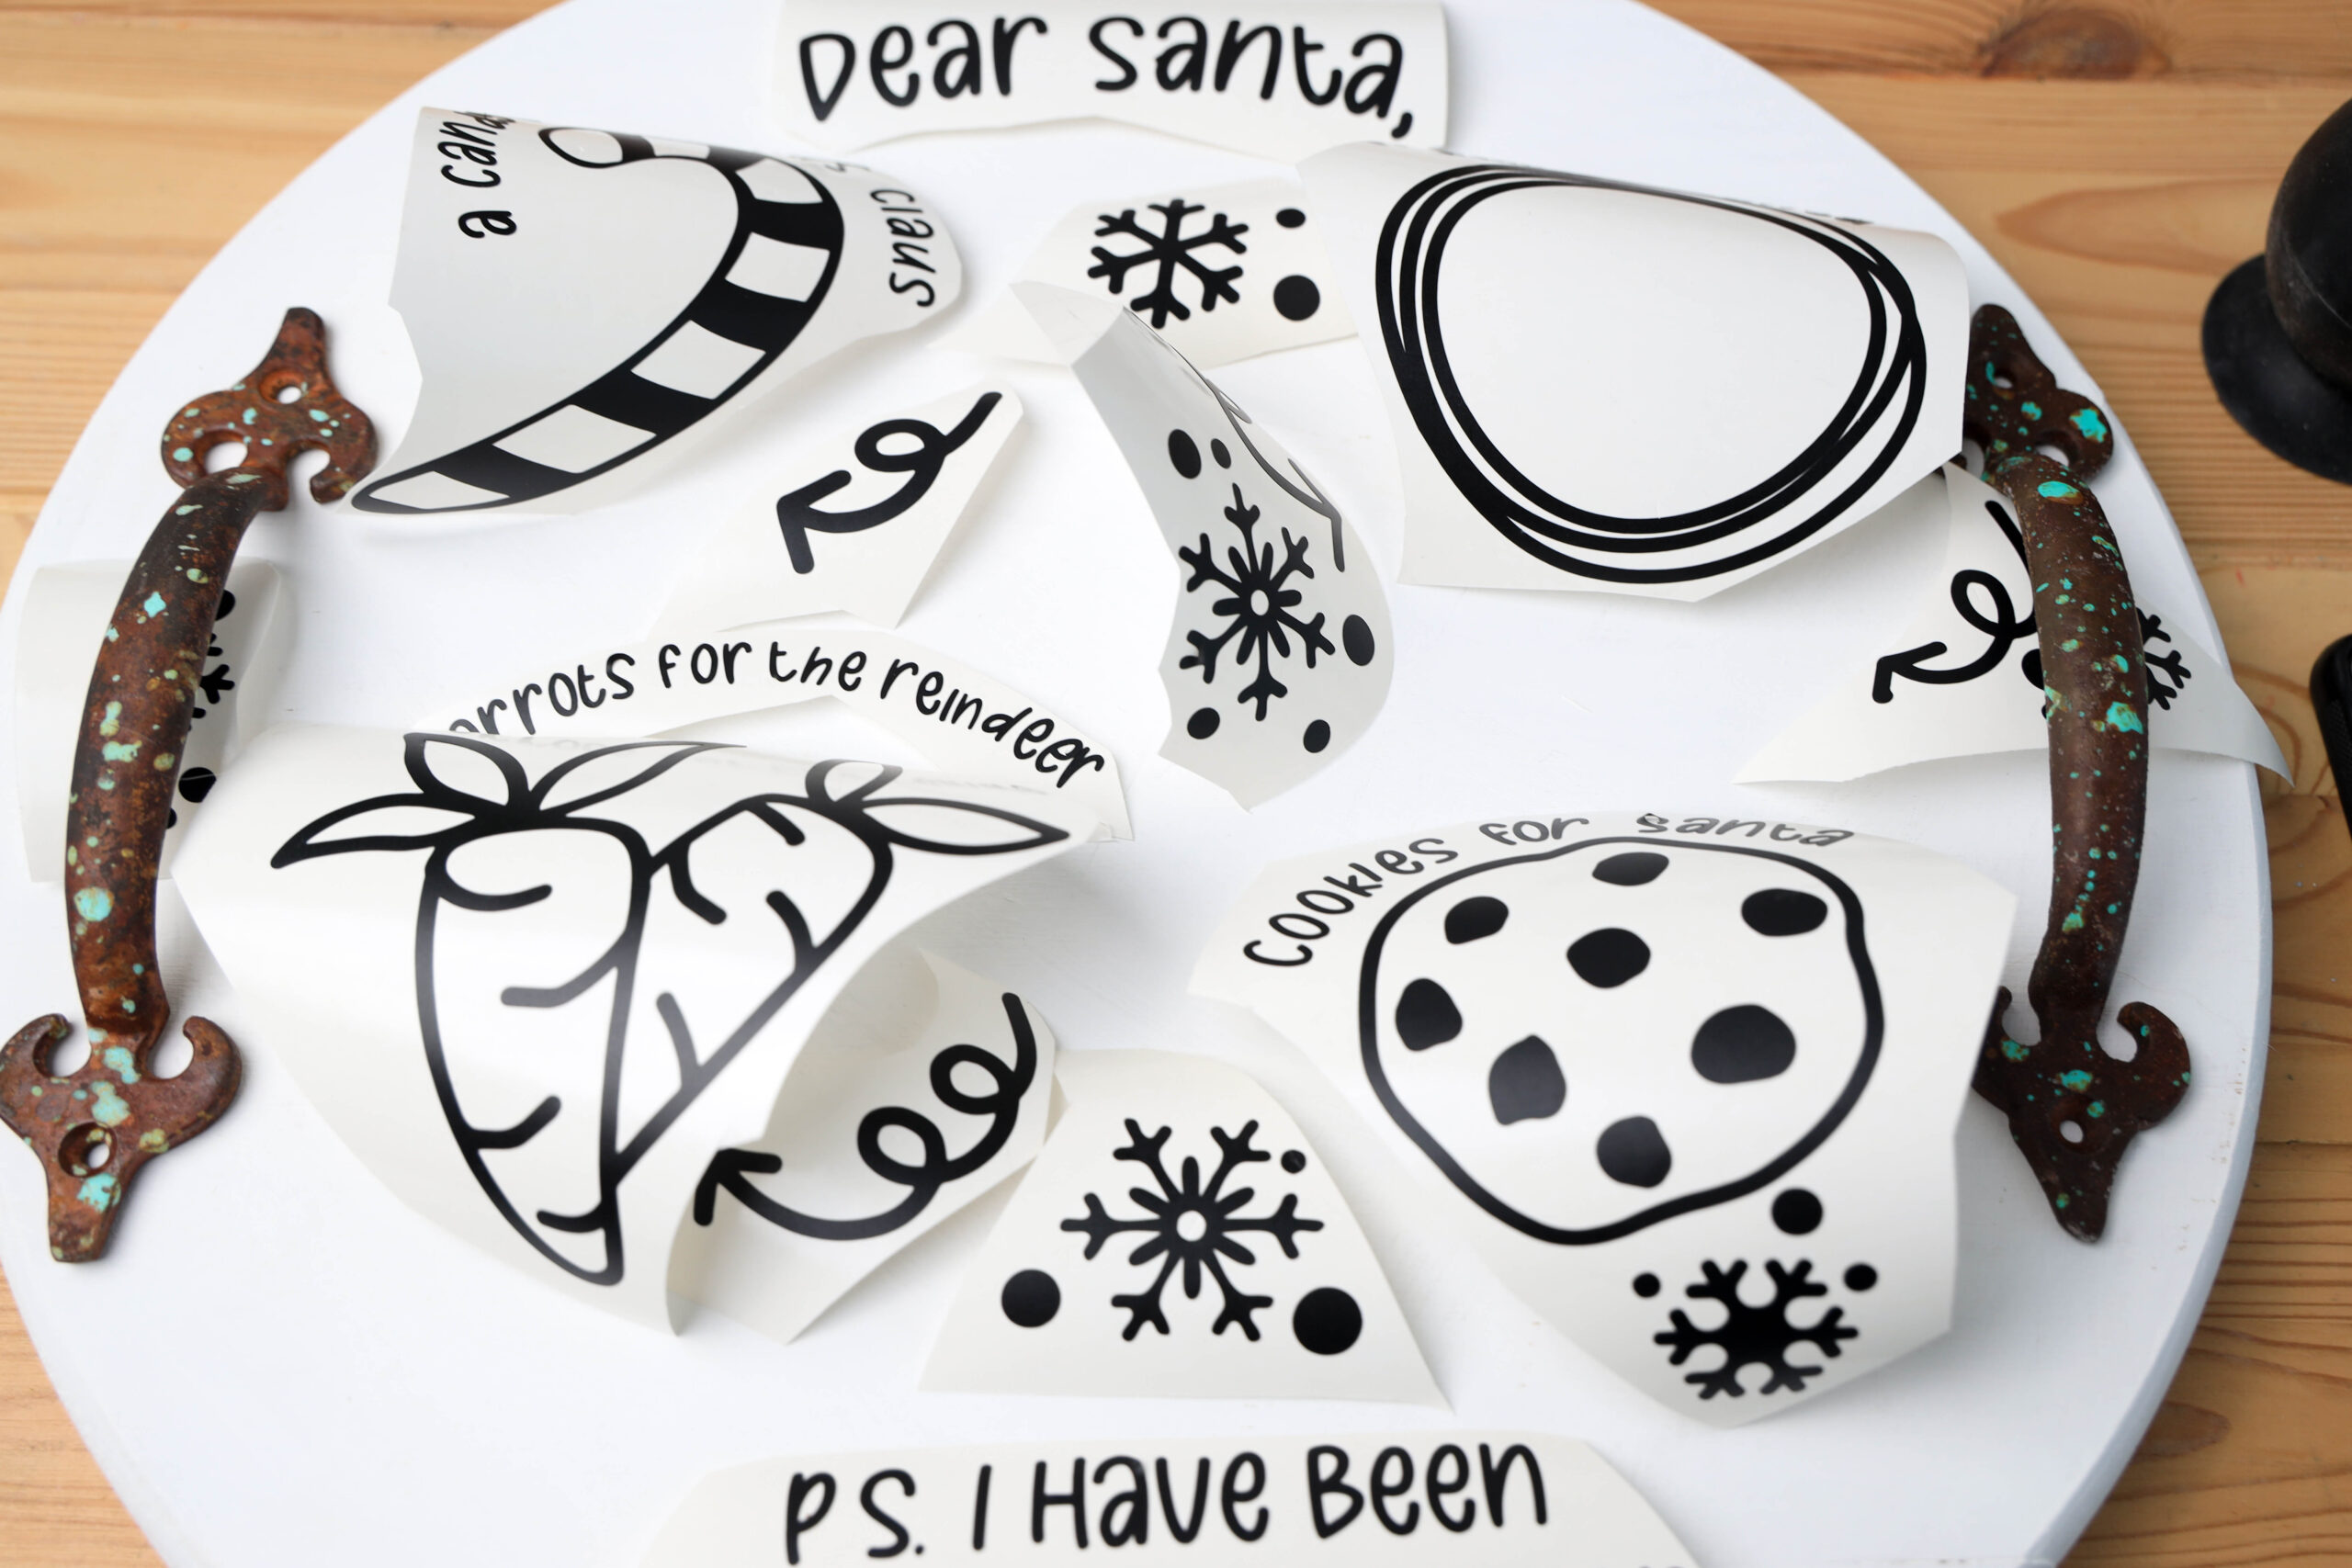
Once you have your sections use the transfer tape to peel them from the backing and add them to the board.
Scrape well and peel back slowly making sure the design sticks.
If you have trouble with the vinyl sticking to wood make sure to rub hard and you can run a blow dryer over the vinyl for a few minutes to help the glue stick better.
Now your board is ready to use!
Please note that vinyl and acrylic paint are not food safe so if you plan to eat the cookies I would add a piece of parchment paper under them.
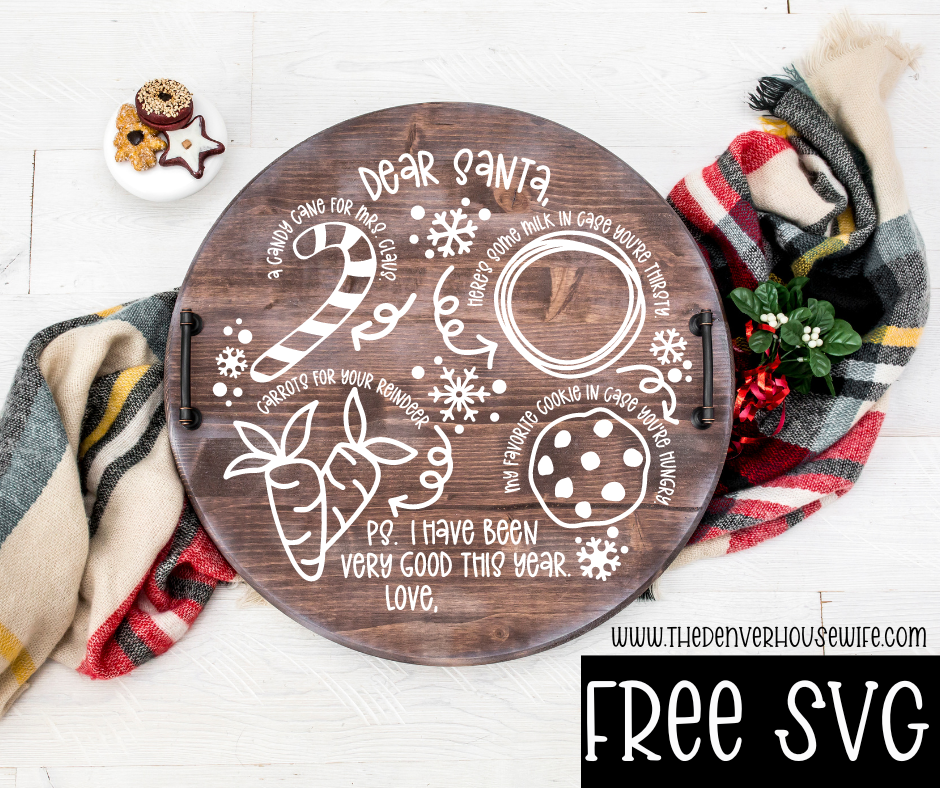
Get Free SVG File
Want to grab your free Santa Cookie Board SVG? Just fill out the box below and you’ll be redirected to a site to download your files!
Free files on The Denver Housewife are for personal use only and cannot be sold or redistributed without permission.

Santa Cookie Board
DIY Santa Cookie Board made with our Cricut cutting machine.
Materials
- Wood round
- Wicker White Folkart Acrylic Paint
- Paint Brush
- Paint Drop Sheet
- Handles/screws
- Drill
- Cricut machine
- Green cutting mat
- Scraper tool
- Weeding tool
- 12x 12 sheet black oracal 651
- Transfer tape
- Free Santa Cookie Board SVG
Instructions
Paint the wood board white and let it dry. Acrylic paint dries fairly quickly, but if you want it to dry faster run a heat gun or blow dryer over the paint. OR Use a round wood board of your choosing.
Add your handles to the board with a drill.
Open Cricut design space and upload the SVG.
Add any names you want to the bottom of the design and size them to fit the design & board. I used the font Autumn Leaves for this design.
Measure your board and size the design to fit that board size. Since I am using the Lowe’s board I cut it at 11″.
Cut the design on the vinyl setting. Weed. Then cut it into smaller sections before applying. This makes life easier. Laying an entire sheet down of vinyl is not easy.
Once you have your sections use the transfer tape to peel them from the backing and add them to the board.
Scrape well and peel back slowly making sure the design sticks.
If you have trouble with the vinyl sticking to wood make sure to rub hard and you can run a blow dryer over the vinyl for a few minutes to help the glue stick better.