

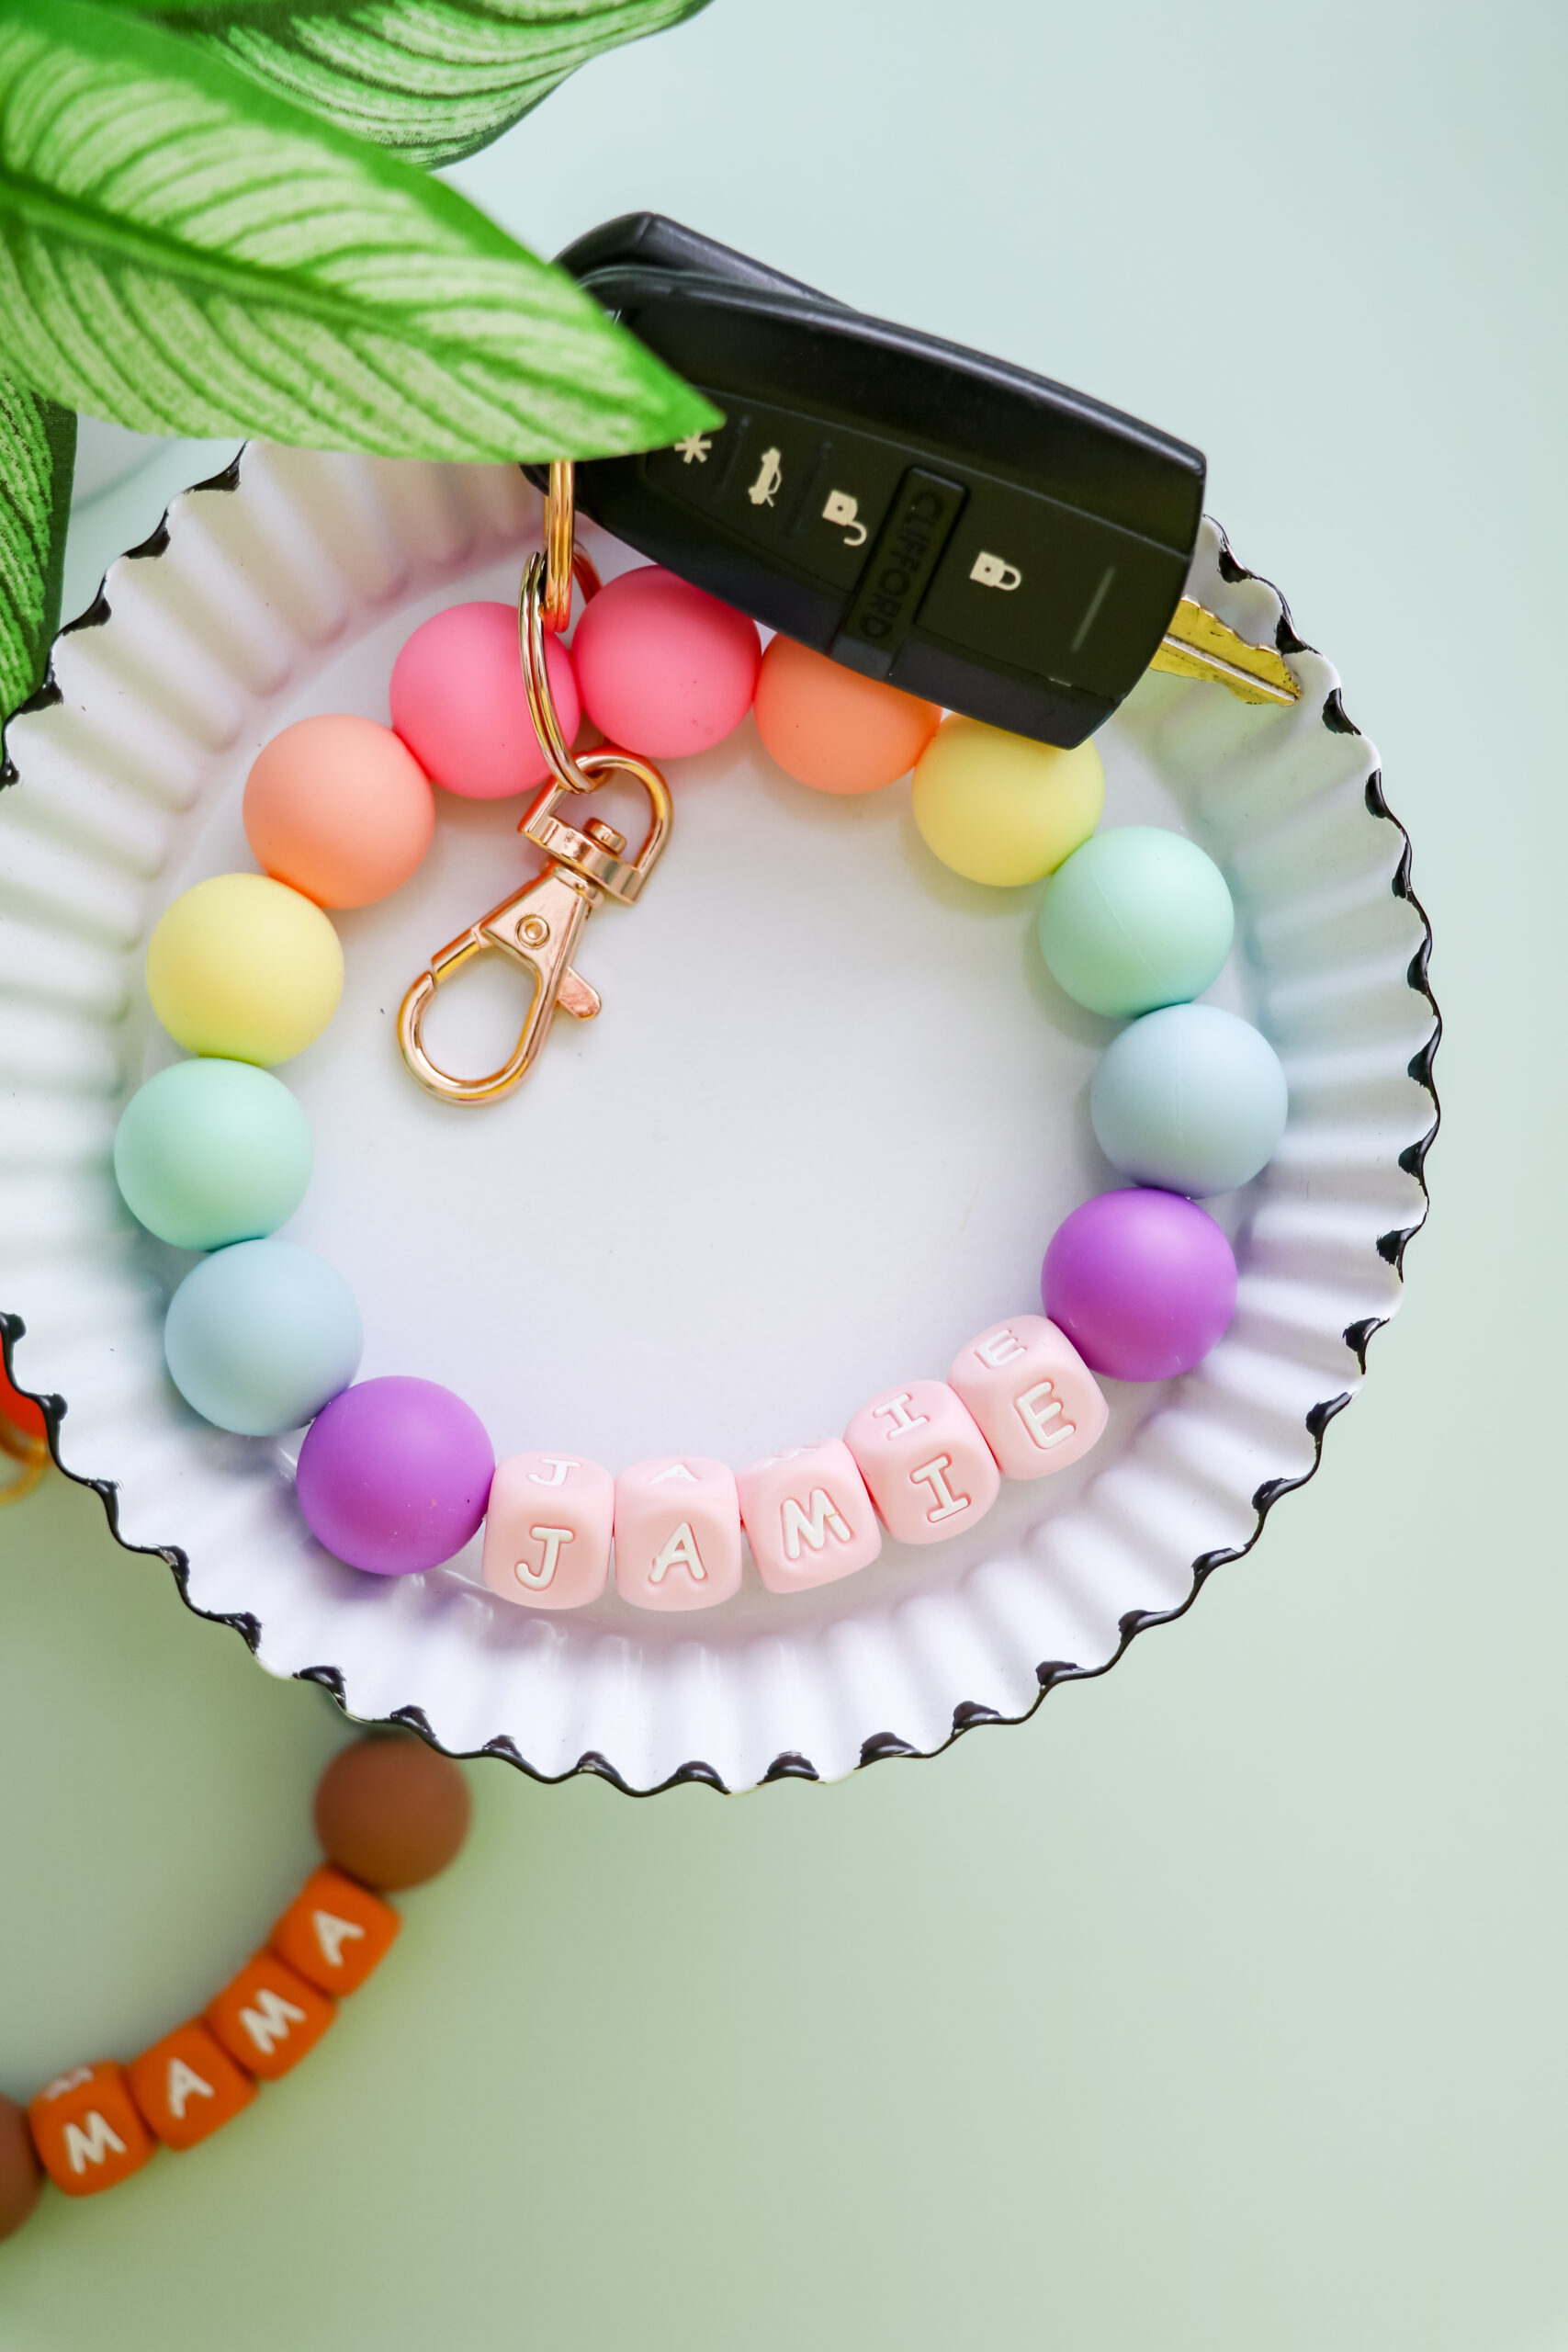
Learn how to make a Silicone Beaded Keychain Wristlet. This easy craft is perfect as a gift for friends, family, teachers, and more. Making a beaded keychain wristlet takes about 10 minutes and is easy to make!
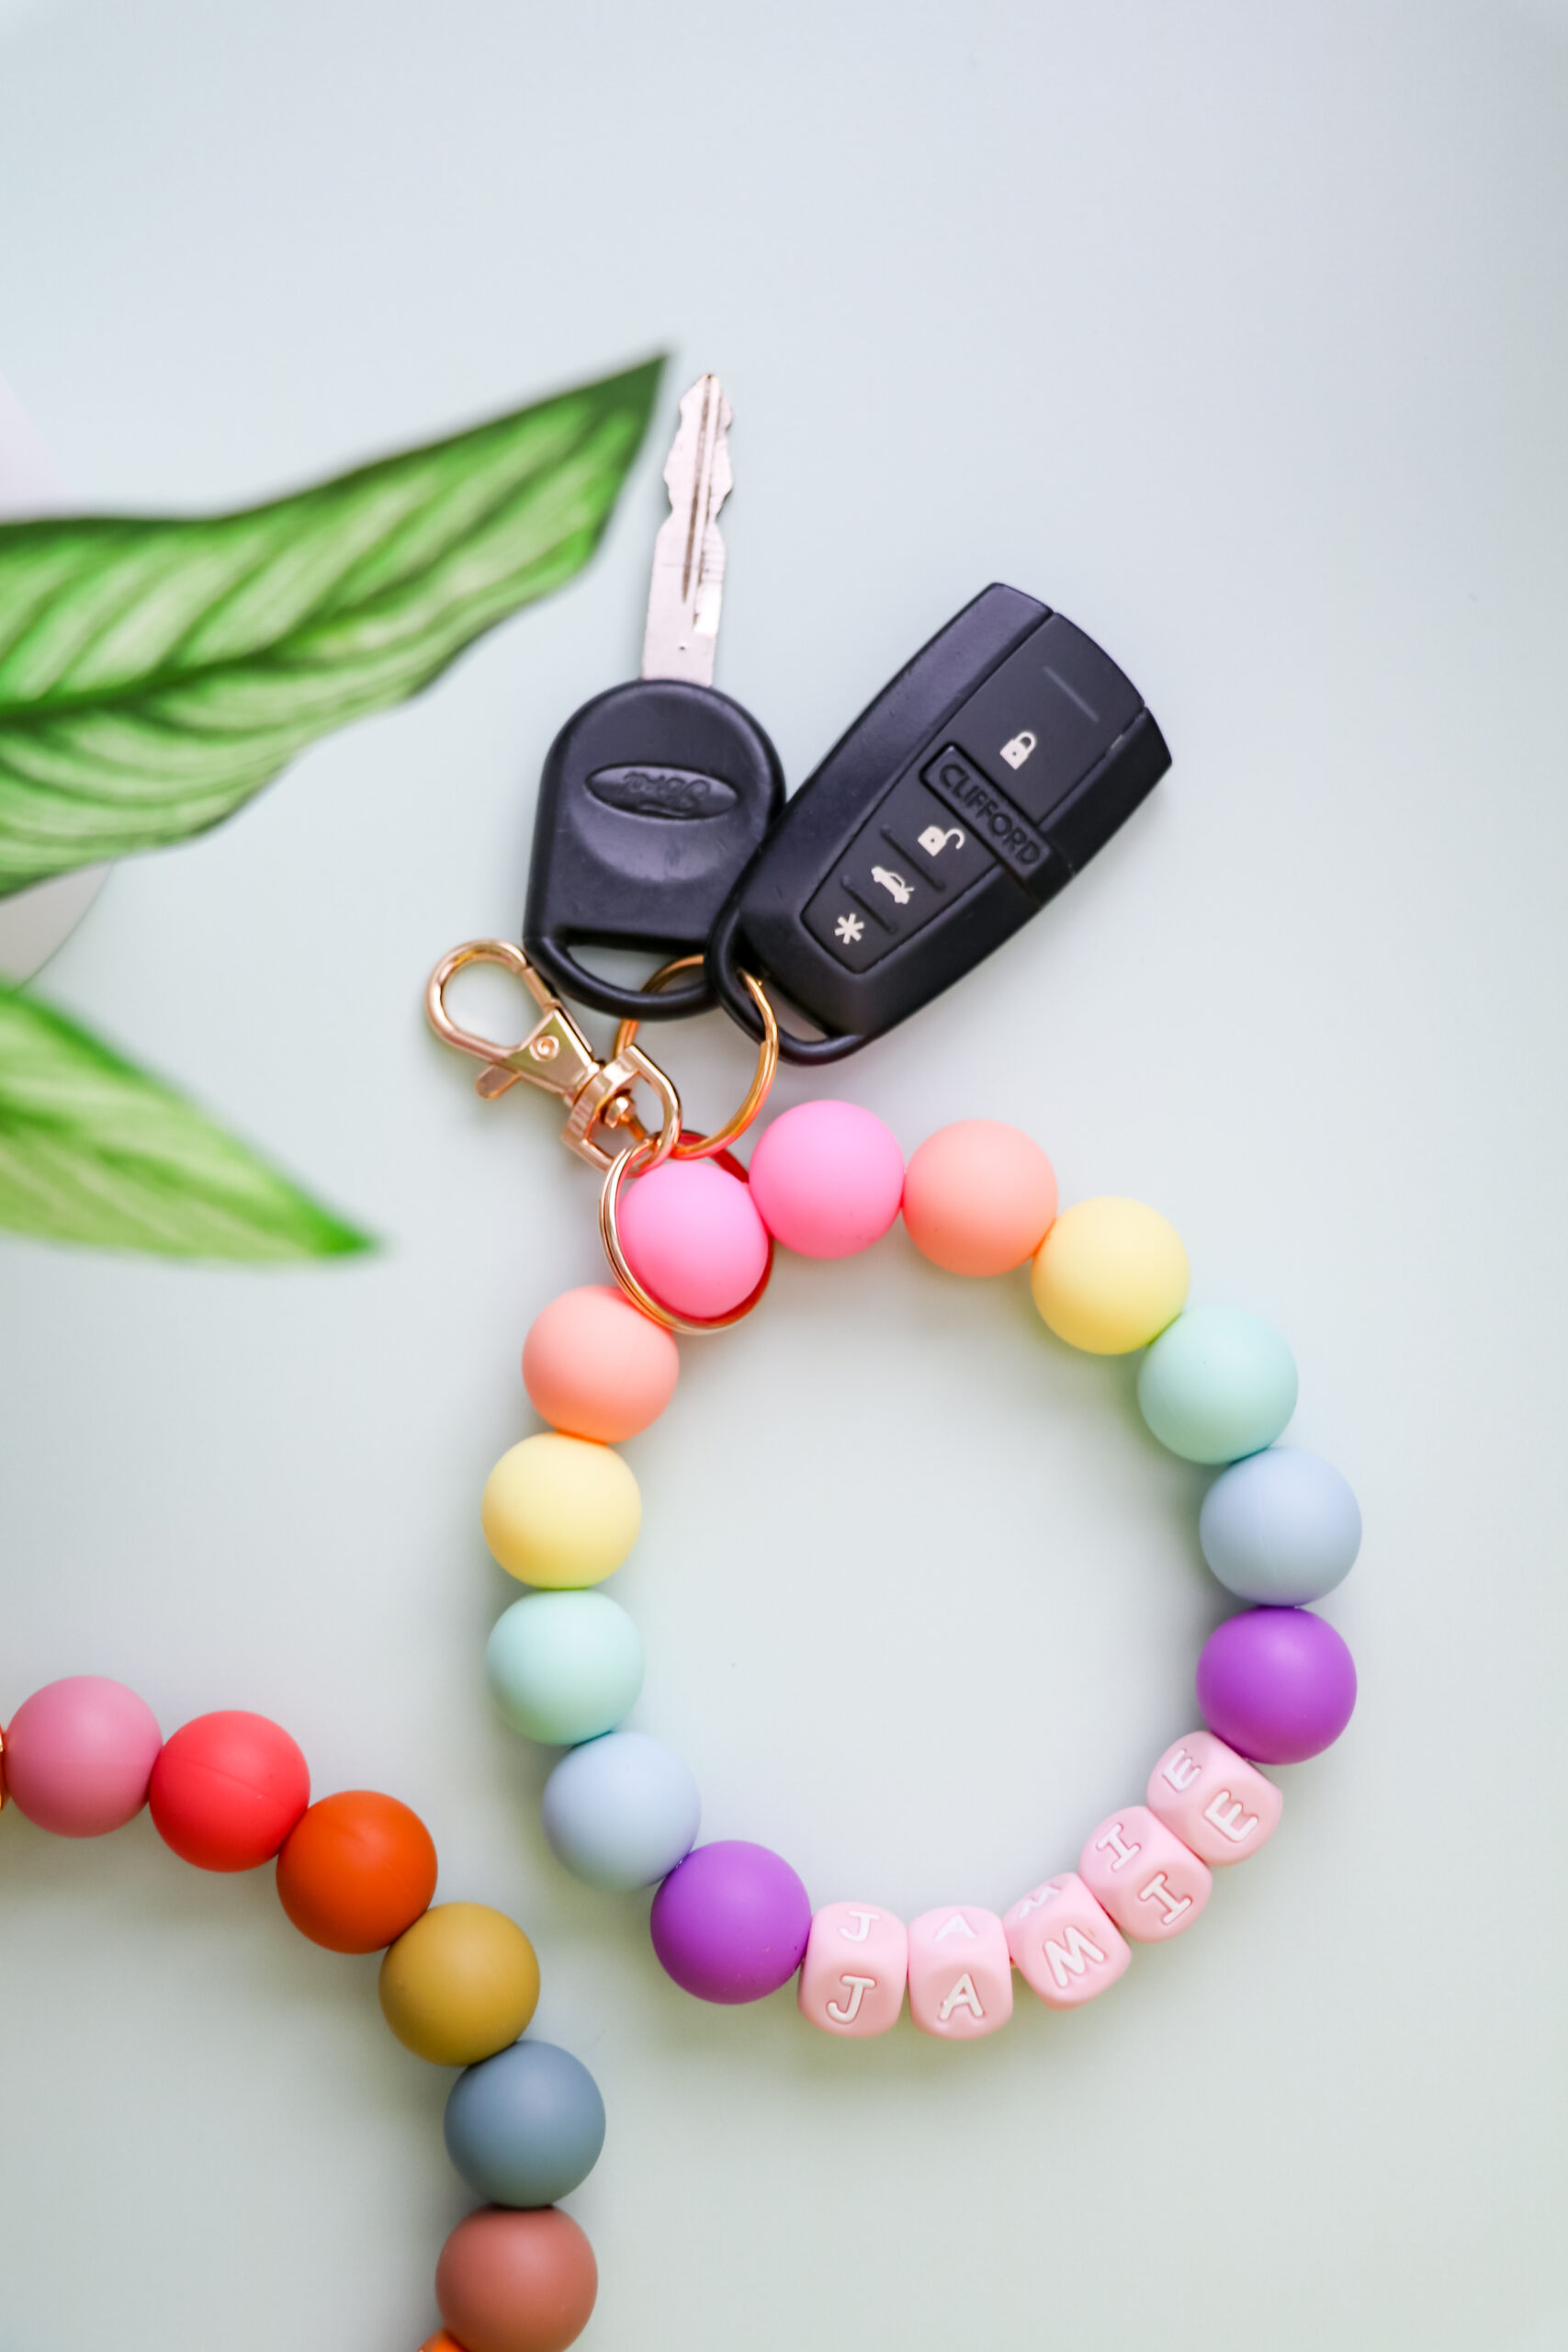
Want a cute keychain or need something to help you keep track of your keys easier? This bead keychain wristlet is the perfect way to carry your keys. It’s cute, stylish, and customizable with names, colors, prints, shapes, and more. The possibilities are endless for colors!
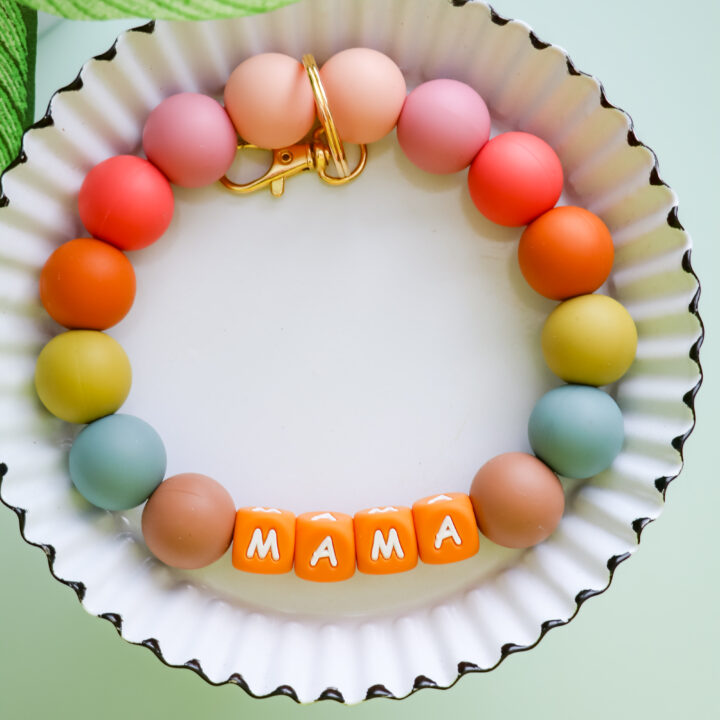
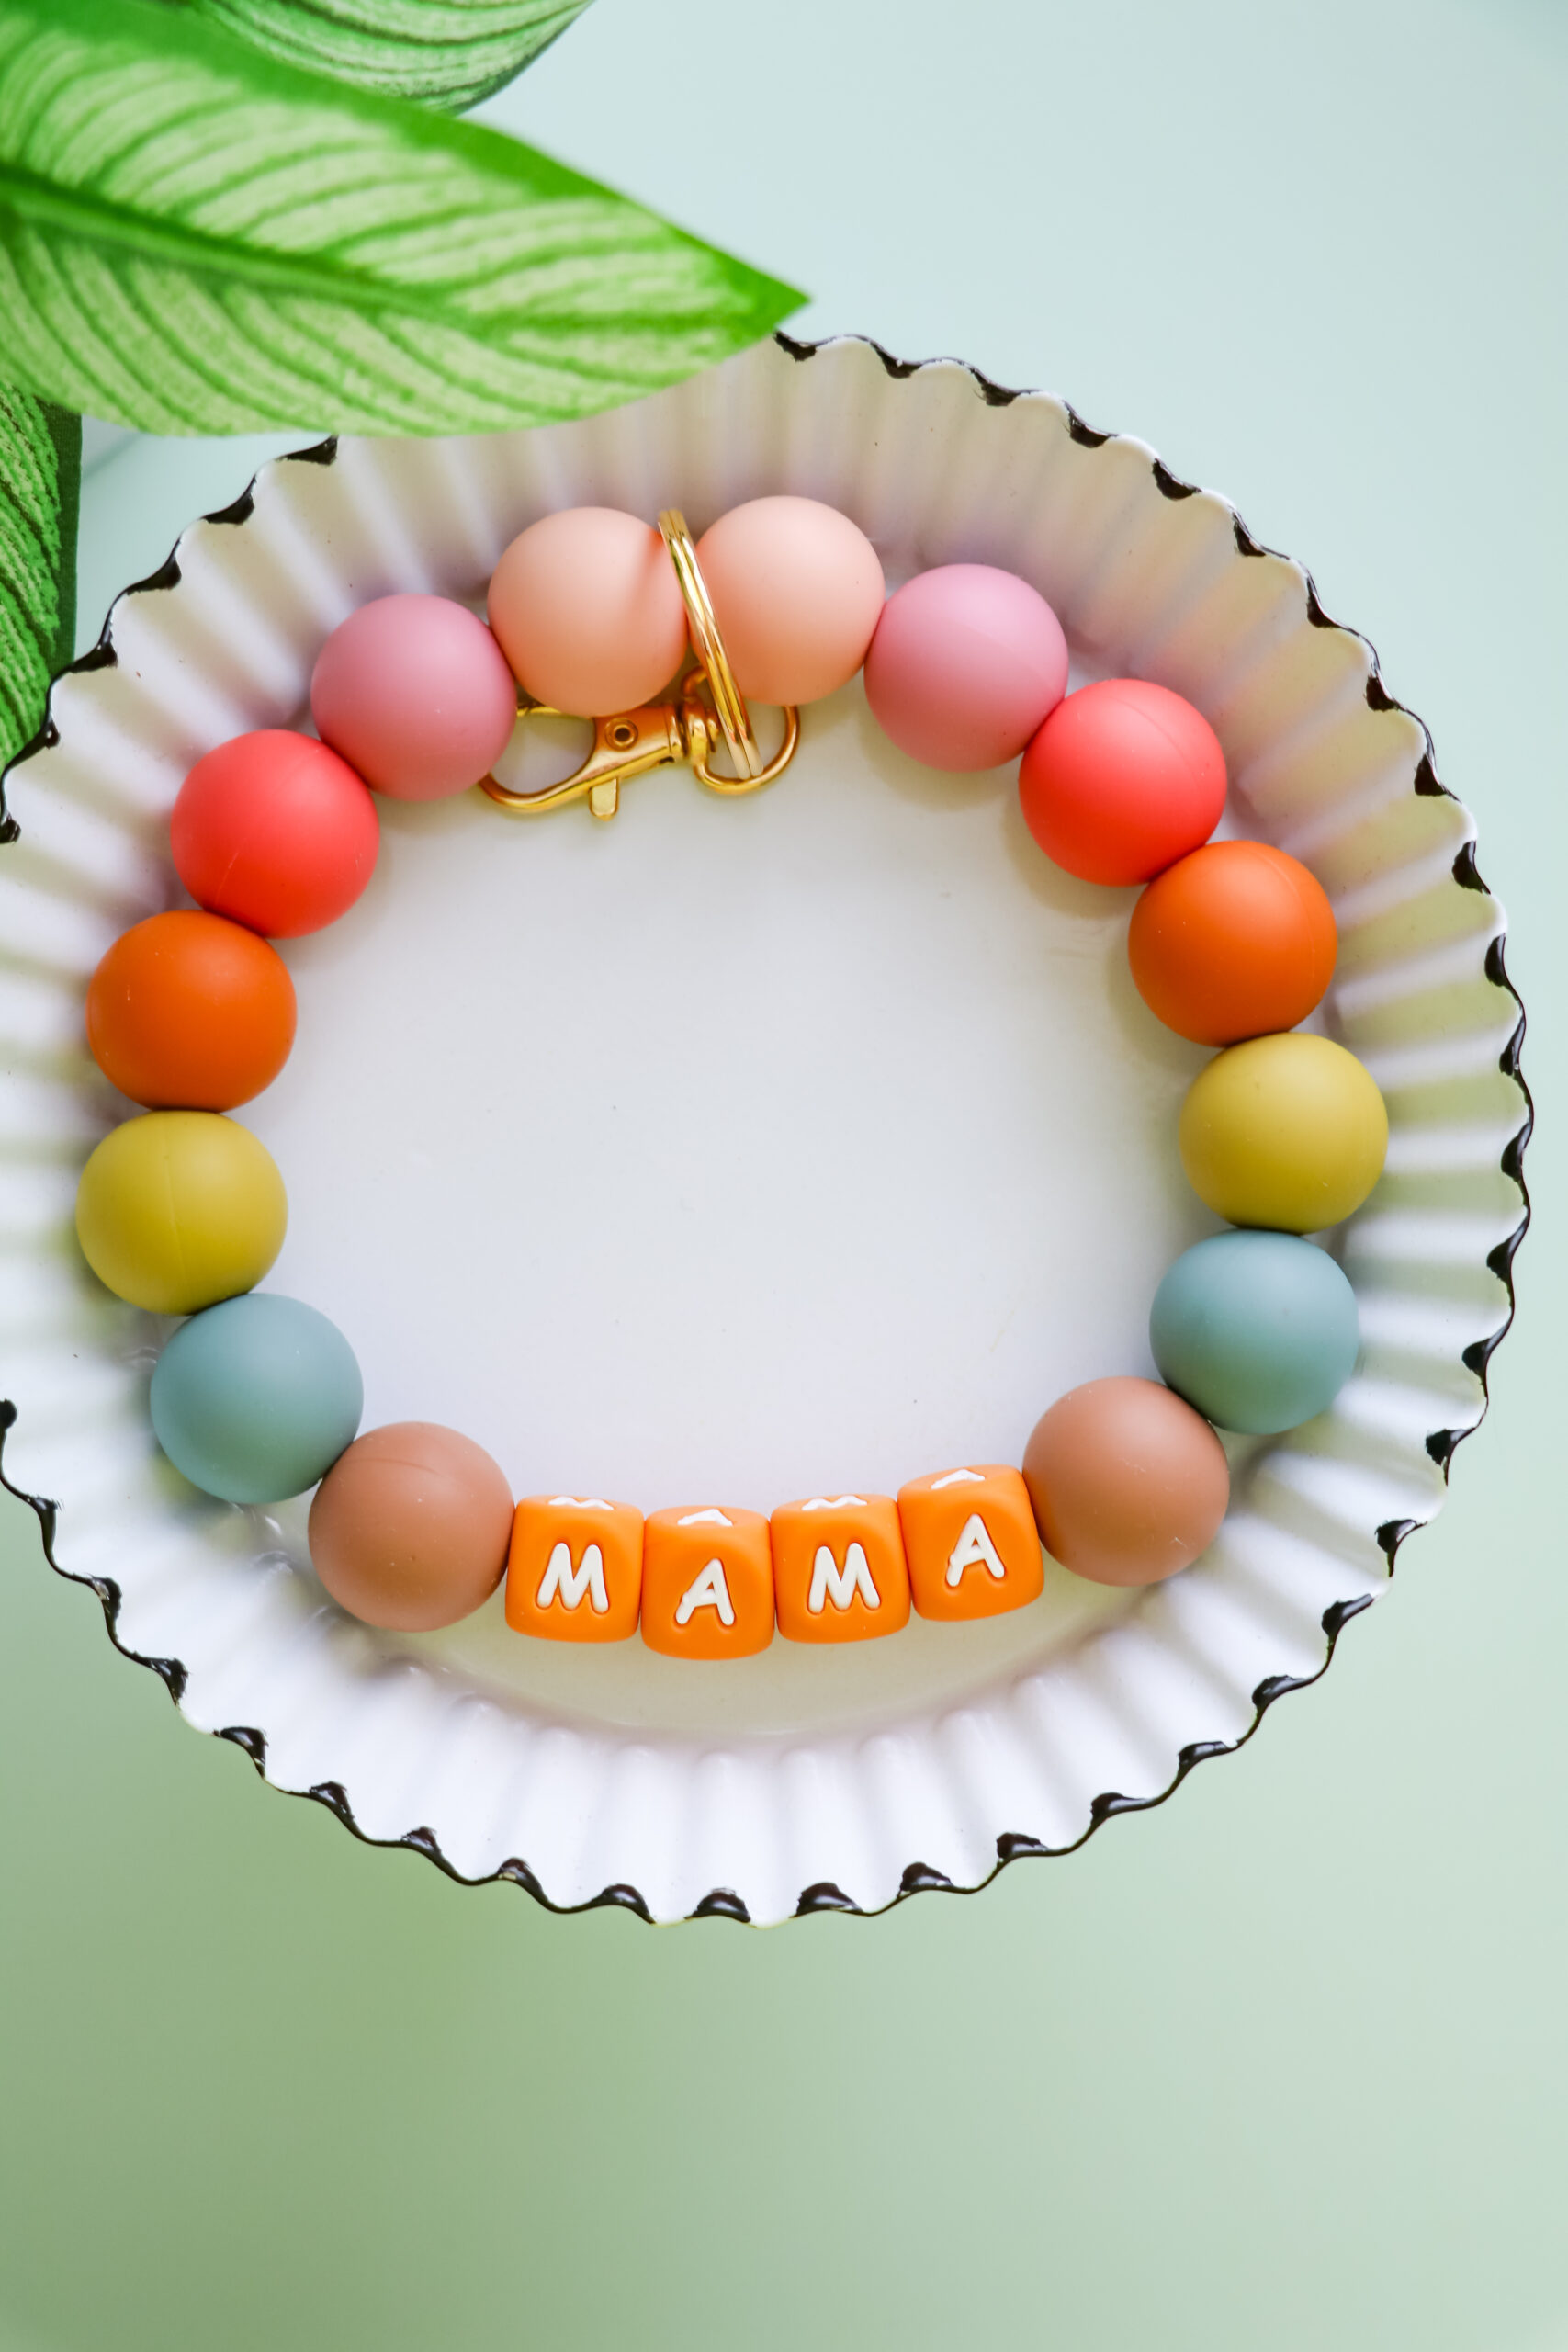
Silicone Beaded Keychain Wristlet
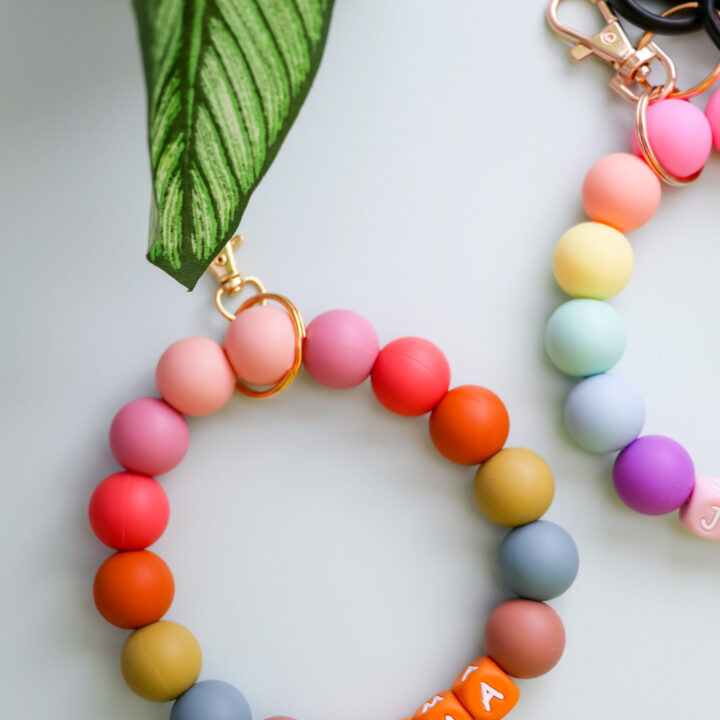
A beaded wristlet keychain is easy to make and makes a great gift. They’re super easy to make, affordable, and so cute! You can add names to them or just colorful silicone beads.
Grab some leopard beads for a leopard keychain wristlet, glitter beads for a glitter keychain, and much more! Ready to get started on your DIY silicone bead keychain? Get all the supplies and step-by-step tutorial below!
Where to Buy Silicone Beads
Here are my favorite places to get silicone beads for keychains.
Etsy – There are a ton of shops on there, but I ordered from ChewsMe. My order shipped quickly and they have a good selection of beads.
My Pretty Posh Princess – Ships quickly and is local to Colorado!
Cara & Co – They have a huge selection of beads in various colors, patterns, and shapes. They also shipped quickly.
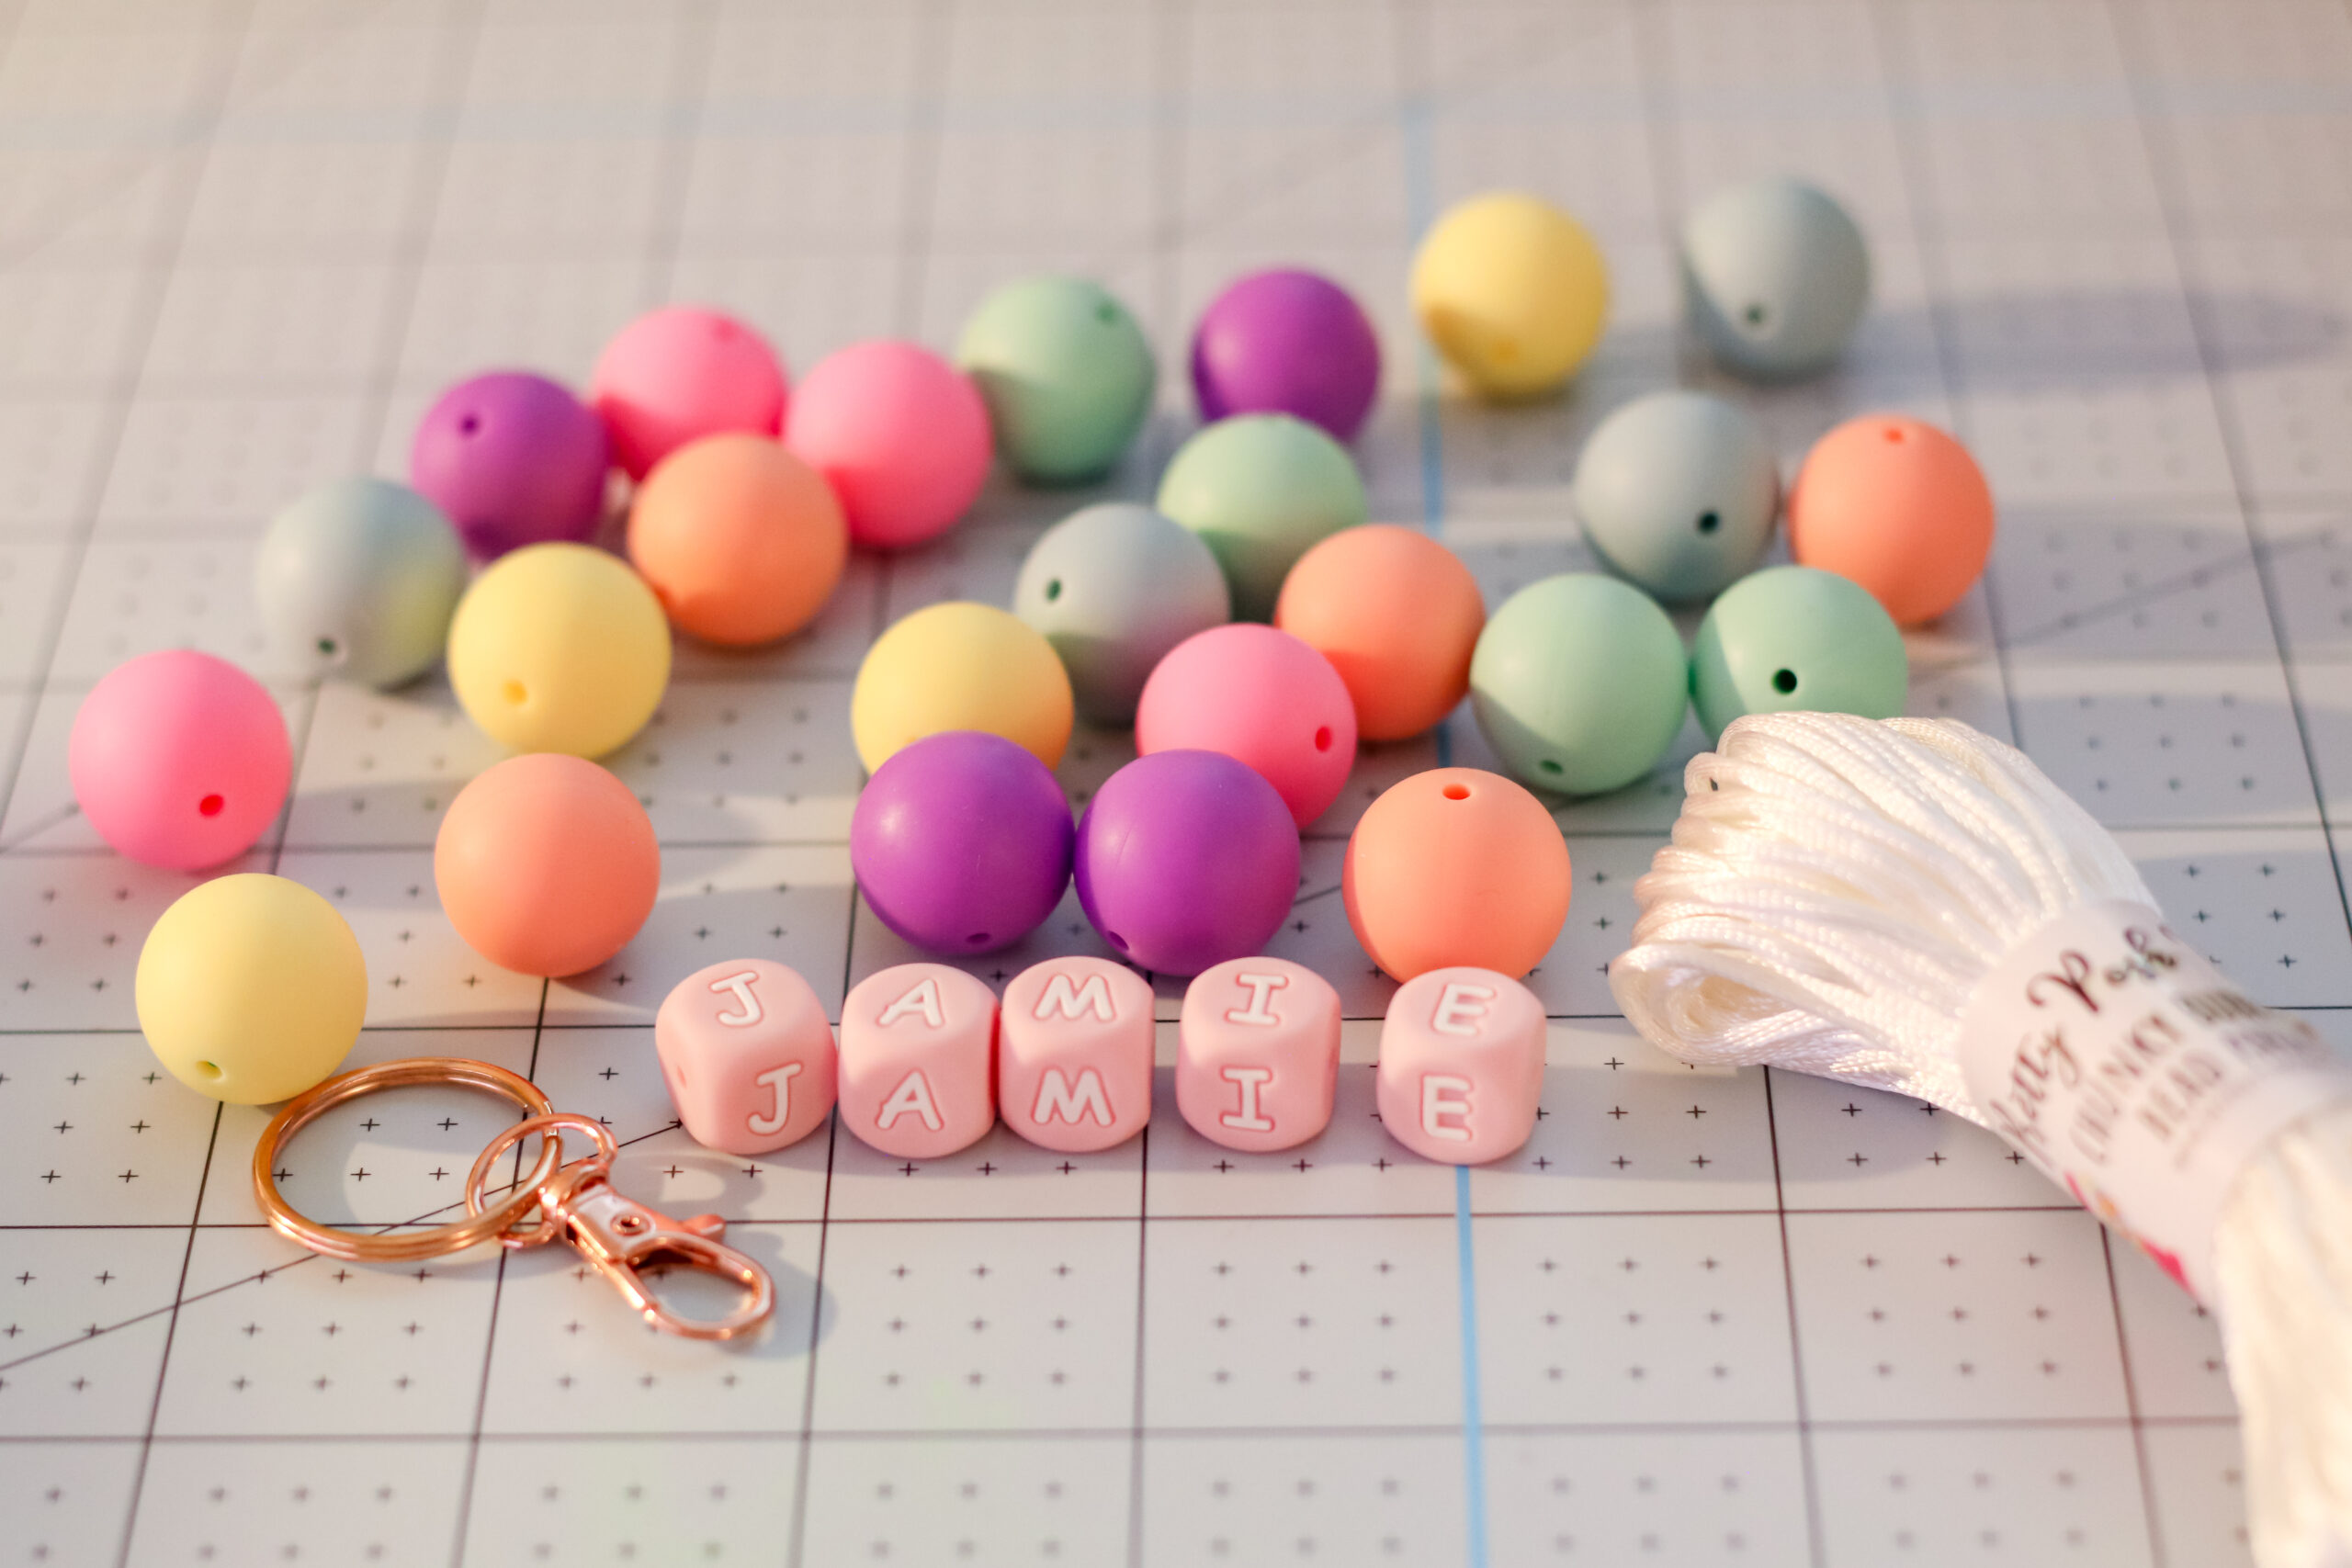
Supplies needed for Silicone Beaded Keychain Wristlet
- 19mm Silicone Beads x 18
- 25-inch piece of cord
- Scissors
- Lighter
- Crafting Needle
- Keychain with Lobster Claw

How to Make a Bead Keychain Wristlet
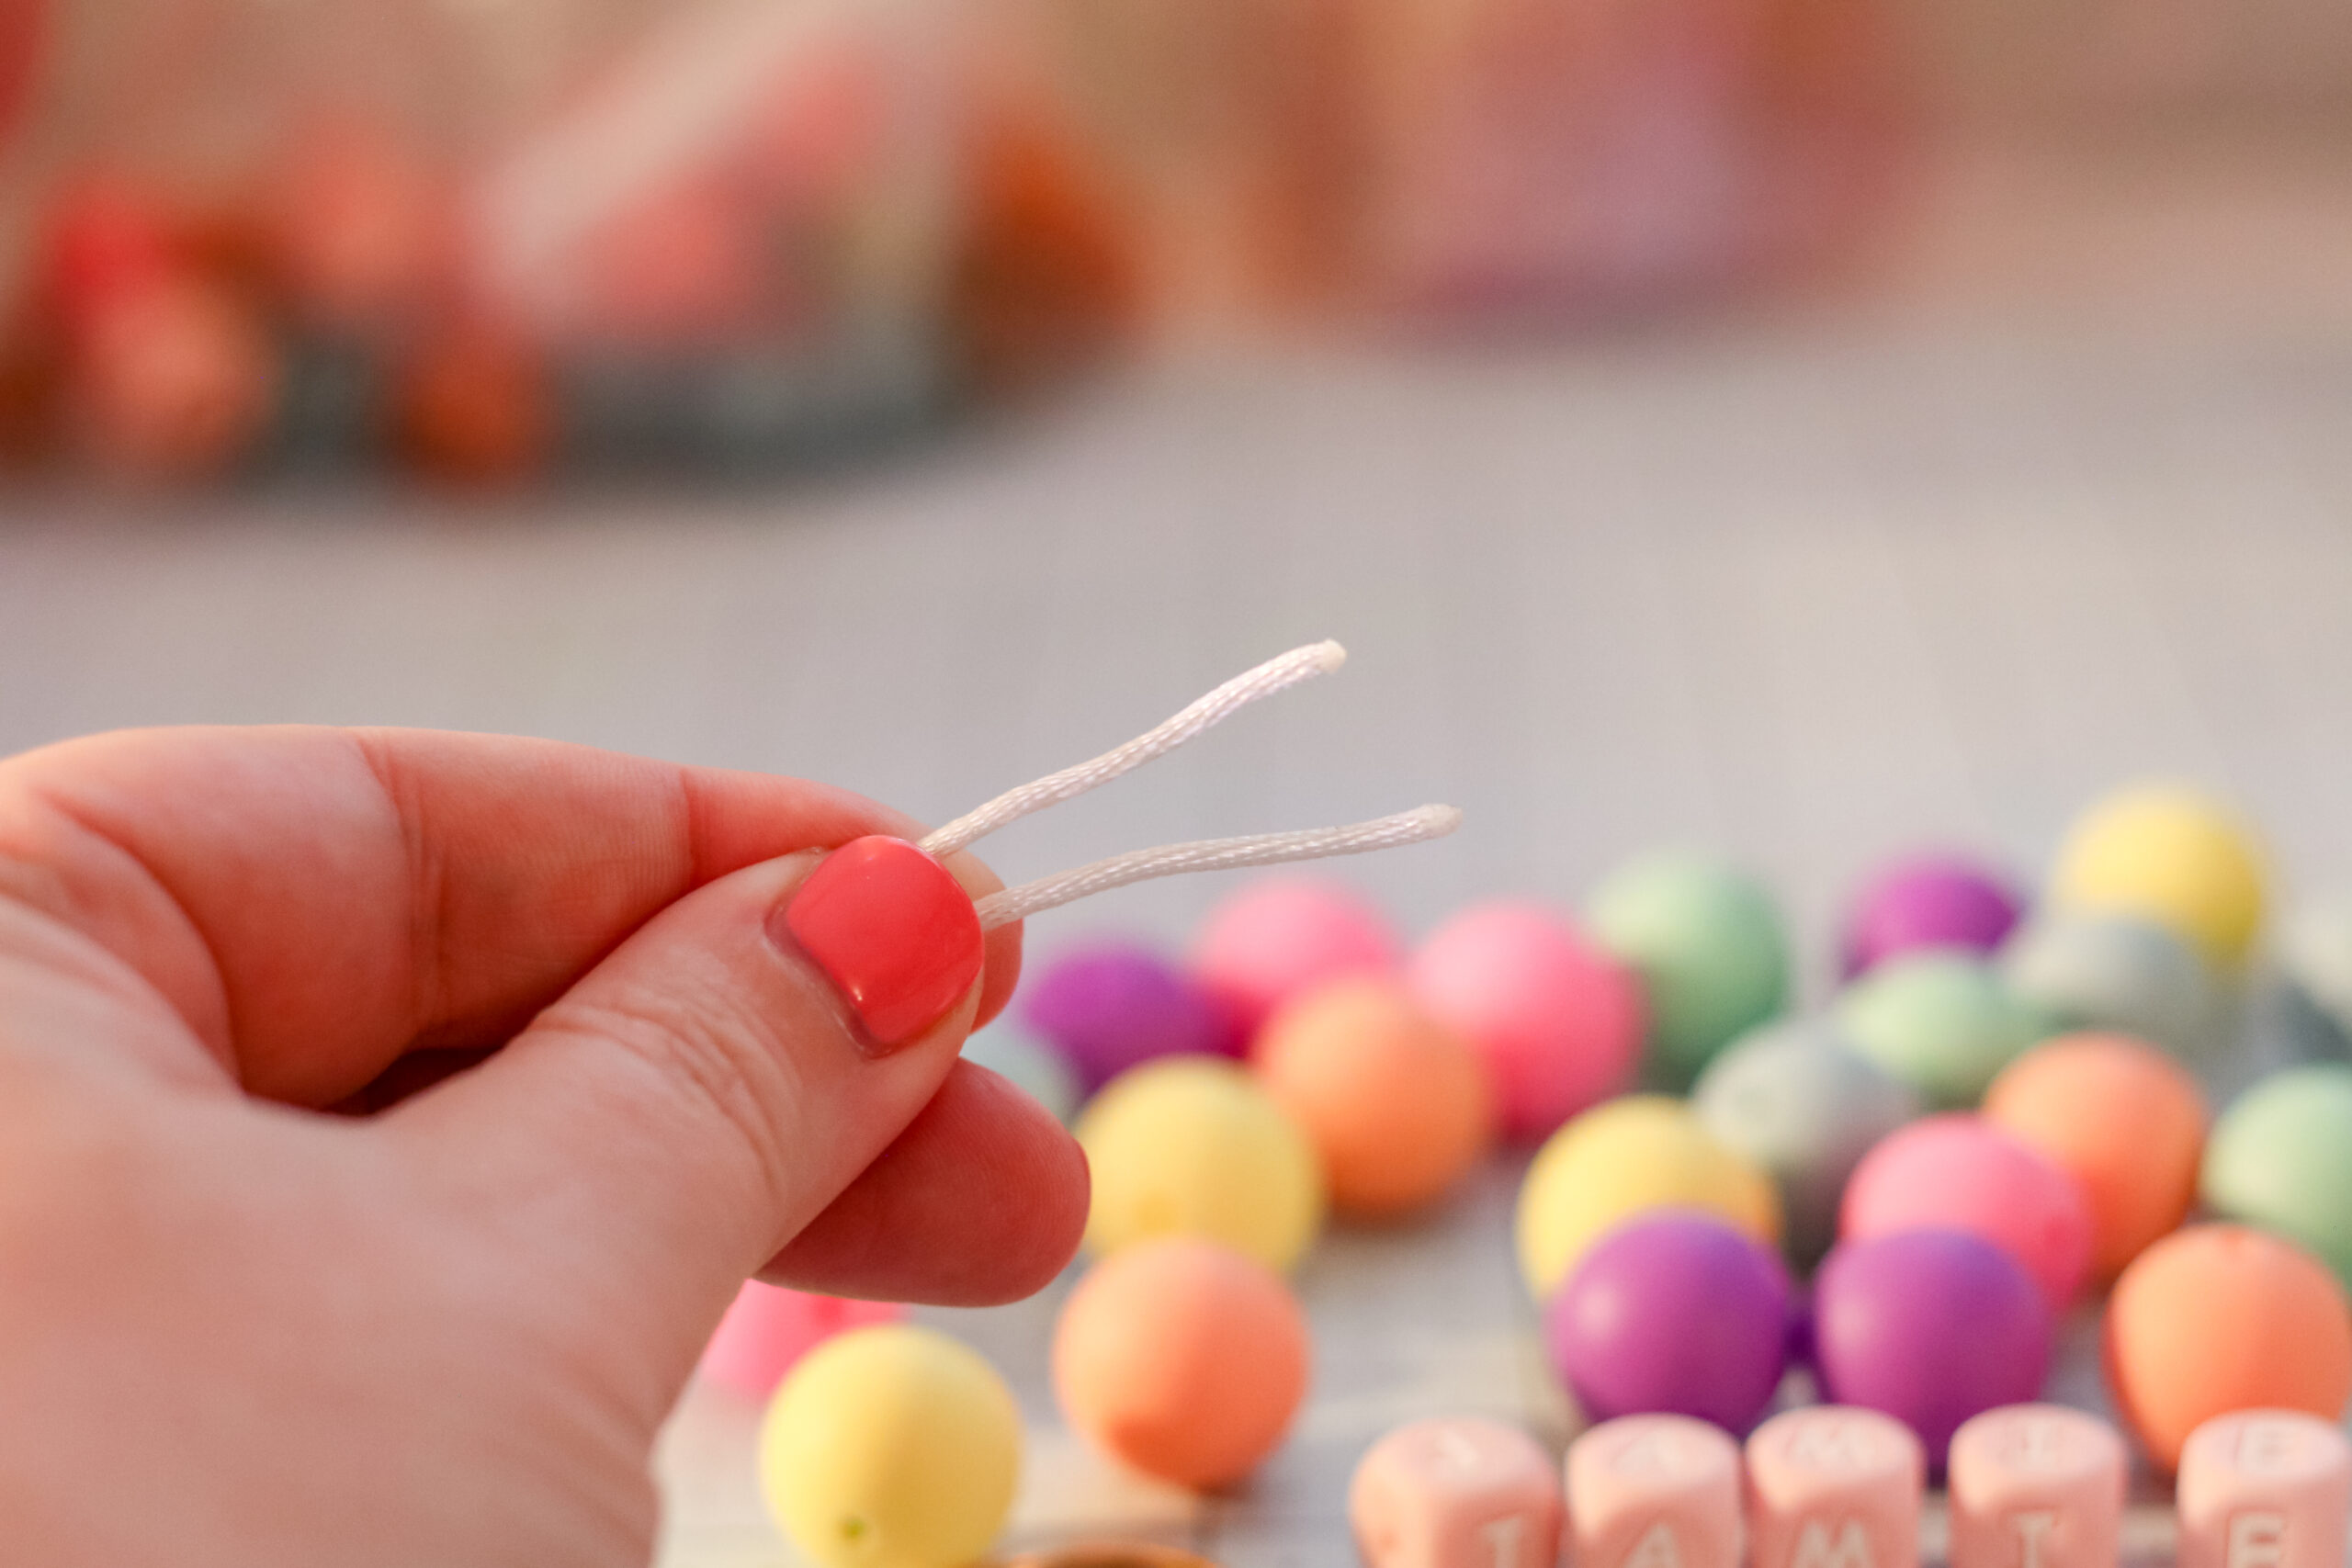
Take the ends of your cord and run your lighter over them to seal the ends. This helps to make beading easier and keeps the cord from fraying. You only need to run the lighter for 1-2 seconds.
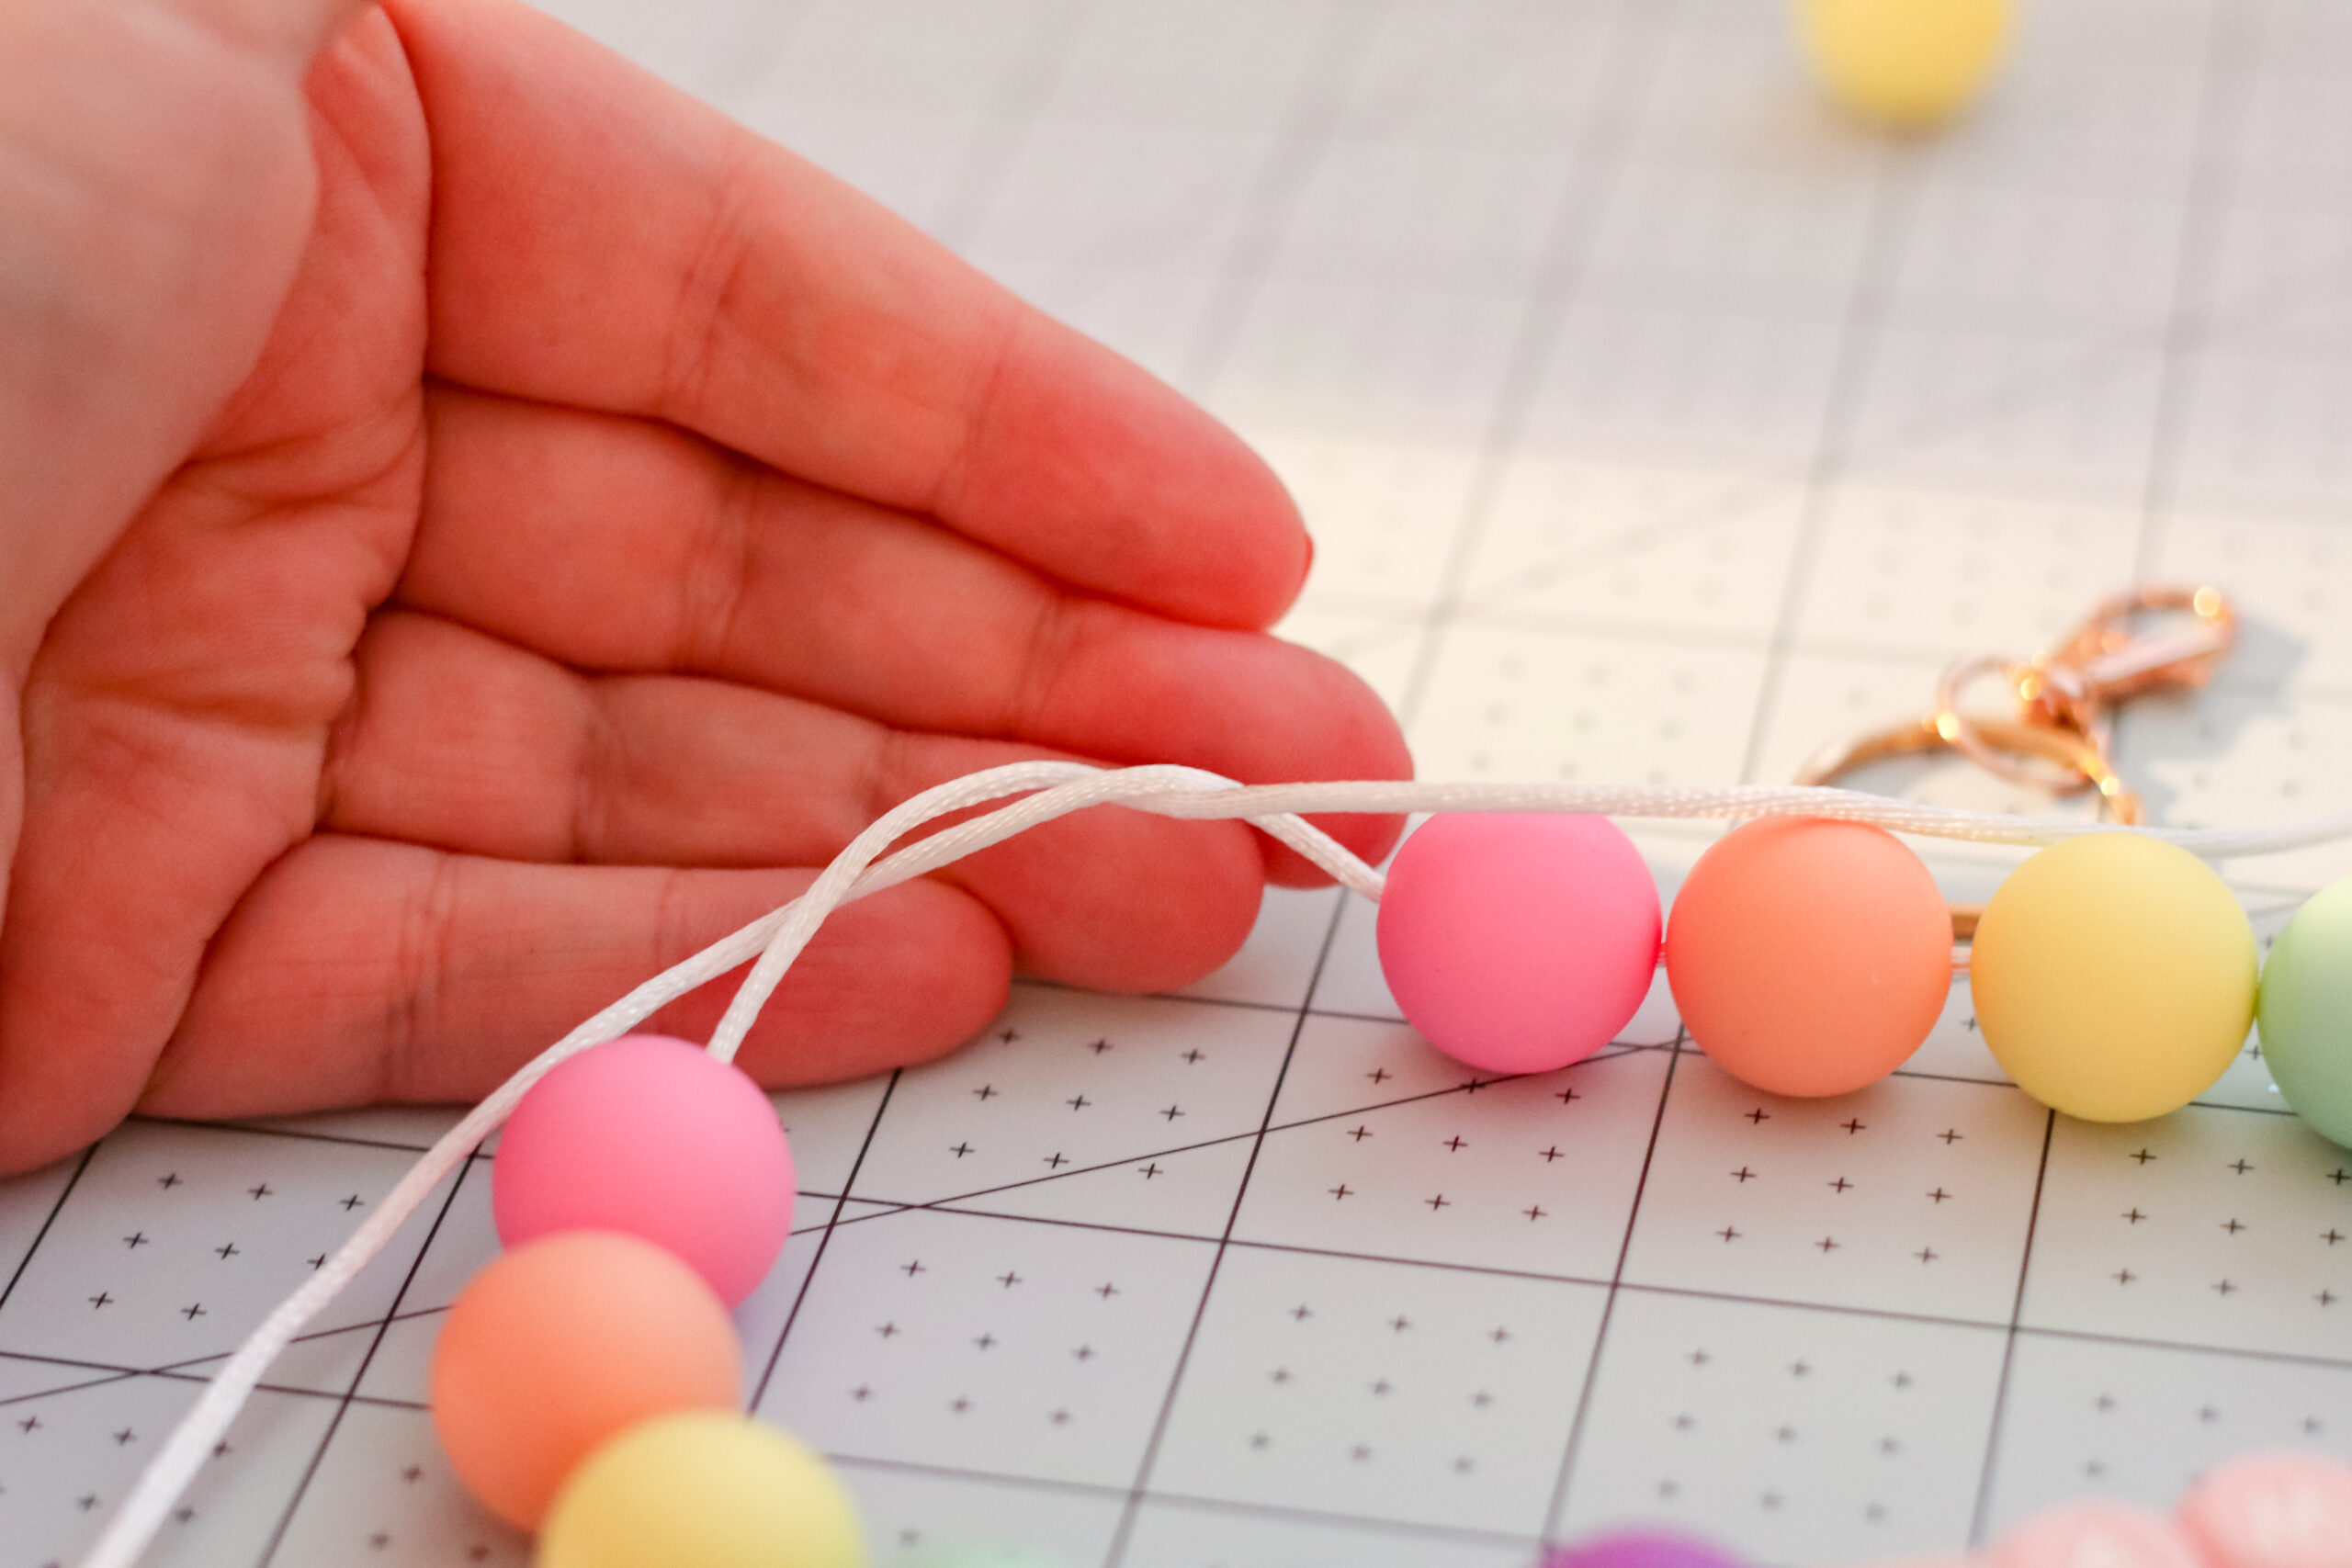
String all of your beads onto the cord into a color pattern of your choosing. If you are adding name/letter beads add half your beads, letters, and then the rest of the beads.

Add the keyring to the string, over the beads.
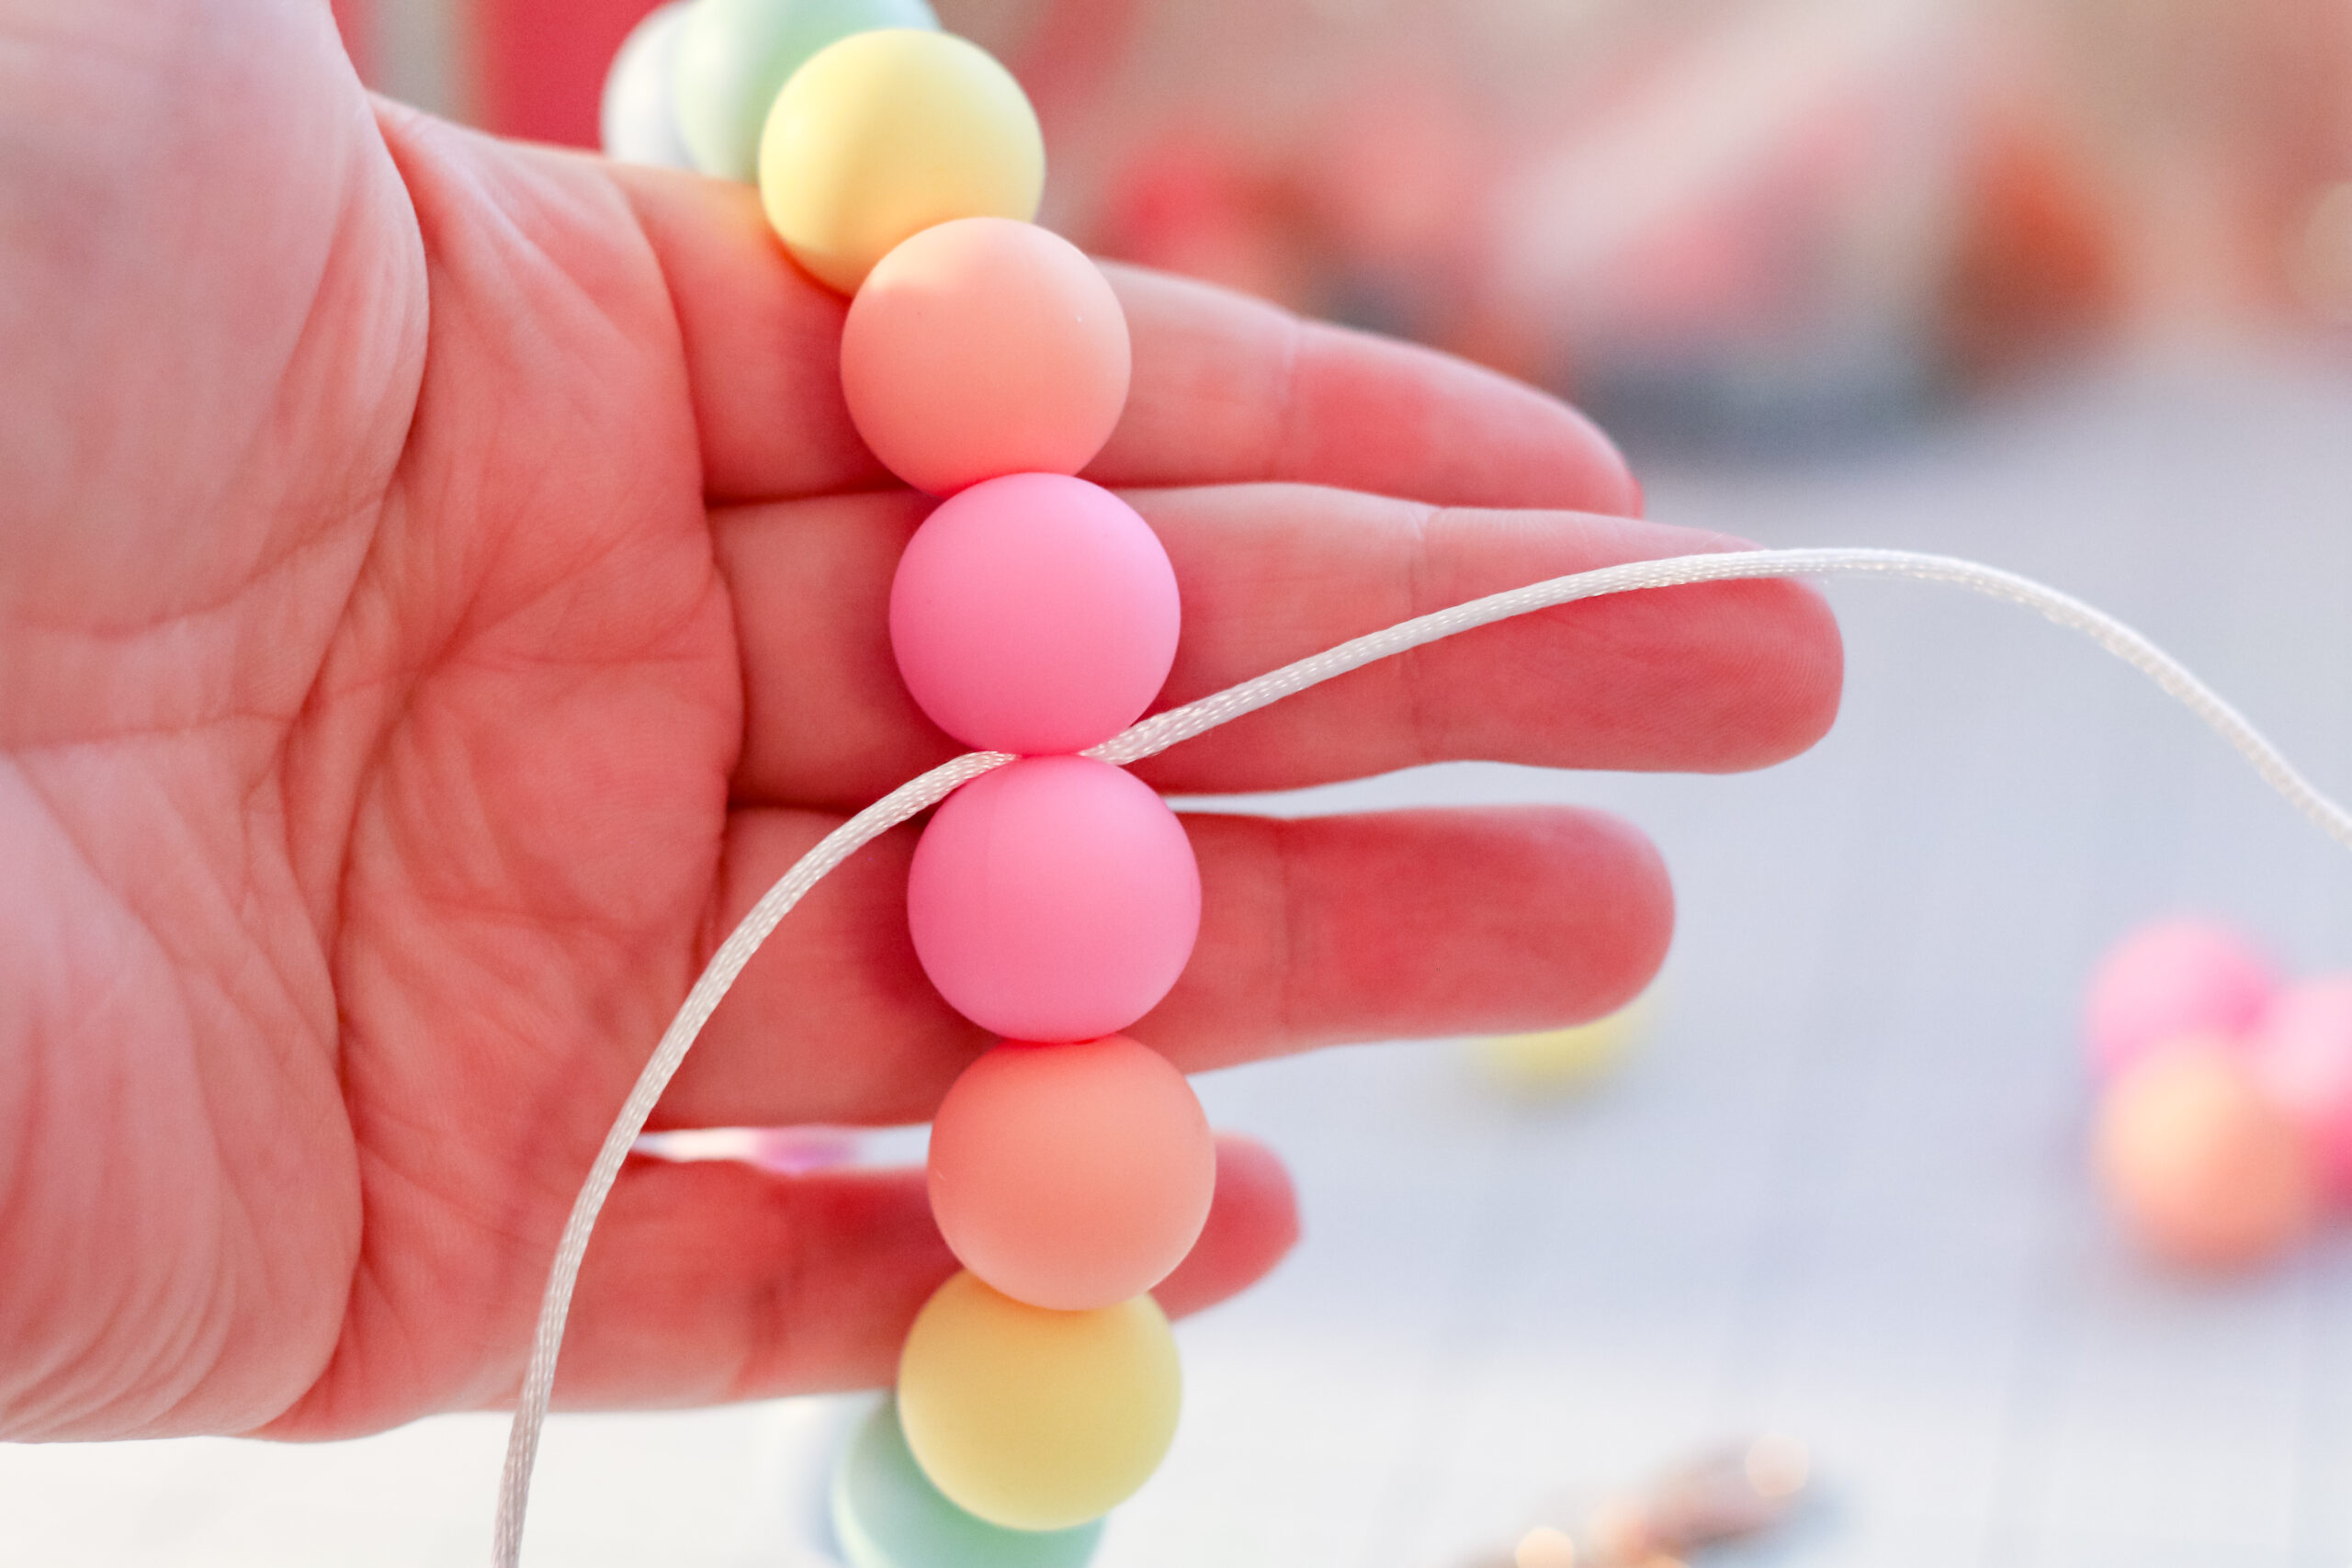
Tie the cord into a double knot, as tight as you can. I do one knot, pull really tight, and then do the second knot, pulling very tight again.
Take your crafting needle and thread one of the strings through it.
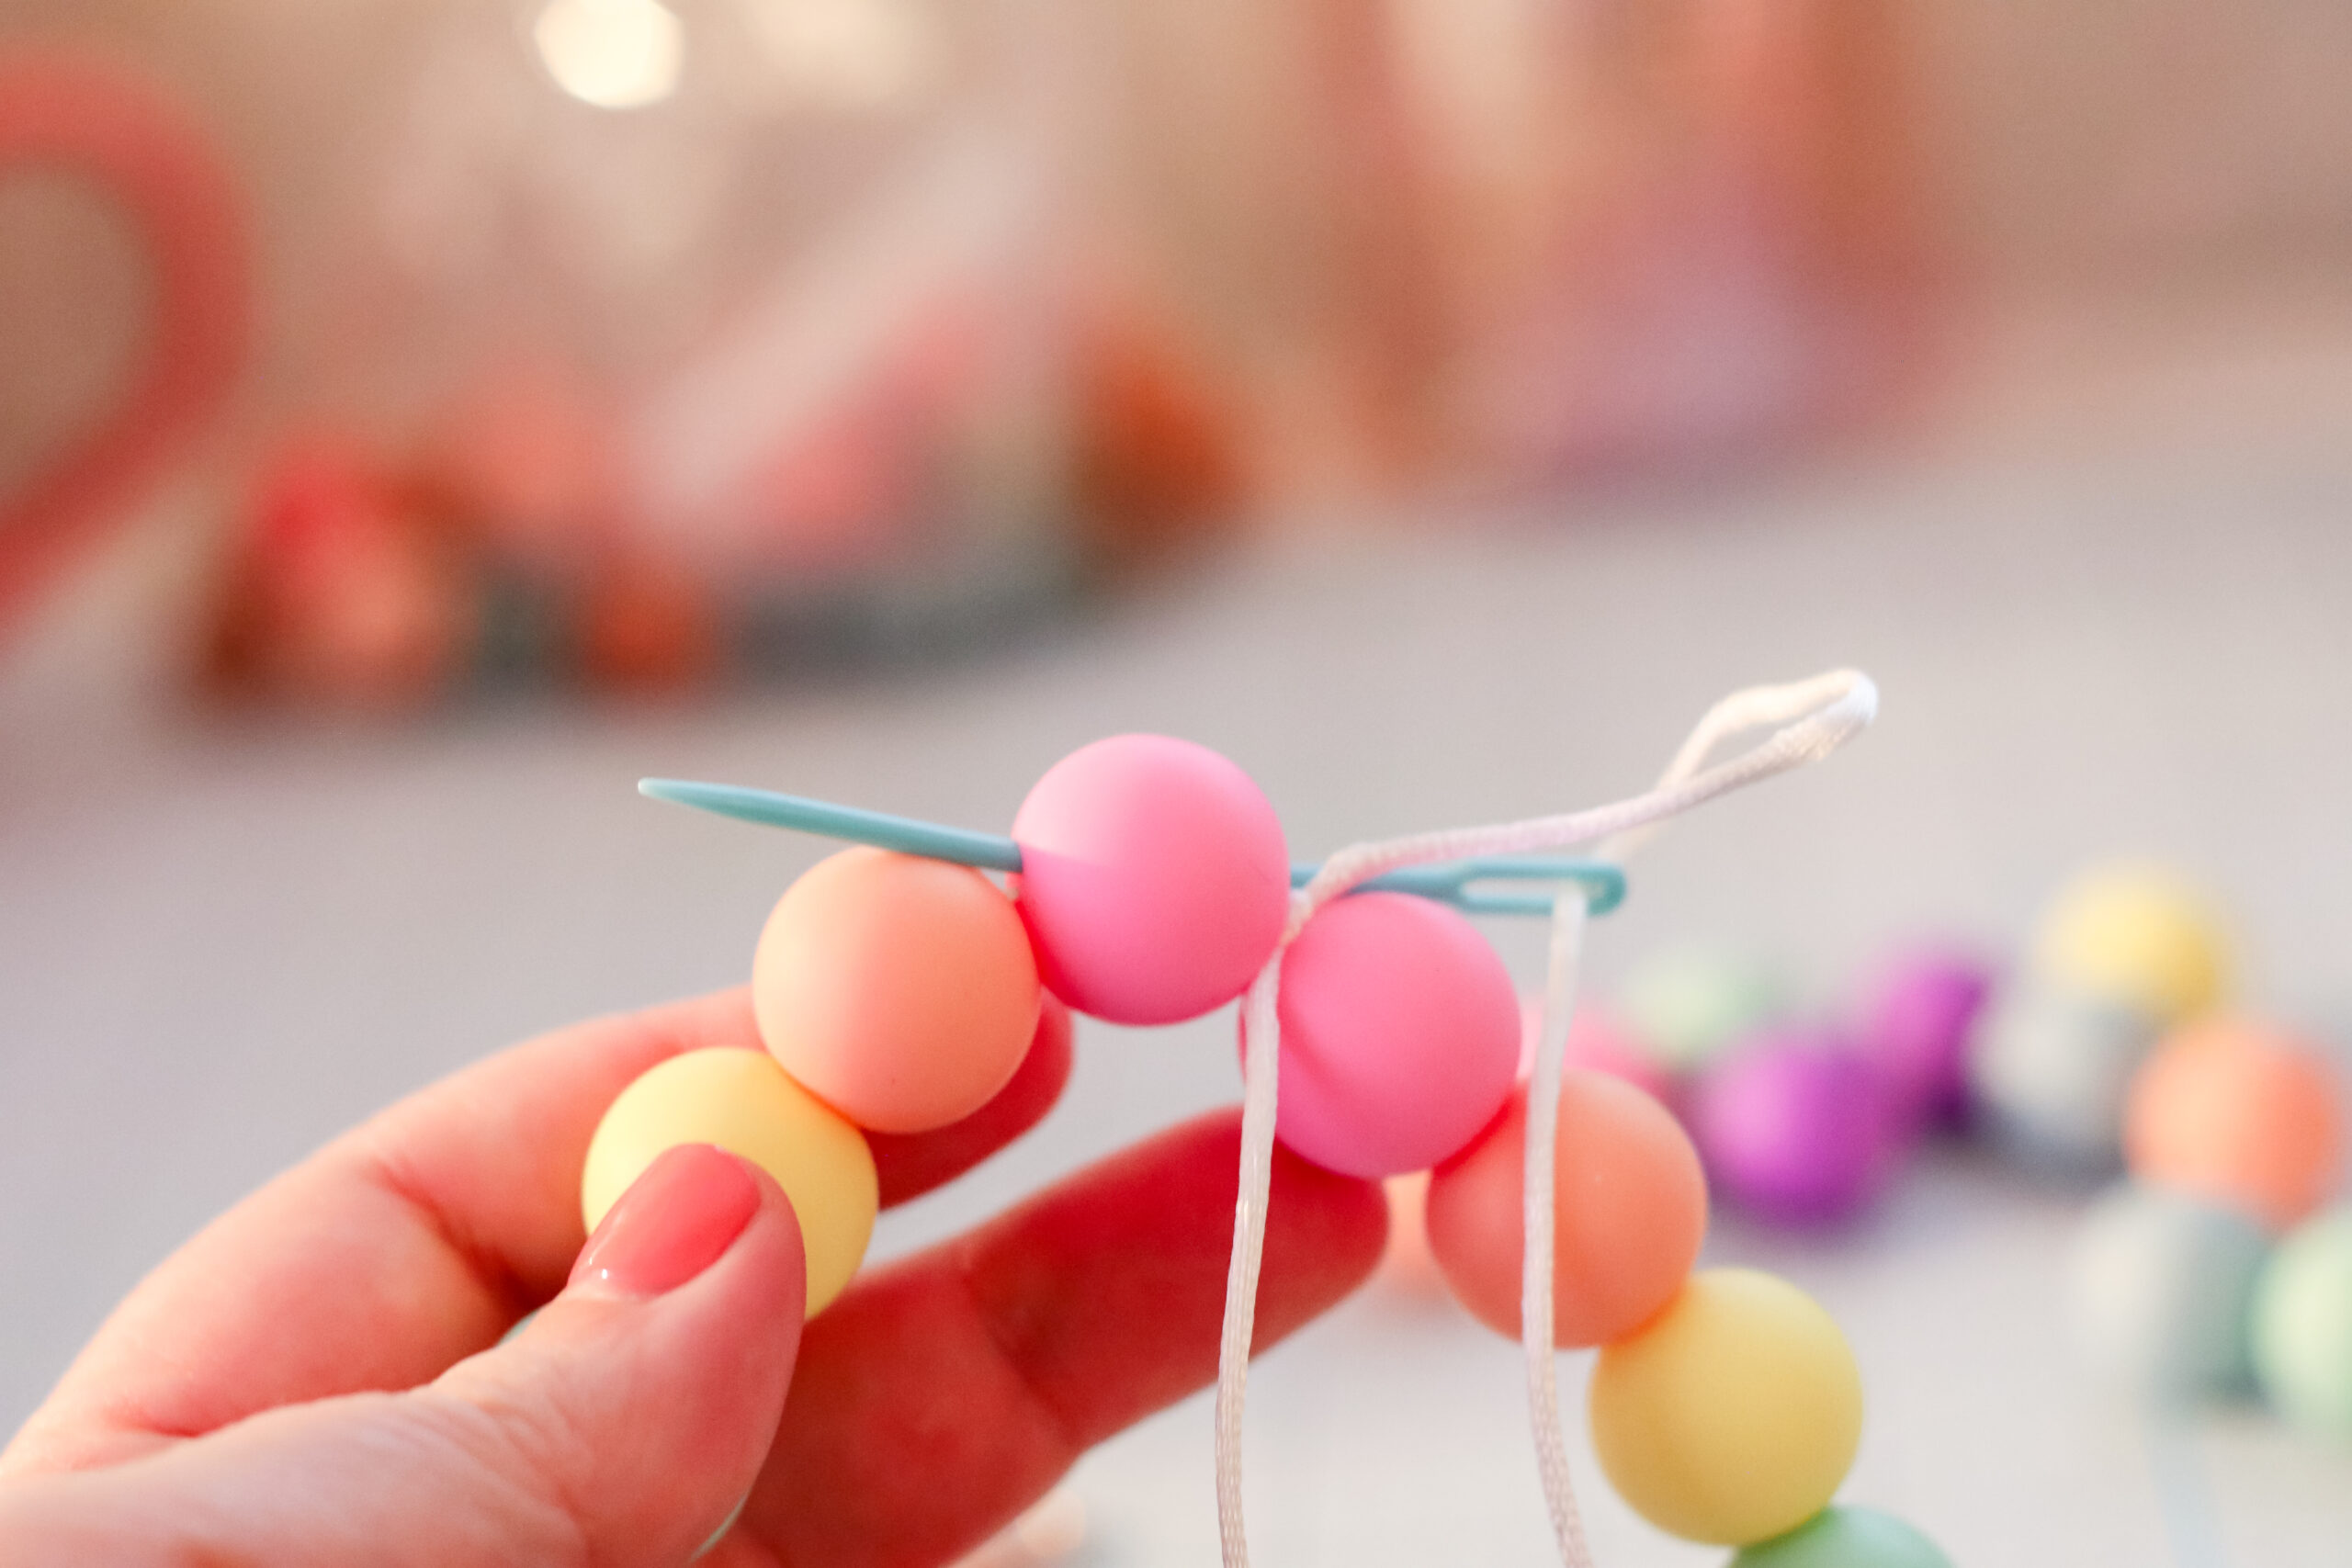
Thread the string through one of the beads, carefully. You might need a pair of crafting pliers to help you pull the needle all the way through the bead.
One the string is through the bead remove the needle. Pull the string tightly so the knot ends up inside the bead. This will hide the knot and help to protect it.
Cut the strings as close to the bead as possible.
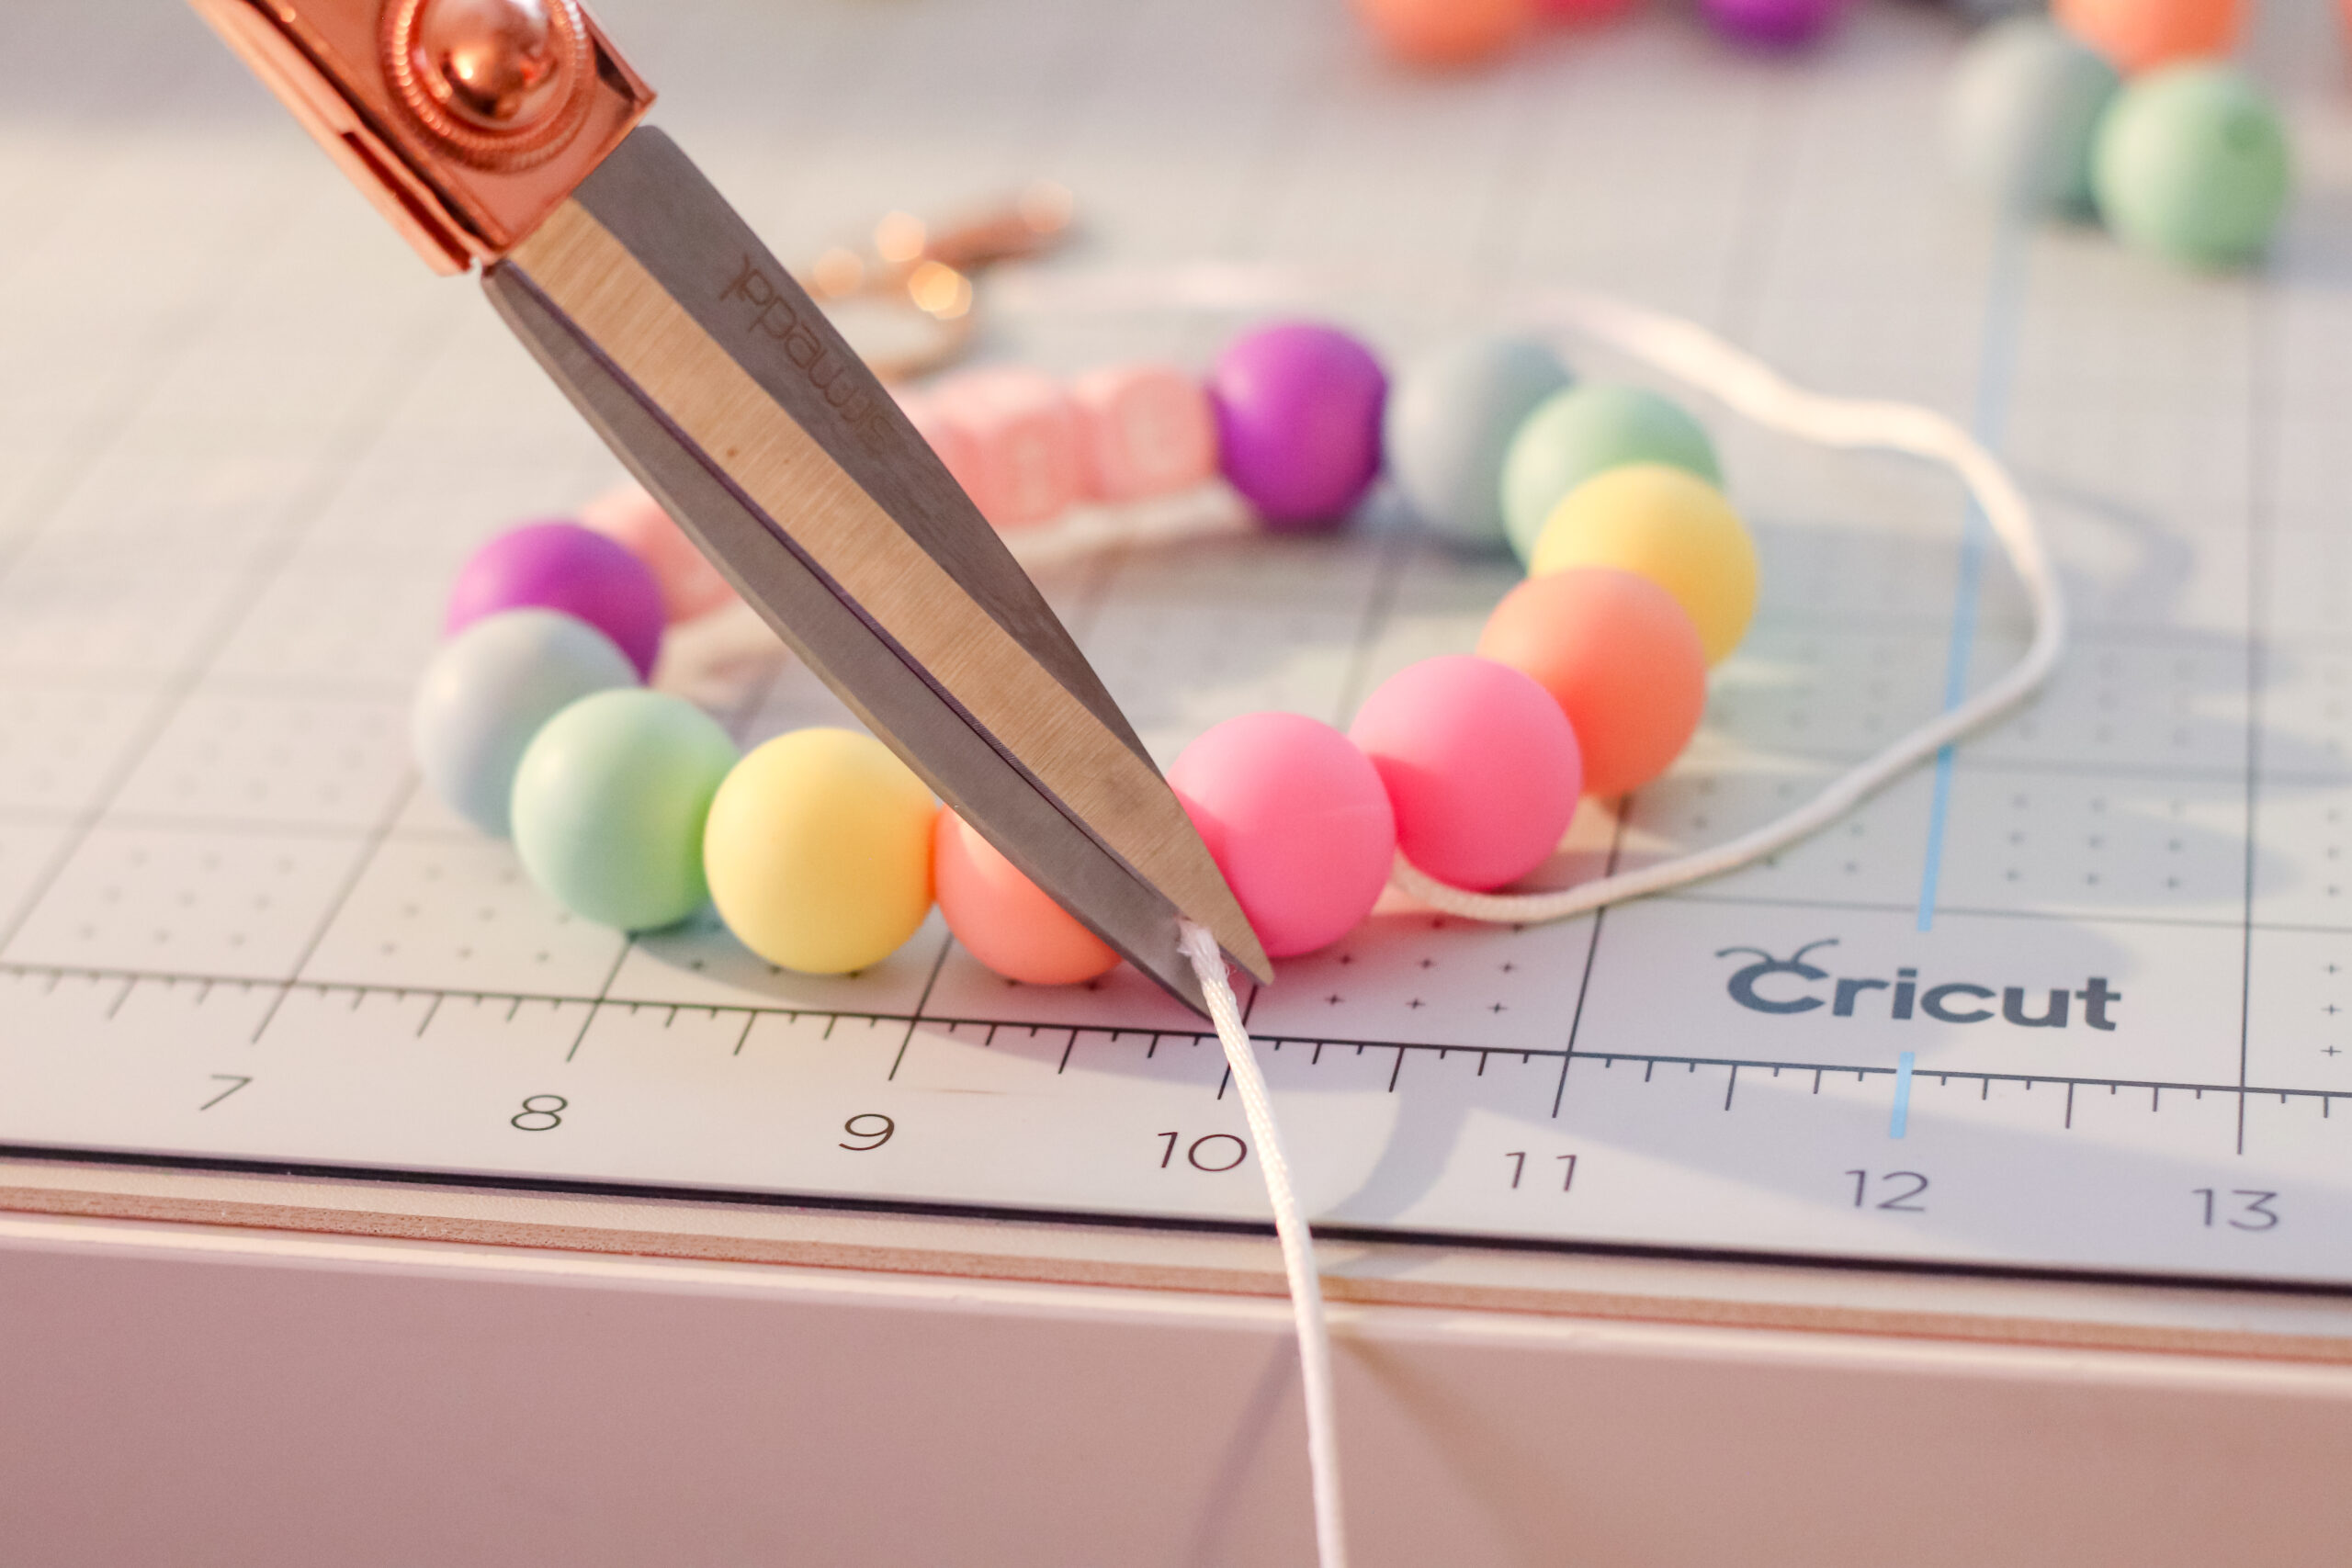
Run the lighter over the cut ends to seal them. You’ll want the ends to melt and end up inside of the bead.
Your keychain wristlet is all done!

Silicone Bead Keychain Wristlet
An easy, cute, and stylish keychain tutorial. Learn how to make a keychain wristlet with silicone beads.
Materials
- 19mm Silicone Beads x 18
- 25 inch piece of cord
- Scissors
- Lighter
- Crafting Needle
- Keychain with Lobster Claw
Tools
Instructions
- Take the ends of your cord and run your lighter over them to seal the ends. This helps to make beading easier and keeps the cord from fraying. You only need to run the lighter for 1-2 seconds.
- String all of your beads onto the cord into a color pattern of your choosing. If you are adding name/letter beads add half your beads, letters, and then the rest of the beads.
- Add the keyring to the string, over the beads.
- Tie the cord into a double knot, as tight as you can. I do one knot, pull really tight, and then do the second knot, pulling very tight again.
- Take your crafting needle and thread one of the strings through it.
- Thread the string through one of the beads, carefully. You might need a pair of crafting pliers to help you pull the needle all the way through the bead.
- One the string is through the bead remove the needle. Pull the string tightly so the knot ends up inside the bead. This will hide the knot and help to protect it.
- Cut the strings as close to the bead as possible.
- Run the lighter over the cut ends to seal them. You'll want the ends to melt and end up inside of the bead.
- Your keychain wristlet is all done!
Notes
You can use acrylic bubblegum beads instead of silicone. I found that I only needed 14 of those beads to make a wristlet. Follow all the same steps as above!
Jackie Brown
Saturday 31st of August 2024
I made a key chain, and it came out amazing.