
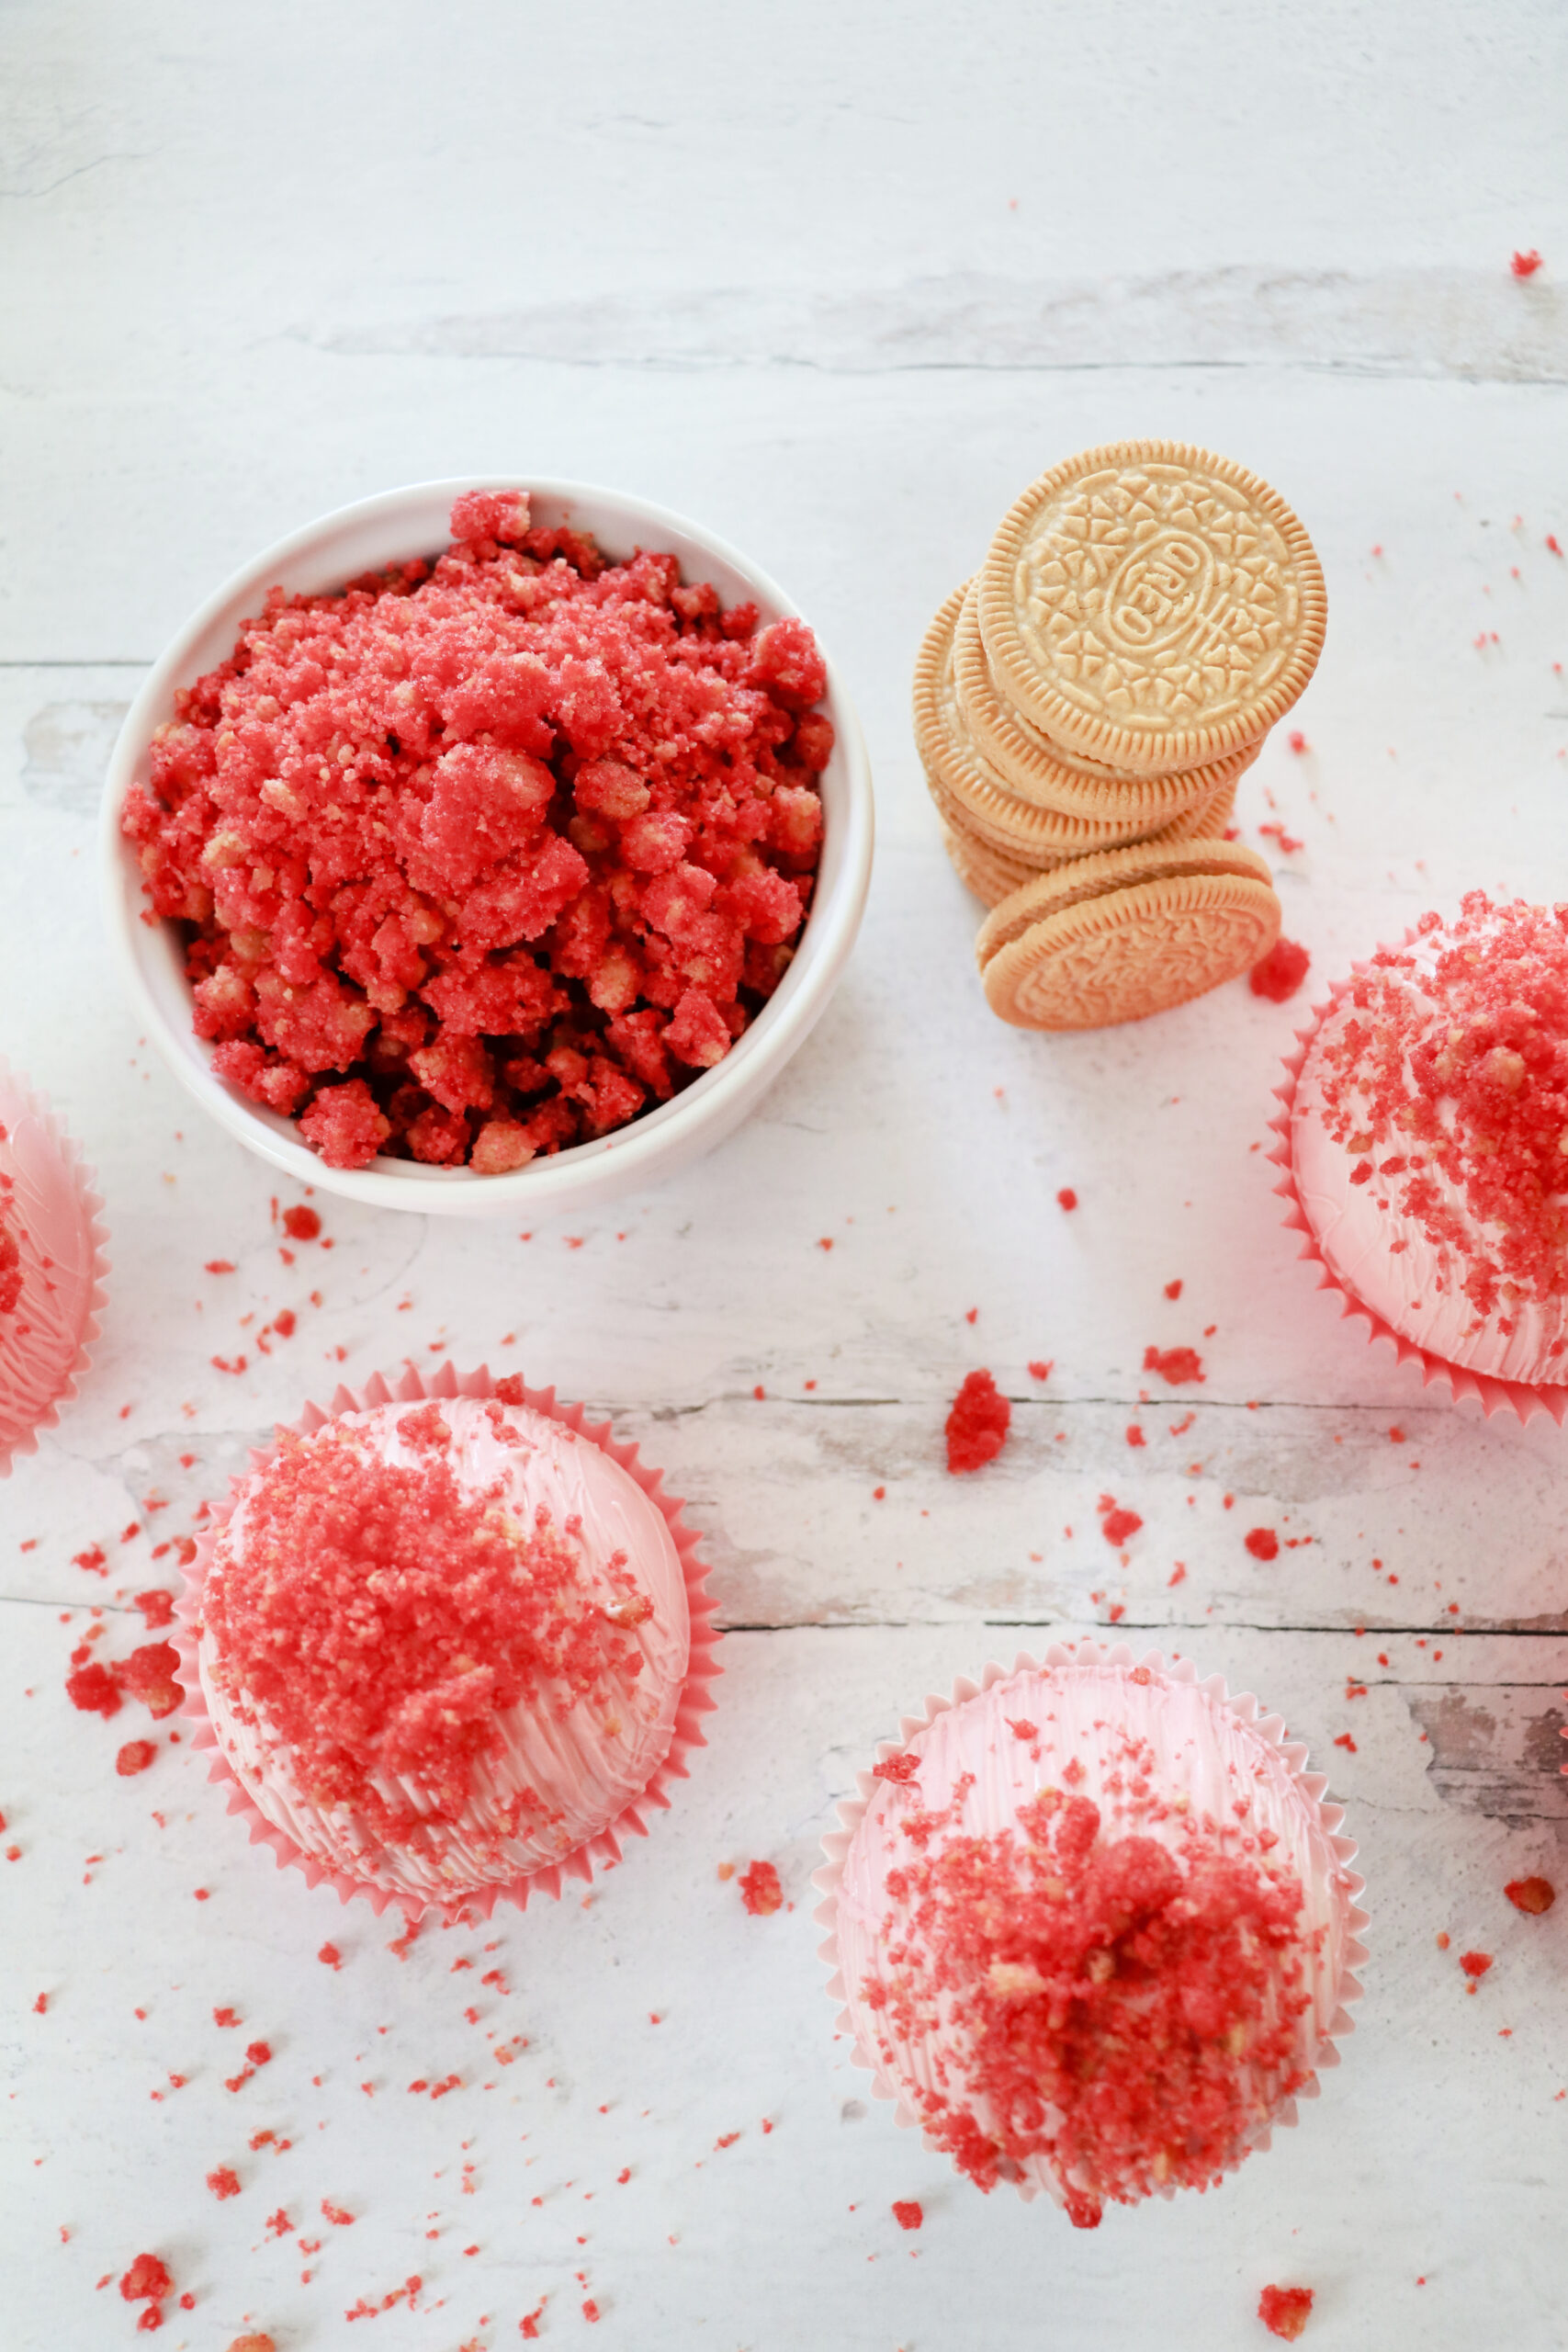
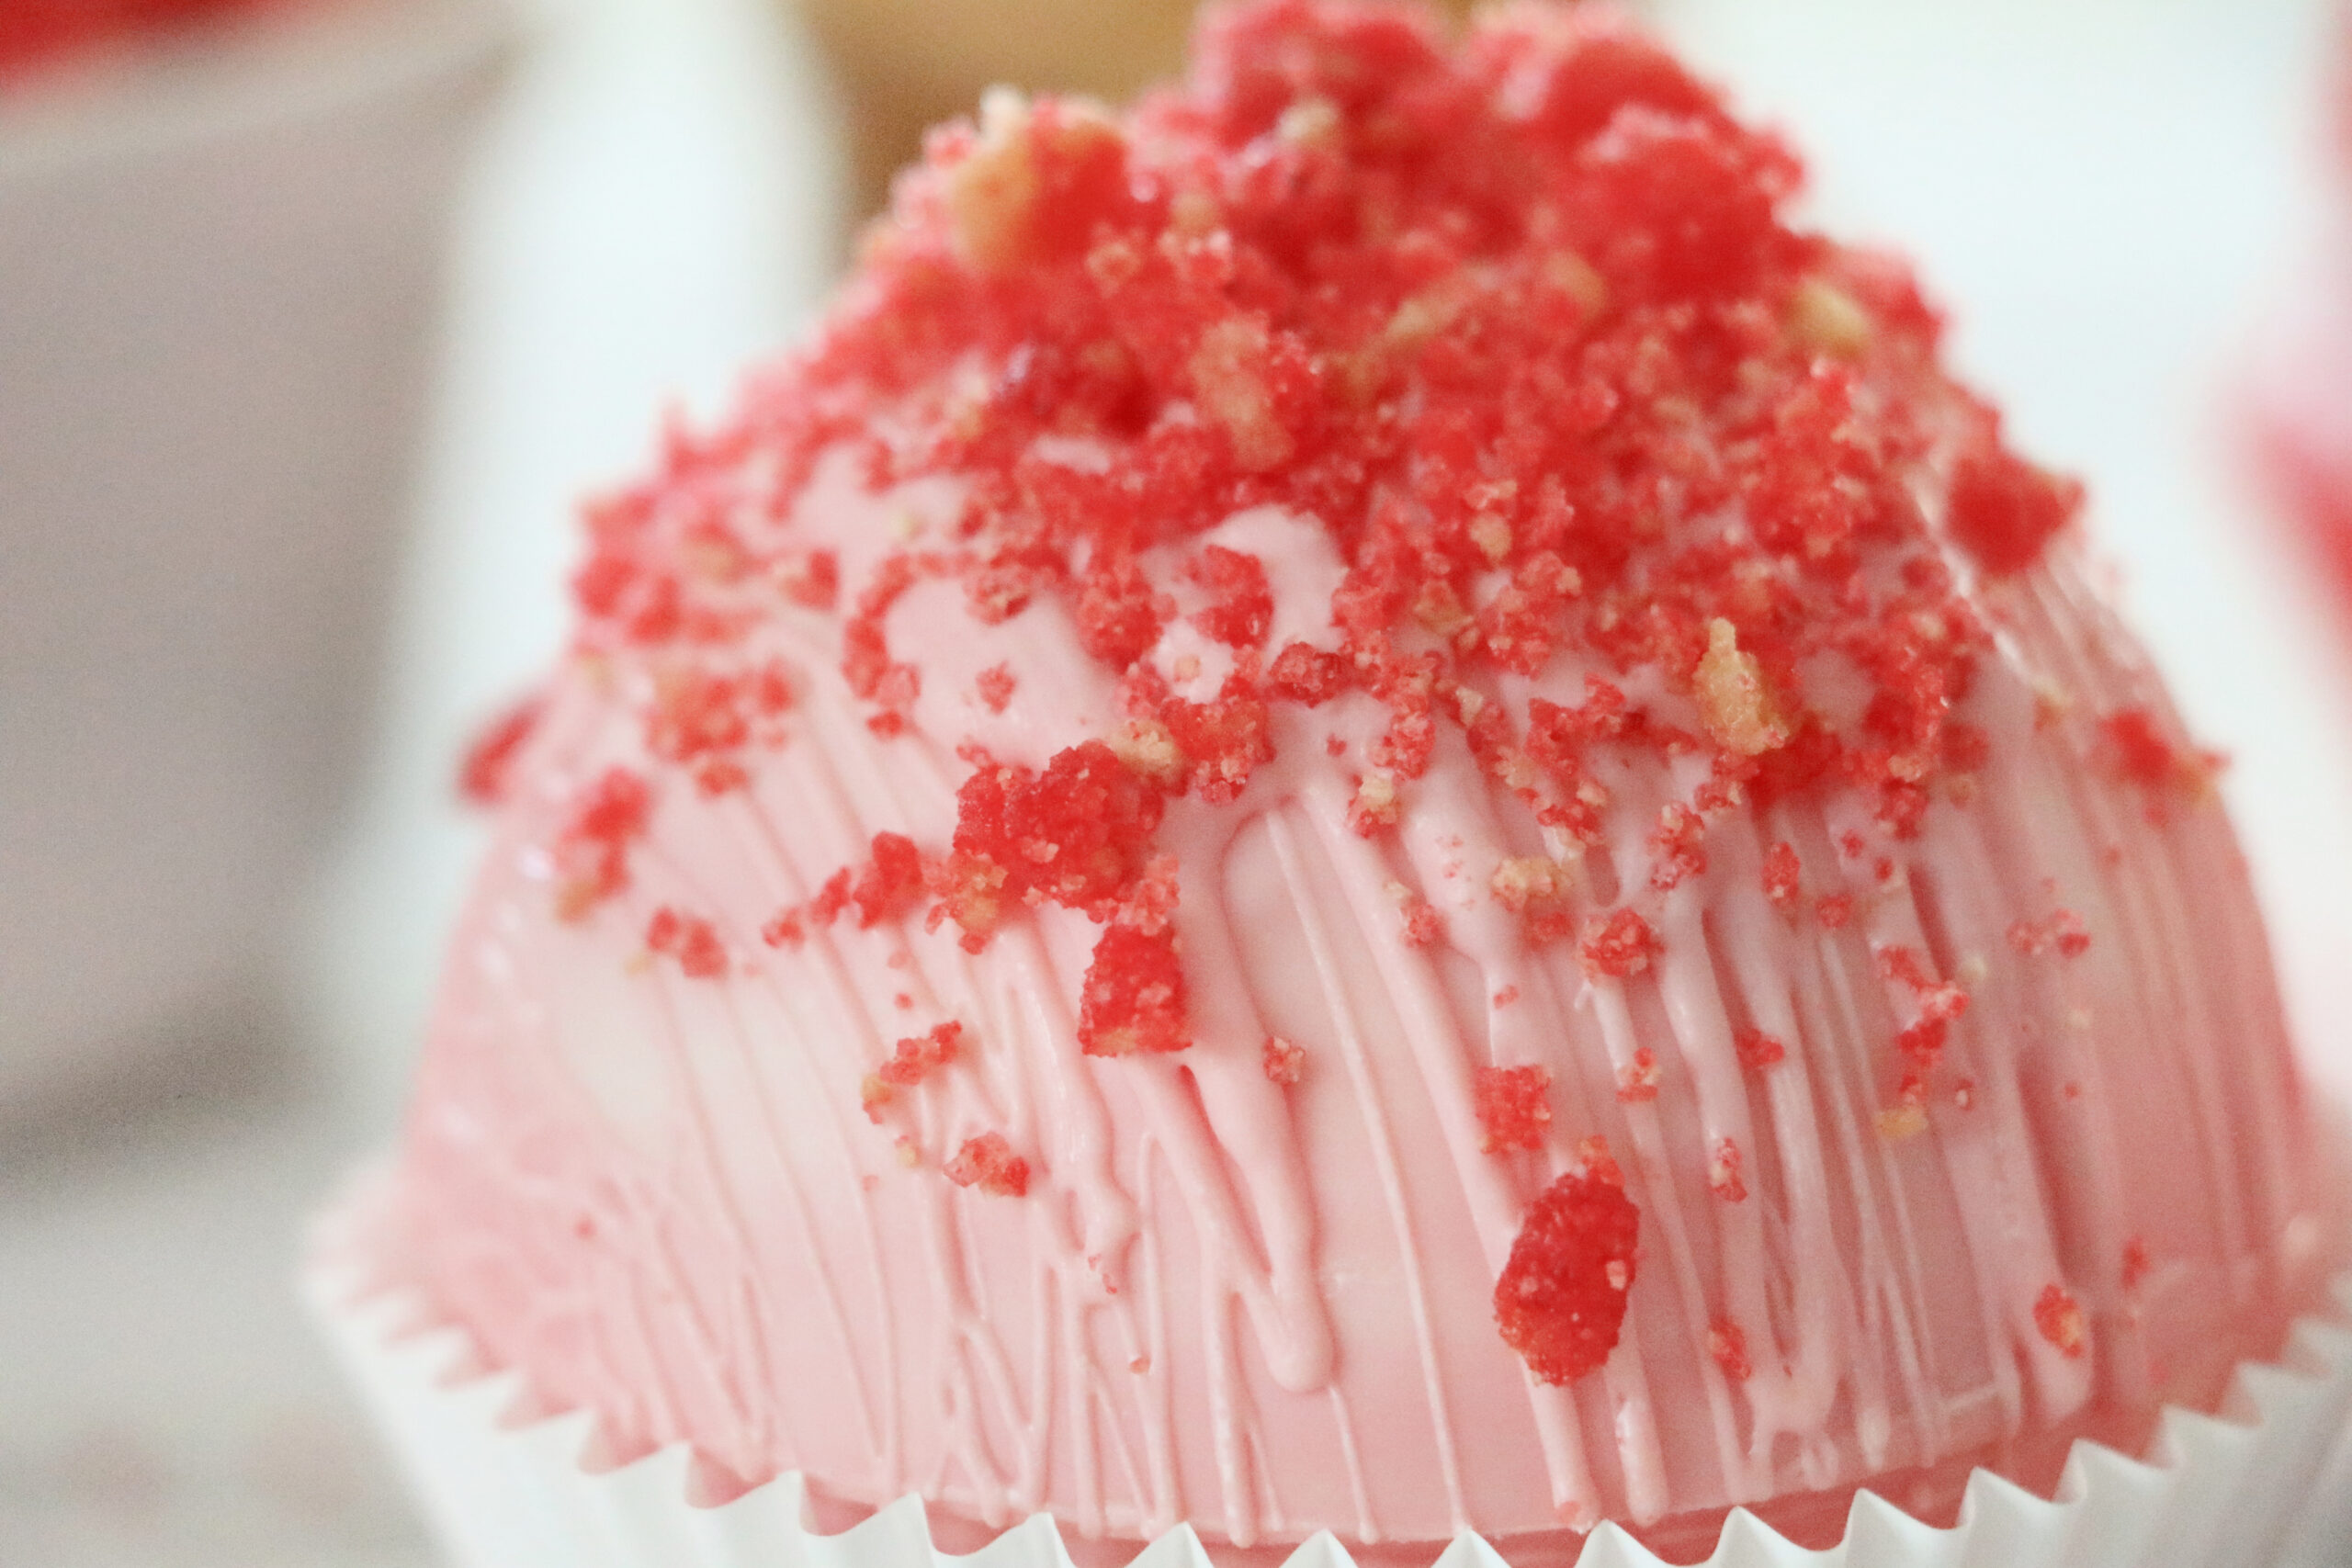
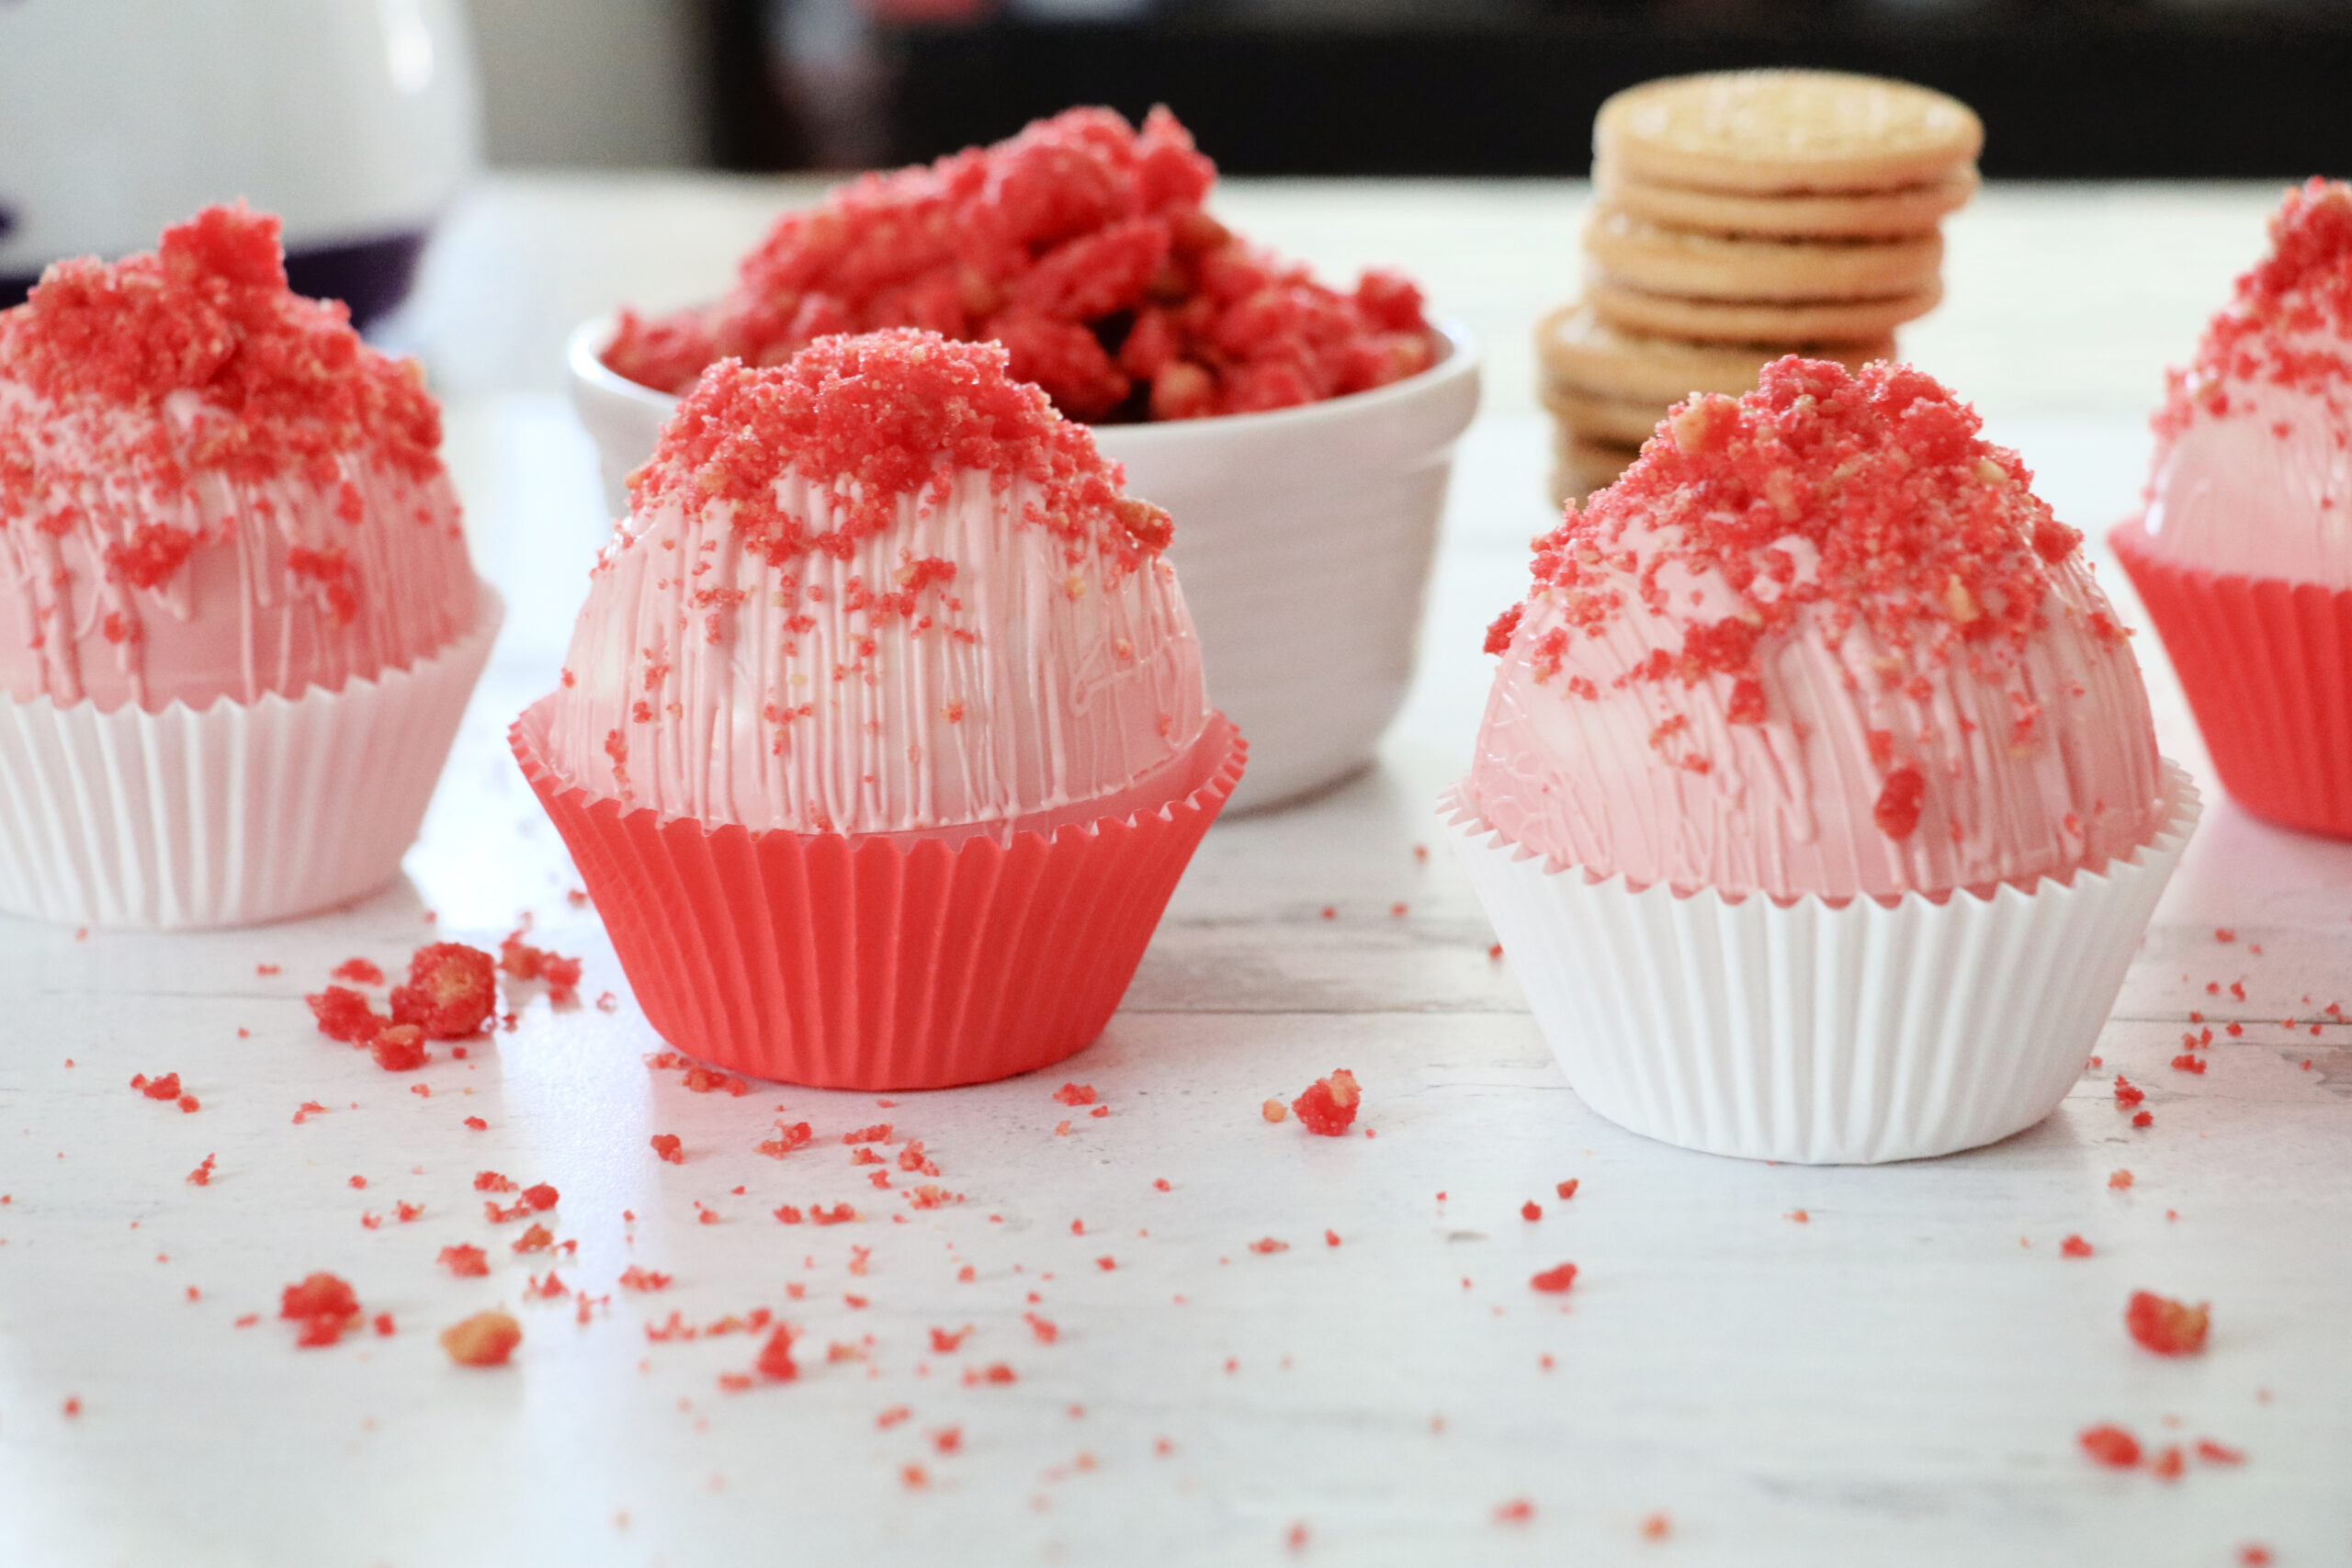
Strawberry Cheesecake Crunch Hot Cocoa Bombs with Golden Oreo Strawberry Crunch topping is a delicious cup of hot chocolate perfect for any time of the year. These DIY hot cocoa bombs are perfect for a warm cup of hot chocolate on a cool day.
Strawberry Cheesecake Crunch Hot Cocoa Bombs combine a strawberry and white chocolate hot cocoa bomb shell, strawberry cheesecake hot cocoa mix, and golden Oreo strawberry crunch topping. They’ll be a hit with anyone who loves a cup of hot chocolate.
Check out my Tips and Tricks for Making Hot Chocolate bombs!
Strawberry Cheesecake Crunch Hot Cocoa Bombs
Hot cocoa bombs are all the rage in the winter months and they’re just so fun to enjoy. Plus they’re delicious! There are so many fun flavors to make. Here I share over 50+ hot cocoa bomb flavors to enjoy.
For these strawberry cheesecake crunch hot chocolate bombs, there are a few steps involved when making these, but the work is so worth it. They’re oh so delicious.
Golden Oreo Strawberry Crunch Topping
To make the golden Oreo strawberry crunch for your Strawberry Cheesecake Crunch Hot Cocoa Bombs topping we’re going to combine golden Oreos, strawberry Jell-O, and butter together. You can find the full in-depth tutorial for the crunch topping HERE.
Strawberry Cheesecake Hot Cocoa Mix

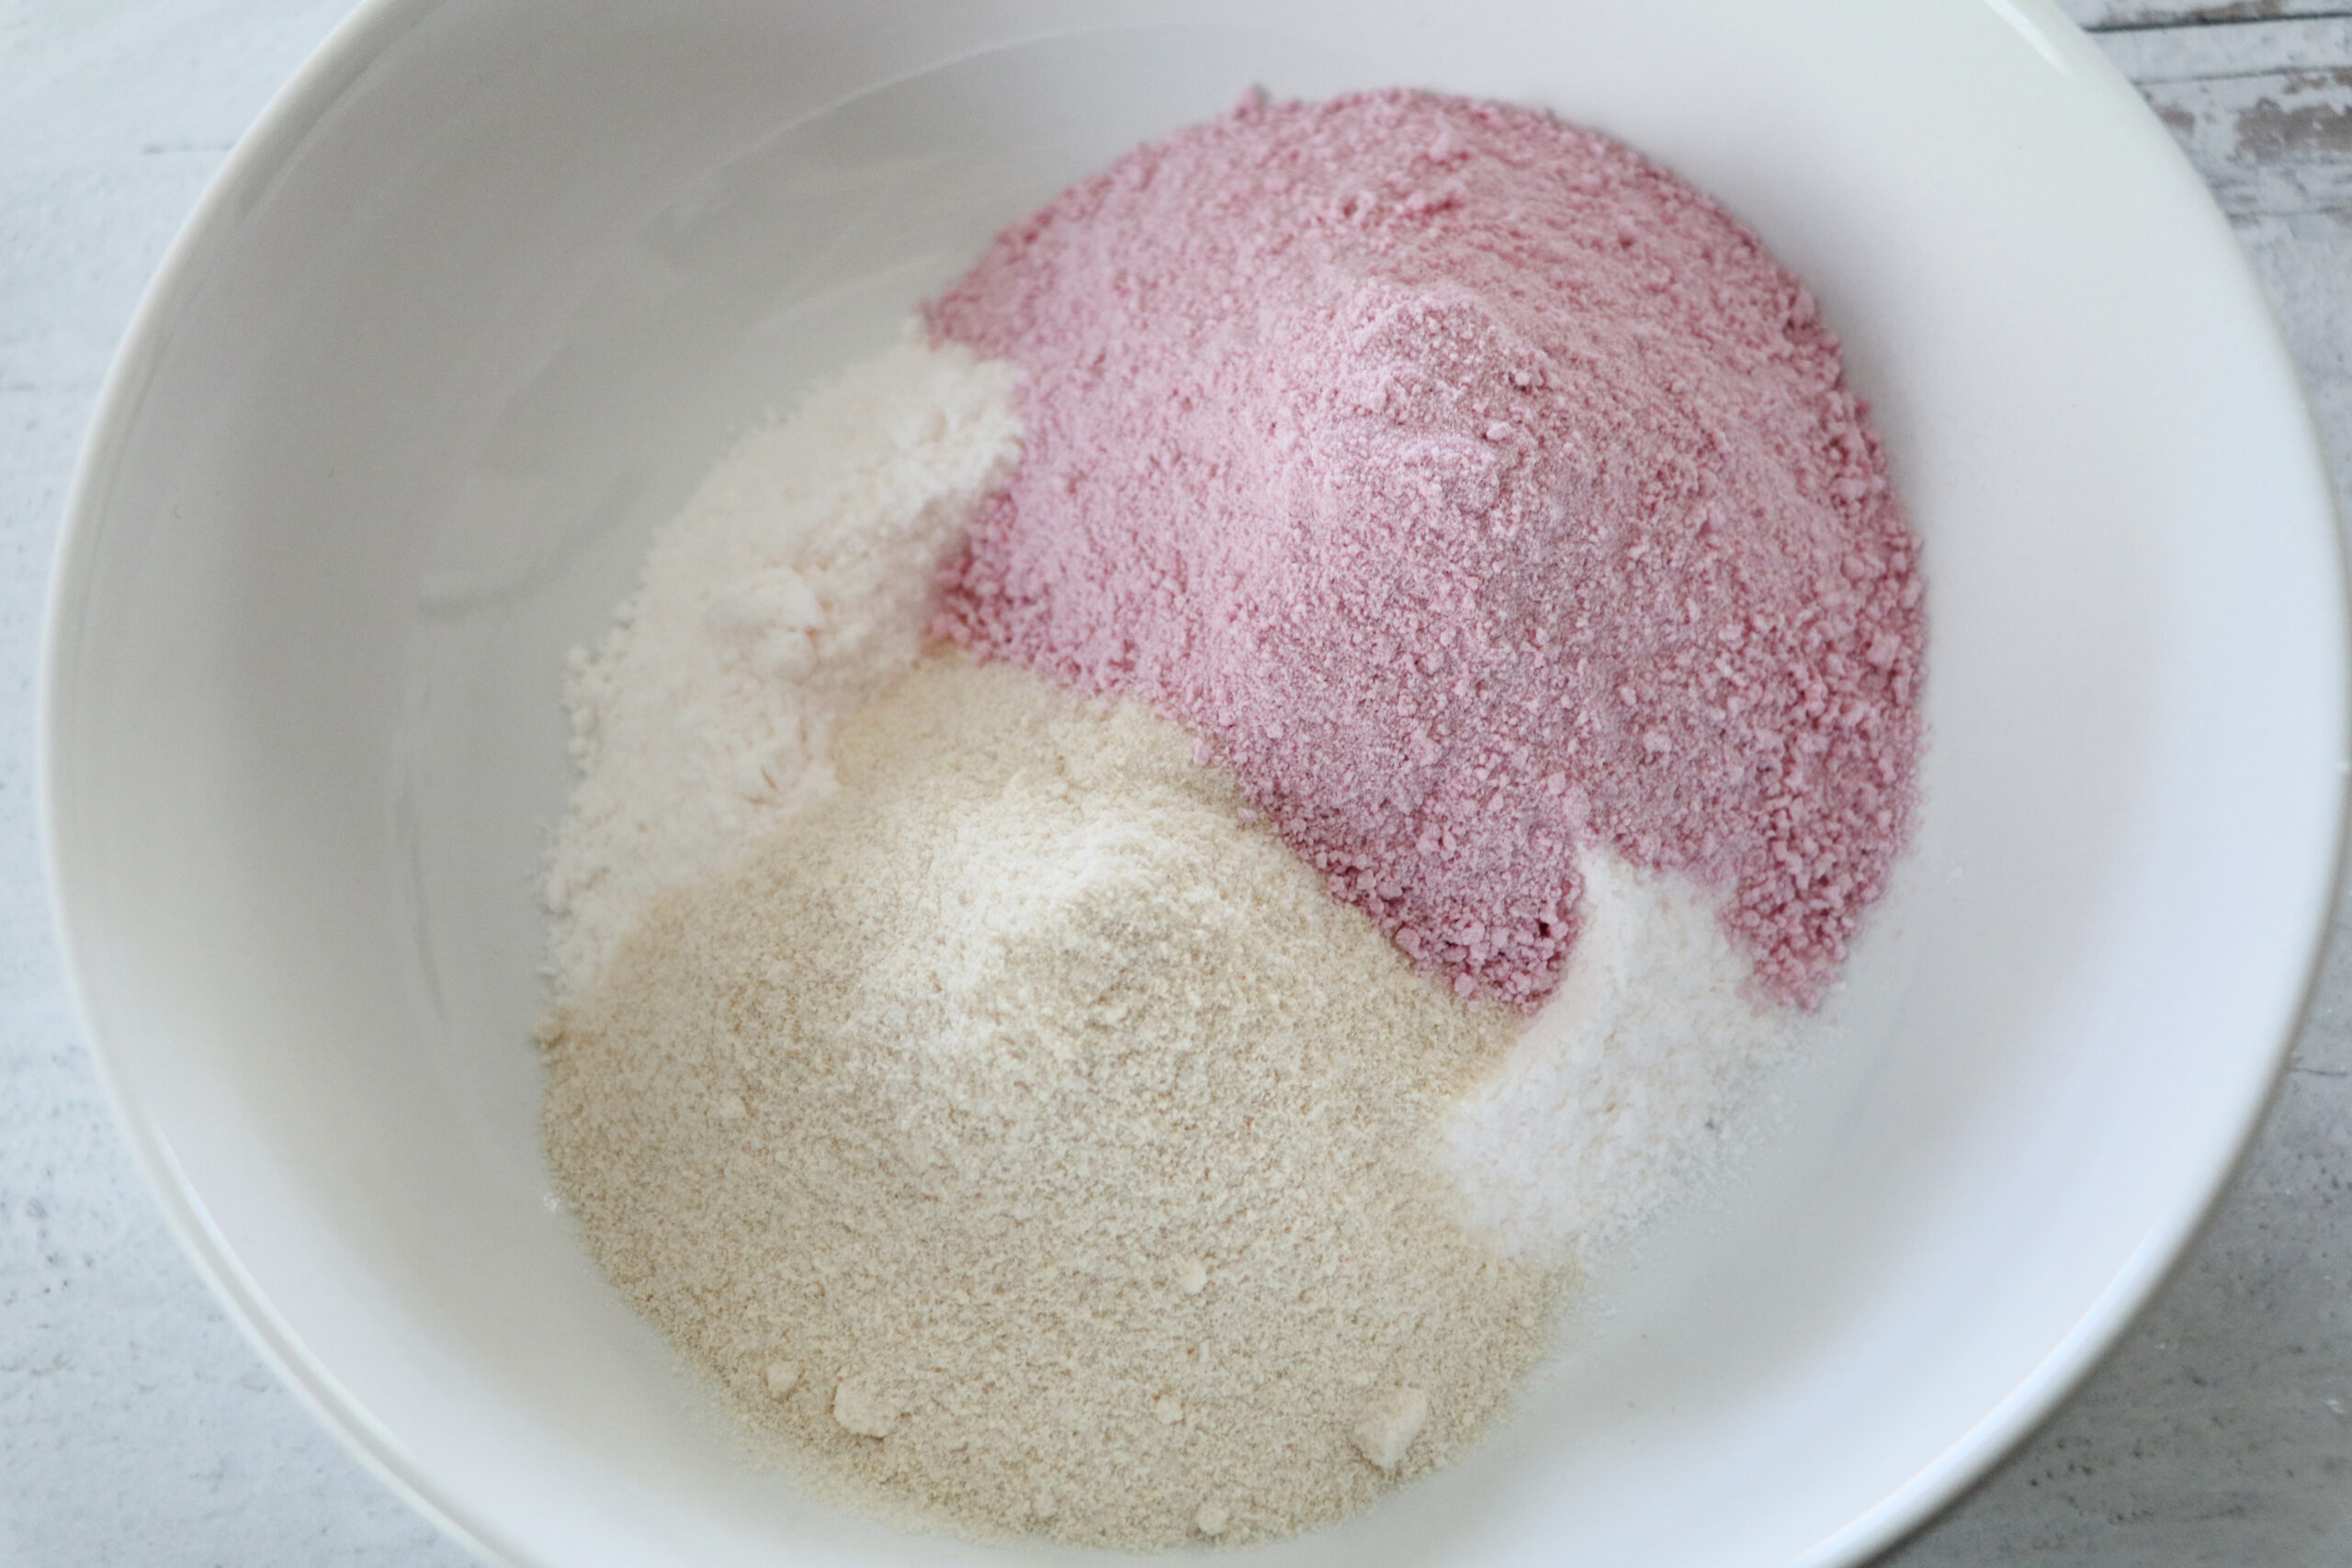
To make the strawberry cheesecake hot chocolate mix we are going to combine:
- Cheesecake Instant Pudding Mix, 1 box
- 6 tablespoons White Chocolate Hot Cocoa
- 6 tablespoons Strawberry Nesquik
Pour all of your ingredients into a bowl or Ziploc bag.
Mix all of your ingredients together until combined well.
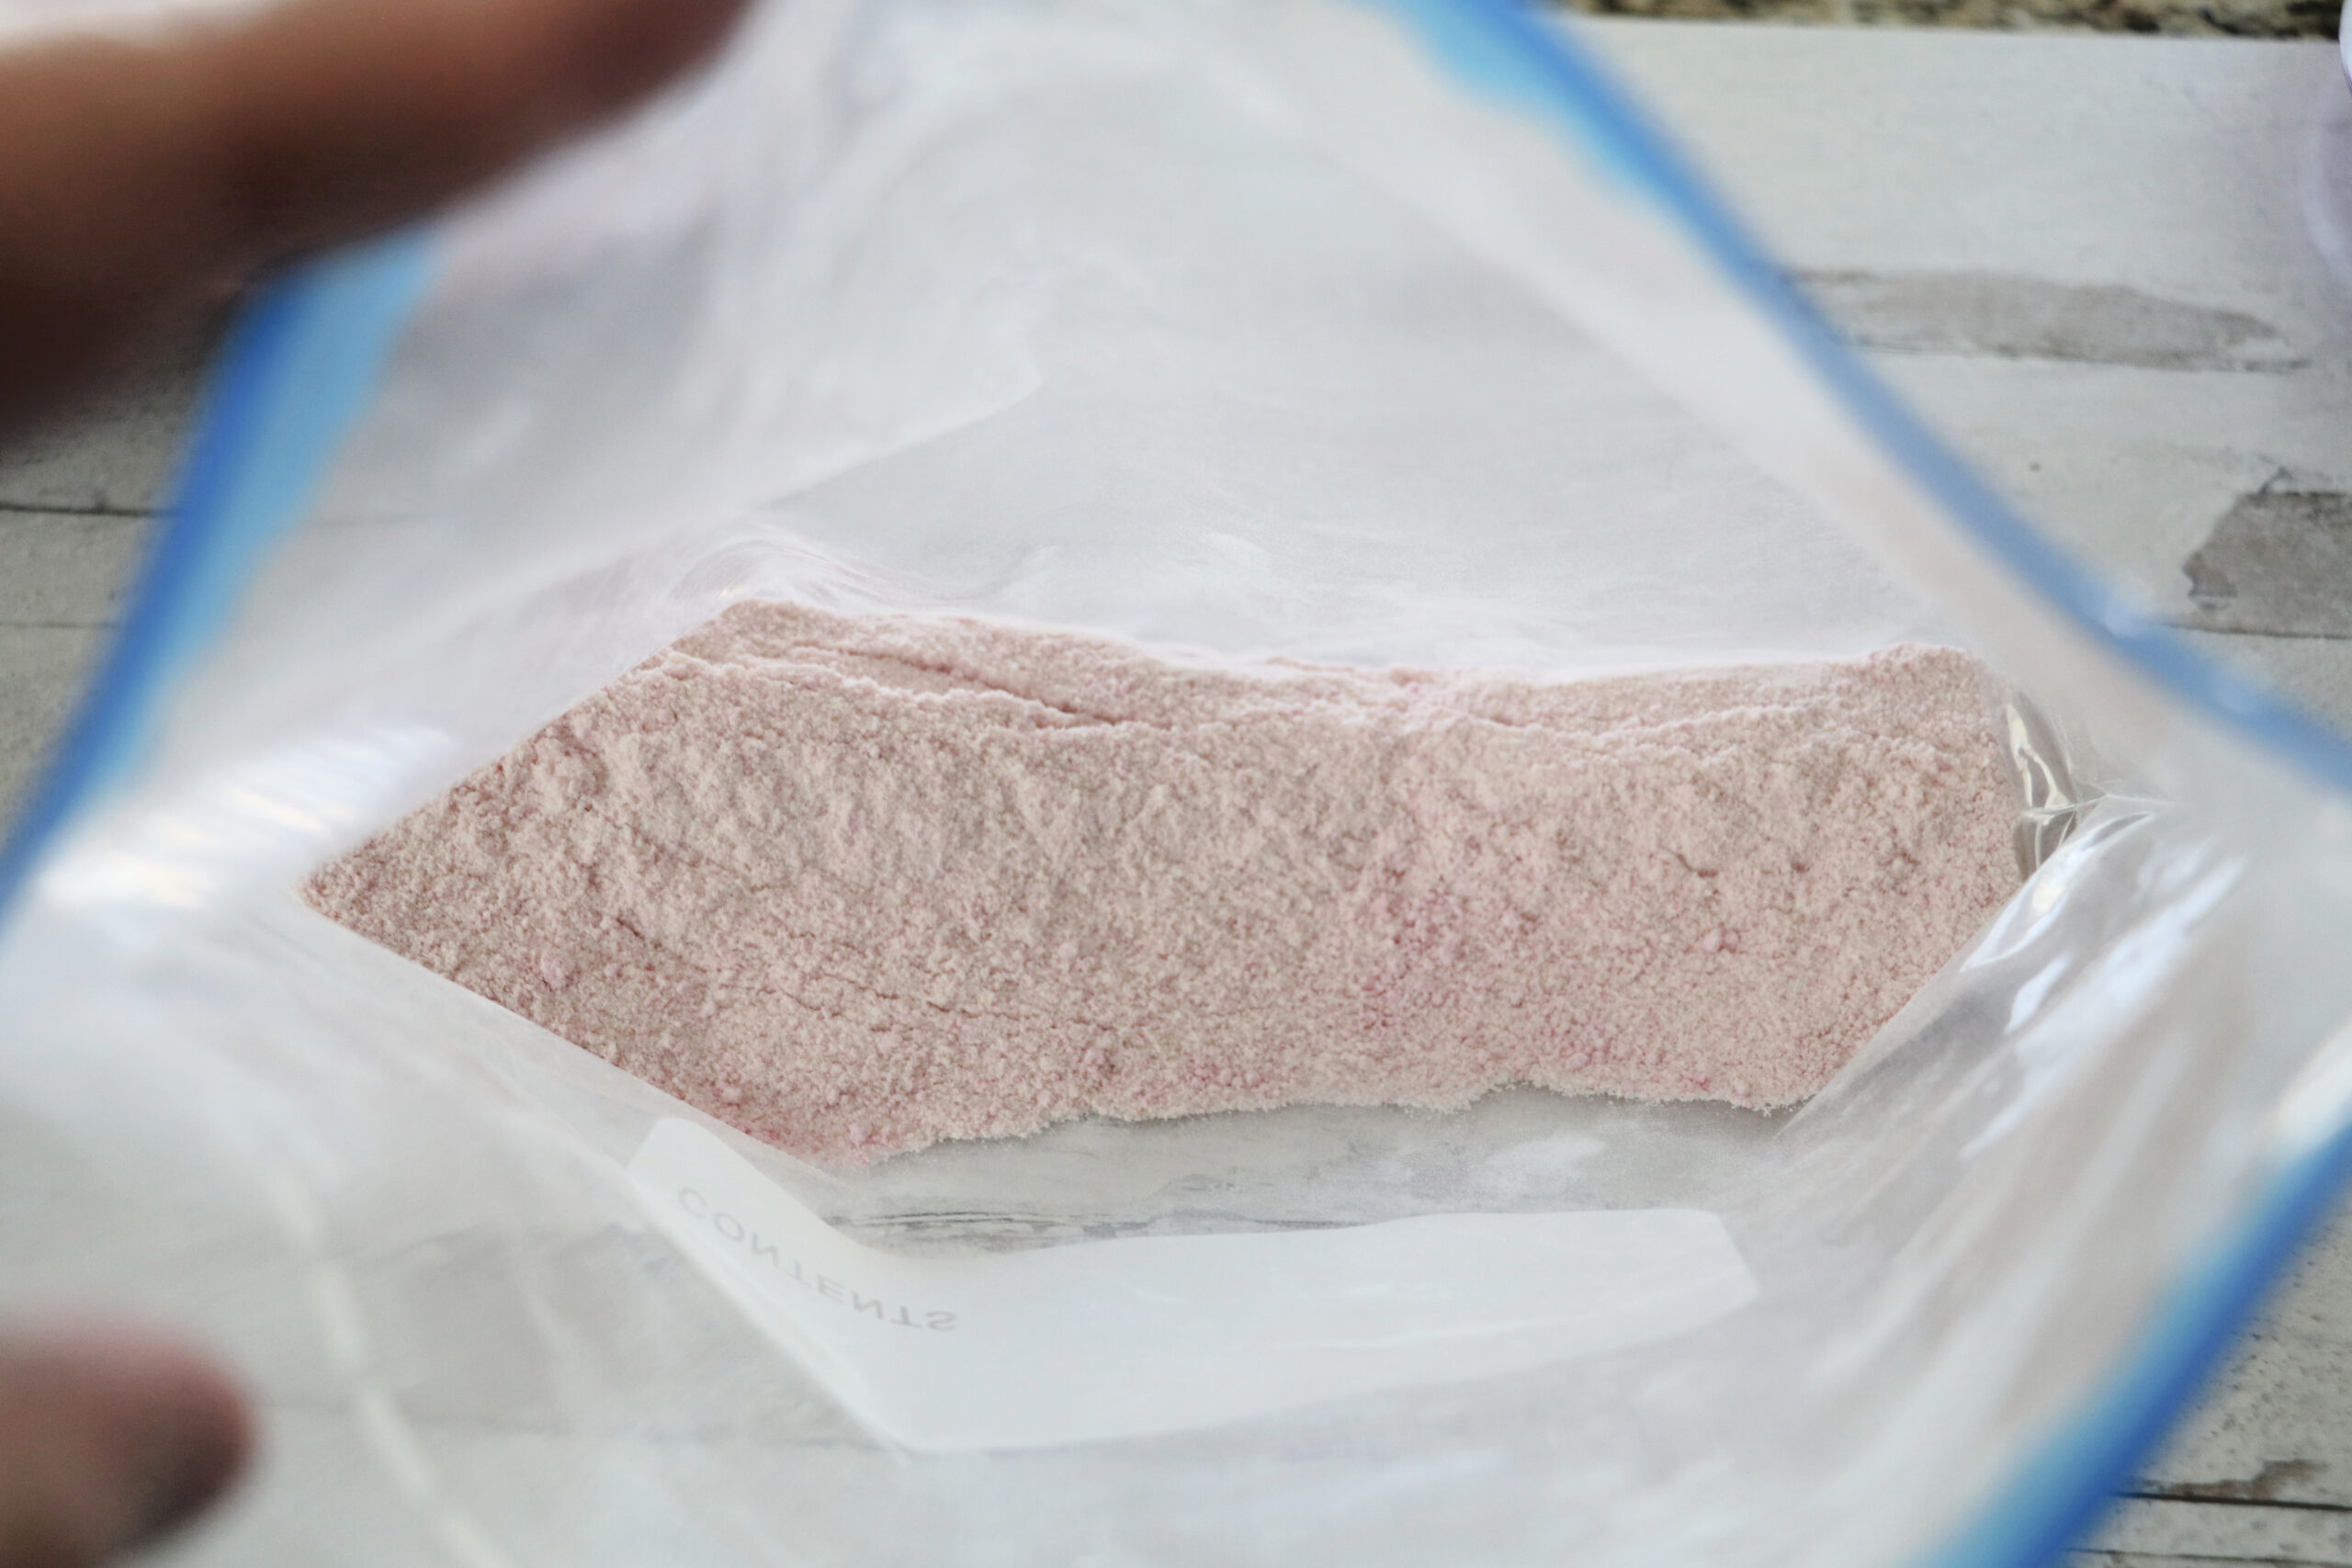
Store in an airtight container.
Strawberry Cheesecake Crunch Hot Cocoa Bombs
To make your strawberry cheesecake crunch hot chocolate bombs you are going to need:
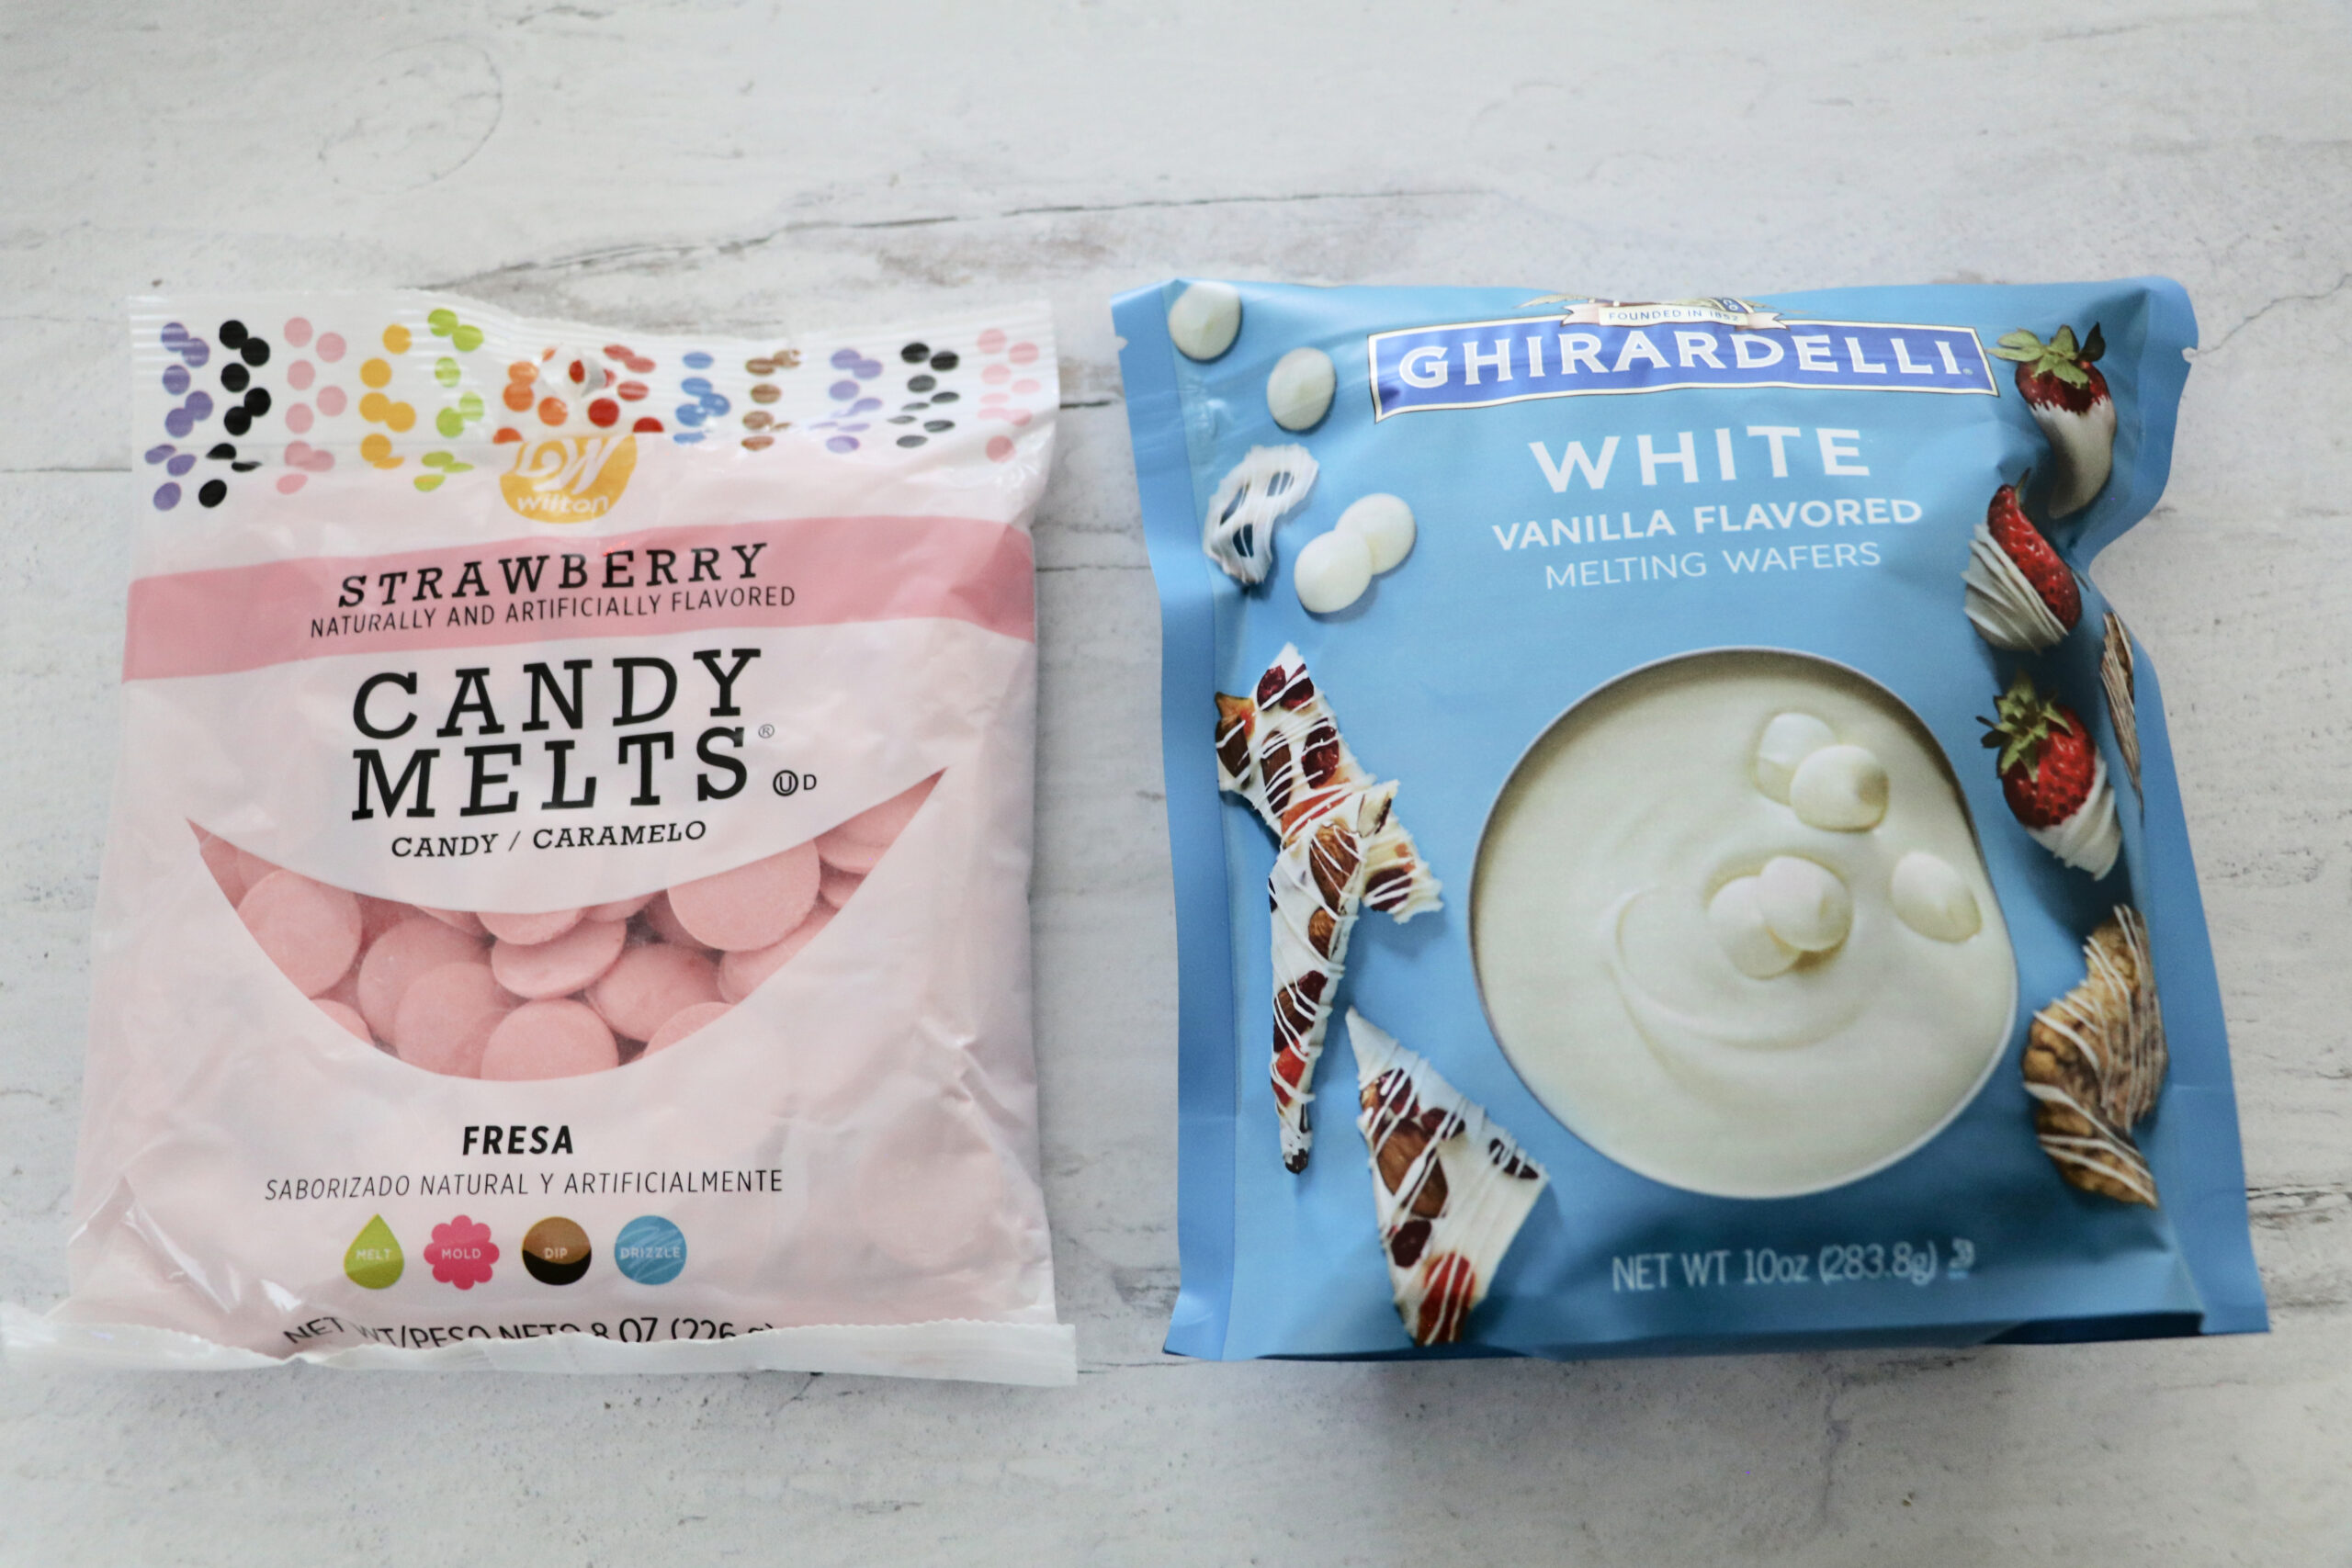
- White Melting Wafers
- Strawberry or Pink Melting Wafers (found my strawberry at Walmart) Also Wilton.com has the strawberry.
- White Hot Cocoa Mix
- Cheesecake Pudding Mix
- Strawberry Nesquik
- Golden Oreos
- Strawberry Jell-O
- Butter
- Toothpicks
- Sphere silicone molds
- Baking Sheet
- Parchment Paper
- Muffin Tin, optional
Here’s how to make your Strawberry Crunch Hot Cocoa Bombs
First up you are going to make your strawberry crunch topping. Full tutorial HERE.
Next, you are going to make your Strawberry Cheese Cake hot Cocoa Mix. Full directions above.
Add your white melting wafers to a bowl and melt per the package directions. I start with 30 seconds, stir, and then do 10-second intervals, stirring in between until fully melted.
Do the same with your strawberry or pink melting wafers.
You do not need the strawberry flavor for this recipe, but I find it adds more flavor. They can be a little hard to find. Another option is to add flavoring oil to your melted chocolate to give it a strawberry taste. Loran’s is a great brand for this.
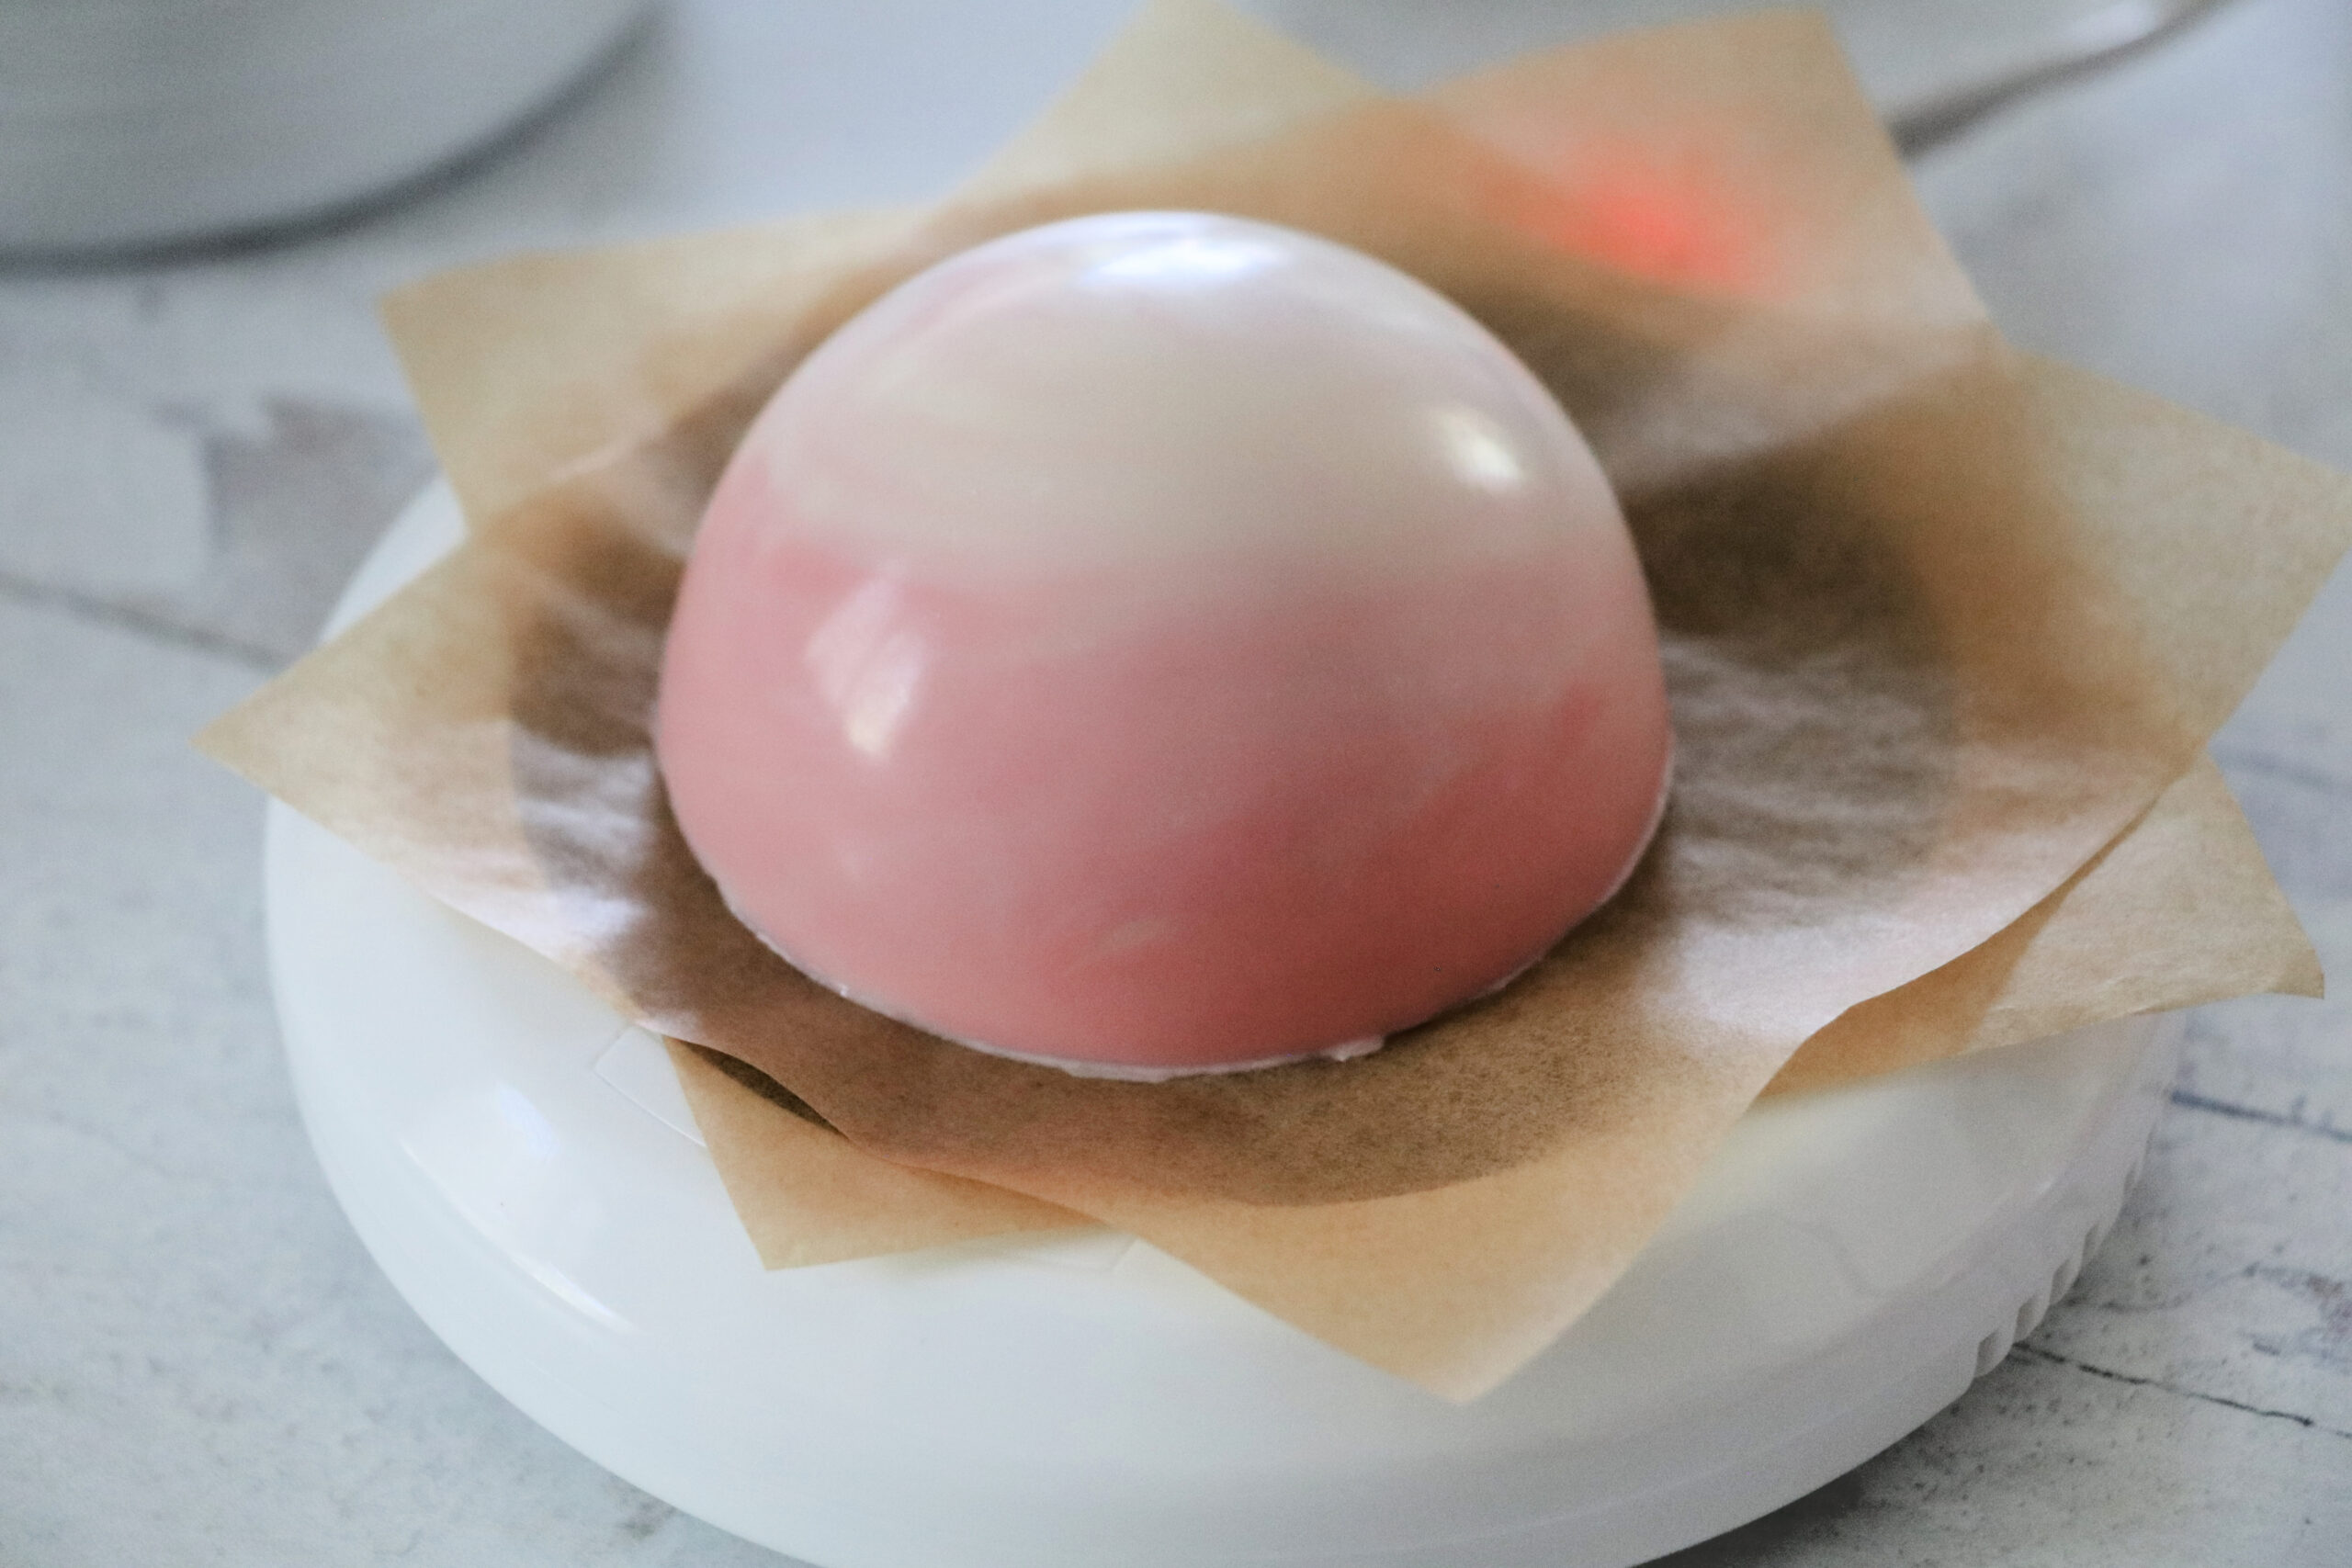
You also don’t need to do 2 colors. You can do an all white shell or an all pink shell. I just loved the marbled look.
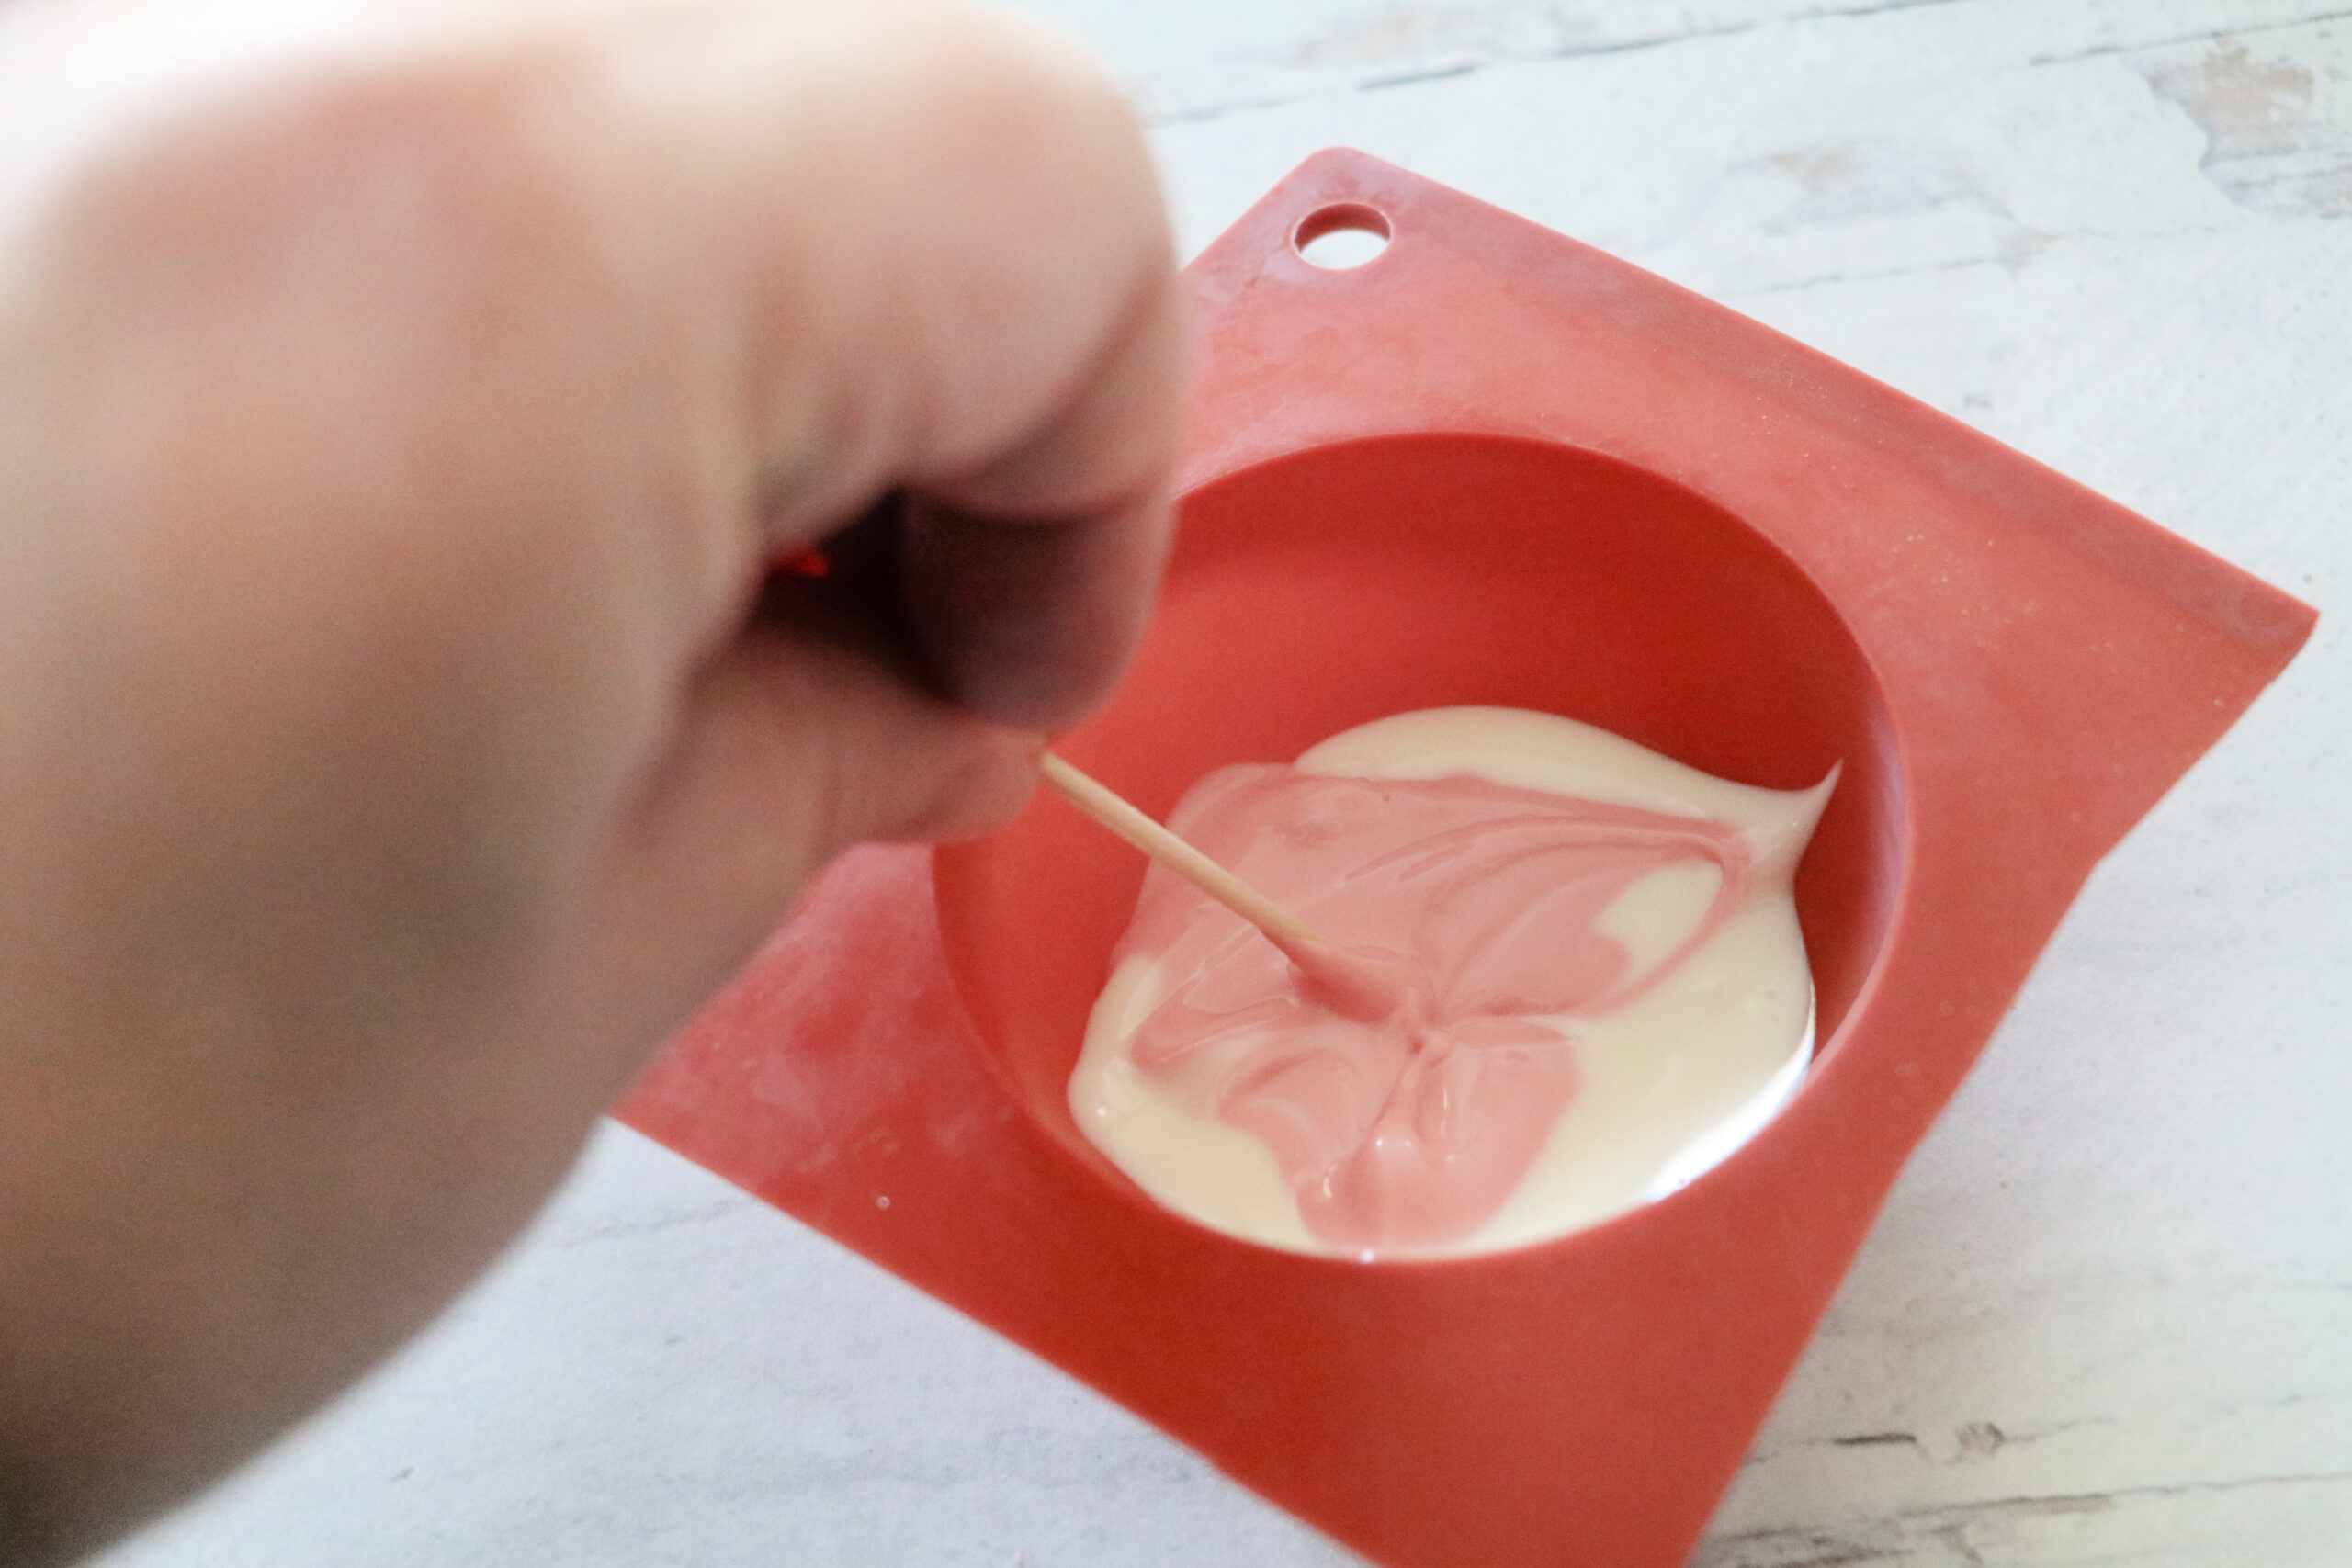
Once your chocolate is fully melted you are going to add a spoonful of each chocolate to your silicone mold. If you are using only 1 color then add 2 spoonfuls.
Take a toothpick and swirl the colors together. Don’t fully mix them.
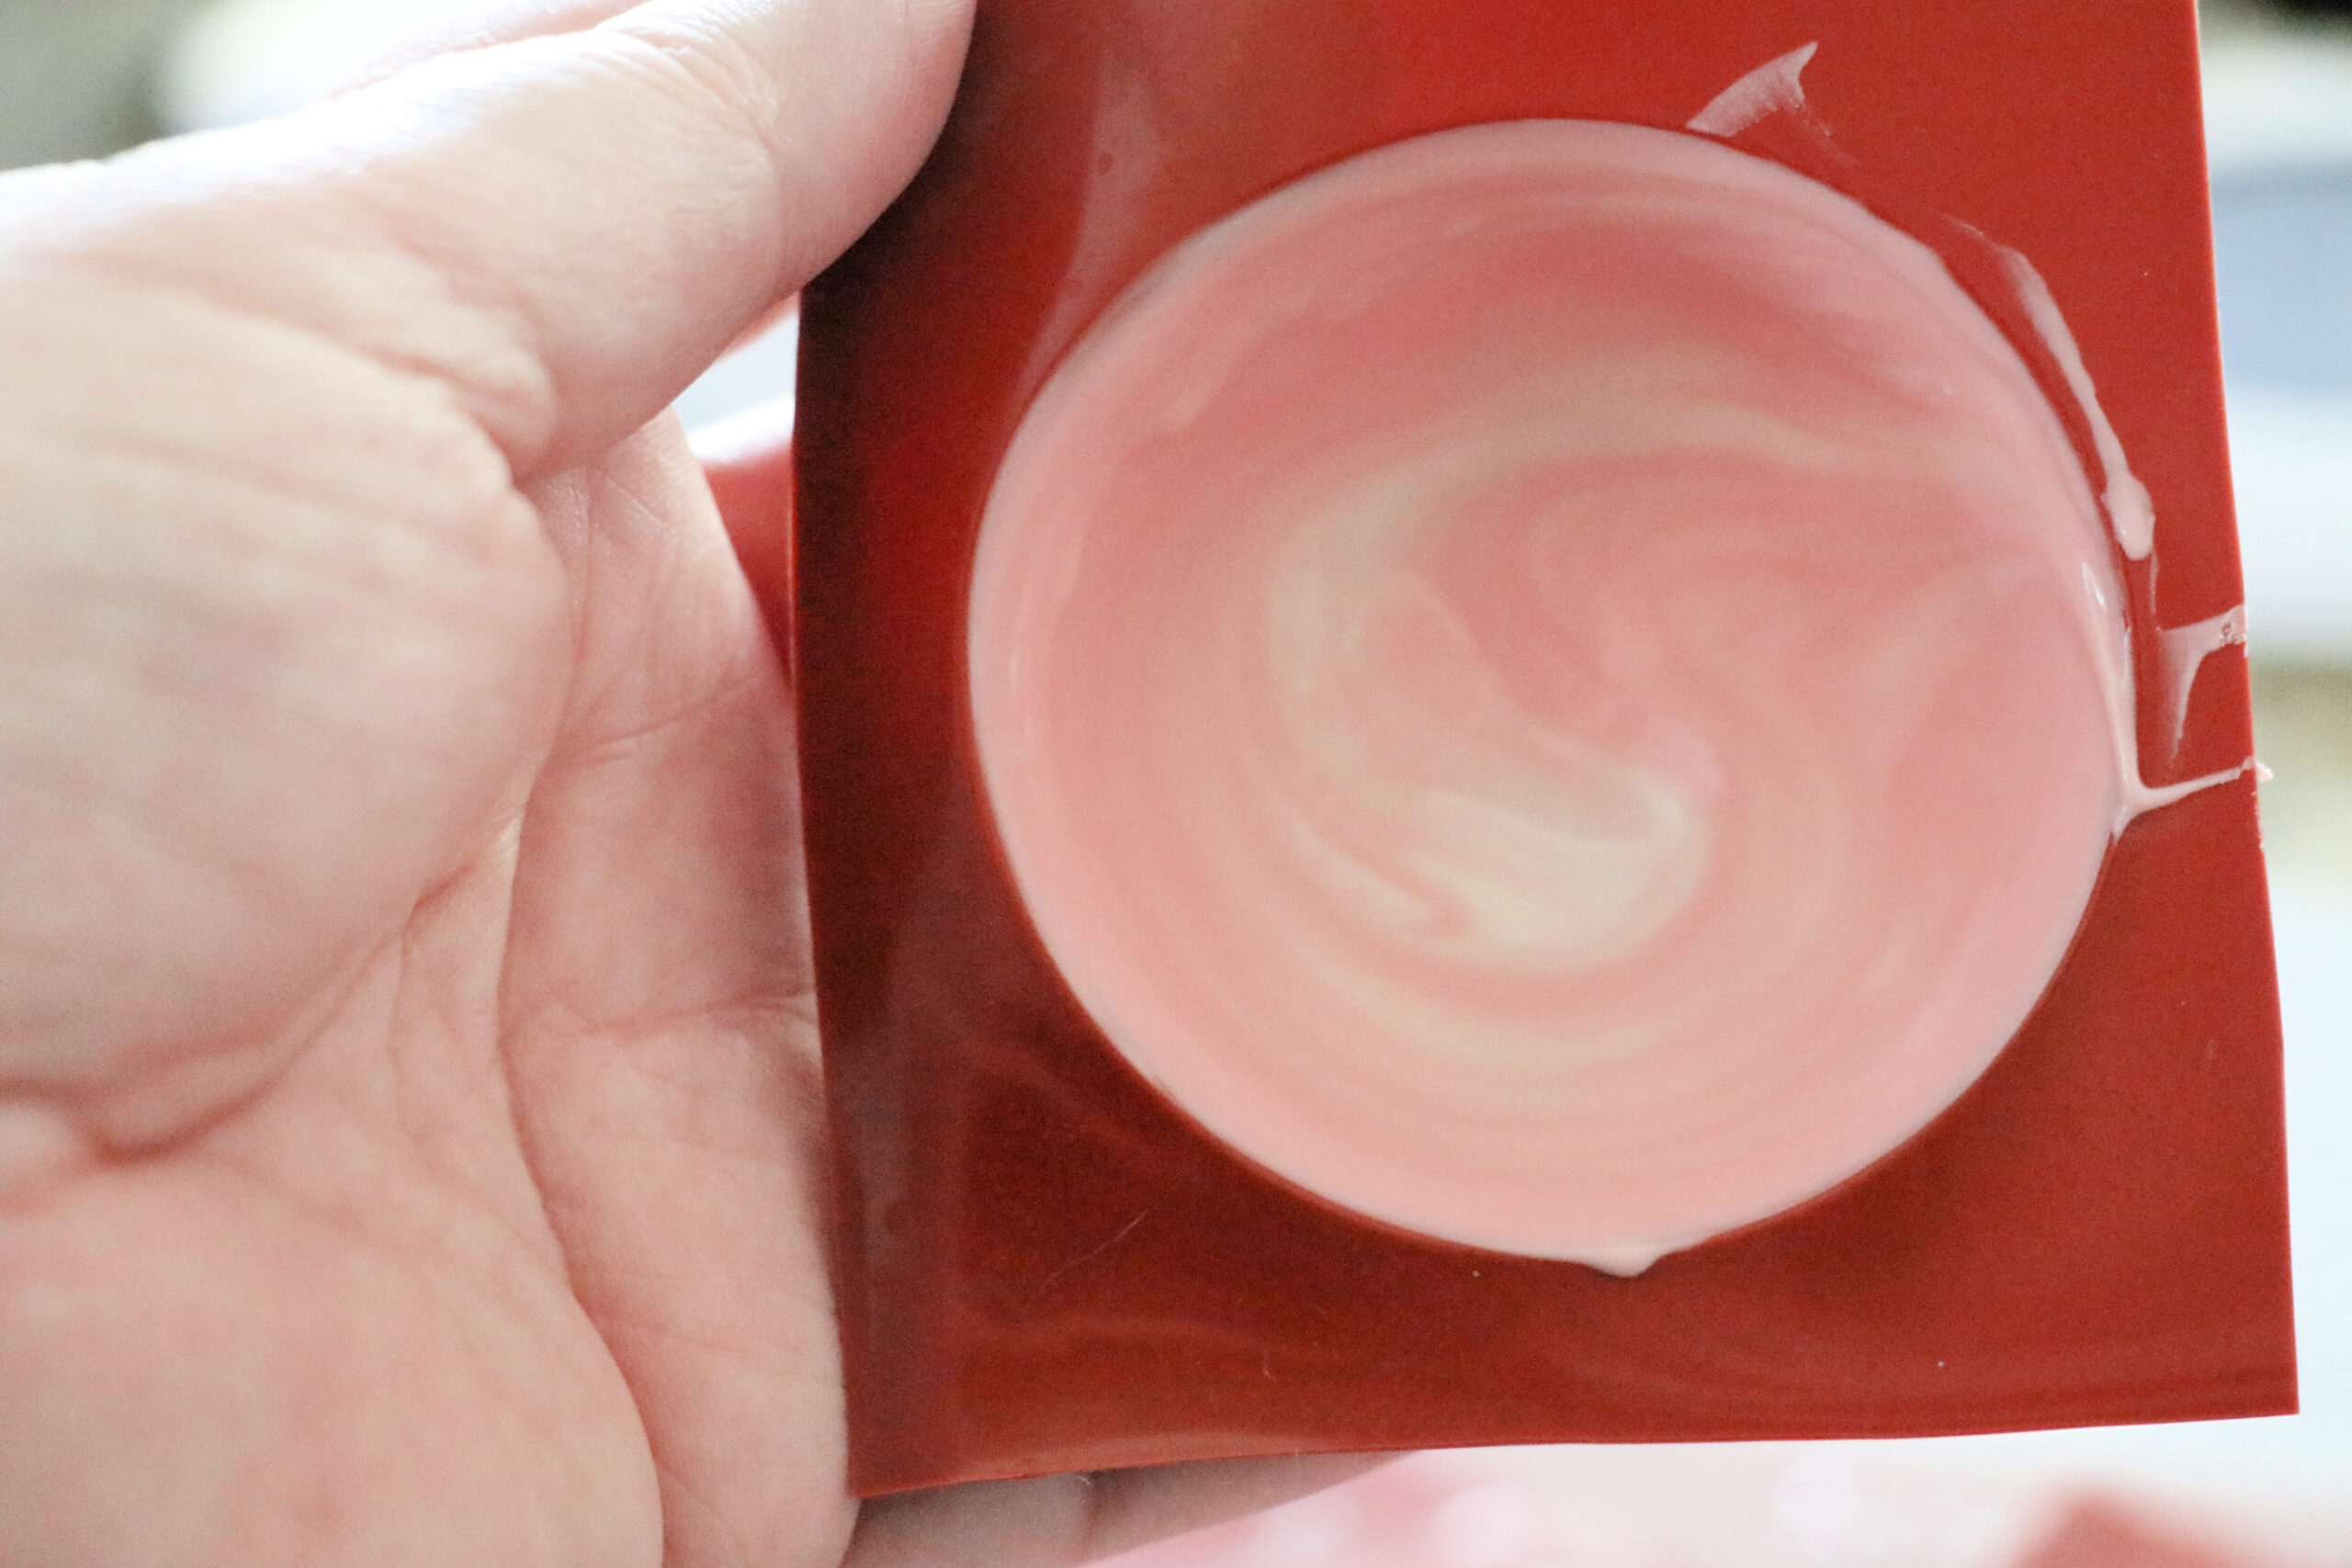
Then you are going to swirl the chocolate around the sphere mold by turning it slowly on an angle. Coat all the sides twice and then dump out any extra chocolate into a bowl. I added the excess into the pink bowl so that my white chocolate wouldn’t change colors.
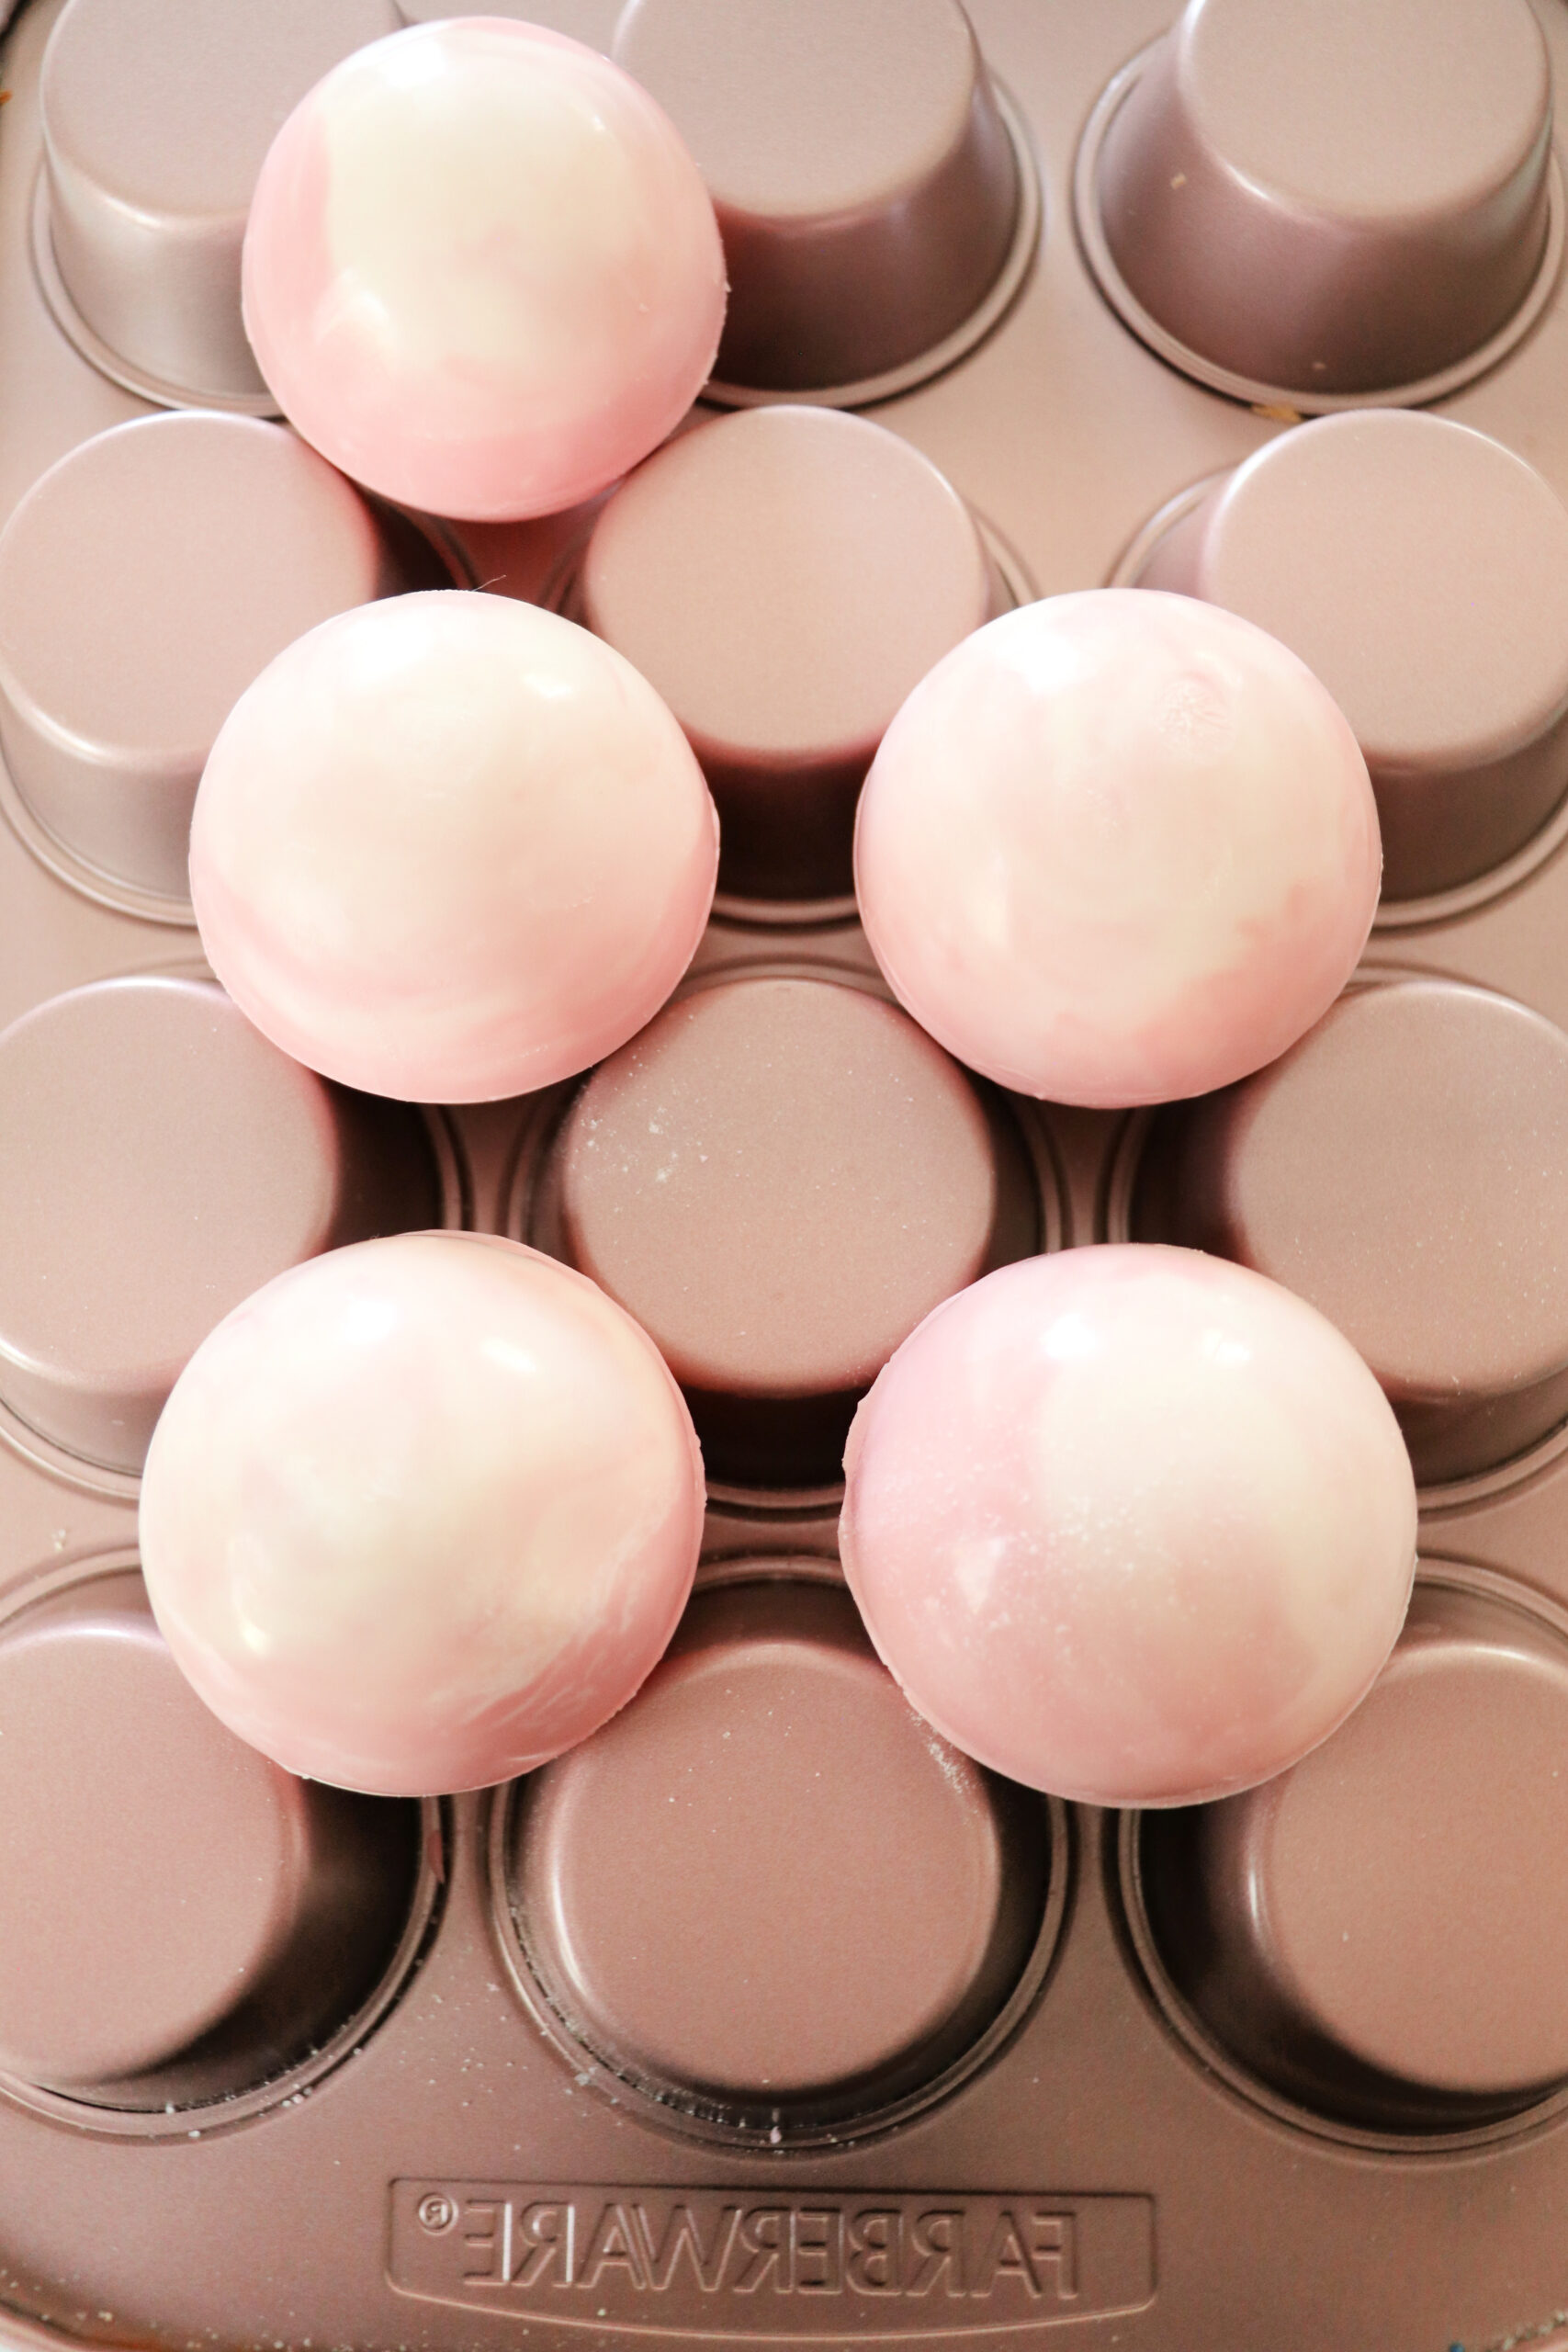
I place my spheres into a baking tin while I do the rest of the molds.
Once you are done with all your molds you are doing to repeat these steps again to add a second coat of chocolate. By the time I got done with my last mold my first one was hard, so start with the first one you did and work your way to the last one.
Make sure to dump any excess chocolate back into your bowl.
On a parchment paper-lined baking sheet placed your spheres onto the baking sheet. You’ll want them facing down. This helps to make sure the edges are coated properly.

Place in the fridge for 5-10 minutes for the chocolate to harden.
Once your chocolate has set you can remove them from the silicone molds.

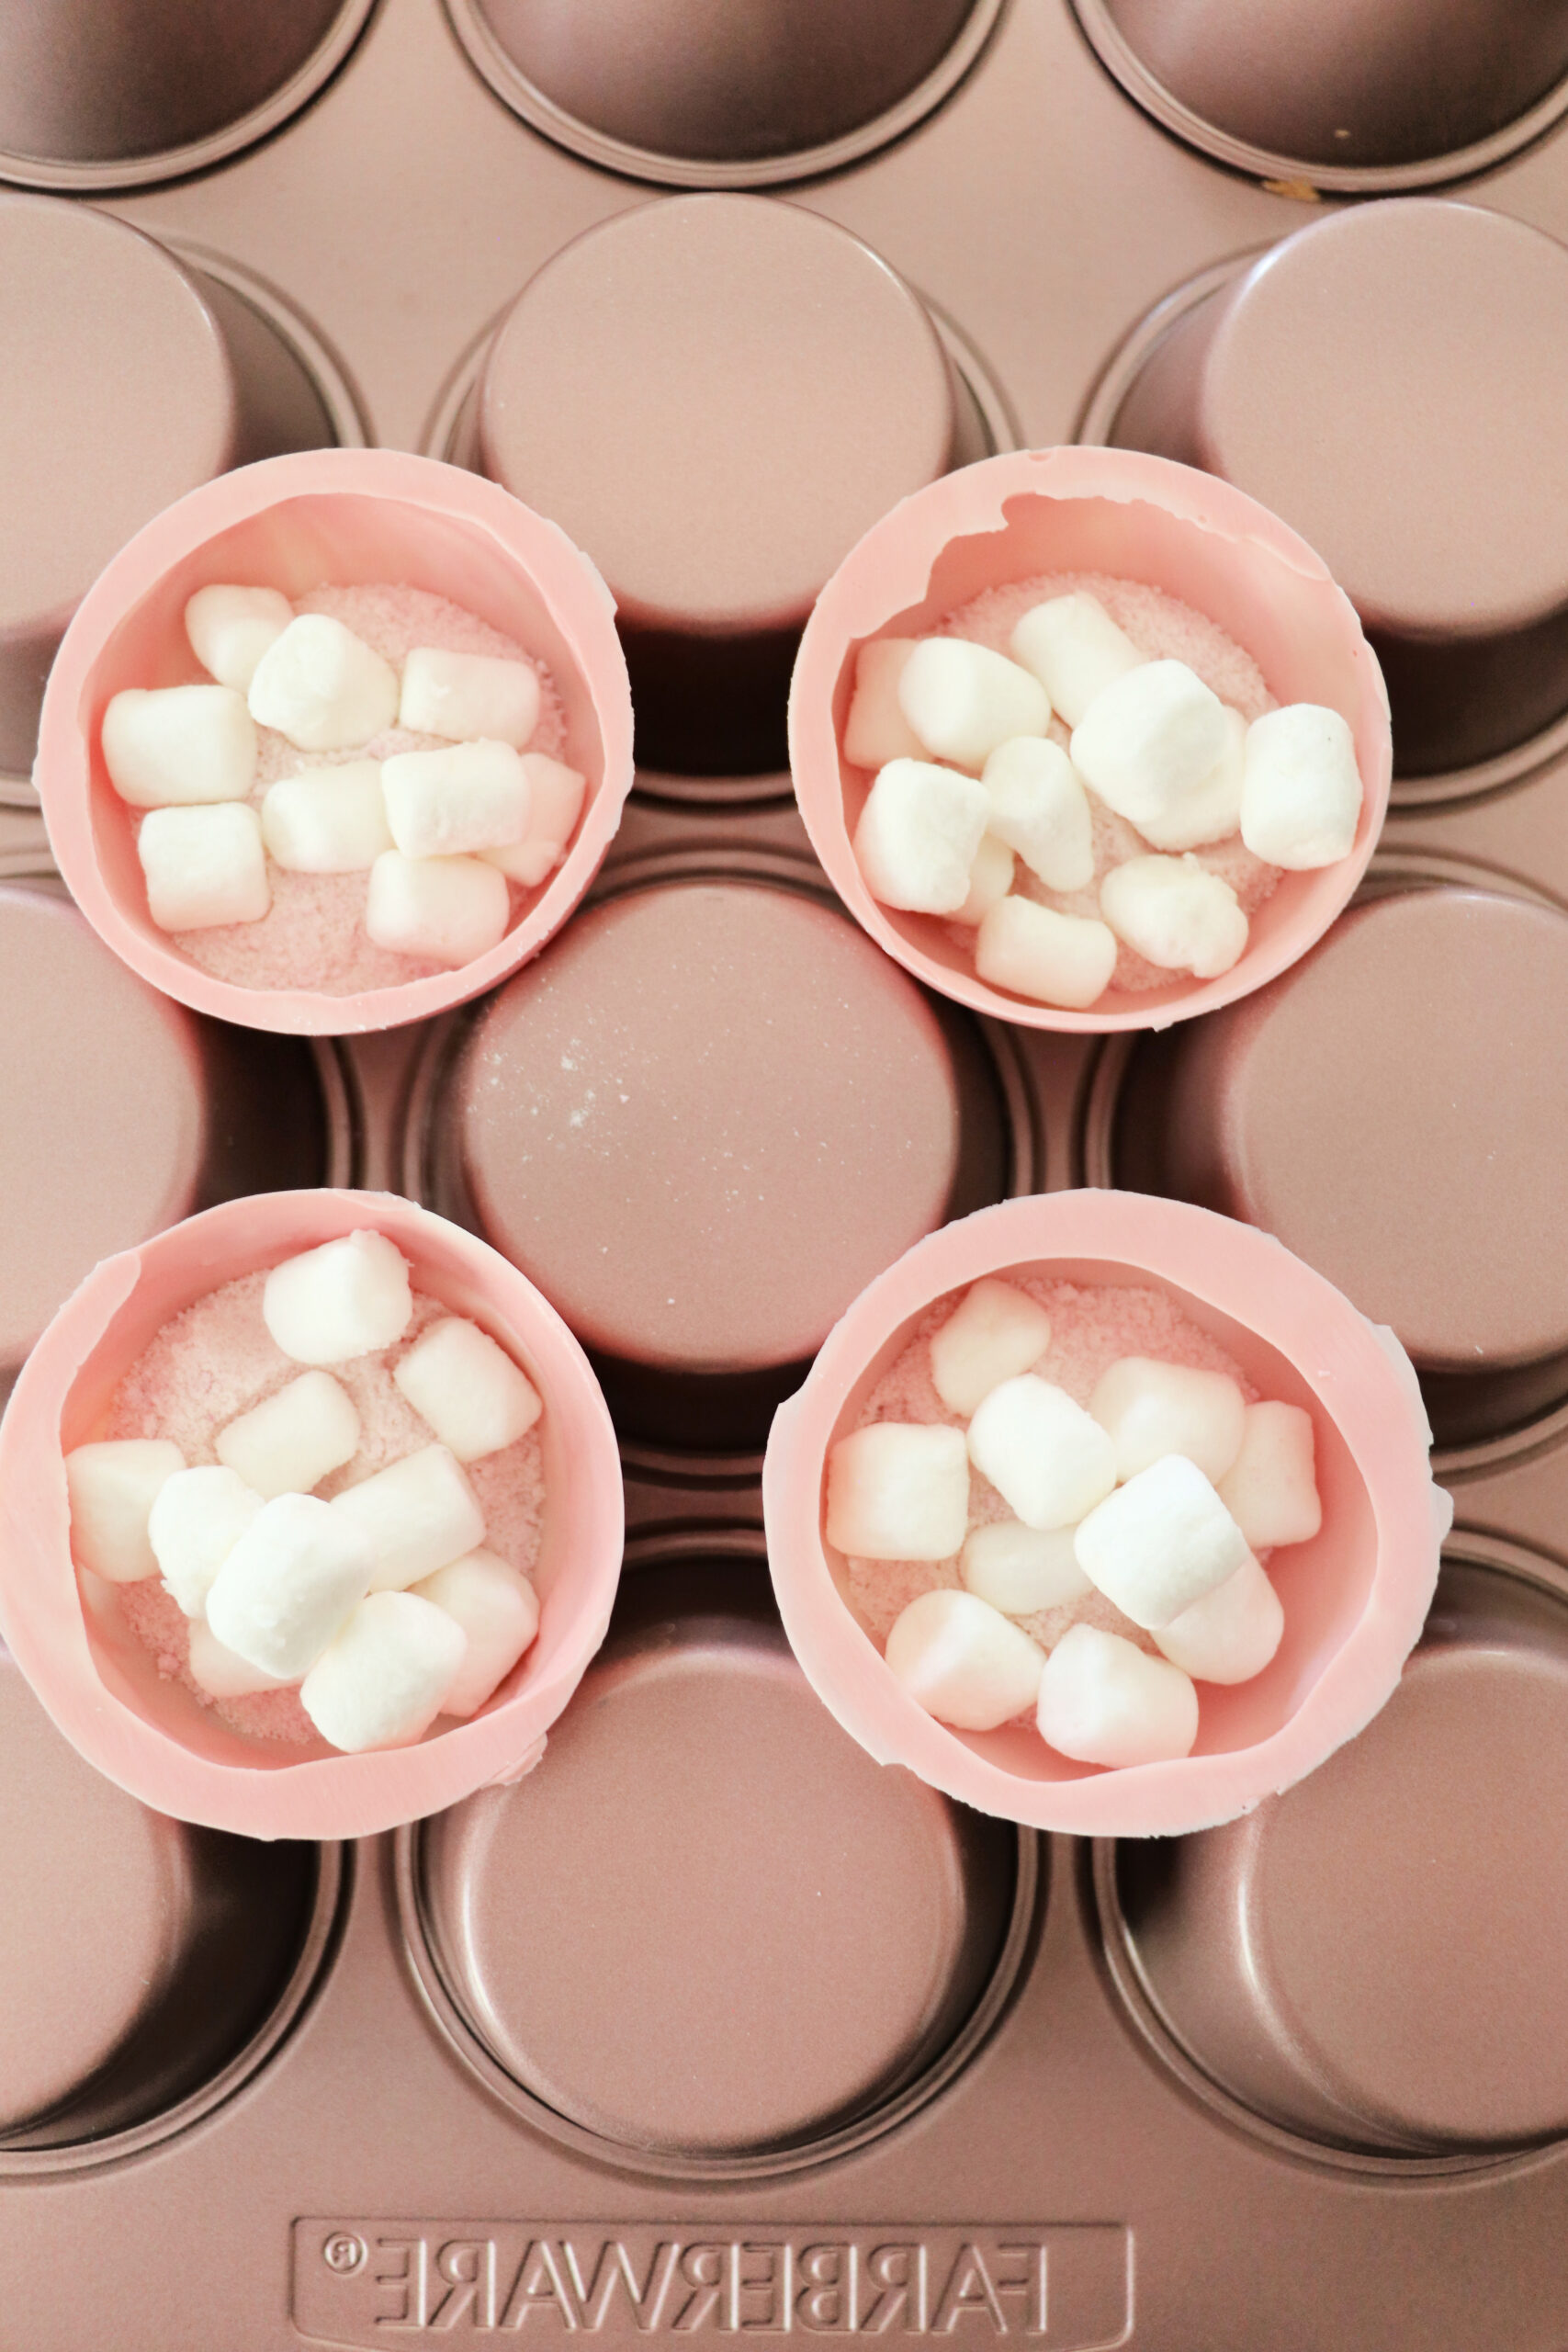
Fill half of your cocoa bombs with 1 tablespoon of the cocoa mixture and 8-10 mini marshmallows.
Heat a plate up in the microwave for about 2 minutes, make sure it’s microwave safe. Another option is using a candle warmer lined with parchment paper. I love this method if you’re making a lot of cocoa bombs.
Place the sphere onto the plate for a few seconds until the edges start to melt and then place it on top of the sphere with cocoa and marshmallows.
Wipe any excess chocolate off with a spoon or your finger.
If you find you have any gaps or holes you can try to fill them in with some of the melted chocolate from the sides.
Now time to drizzle!
I flip my muffin tin over and place my cocoa bombs between the muffin cups. This holds them steady for drizzling.
Use your same melted chocolate and drizzle some over the cocoa bombs. I use a drizzling spoon for this. If your chocolate has hardened you’ll need to melt it again.
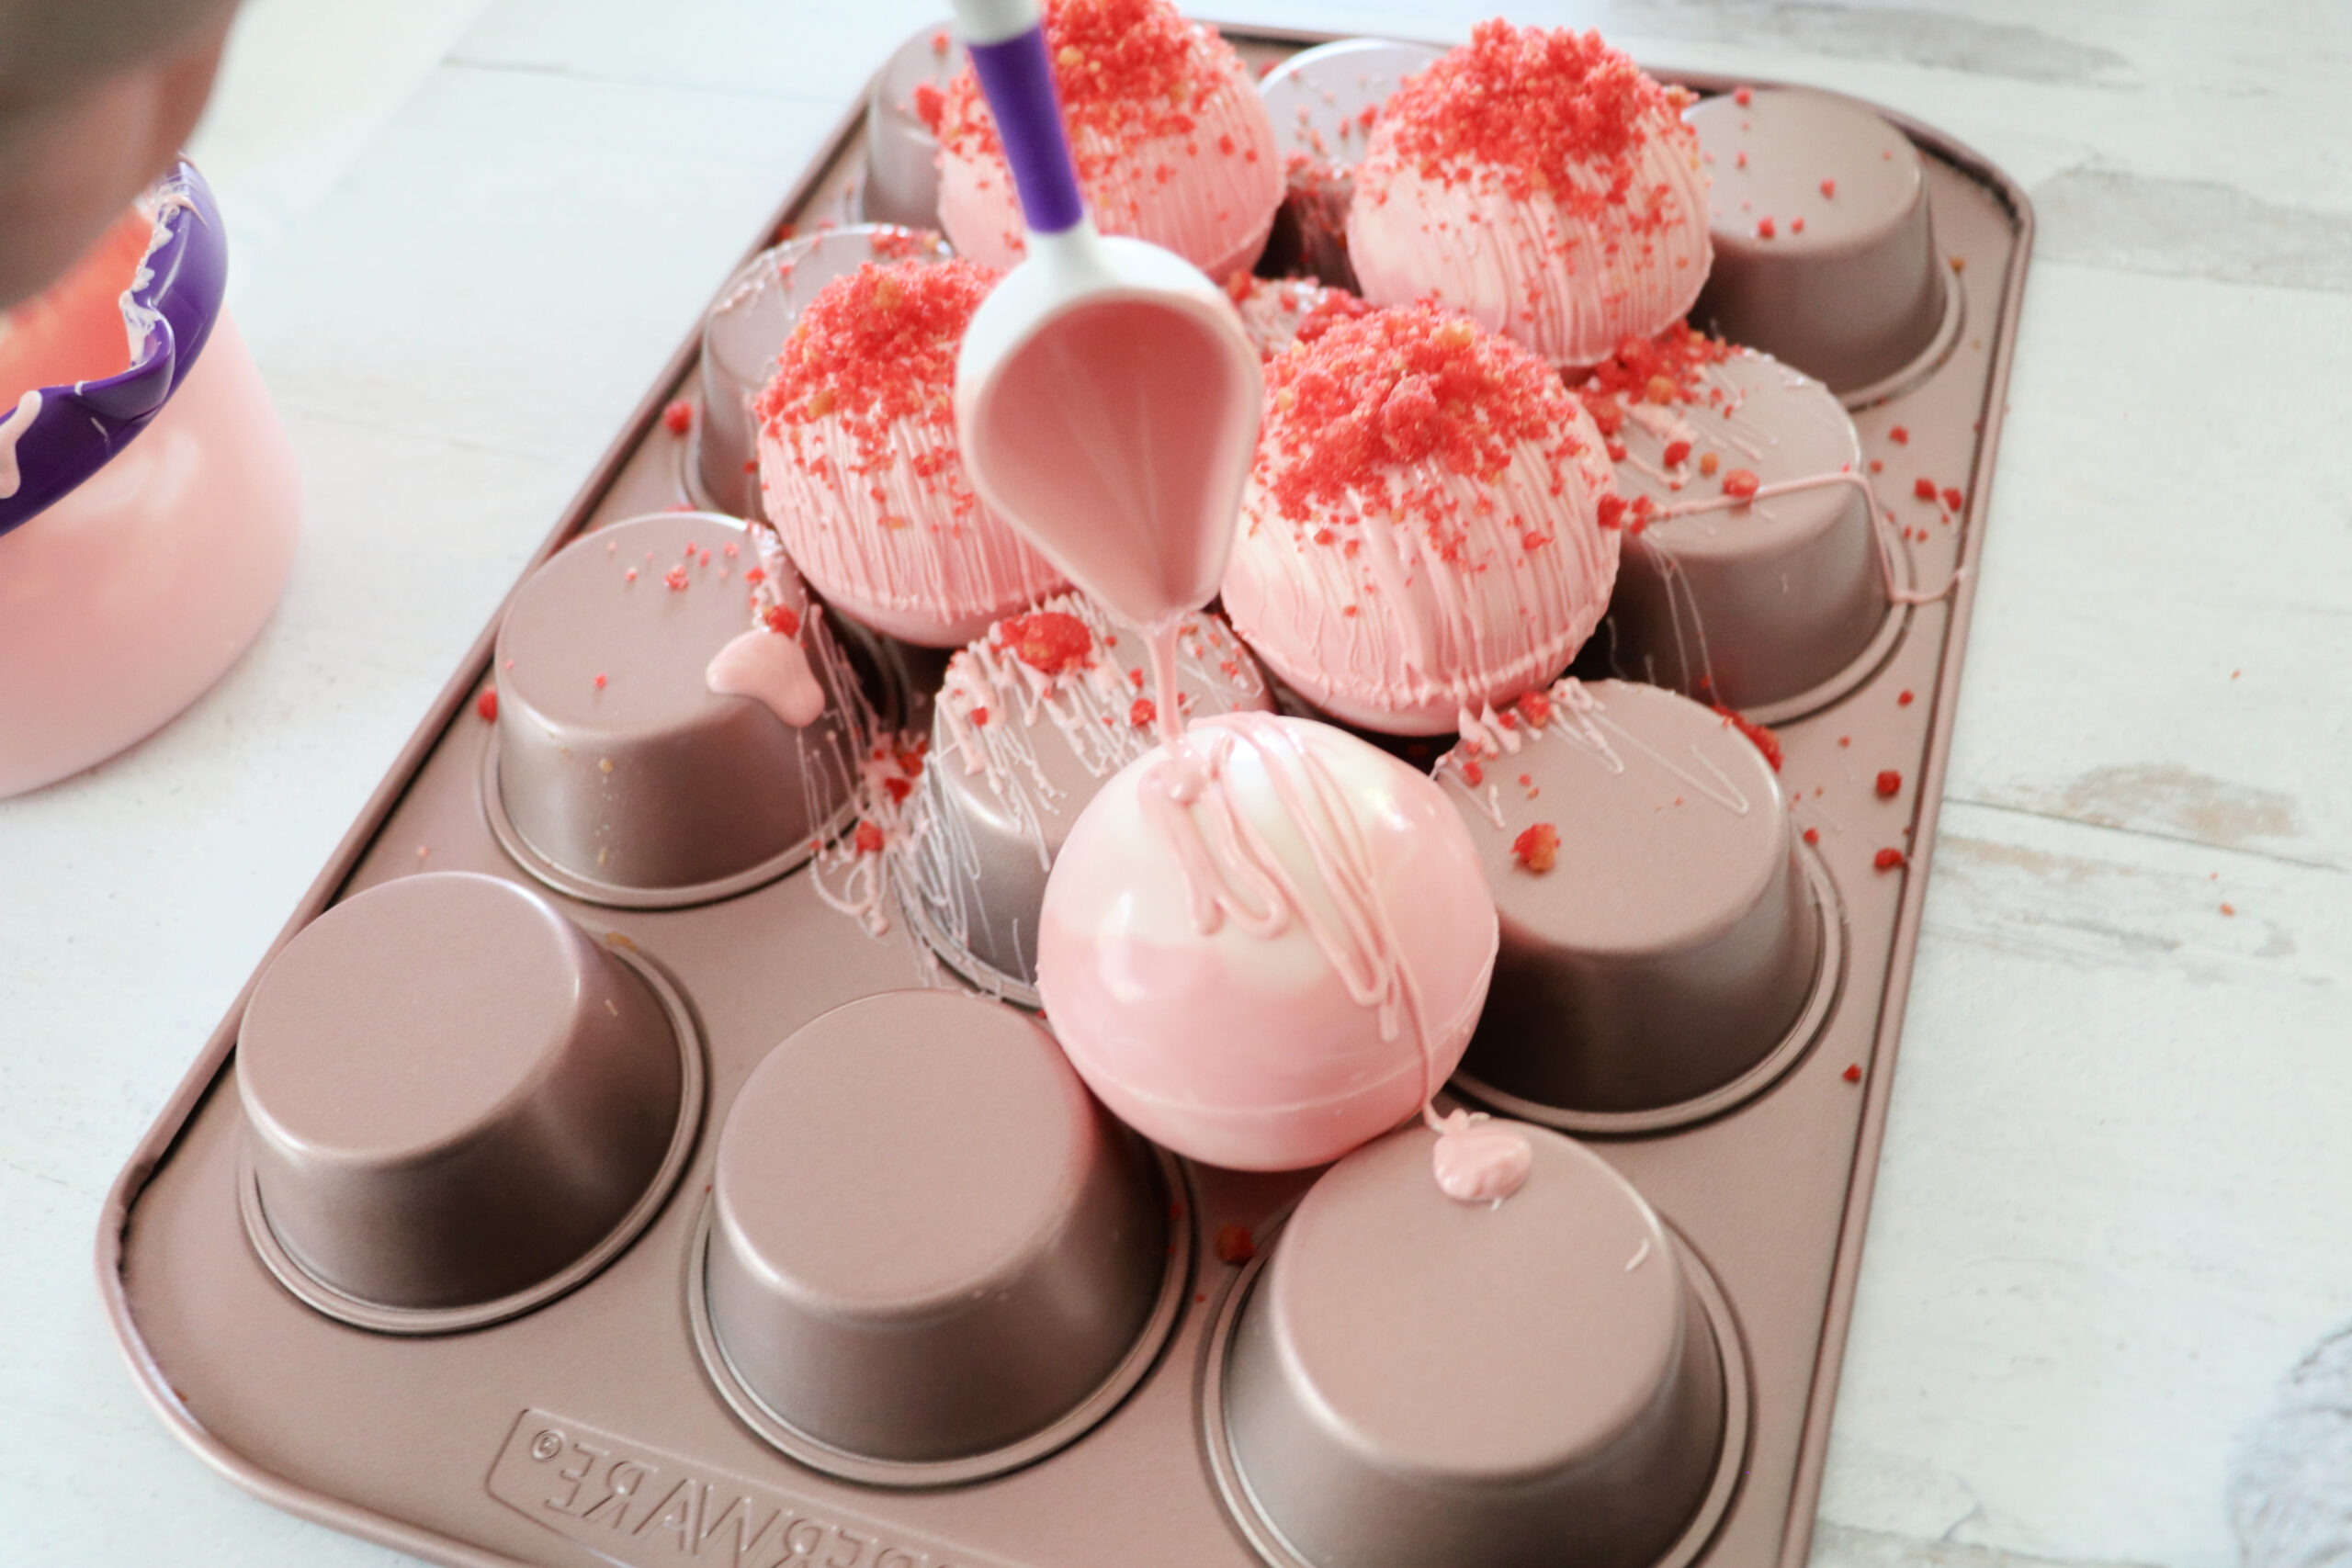
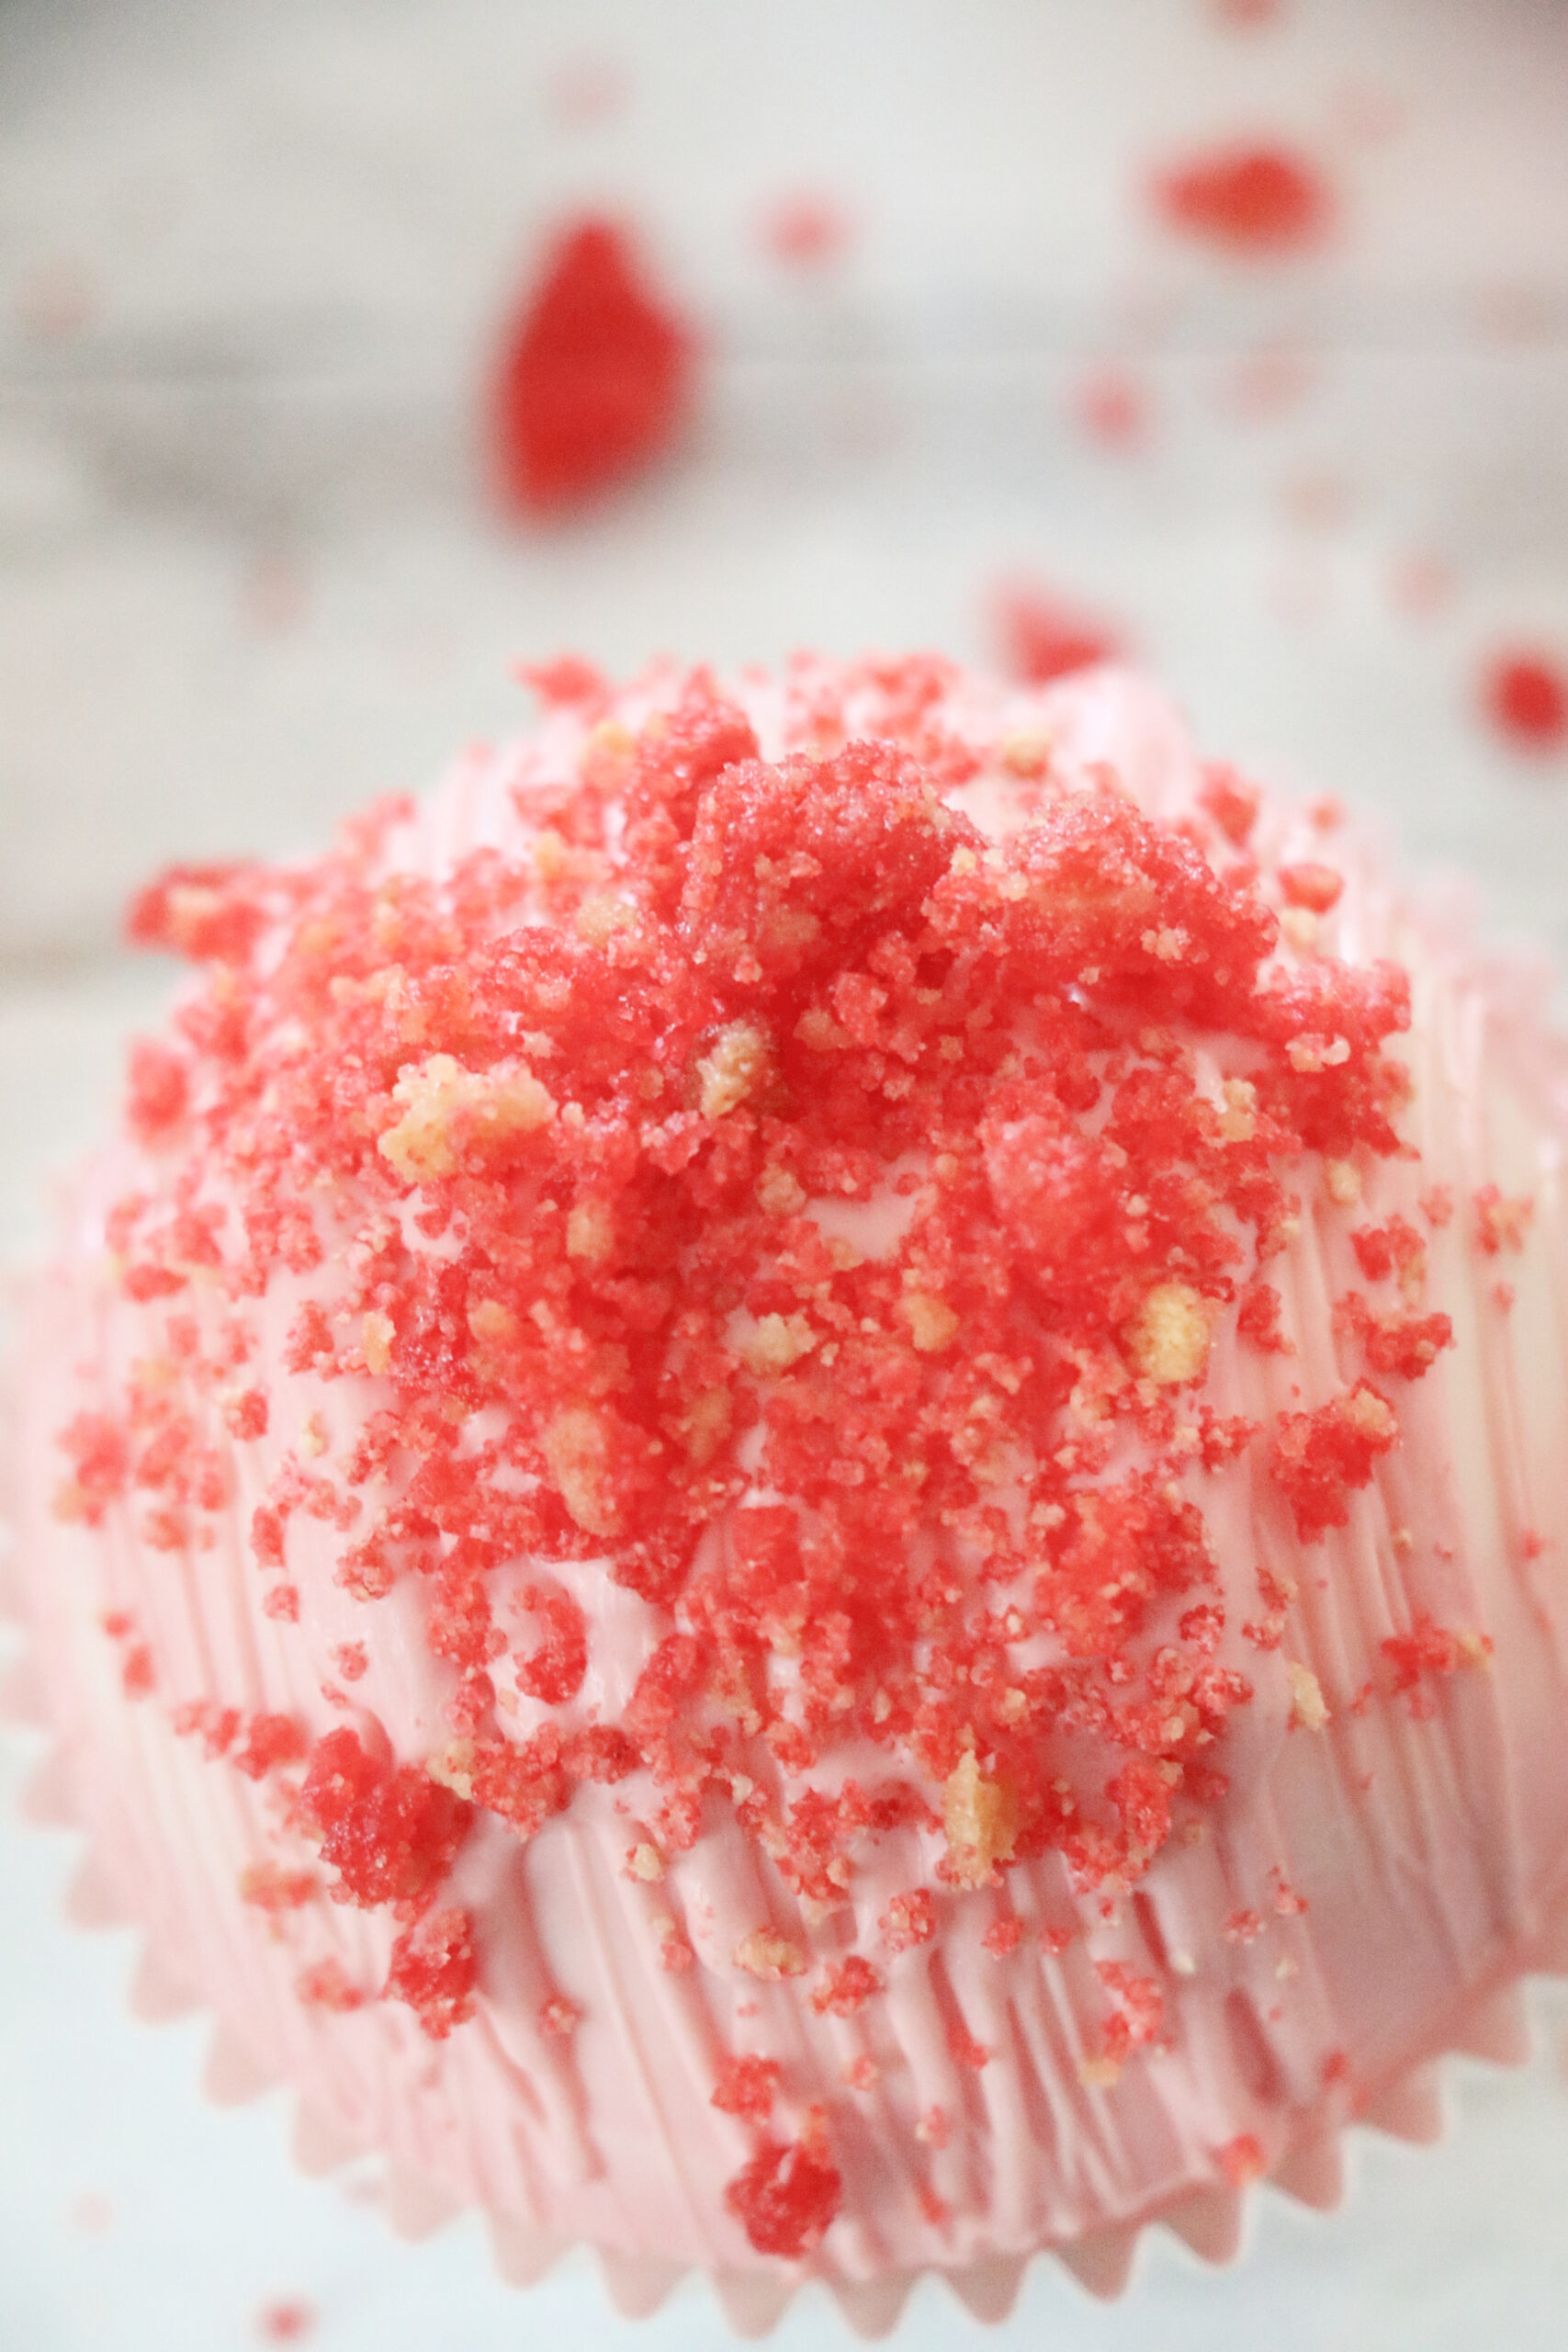
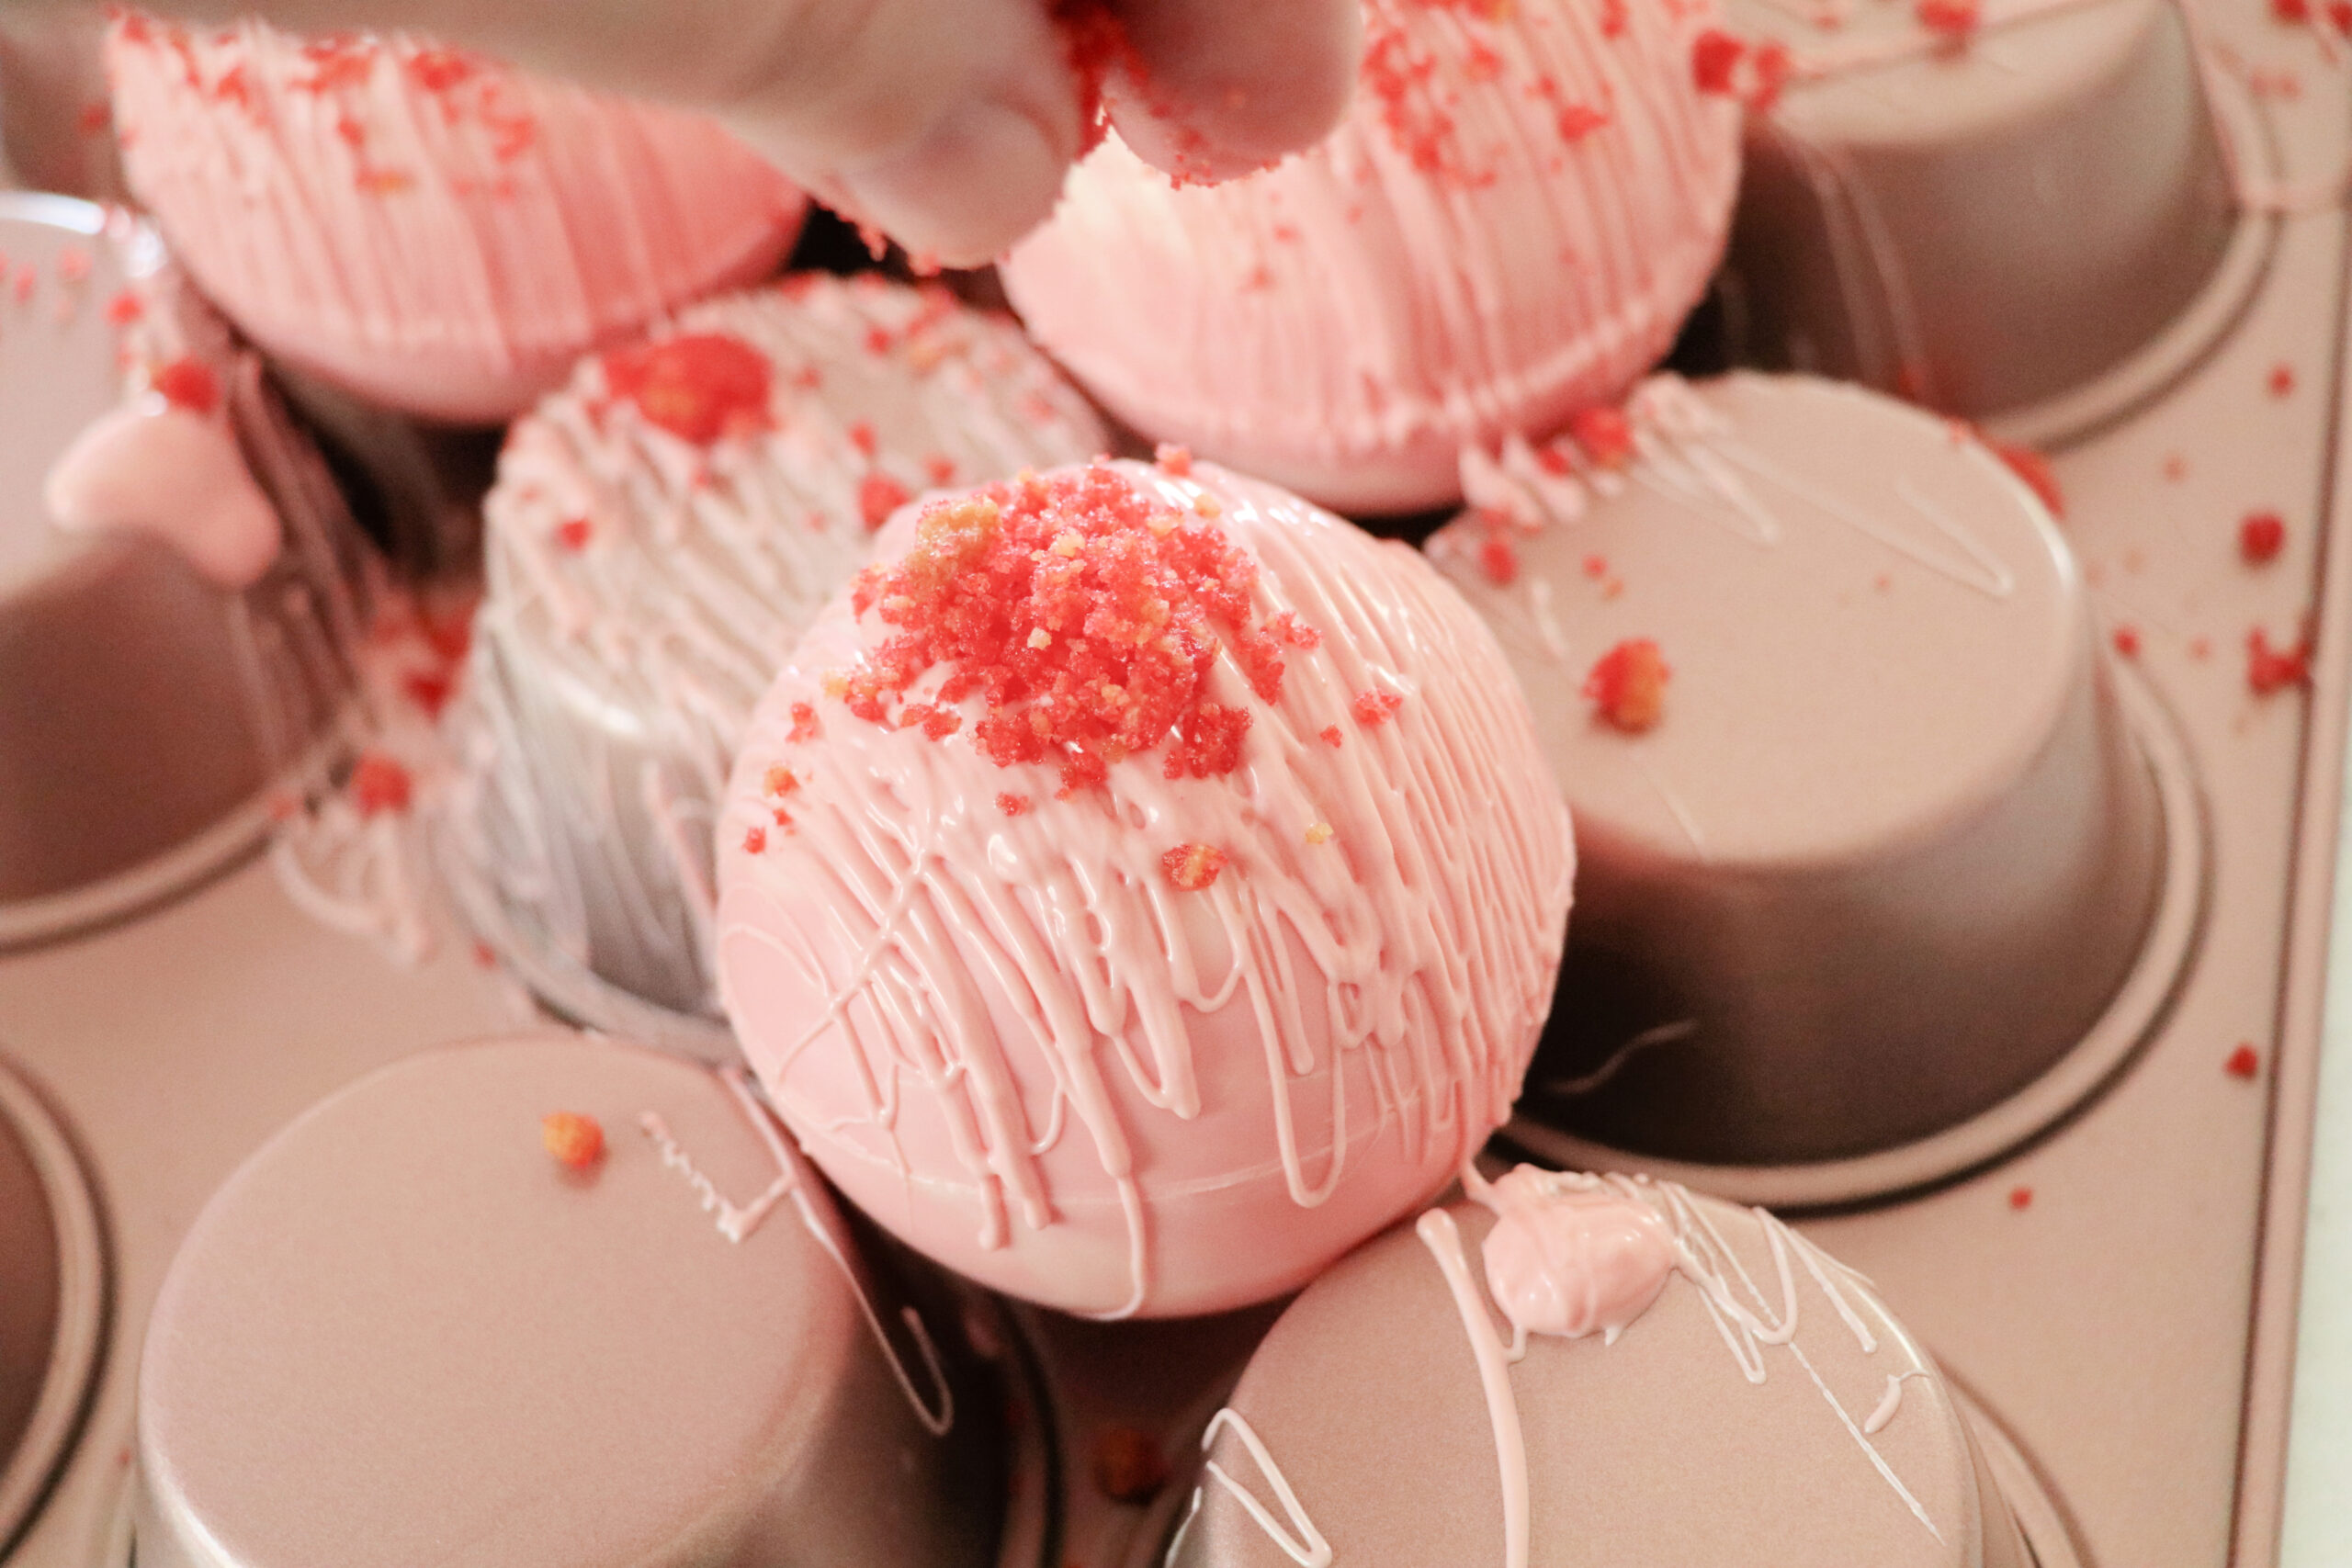
Once your strawberry cheesecake crunch cocoa bombs have been drizzled add the strawberry crunch topping on top. Do this before the drizzle dries.
Store these in an airtight container until ready to enjoy.
To enjoy your hot cocoa bomb you’ll add your hot cocoa bomb to a mug and pour 2 cups of hot milk over it. Once it has exploded give it a good stir and enjoy.


Strawberry Cheesecake Crunch Hot Cocoa Bombs
A delicious strawberry cheesecake crunch hot cocoa bomb.
Ingredients
- For the Strawberry Cheese Cake Cocoa Mix:
- Cheesecake Instant Pudding Mix, 3.4 oz box
- 6 tablespoons White Chocolate Hot Cocoa
- 6 tablespoons Strawberry Nesquick
- For the Hot Cocoa Bombs:
- 8 ounces White Melting Wafers
- 8 ounces Strawberry or Pink Melting Wafers (found my strawberry at Walmart)
- Mini Marshmallows
- Strawberry Crunch Topping
Instructions
- Make your Strawberry Cheese Cake hot Cocoa Mix by combing cheesecake pudding, strawberry nesquik, and white hot cocoa together. Mix well. Set aside.
- Add your white melting wafers to a bowl and melt per the package directions. I start with 30 seconds, stir, and then do 10 second intervals, stirring in between until fully melted.
- Do the same with your strawberry or pink melting wafers.
- Once your chocolate is fully melted you are going to add a spoonful of each chocolate to your silicone mold. If you are using only 1 color then add 2 spoonful’s.
- Take a toothpick and swirl the colors together. Don’t fully mix them.
- Then you are going to swirl the chocolate around the sphere mold by turning is slowly on an angle. Coat all the sides twice and then dump out any extra chocolate into a bowl. I added the excess into the pink bowl so that my white chocolate wouldn’t change colors.
- I place my spheres into a baking tin while I do the rest of the molds.
- Once you are done with all your molds you are doing to repeat these steps again to add a second coat of chocolate. By time I got done with my last mold my first one was hard, so start with the first one you did and work your way to the last one.
- Make sure to dump any excess chocolate back into your bowl.
- On a parchment paper lined baking sheet placed your spheres onto the baking sheet. You’ll want them facing down. This helps to make sure the edges are coated properly.
- Place in the fridge for 5-10 minutes for the chocolate to harden.
- Once your chocolate has set you can remove them from the silicone molds.
- Fill half of your cocoa bombs with 1 tablespoon of the cocoa mixture and 6-8 mini marshmallows.
- Heat a plate up in the microwave for about 2 minutes, make sure it’s microwave safe. Another option is using a candle warmer lined with parchment paper. I love this method for if you’re making a lot of cocoa bombs.
- Place the sphere onto the plate for a few seconds until the edges start to melt and then place it on top of the sphere with cocoa and marshmallows.
- Wipe any excess chocolate off with a spoon or your finger.
- If you find you have any gaps or holes you can try to fill them in with some of the melted chocolate from the sides.
- Now time to drizzle!
- I flip my muffin tin over and place my cocoa bombs between the muffin cups. This holds them steady for drizzling.
- Use your same melted chocolate and drizzle some over the cocoa bombs. I use a drizzling spoon for this. If your chocolate has hardened you’ll need to melt it again.
- Once your strawberry cheesecake crunch cocoa bombs have been drizzled add the strawberry crunch topping on top. Do this before the drizzle dries.
- Store these in an airtight container until ready to enjoy.
- To enjoy your hot cocoa bomb you’ll add your hot cocoa bomb to a mug and pour 2 cups of hot milk over it. Once it has exploded give it a good stir and enjoy.