

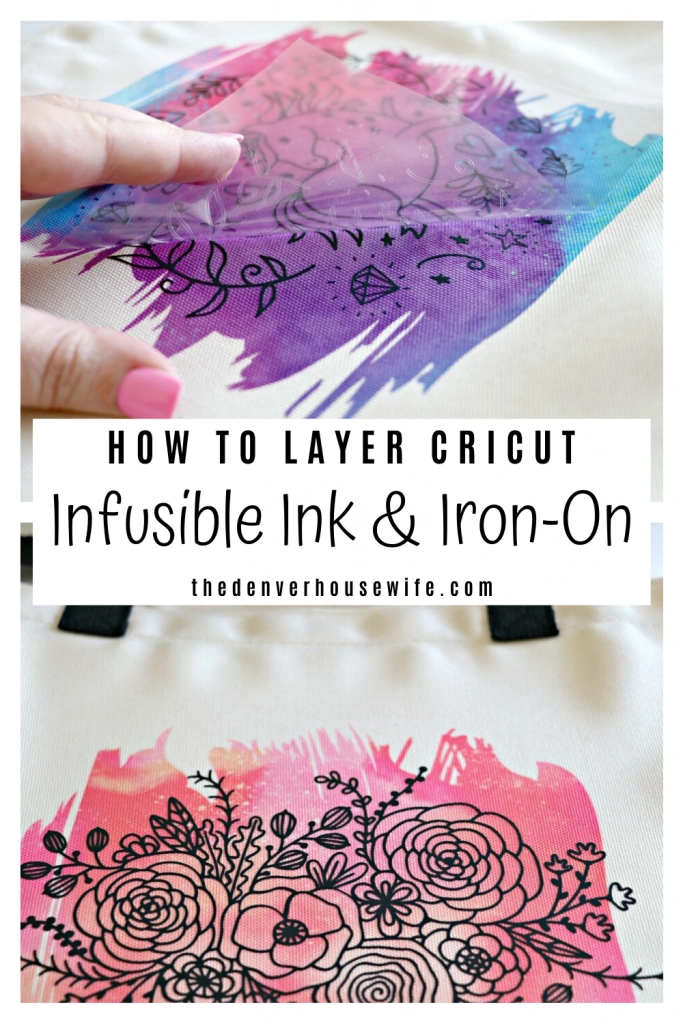
Are you looking for ways to give back to your community? Here is a simple, easy, and cute way to give back while helping those in need thanks to Cricut Infusible Ink. I’ll also be sharing how to layer Cricut Infusible Ink and Iron-On. #cricutcause
This is a sponsored conversation written by me on behalf of Cricut. The opinions and text are all mine.

I’m very thankful that I am now in a position in life where I don’t have to worry about putting food on the table and feeding my kids, but it wasn’t always that way. I’ve shared before how I became a mom early in life and while I had a great support system it still wasn’t always easy. There were times where it was a struggle to buy diapers and food. Where I had to rely on the government for help so that I could go to school and give my son a better life.
I’m forever thankful for government assistance and food banks. I still remember a year where we relied on a food bank for our Thanksgiving meal and all of the food they delivered to us. Now that I’m in a better financial position in life I love to pay the help I got forward. I don’t have a lot to give, but I give where I can. I donate all of our outgrown clothes to places that need it (like Foster Kids), I donate food to our local food banks, and give to Toys for Tots over the holidays. I’m not sharing all of this as a way to look for praise. Instead, I want to inspire YOU to give back to your community. Whether it’s a cash donation or a few boxes of cereal, every little bit helps. It truly takes a village to raise a family and sometimes those villages involve a food bank.
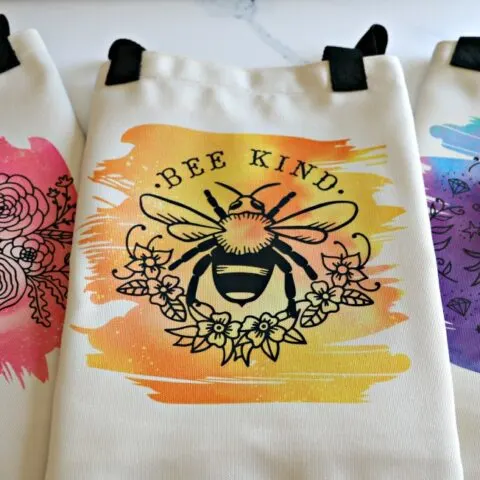
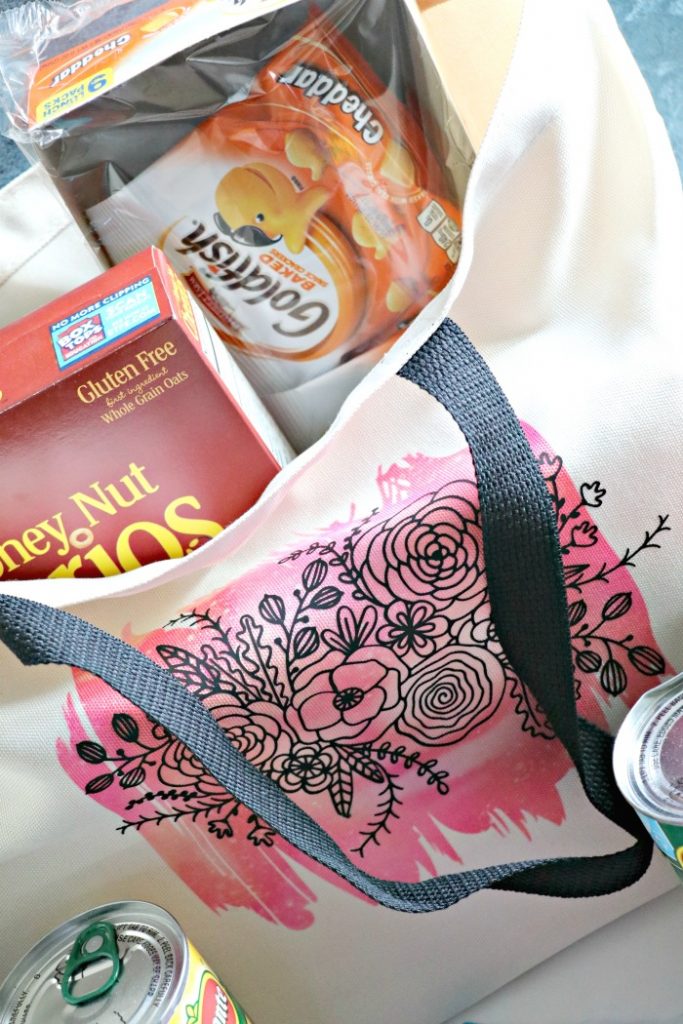
When Cricut reached out about making cute tote bags for our local food bank and donating food I jumped at the chance. 2 things I love… Crafting and helping others. The premise behind the bags? So that those who are walking out of a food bank can feel normal, blend in, and have something fun during a rough time. Instead of having to carry their food out in a cardboard box, they can carry it out in a fun new tote bag that will hopefully go on many adventures with them. Many people using food banks often take public transportation or walk. Having a quality tote bag to carry their items in is very helpful.
My goal in this: I hope it will bring a smile to their face in a time that can be stressful and that they can have something to carry their belongings/food in. I still remember how stressful that time was and remember how little things can bring so much joy.
Items Food Banks Need Most

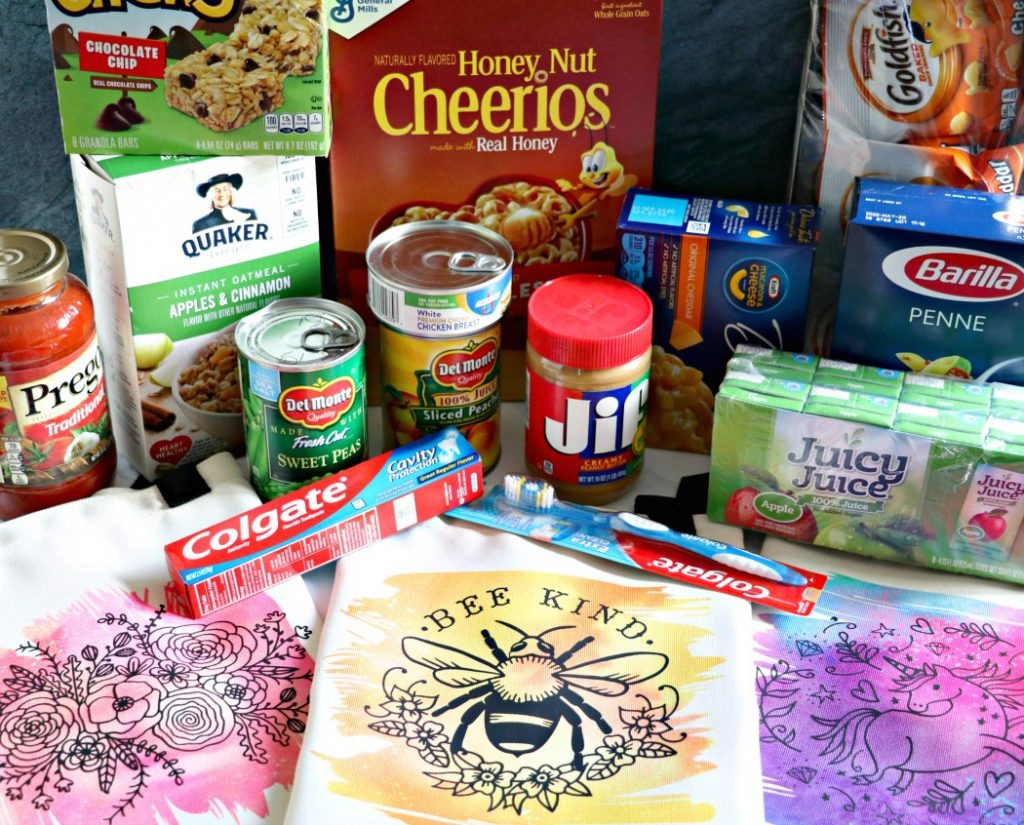
When it comes to food banks they’re happy for any food donations, but there are certain items they need more of and those items are:
- Canned meat & chili
- Canned vegetables
- Canned fruit
- Pasta sauce
- Non-perishable snack items for children (i.e. granola bars, juice boxes, applesauce)
- Macaroni & Cheese (I struggled with this one because not everyone has extra butter and milk. I almost got the microwave cups, but remembered not everyone has a microwave. So when donating Macaroni & Cheese consider donating the microwave cups or the kind where milk & butter aren’t needed)
- Low-sugar cereals
- Peanut Butter
- Instant Oatmeal
- Toothbrush & toothpaste

I hope you will consider donating to your local community. You can find out more information about donating food in your community by visiting feedingamerica.org. For us, we donated to a local food bank in our neighboorhood.
“If you can’t feed a hundred people, then feed just one.” – Mother Teresa
How to Make a Cricut Infusible Ink Tote Bag
For this simple project, you’ll need a few basic supplies. Many of them you might even have on hand already!
- Cricut Machine – I’m using my Explore Air 2
- EasyPress
- Cricut Canvas Totes – preferably the Large size
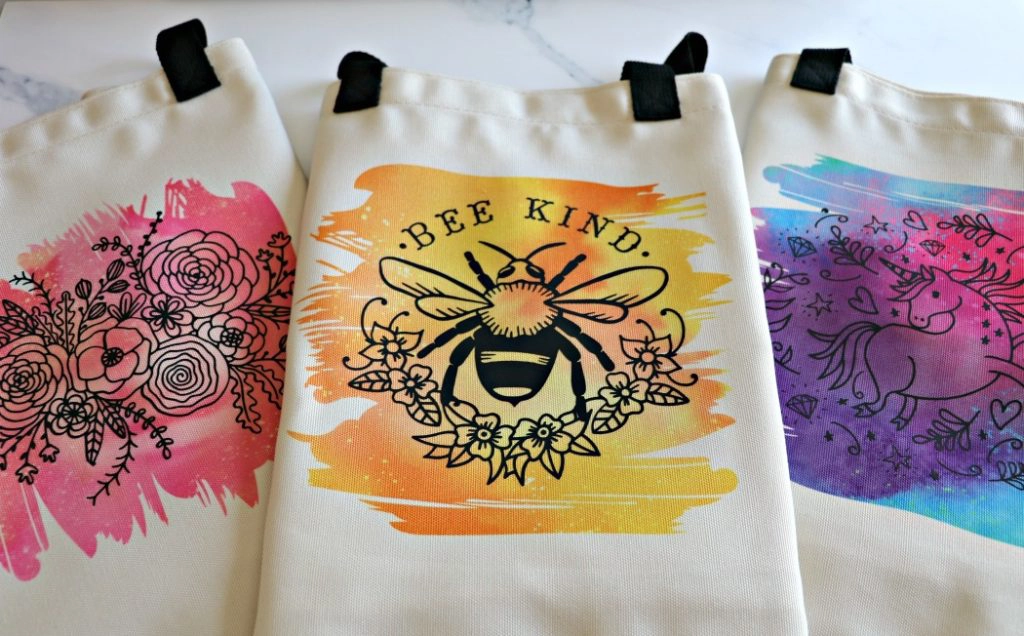
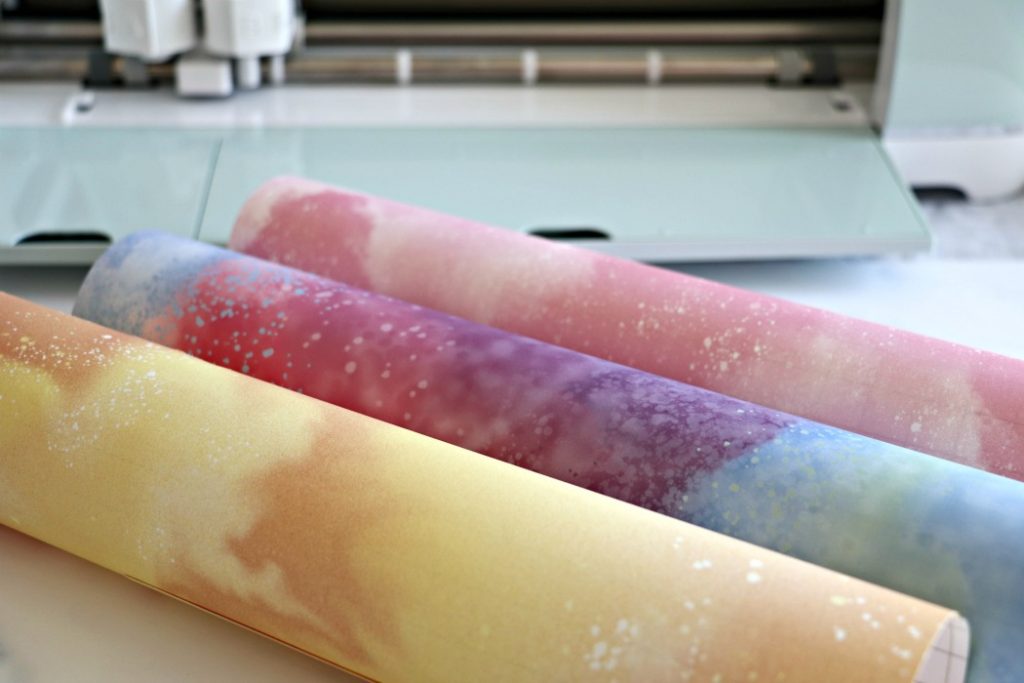
- Infusible Ink Sheets – Pink Lemonade (the pink sheet), Watercolor Splash (the multi-color one), and Splash Pad (yellow)
- Iron-On, Black
- White Cardstock
- Heat resistant tape
Did you know you can layer Infusible Inks and Iron-On? GAME CHANGER. Here’s what you’ll do:
As always you can visit my Cricut Profile to view my projects where I’ll have the files I used listed. For this project, I was really inspired by this Floral Watercolor Tote and wanted to recreate it.


Open your design space. If you choose to recreate my bags you’ll want to click my project link and click customize it or make it (depending on if you need to resize it or not). If you are doing your own thing, open your design space and find the designs you’re going to use.
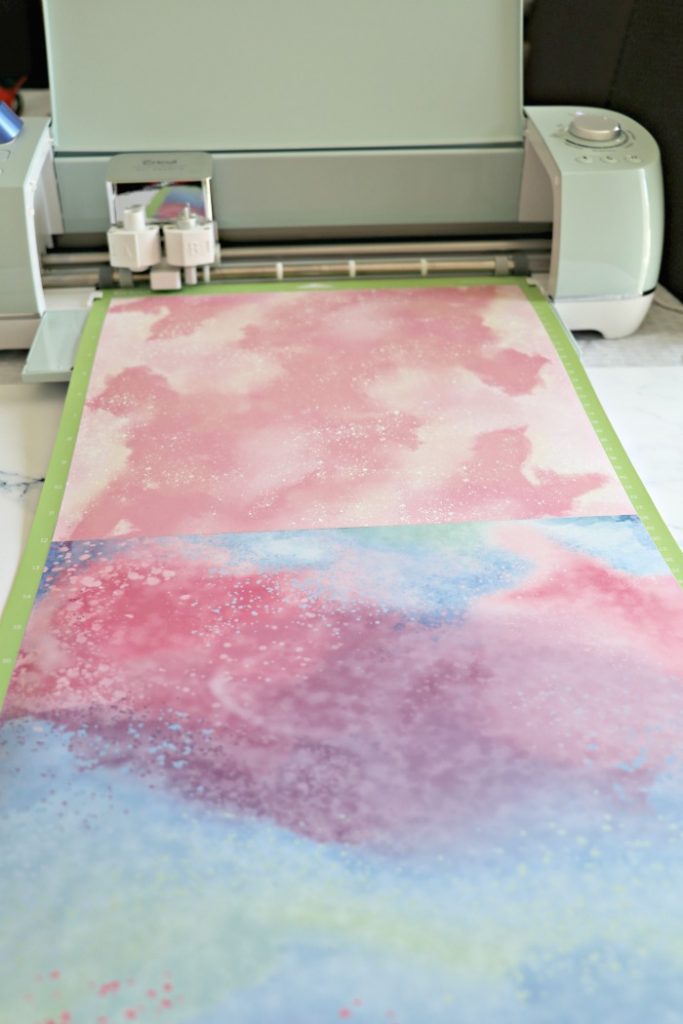
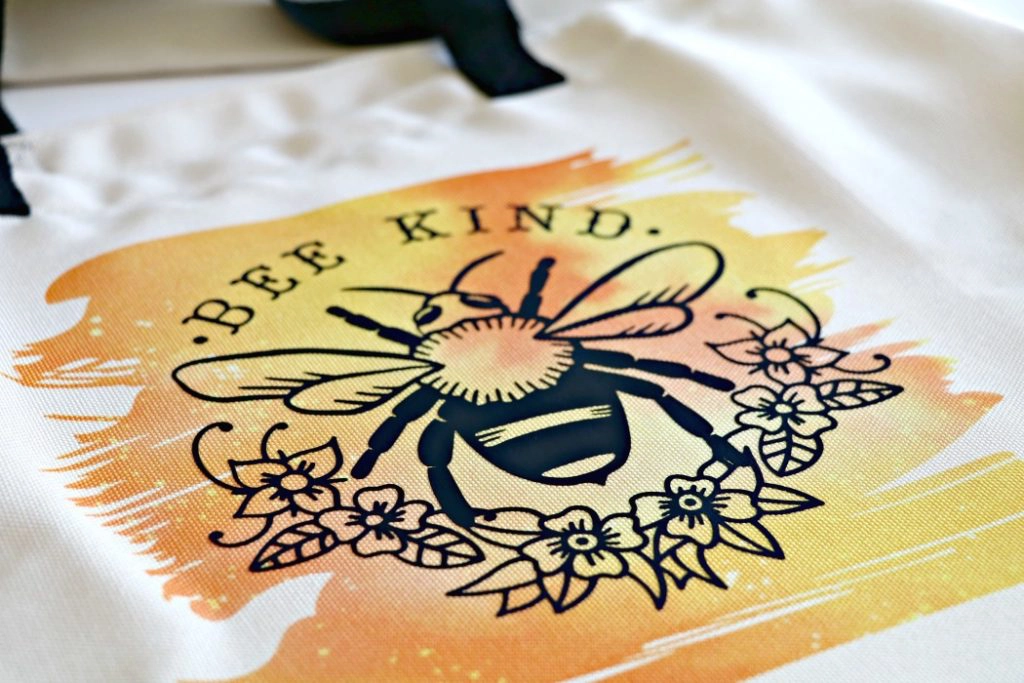
Once you have all of your designs ready to go you’ll want to cut them out and then weed them. For the watercolor look I used a brushstroke pattern and the Infusible Ink Sheets. For the black designs, I used the black Cricut Iron-On.

To cut infusible ink you’ll turn your dial to Custom and find the infusible ink sheet from the menu. You will put the color/pattern side up to cut the design and make sure to MIRROR your image.
To cut the Iron-On you’ll turn your dial to Iron-on, place the shiny side down, and MIRROR your image.

Once your design is weeded and your EasyPress 2 is heated up you’ll want to place your EasyPress Mat inside the tote bag with a white piece of cardstock. The white cardstock helps to keep the Infusible Ink from transferring onto your EasyPress mat. The cardstock will go on top of the mat and under your design.


Run a lint roller over your bag to get up any lint. Place your infusible ink down (with the color side touching your material and transfer sheet up) and make sure to smooth it out on your material so it’s flat. I like to use a piece of heat resistant tape to hold the Infusible Ink transfer sheet in place because if it moves your design will come out blurry. Place the piece of butcher paper that came with your Infusible Ink Sheet over the Infusible Ink transfer sheet.


Use your EasyPress 2 and press per the time listed on Cricut.com/heatguide. When using Infusible Ink you will need to make sure your design is smaller than your EasyPress. A good size EasyPress for making totes is the 12×10. Since my EasyPress is only a 9×9 I made my decals 8.5″ to ensure that my EasyPress 2 covers the whole design. You can make the Iron-On decal bigger, since you can press that in sections, but the Infusible Ink decal needs to be smaller than your EasyPress 2 size.


Once the timer goes off remove EasyPress 2. Be careful pulling up the transfer sheet since it will be hot.
I like to let my tote cool for a few minutes before applying my Iron-On.
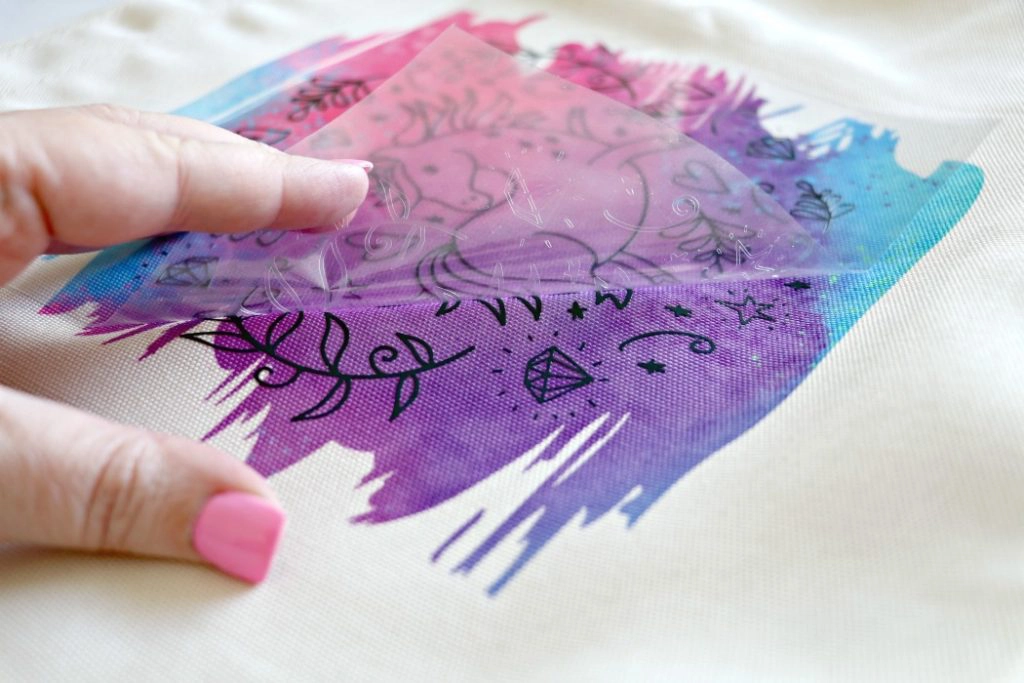
Apply your Iron-On design per the instructions on Cricut.com/heatguide. With the Iron-On on canvas, you’ll want to do a cool peel. This means letting the Iron-On cool down for a few minutes before peeling the transfer sheet off. You will want the Iron-On to be cool to the touch. Once cooled, peel the transfer sheet off.
Whenever I have worked with Canvas and Iron-On the only way I’ve had a successful project is with cool peeling. For some reason whenever I try to peel the Iron-On transfer sheet while it’s still warm the Iron-On always slides or starts to come up. With a cool peel, I don’t have this issue.

You’re all done! Simple, Easy, & Cute!
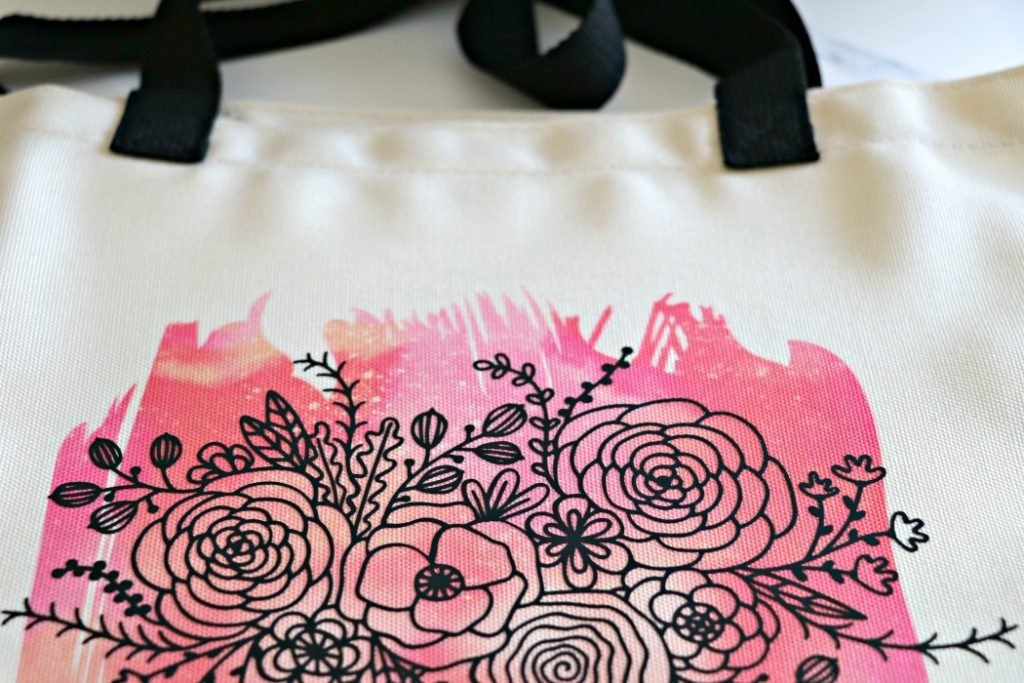

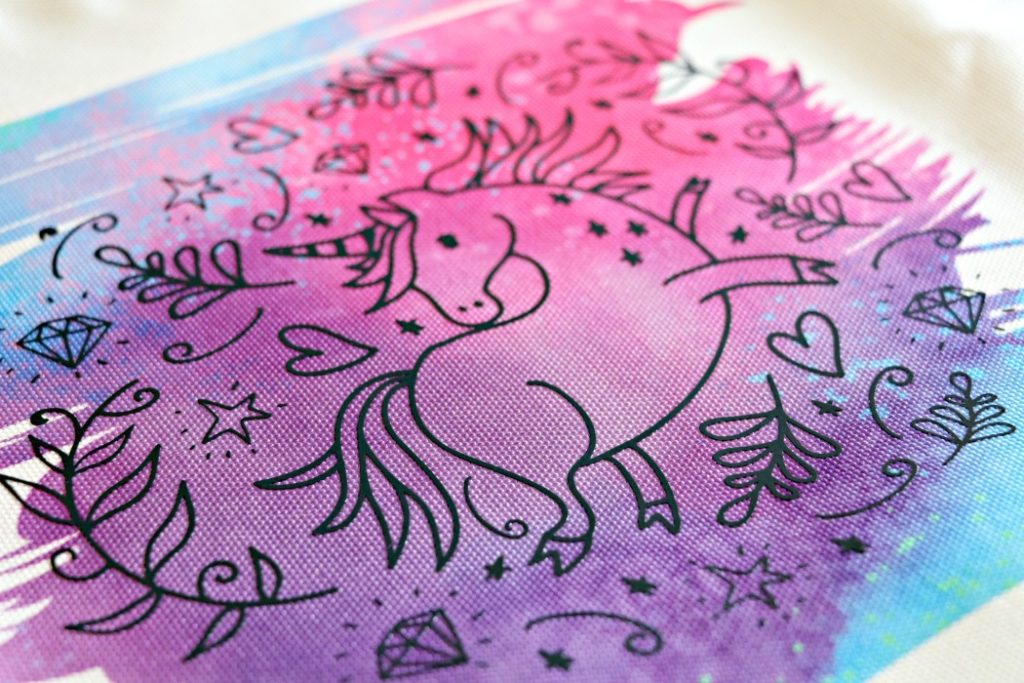

I’ve made a lot of projects since getting my first cutting machine and these tote bags are by far my favorite project. The pretty watercolors combined with the pop of black from the designs are so pretty. These bags are absolutely gorgeous and I want to make so many more!


Michelle
Friday 1st of September 2023
These are just lovely! And as a Registered Dietitian...and a mom, I truly appreciate you sharing very real truths about what it's like to visit a food pantry. This is an amazing project!
Jodie
Wednesday 1st of March 2023
I am wondering if I can layer a sublimation design on top of the watercolor background. Example: I would print a bee design in black on a sublimation printer and heat press on top of the infusible watercolor in already on the tote, do you think it would work? Looking everywhere for ideas to layer infusible and sublimation ink together..
Jamie
Friday 3rd of March 2023
I don't see why it wouldn't work, but whatever design you press first might fade a bit. Why not use infusible ink for both?
Helen Wilson
Saturday 14th of May 2022
Hi there I am absolutely blown away with the idea and Project above and want to let you know that I have had a A vision of an idea with your bags. I have recently lost my Parents an would love to provide a canvas bag like the one Above saying Sandy took kit. The bag would have some useul But very import a things in it the tools to do the job. I hope To use a version of this idea I feel God has spoken to me and Brought me to your post. Thank so much Love helen
Sandy
Thursday 6th of May 2021
Do you remove the invisible ink sheet before you do the iron on or just do on top of it?
Bree
Thursday 15th of April 2021
The bottom image #M9A10A80 isn’t coming up in Design Space. Any ideas where else to get this?
Jamie
Thursday 15th of April 2021
It comes up for me. Are you outside of the US? That could be the issue. If you are in the US you can try finding it by clicking Images - Category (top left) - Image Sets (left-hand side under Highlighted categories) - Search for "Geometric T-Shirt Shapes" (21 images total). It should be in there.